
“Let the beauty of what you love be what you do.”
–– Rumi
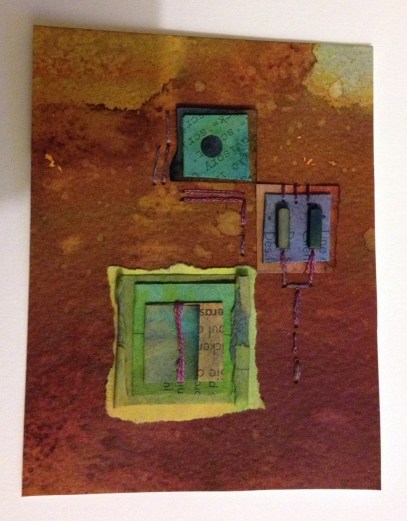
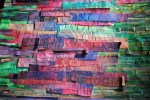
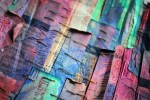
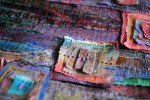
stitching on paper
I love to sew and I love experimenting with mixed media, so I guess it was kinda inevitable that one day I’d try stitching on paper.
I forget when it was I first tried – but it was like two parts of my world colliding – and I have been low-level obsessed with it ever since.
Here are a few tricks I’ve picked up along the way:
- Piercing the stitch holes in the paper before you begin is far easier than straight up sewing the paper. Depending on its thickness, it will either put up a forceful struggle against the needle, or else it will tear against the pull of the thread.
- Piercing with a regular sewing needle is usually fine, but thick paper (like watercolor) or card stock might require something like a darning needle, a compass or even a bradawl.
- Have a stab-proof surface to pierce onto. Polystyrene is great (yay for not throwing out the packaging from something fragile that came in the mail!) I’ve also got a cork tile and a cutting mat I use. This keeps the paper flat when fromit tries to fold under pressure of the needle, and protects the hand that’s holding the paper from getting holes in it.
- Unlike sewing on fabric, the loose ends of the thread can be glued down at the back to secure them from unravelling.
- I like experimenting with different threads, yarns, single ply and multiple. Just the same as my drawing, I like to make lines vary in weight, this can be done by over stitching some places.
- If I don’t have the color I want to use, I always have white thread, which can be painted with ink or watercolor after the stitching is done.
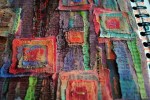
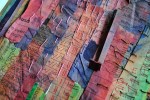
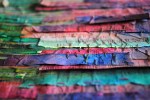
painted stitches
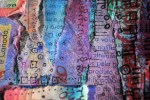
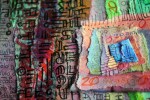
For this week’s experiments I doodled about with a stitched zigzag pattern (white thread on white paper – because that was easier than rummaging for the colors I wanted. Plus it’s fun to paint.)
I coloured the stitches with watercolor in dioxazine purple and imperial purple.
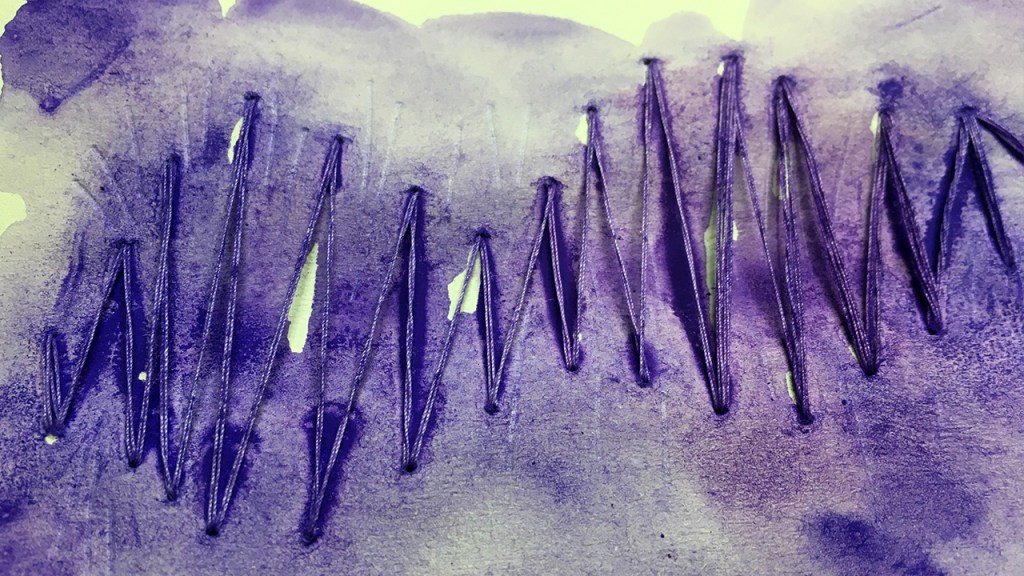
Here’s how my purple zigzagging happened
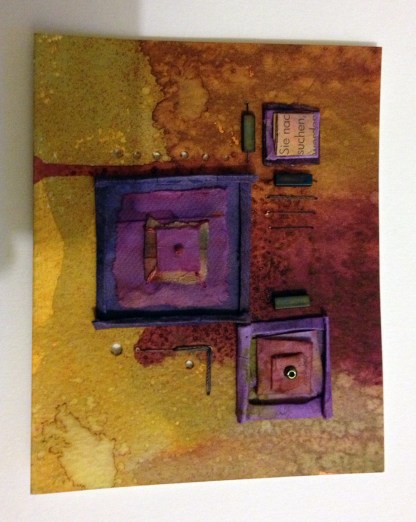
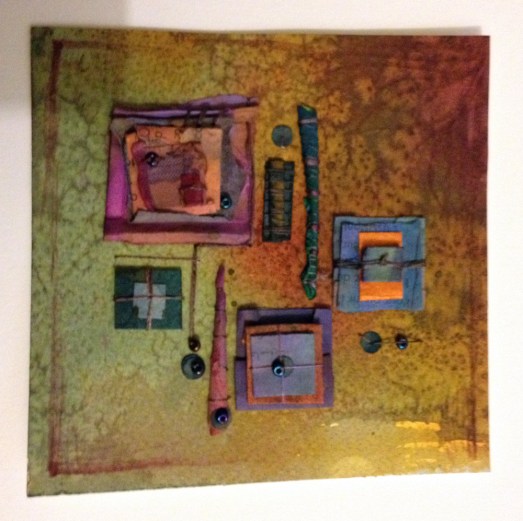
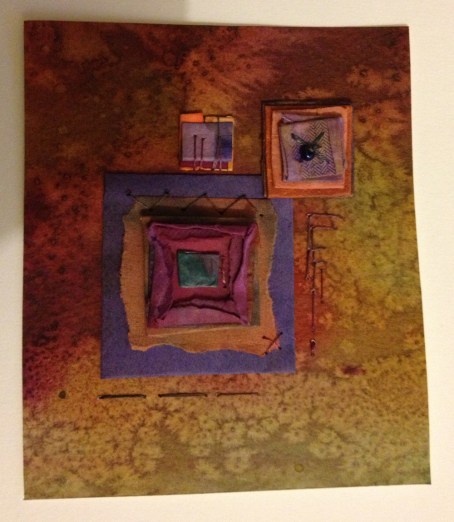
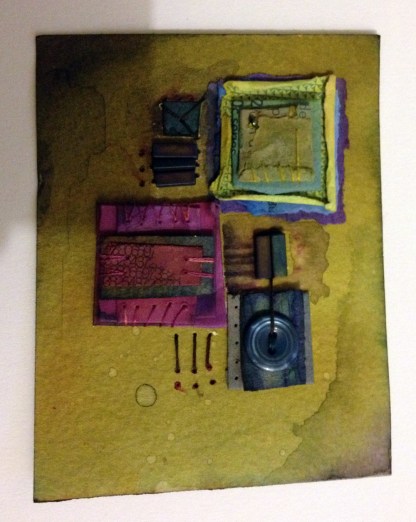
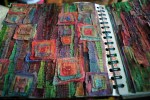
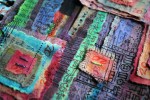
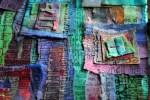
“Twelvty” 12 Colors in 12 Months
Every month this year I am making a series of mixed media pieces in just one color. At the end of the year I’ll combine them into one big multicolored work.
I’m sharing my process throughout this adventure here in this blog. (So far this year I’ve explored Yellow, Yellow-Green, Green, Blue-Green, Blue & Violet-Blue)
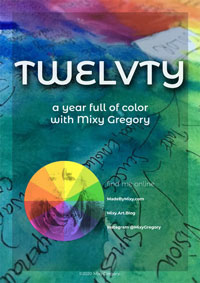
I’d love for you to join me. TWELVTY is open to everyone, and better yet, it’s free!
Sign up for my newsletter to find out more and get your free TWELVTY guide ebook.