Ink Dyed Paper: 5 Top Tips
The methods for ink dying paper are as simple or complex as you want to make them.
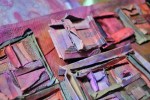
When I started out I used a shallow plastic tray and layered pieces of of paper. Each layer had splashes and squirts of ink between. Then I left them to absorb the liquid. I experimented with scraps of paper, envelopes, book pages…
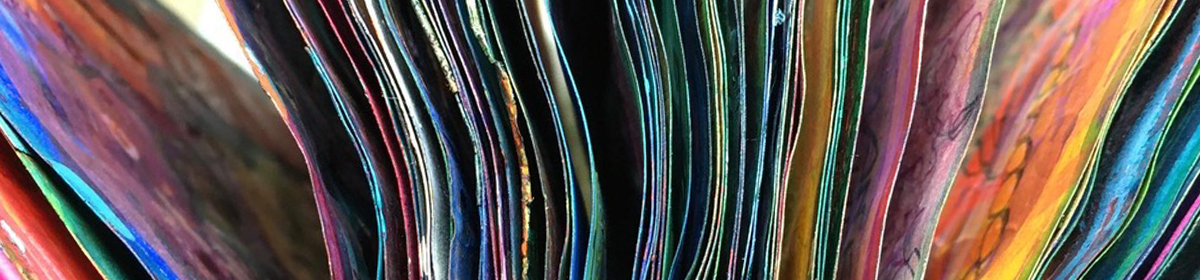
Essentially that hasn’t changed much, only now I’m devouring entire books and working on a glass topped table so I can heap the inky pages directly on there. I just scaled the process up!
Trial & Error.
I cannot overstate how much it’s trial and error process. It’s the only way I work: unscientific, intuitive, learning as I make it up as I go along.
For every gloriously bespeckled rainbow I make there are blurry messes, torn pieces (wet paper is so fragile) and muddy overworked colors. But that’s how we learn, right?

Five Top Tips to Paper Dying.
These are the five main things I’m learning through my paper dying experiments:
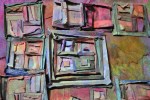
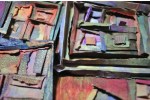
- Ink can be brushed on, dripped on, poured on, splashed, sprayed, squirted or flicked onto paper (wet or dry) with any manner of implements. It’s all A LOT of fun. There are NO wrong ways.
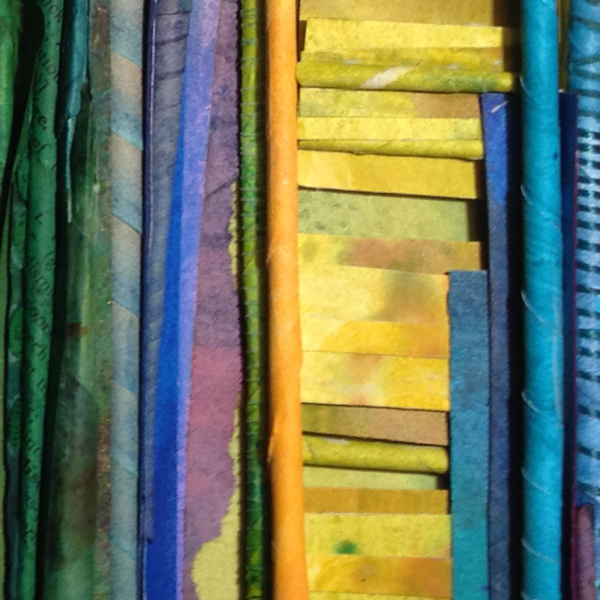
- Different types of paper will take up ink differently. Right now I’m using almost exclusively old book pages and sheet music (ranging from circa 1920’s to 1970’s), the paper from each book has it’s own distinctive foibles.
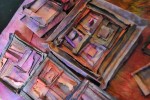
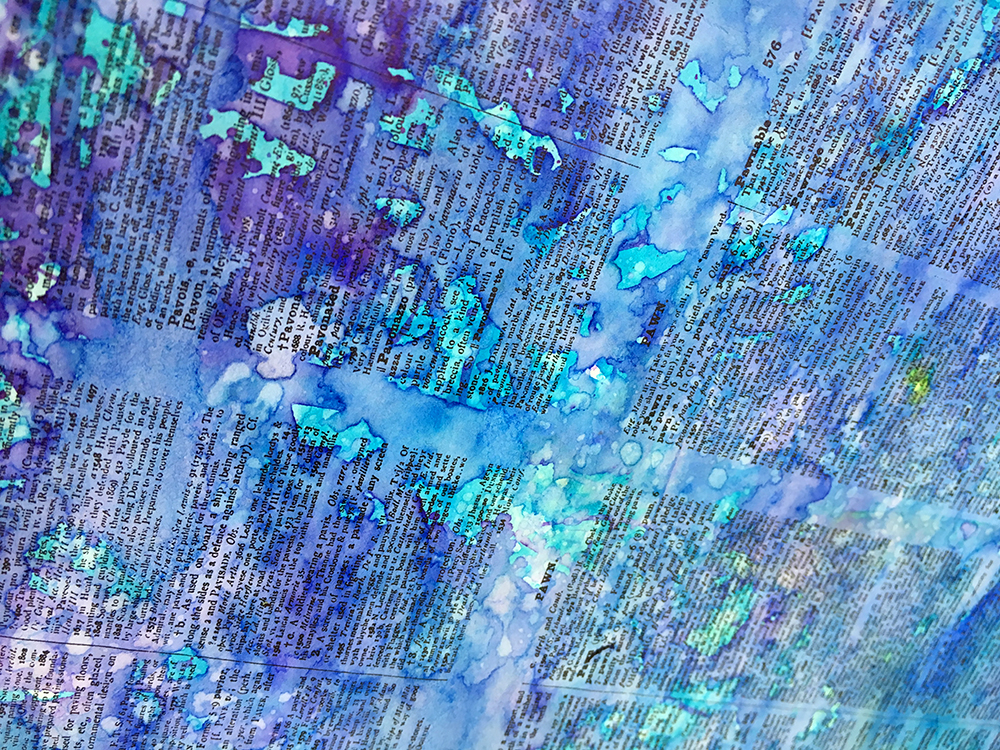
- The type and dilution of the ink both make a difference. It’s not just the intensity of the color, but how much it soaks in. Quicker or slower drying time effects the tide marks it leaves, the surface finish too (less water can dry with ink with dusty pigment traces, or a sheeny finish, or a distinctive layer of shape as well as color). All of these permutations have a beauty of their own.
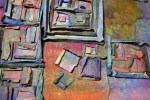
- Sometimes the pages stick to each other as they dry, especially at the edges. Gently brushing the stuck bits with water then leaving them a while usually resolves this. I found some inks are stickier than others – they work just fine but need diluting more – which leads me to…
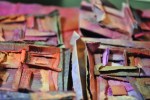
- More layers with more diluted ink work best of all. It’s the soaking of the water that creates the best patterns as it carries the pigment through the paper fibres. It’s the layers that make for the most intricate effects. Already dyed paper, left to dry then splashed, dripped and dunked in water or ink, can come to life in all manner of ways. Sometimes pigments reactivate or react. Things like this can happen…

splashes on splashes
Happy Accidents.
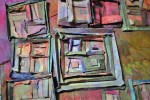
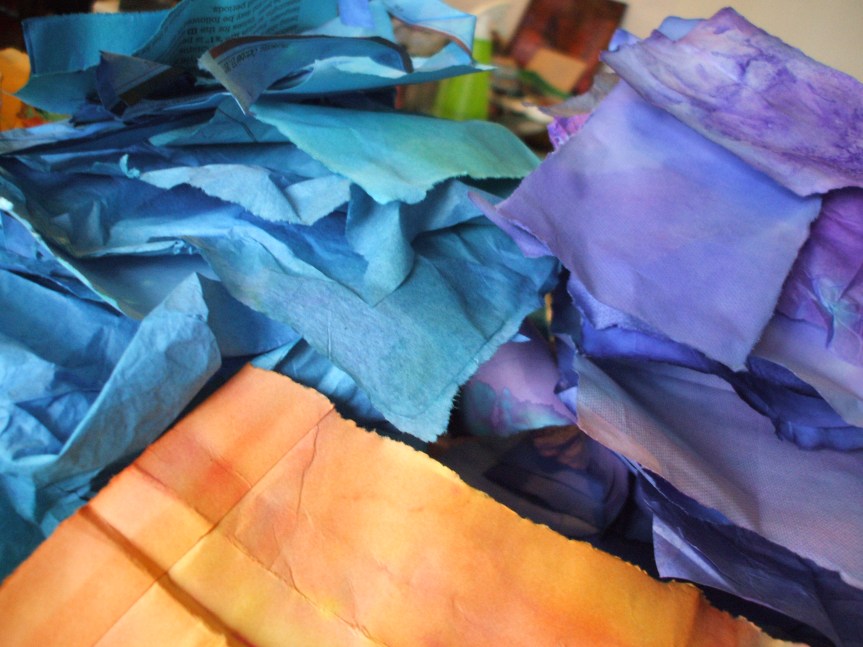
I’ve been leaving batches of papers to soak together, letting more magic happen as color seeps through the pages to the layers below. By arranging them haphazardly so one piece part covers the next it encourages the seepage patterns to happen more.
‘Unplanned‘ is the overarching theme.
After some hours of marinading, sometimes I’ll turn the whole pile upside down after a while so the moisture seeps back (carrying the color) back the other way. Peeling apart the layers and adding more pigment, or just turning them so the pieces in the middle get some air to dry.
Wet paper wrinkles and the lines that form become channels for the color to settle. Stripes and fabulous organic patterns like an animal print appear.

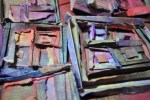
Lately I’ve taken to layering in stencils and texture plates between the papers to pick up extra patterning. plastic and bubble wrap works well, as does fabric, yarns and fibres (which of course soak up some of the color, transferring their own distinctive prints)

Next time: what becomes of these papers?
Or you can get the answer to this question ahead of the others – join the cool kids in my email list — hop aboard right here!

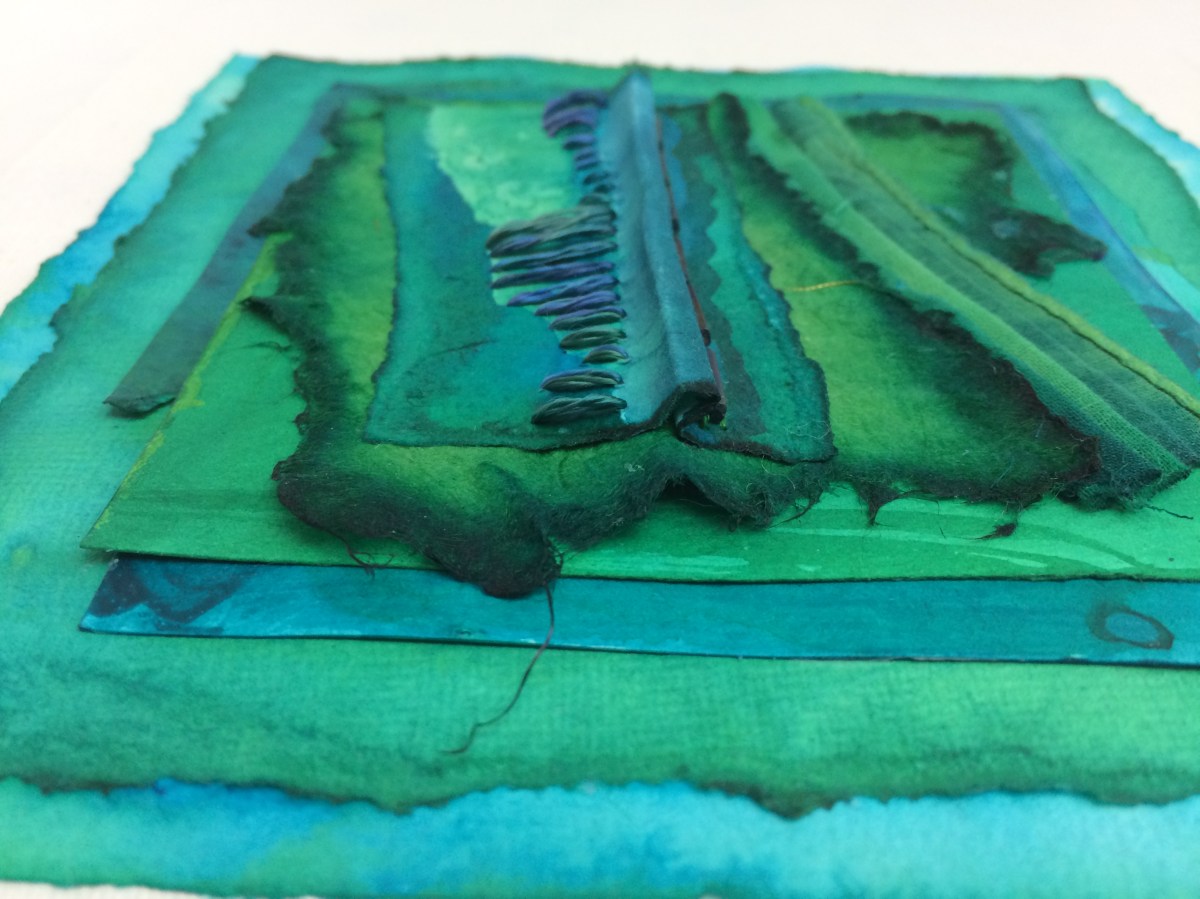
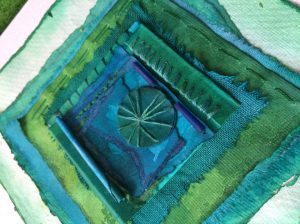
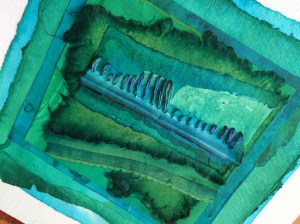
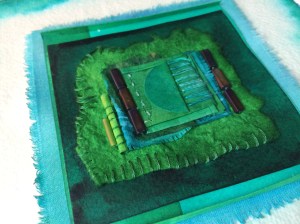


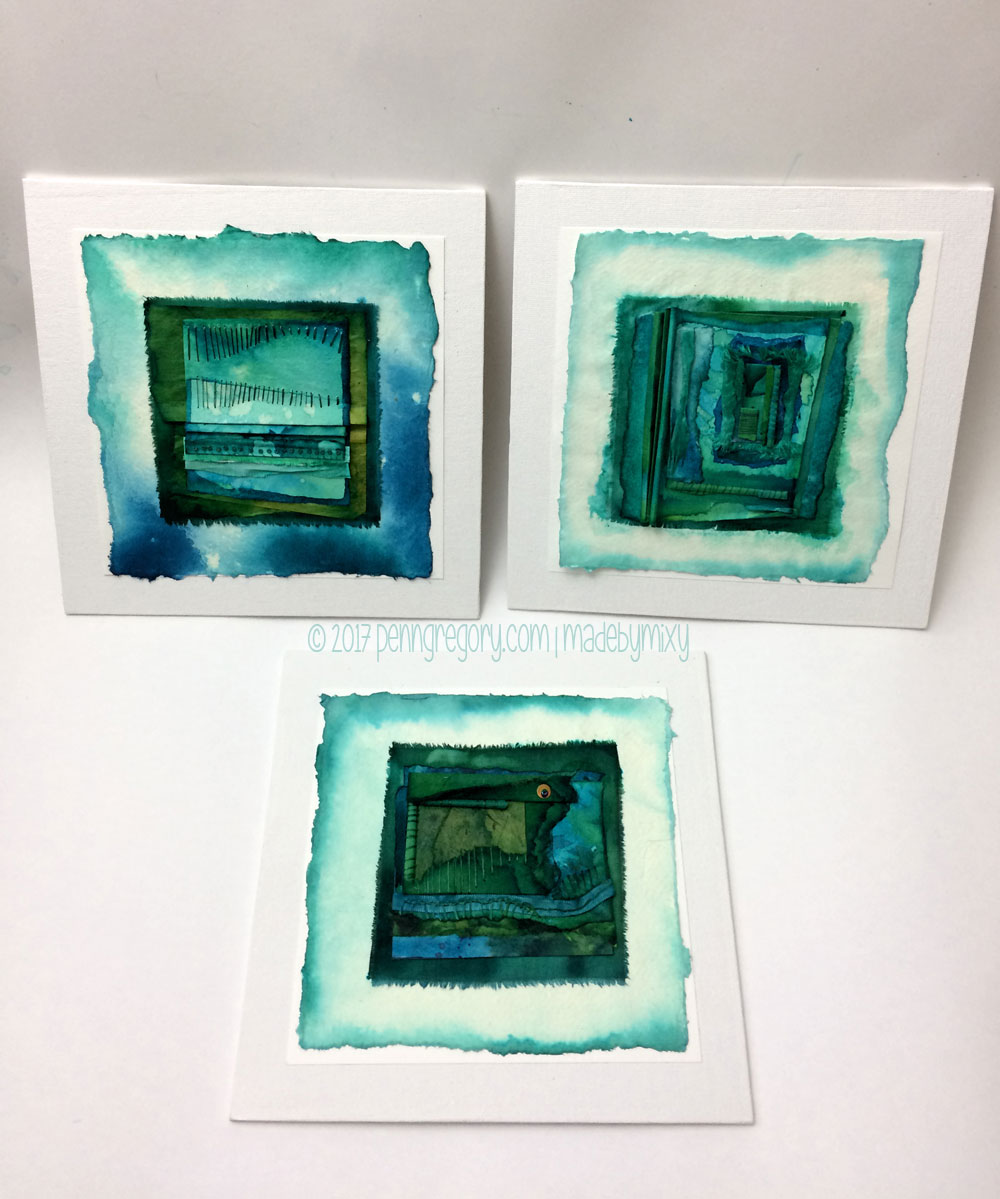
 I’ve just spent a month dwelling in a color I love so much: blue-green, and I have to admit it wasn’t easy to move on!