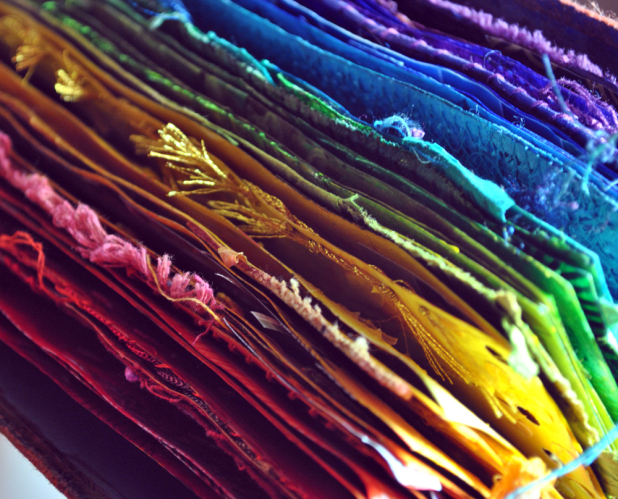

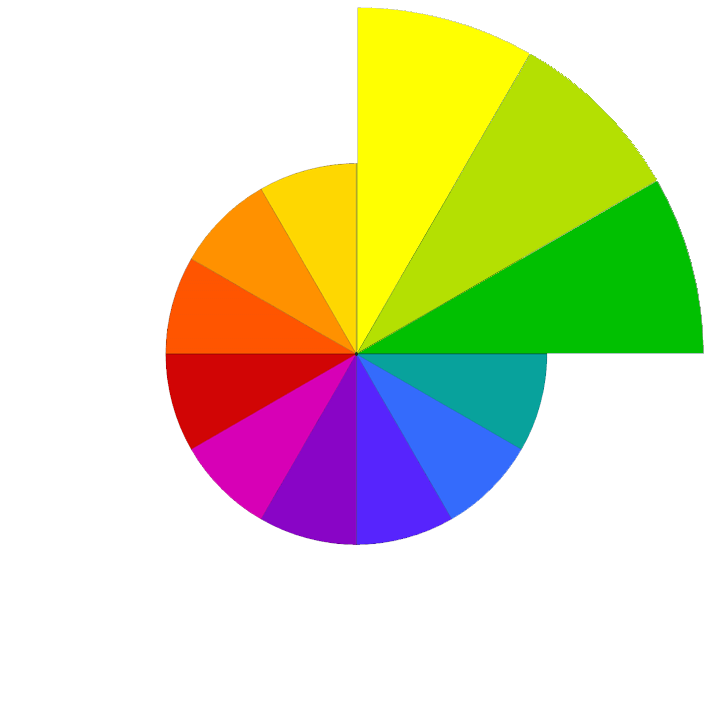
In my year full of color, I usually begin with Yellow, then trip clockwise around this color wheel a month and a color at a time.
What’s happening in TWELVTY 2024?

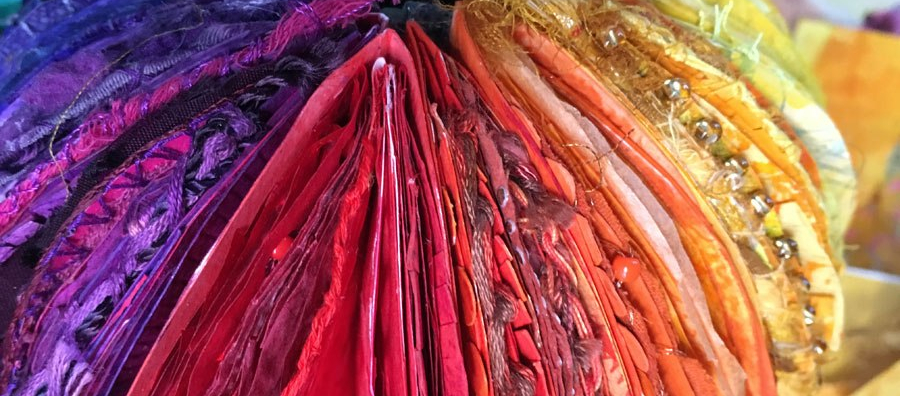
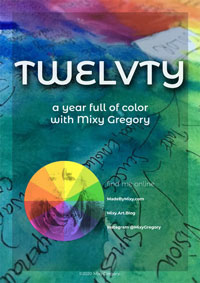
I dug out this lovely little square watercolour sketchbook from my stash.
It has about 30 pages, just right for 2 spreads per month/per colour.
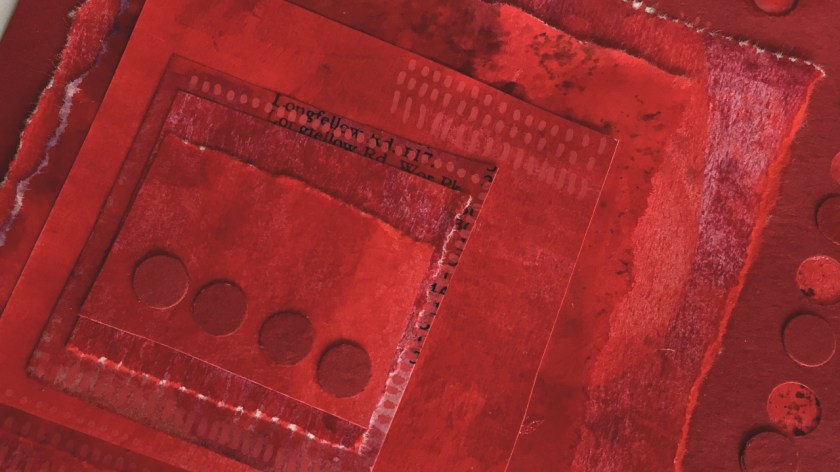
I like to break the ice by noodling some sort of title on the front cover, I can go back and add more as and when the whims of fate decide.
My “This Color: This Month” rule has loosey-goosey-ed up as I’m in Color/Month 1 and we’re well into February.
Also I don’t think it’s ‘finished’, so I’m open to adding some more bits in the future.
Already the whole thing feels way more relaxed!!

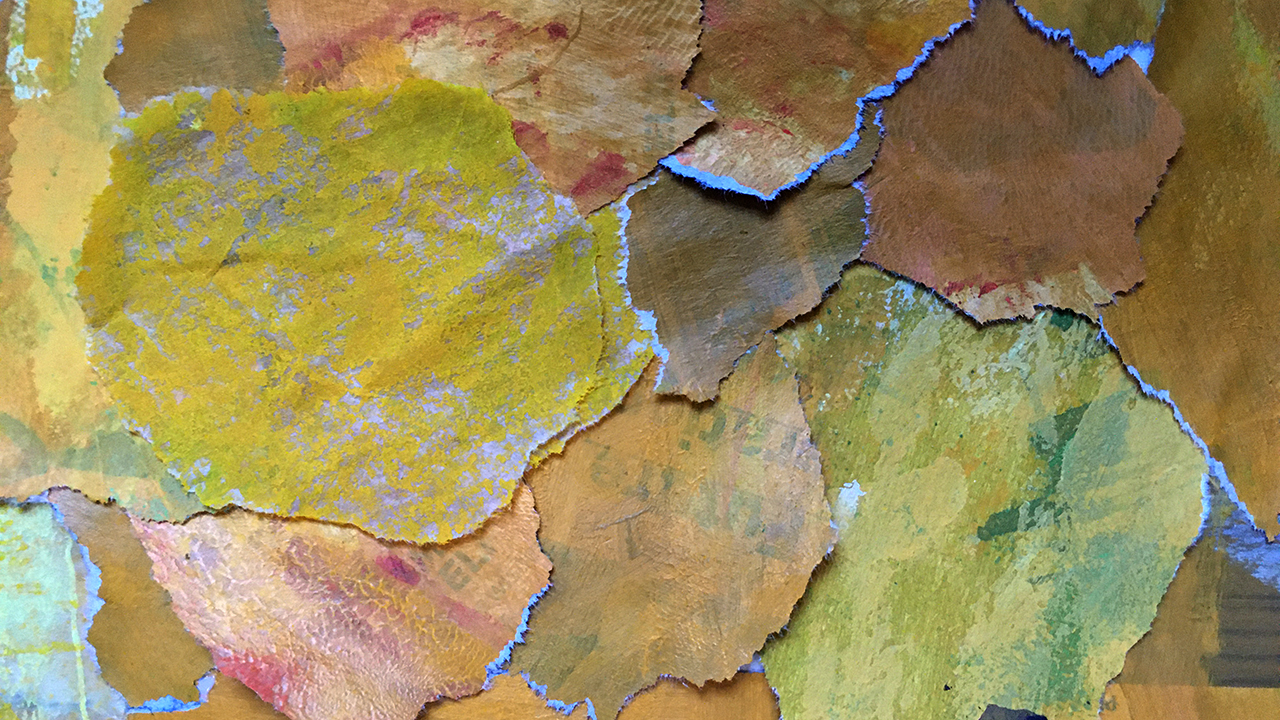
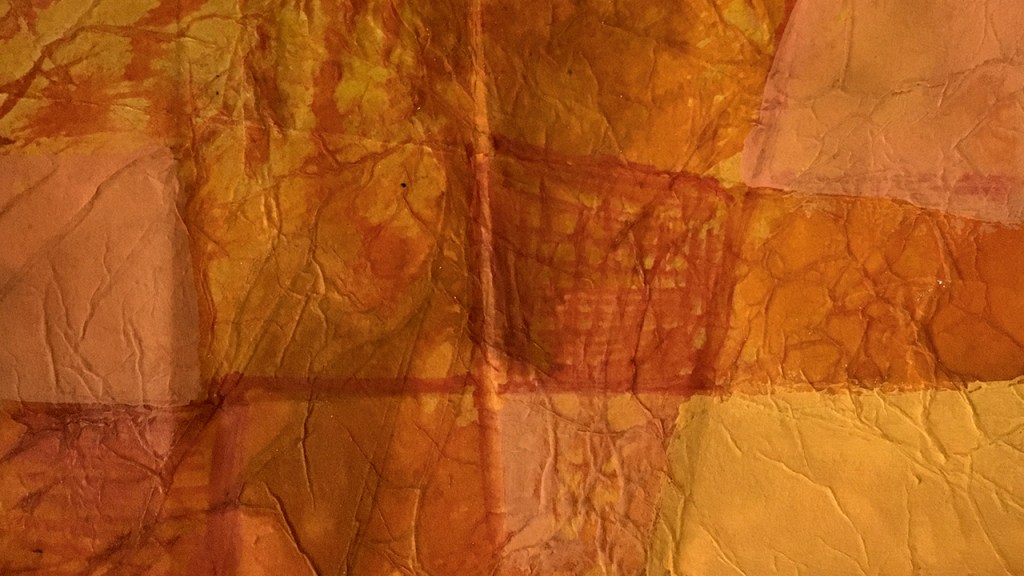
Up to now Yellow has been a vivid array of sunflower, egg yolk and banana yellow, this time I’m looking at the subtler edges of what I call YELLOWISH, with ochre, Naples yellow, gold and cream.
That’s the plan today, watch this space to see if I can keep this far out from my loudest-colored-comfort-zone!

+ Contrast!
I also relaxed the just one colour aspect this time. This time I’m experimenting with each color being accompanied with flashes of something from way over the other side of the color wheel.
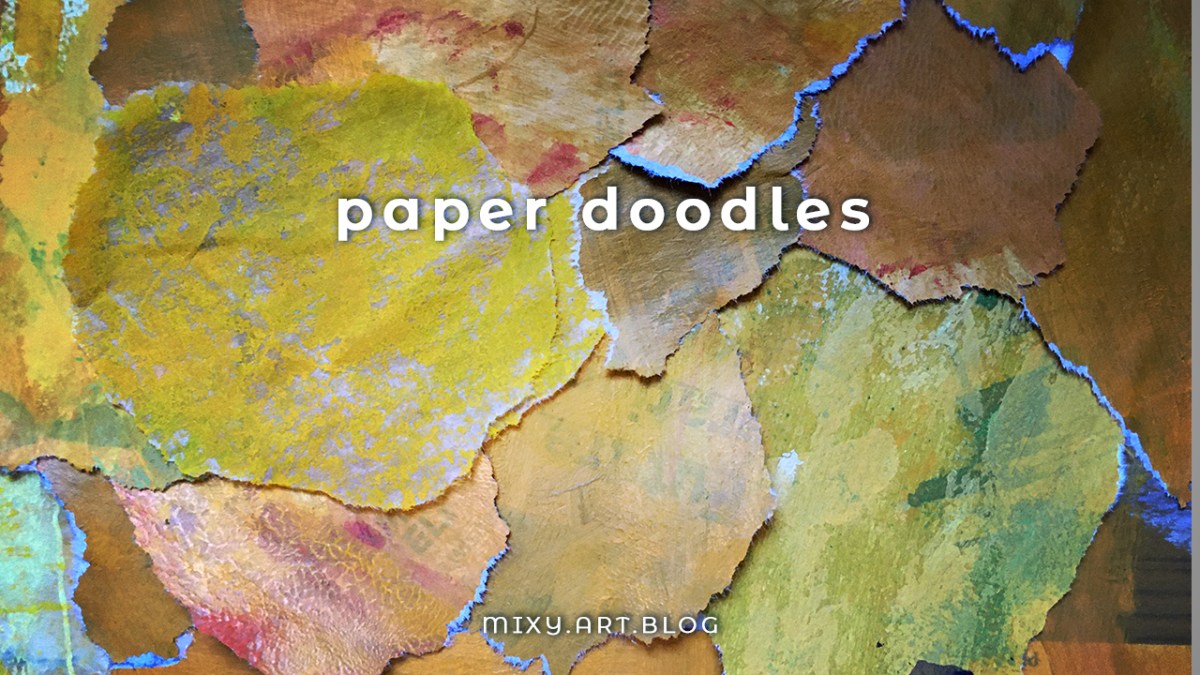
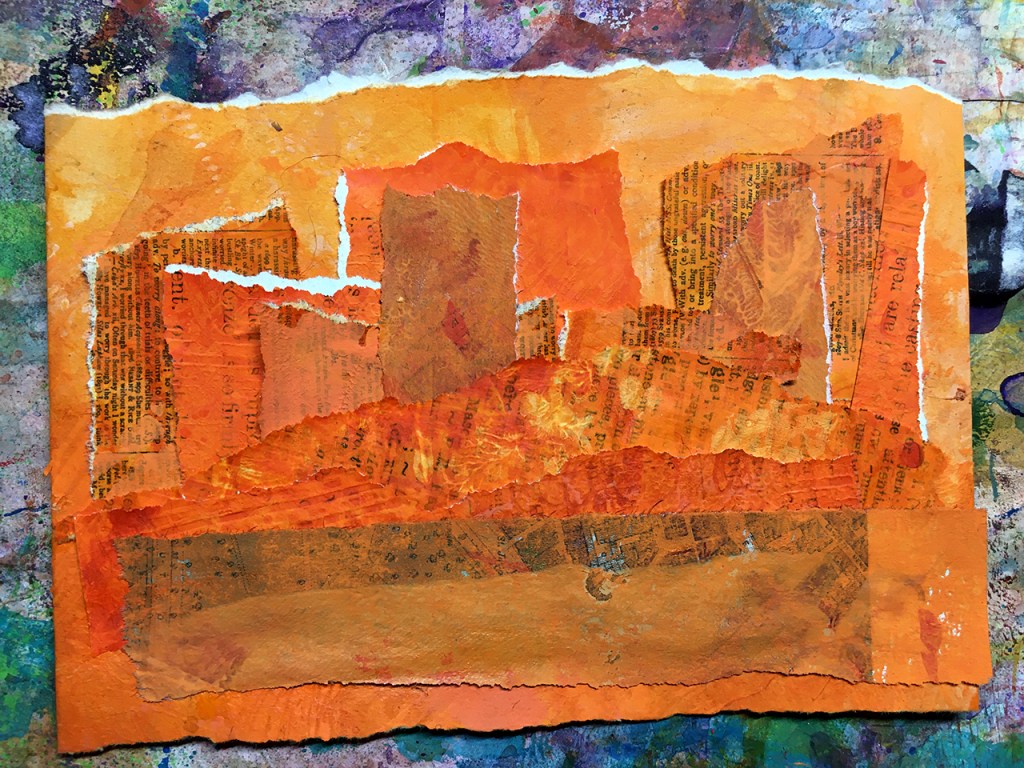
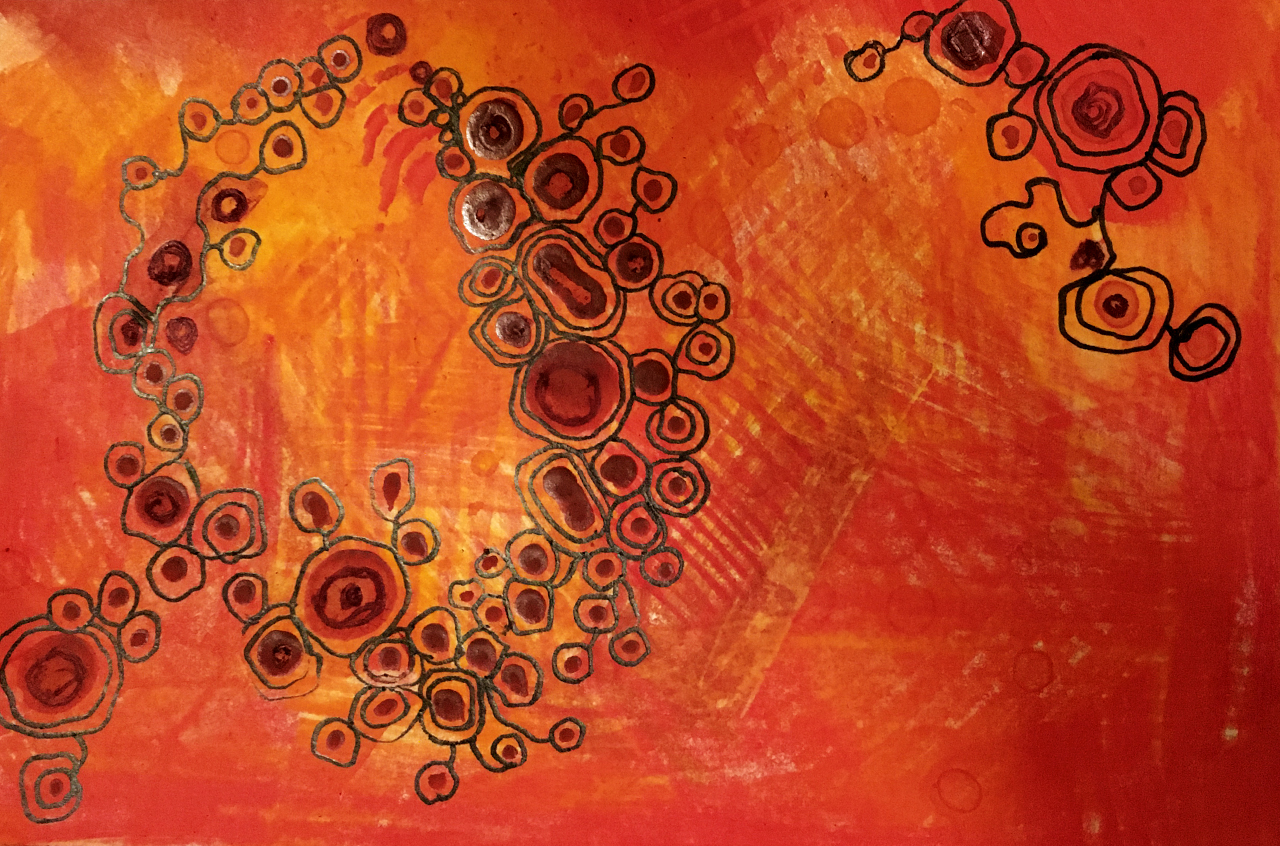
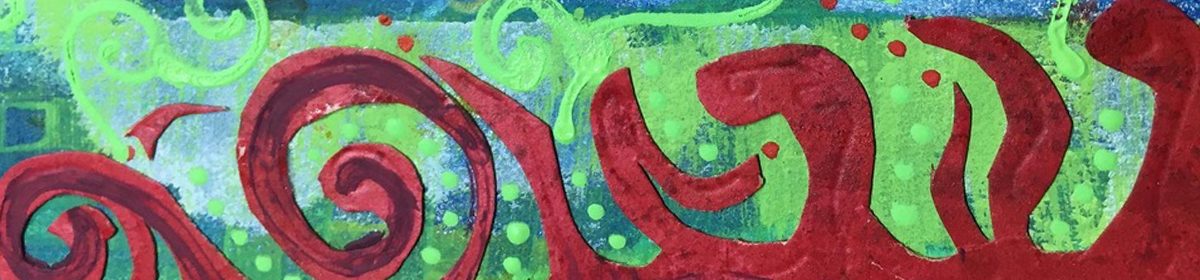
Here’s how I kicked off this year’s 12 color project!
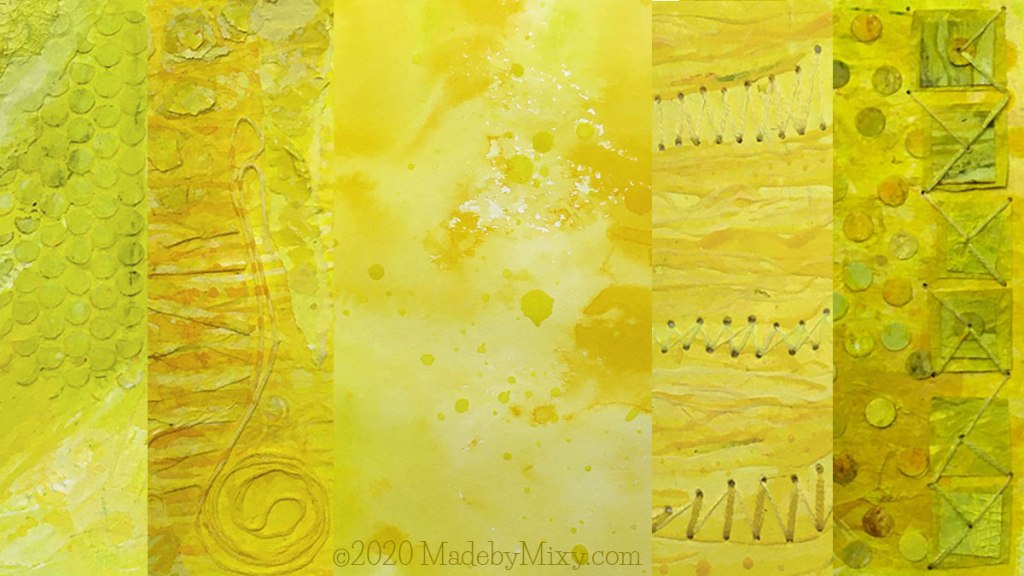
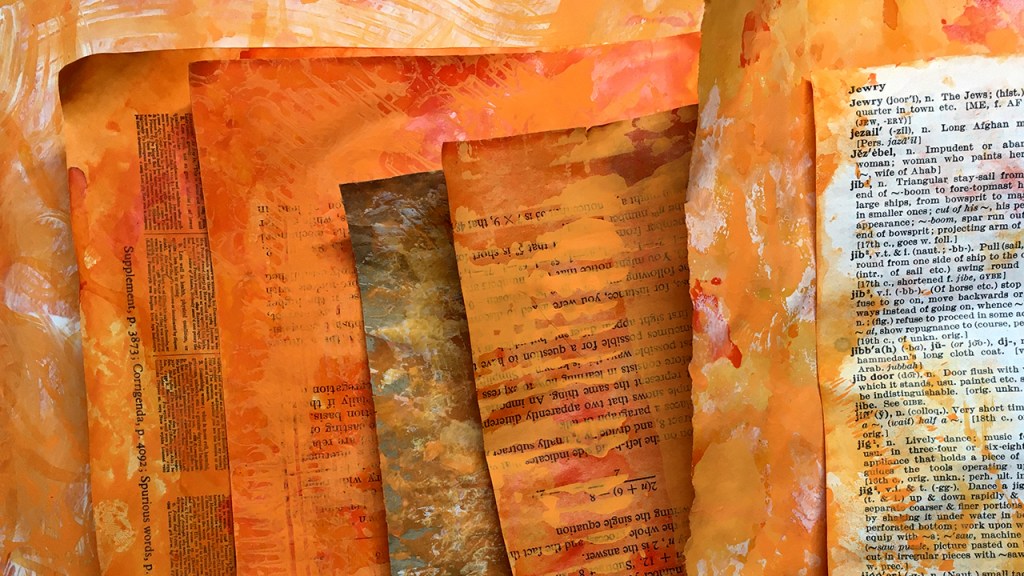
Yellow-ish Page 1
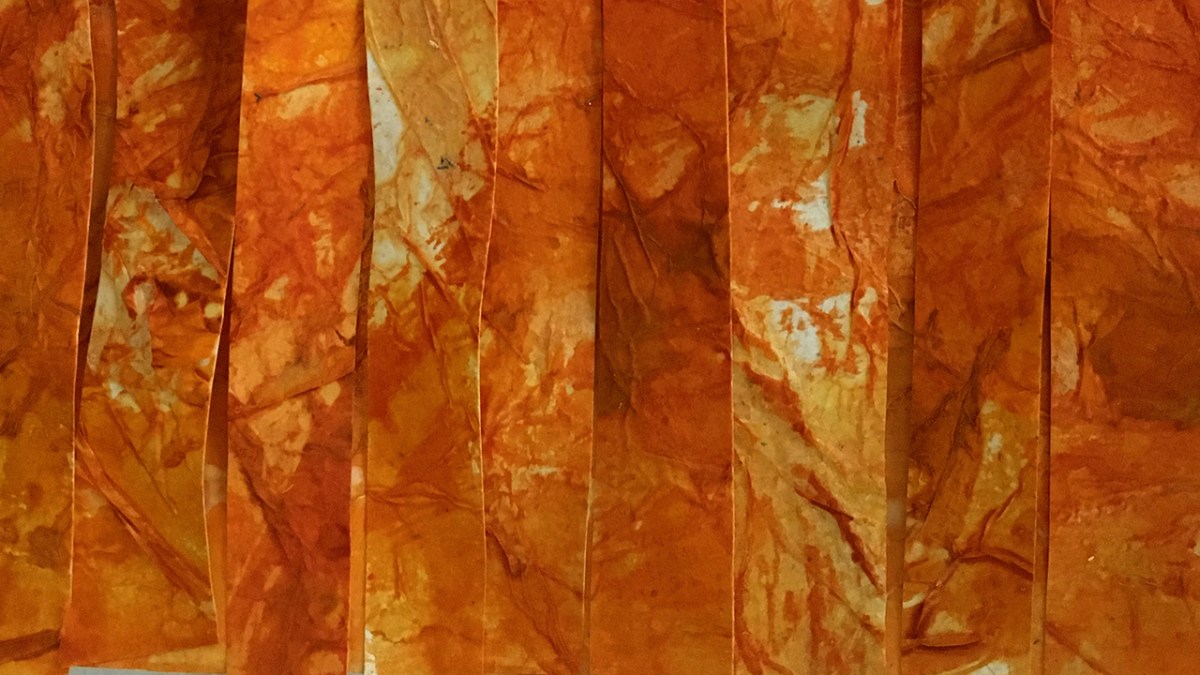
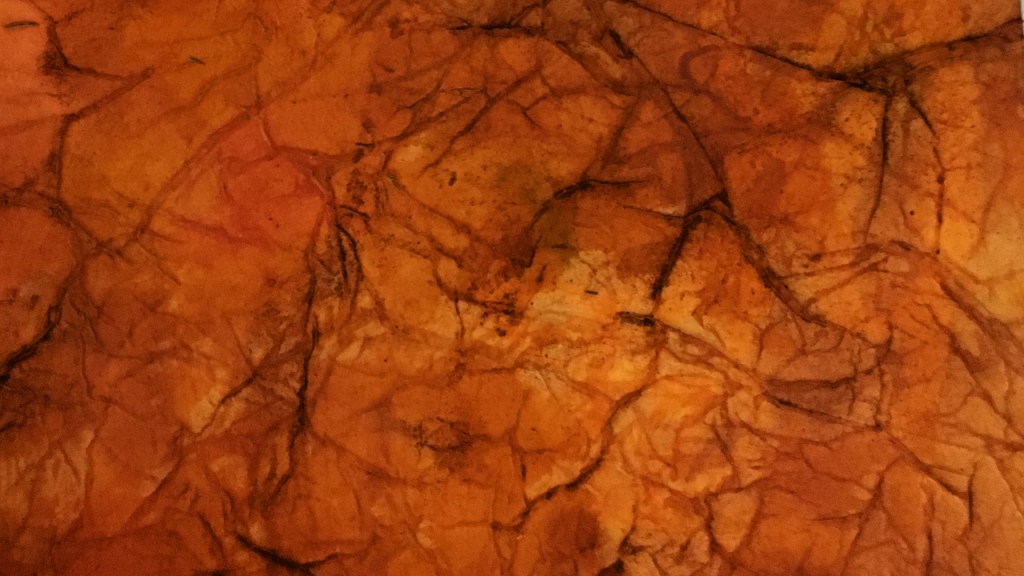
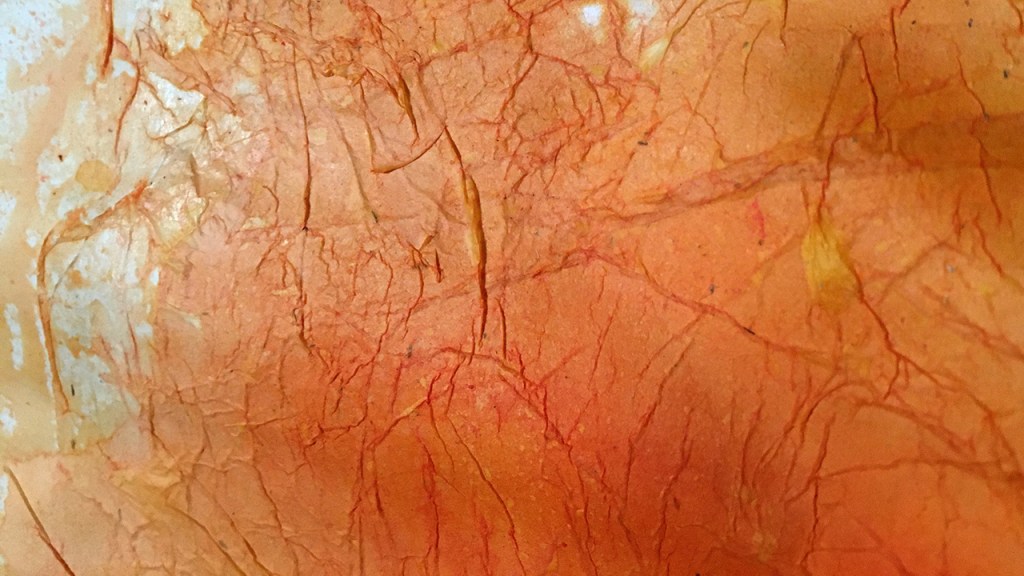
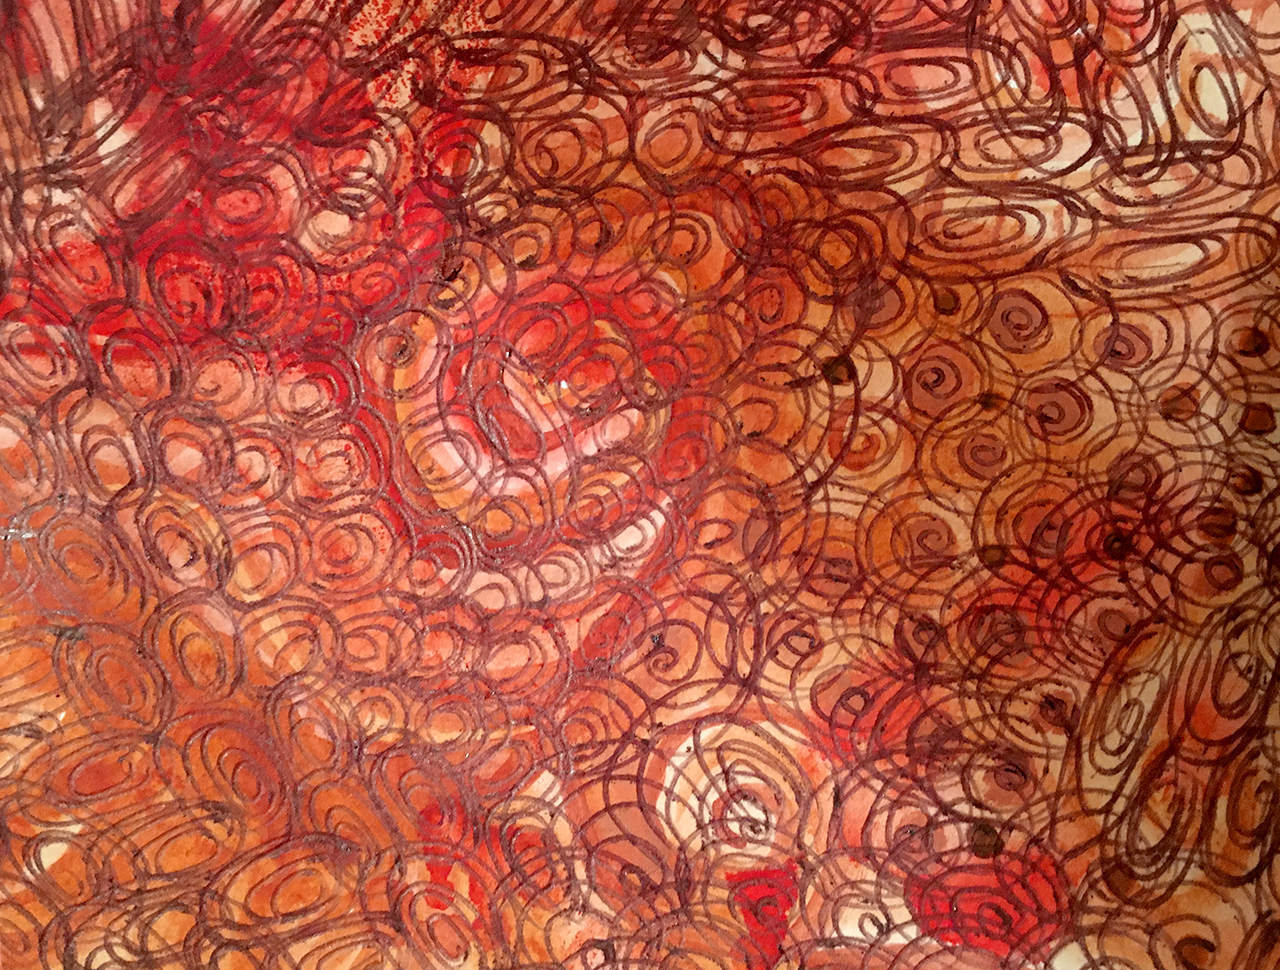
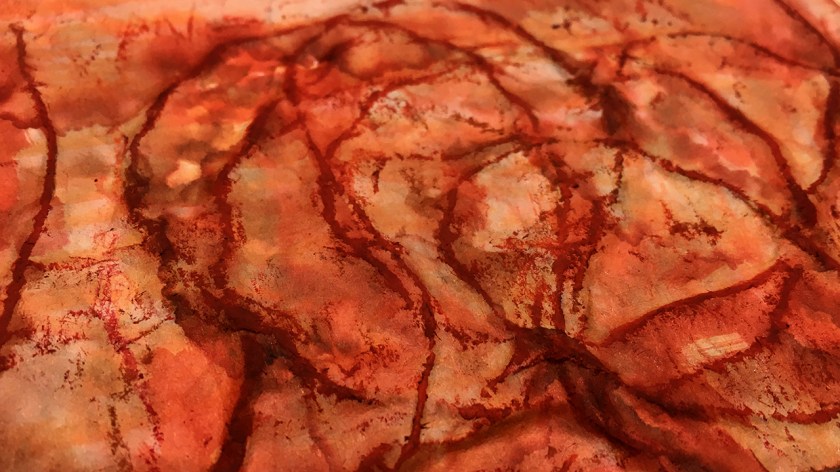
This watercolour paper is handmade and heavily textured, it takes wet media like a dream.
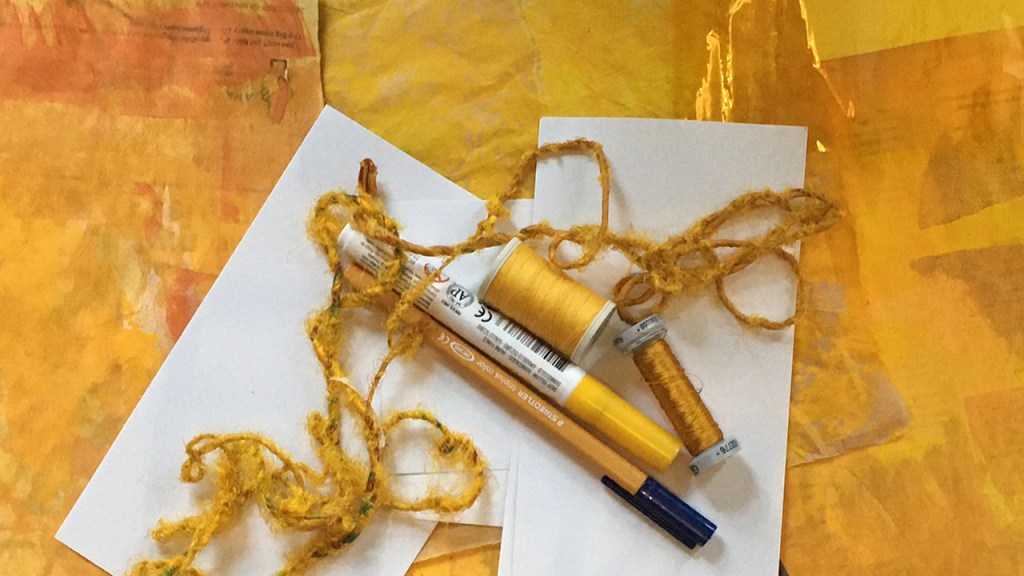
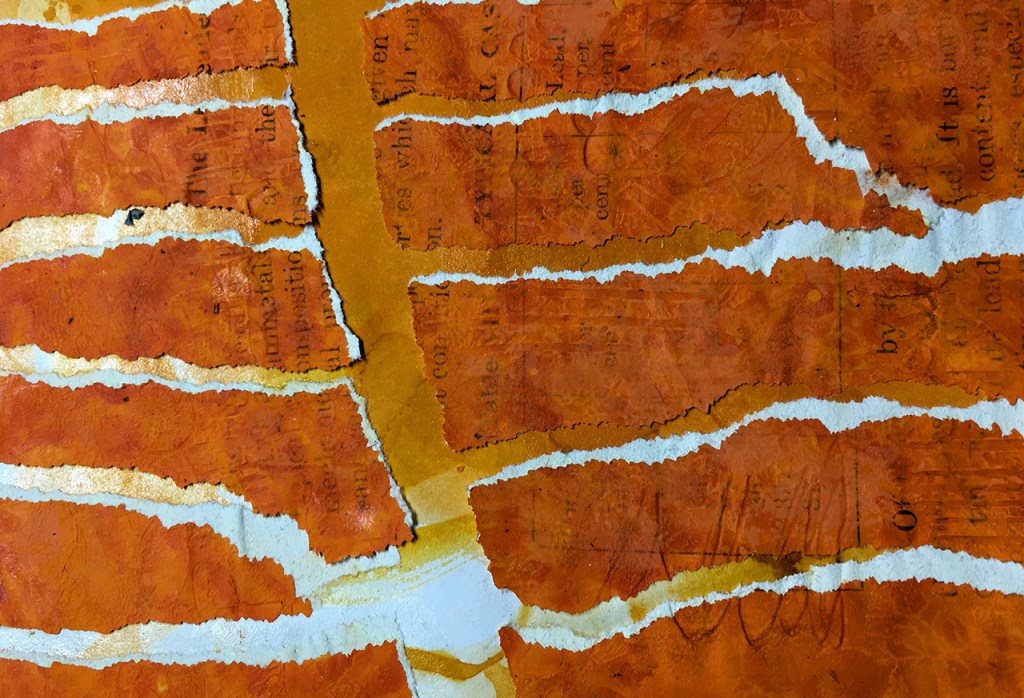
- Starting out with water soluble markers (Tombow, Ecoline)
- Then water soluble pastels (Neocolor II), then water to blend
- Followed by gouache (white, Naples Yellow, Yellow Ochre).
- For a bit of darker contrast I used a fountain pen with a mix of black ink and water.
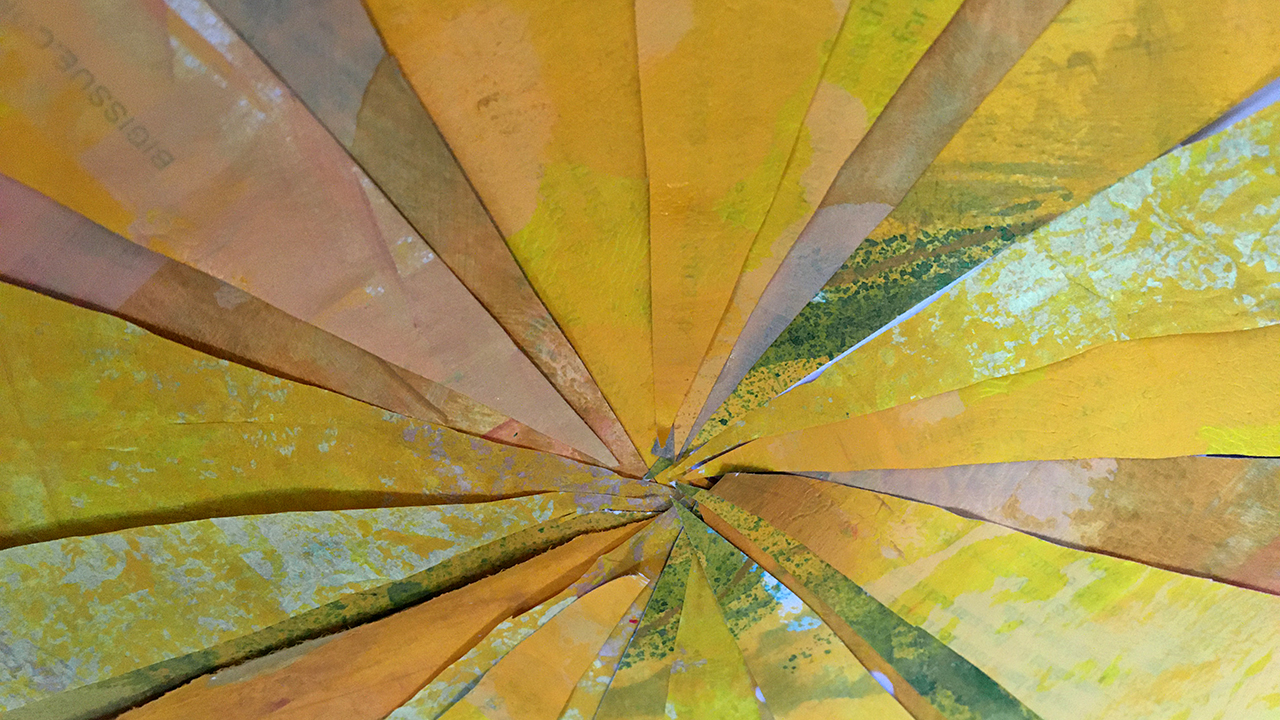
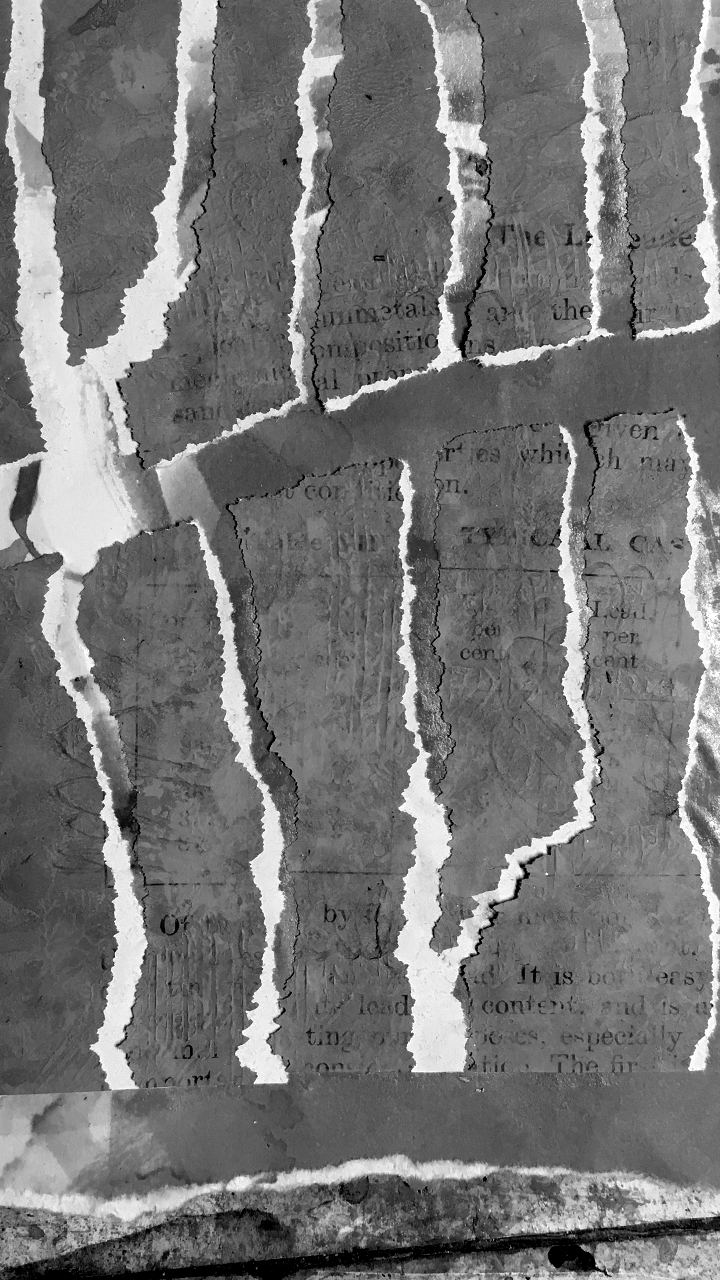
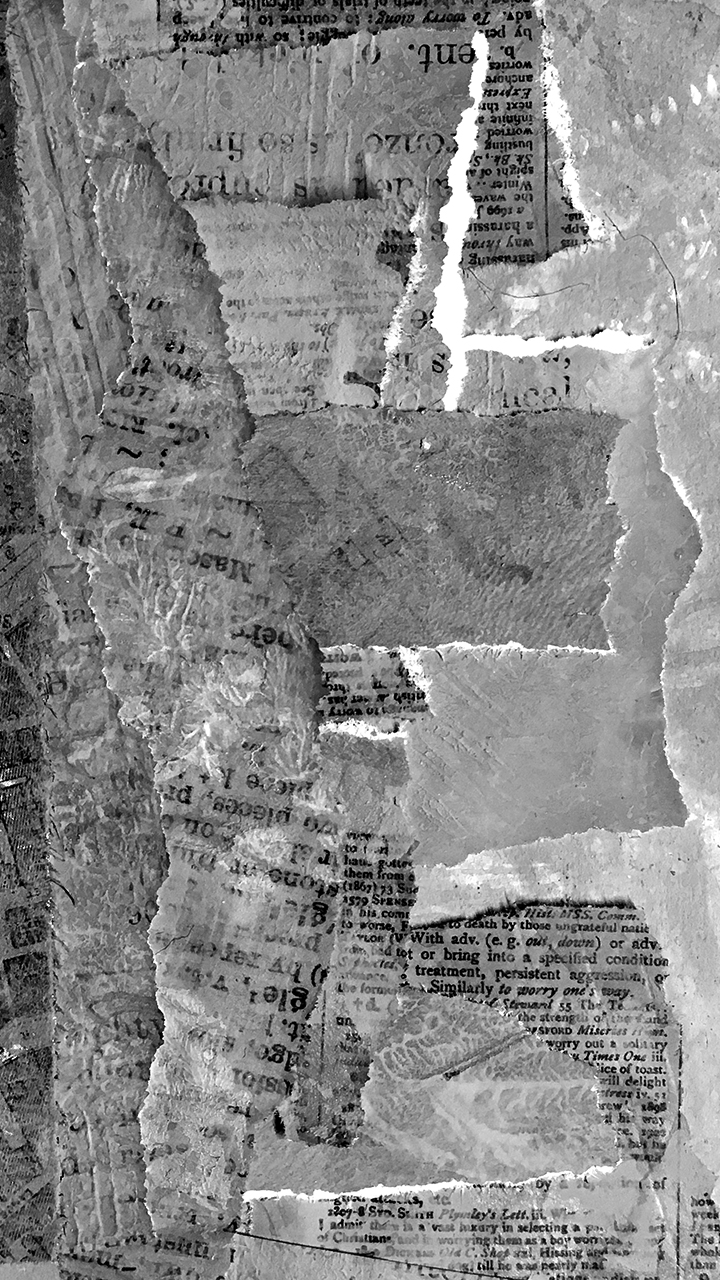
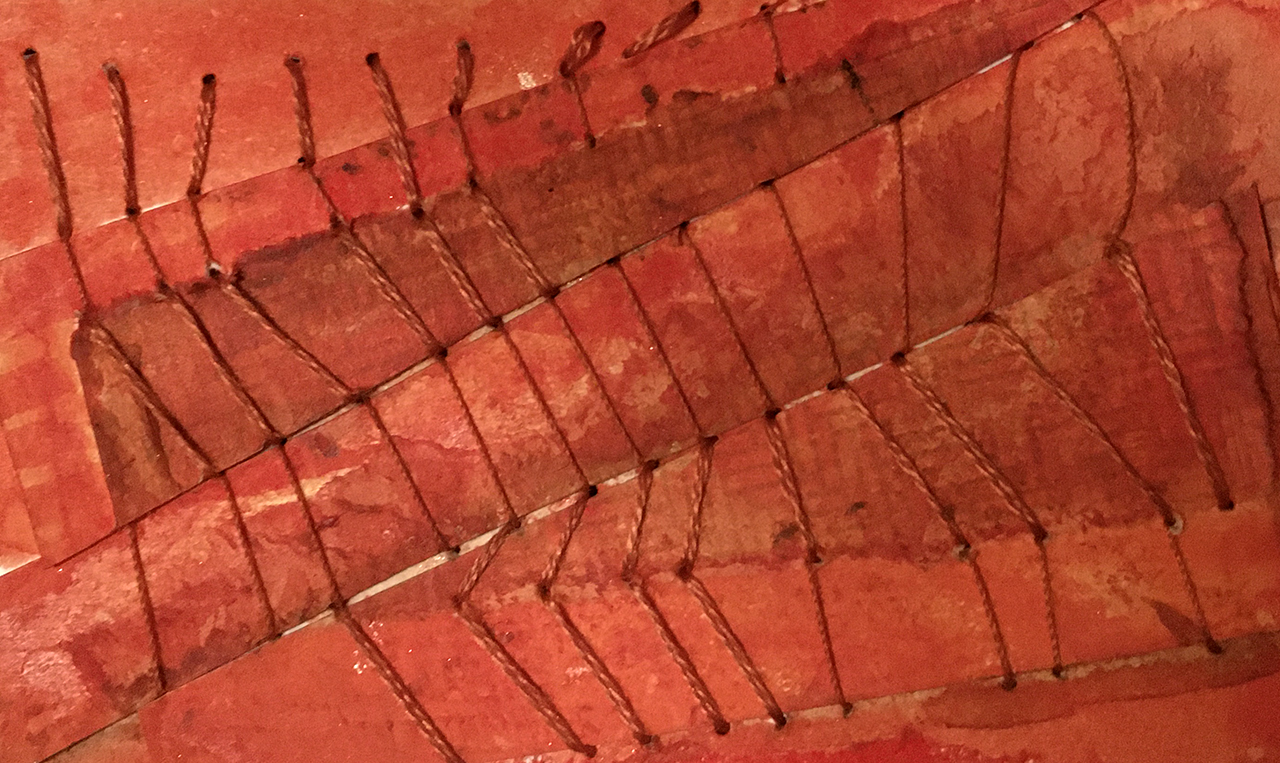
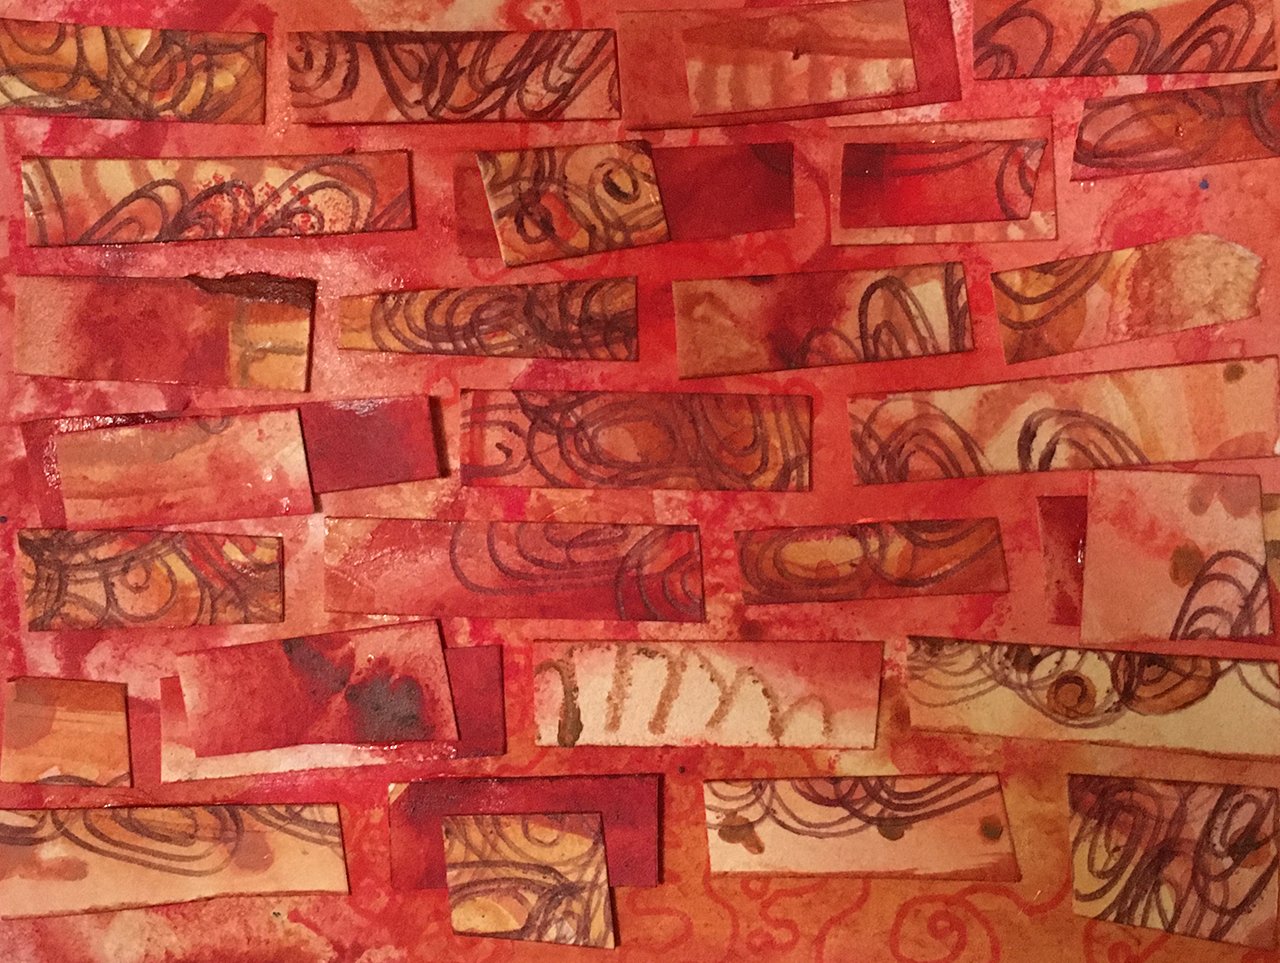
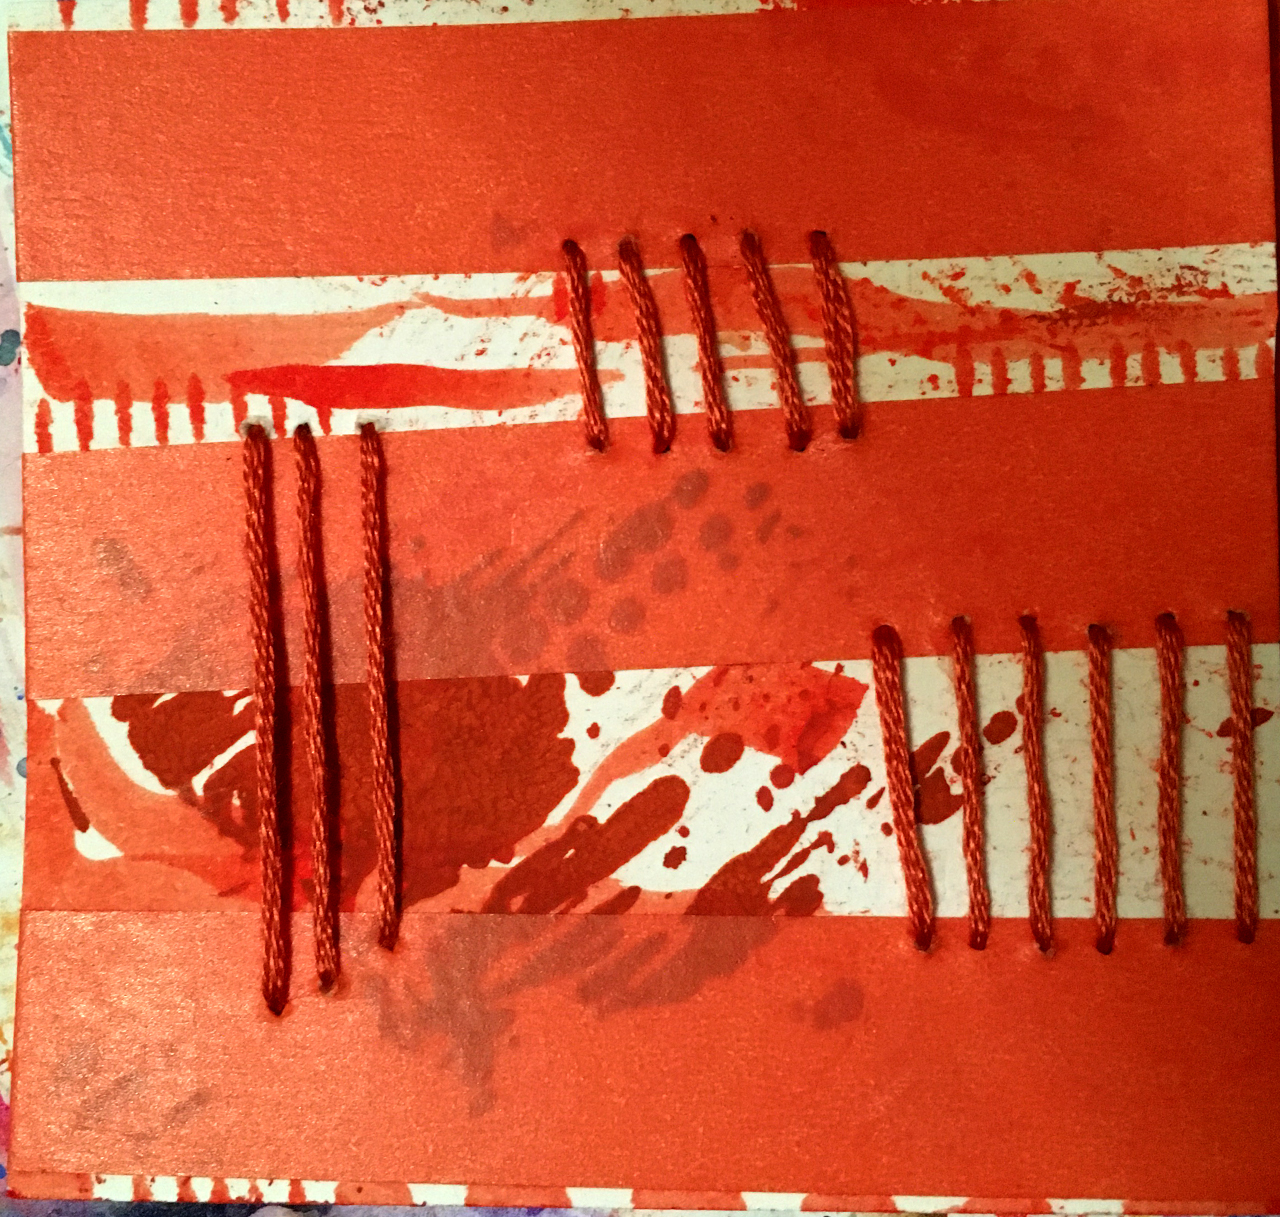
- Water soluble pencil, then some collage pieces.
- Finally highlighting squiggles in gold & yellow marker pen.
More updates soon!
Be first to see where this project leads me next by signing up to my monthly newsletter.
Hi – I’m Mixy!

I’m a mixed media & textile artist from London, UK.
I love to share what I’m making, and I hope it brings some inspiration to your creative time.
You can see what I’m making on this blog, and in these places too
- Insta @mixygregory
- MadebyMixy.com
Join Me!
Get monthly-ish Studio Musings Newsletter.