
Where to begin?
How to begin?
What to begin?
“Start before you’re ready. Don’t prepare. Begin.”
– Steven Pressfield
Beginning before feeling ready seems easiest – in a contrary sort of way – when I’m unencumbered by ideas.
When the muse is nowhere to be seen and all I have is a heap of colors and paper, it’s like the pressure of ‘making something’ has been pushed away.
If nothing good emerges, so what. I’ve usually enjoyed the process, maybe learned something accidentally, maybe not.
And sometimes a seed of magic sprouts forth. Maybe not right away, maybe days or weeks or longer into the future. This happens enough of the time for me to trust it’s always possible.
So far in this year of color I’ve showed you a full start to finish process of some pieces in this collection. In reality though, I rarely make one piece at a time.
Mostly I cycle between few different pieces. I utilise the waiting to dry time, or the I’ve lost all direction moments, when a piece needs to be set aside and left a while. I shuffle my attention to the next piece.
Sometimes it’s a way to stretch and find divergence – I did/used one thing on this piece, now to try a different thing on this one.
Sometimes a common theme develops – like little splashes of water or paint – focussing on one, but spilling across to others (purposefully sometimes, not always). Or I’m so enjoying making – for instance – tiny squiggles that I add them here and there to different pieces until I get bored with that and feel called to make broad stripes, color washes, collage or whateverelse and around I go with that for a time.
If you have scattily erratic leanings like I do – I totally recommend this approach – especially if you like to work fast and furious!
“Start where you are, use what you have, do what you can”
– Arthur Ashe
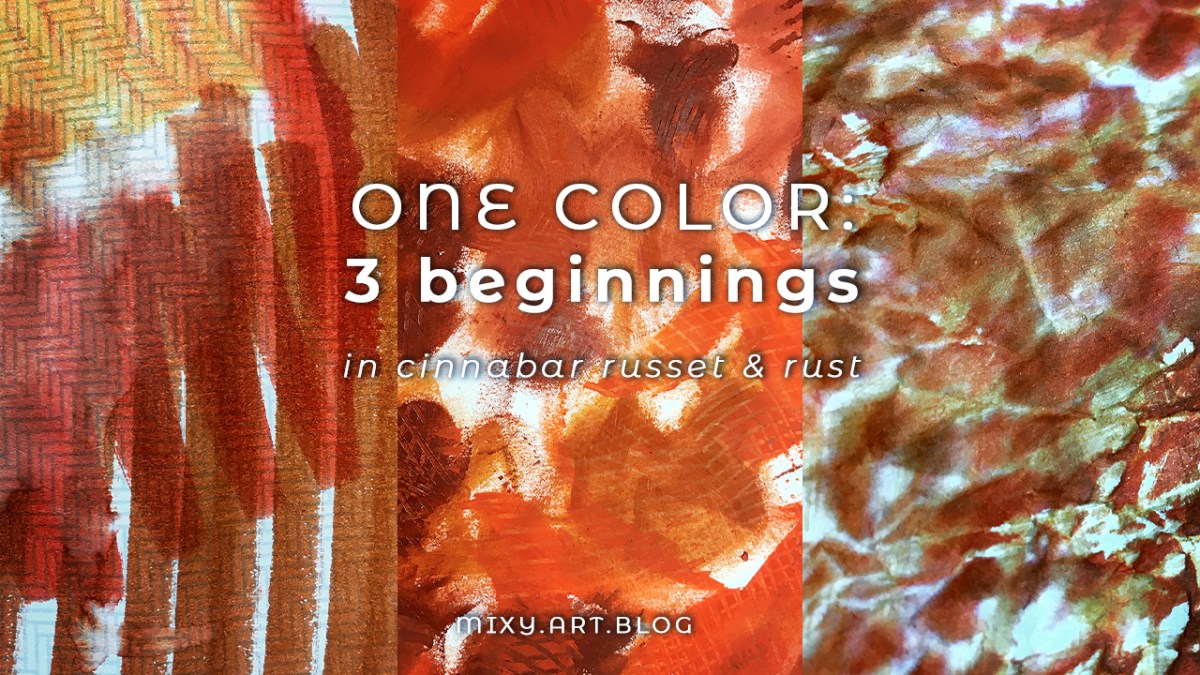
Today – first steps into the realms of Orange-Red – was one such day: here’s what using just what’s on my desk looks like. One color, no particular ideas!
Ingredients:
Papers:
- envelopes foraged from the recycling pile (love those geometric patterns printed inside)
- packing paper – this is the thin stuff, a lot like newsprint
- mixed media paper – heavy weight, great for thick paint layers.
Colors:
- water soluble markers: letraset aqua marker & ecoline brush pens
- craft acrylic paints
Techniques:
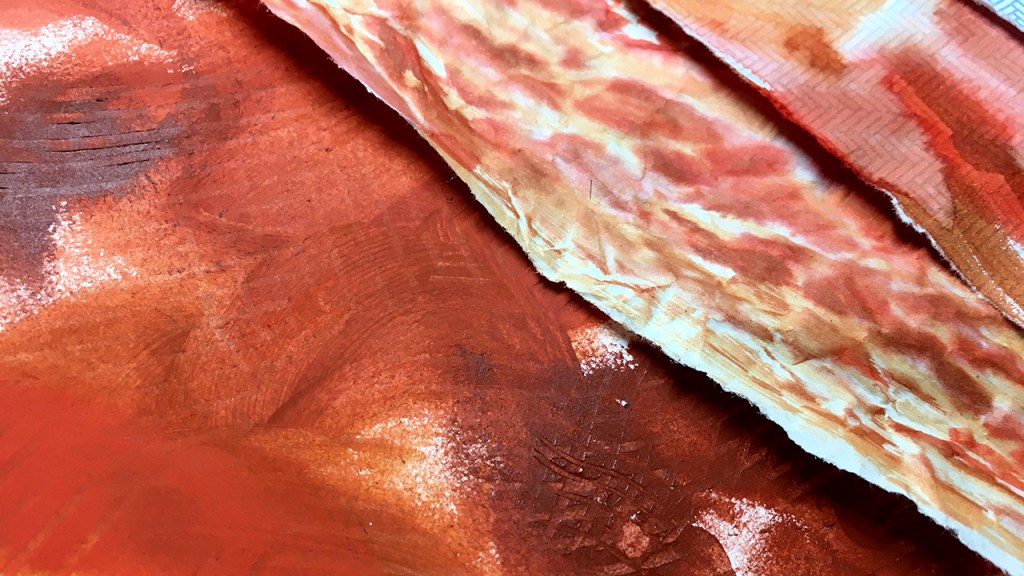
- scribbling across overlapping papers – switching directions – random marks to fill white space with color.
- water drips & splashes on water-soluble ink – move color around.
- scrumpling up paper – lightly brushing color on to catch the texture.
- acrylic craft paint directly onto mixed media paper – finger painting with non dominant hand- smudge, smear, mark making with a comb.
I gave myself 20 minutes or so to play and to see what early stage ideas would come up. Then to put all this away for a few days, and look at it with fresh eyes and develop the next layers [which you can see in my next post coming very soon!]
Here’s how today’s creating came together.
“Twelvty” 12 Colors in 12 Months
Every month this year I am making a series of mixed media pieces in just one color. At the end of the year I’ll combine them into one big multicolored work.
I’m sharing my process throughout this adventure here in this blog. (So far this year I’ve explored Yellow, Yellow-Green, Green, Blue-Green, Blue, Violet-Blue, Violet, Red-Violet & Red)
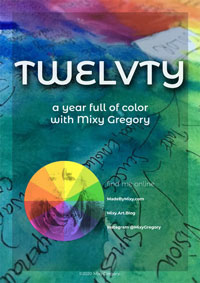
I’d love for you to join me. TWELVTY is open to everyone, and better yet, it’s free!
Sign up for my newsletter to find out more and get your free TWELVTY guide ebook.

2 thoughts on “1 color: 3 beginnings”