100 tiny paintings

If you follow my Instagrammings, you’ll have seen some cryptic posts about my *secret project*. It’s time to let the cat out of the bag…

This year’s entry to the Brooklyn Art Library’s sketchbook project is a little different.

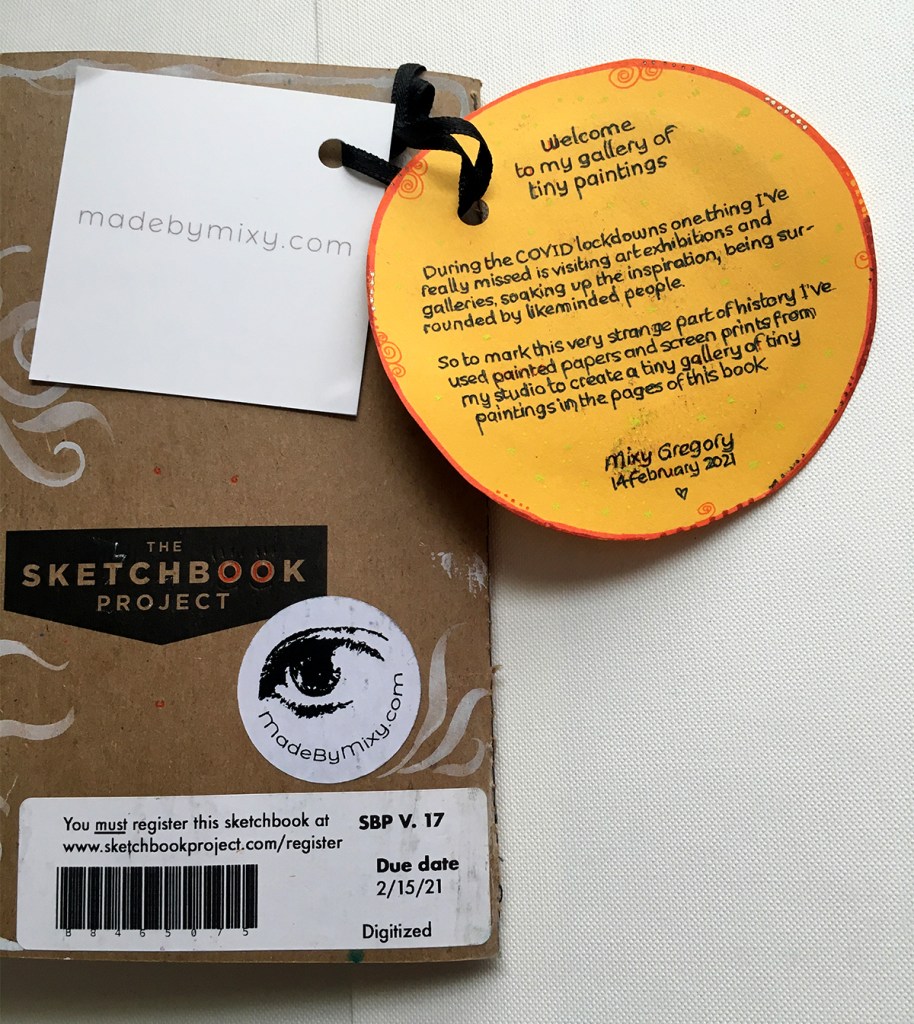
During the COVID lockdowns one thing I’ve really missed is visiting art exhibitions and galleries, soaking up the inspiration, being surrounded by likeminded people.

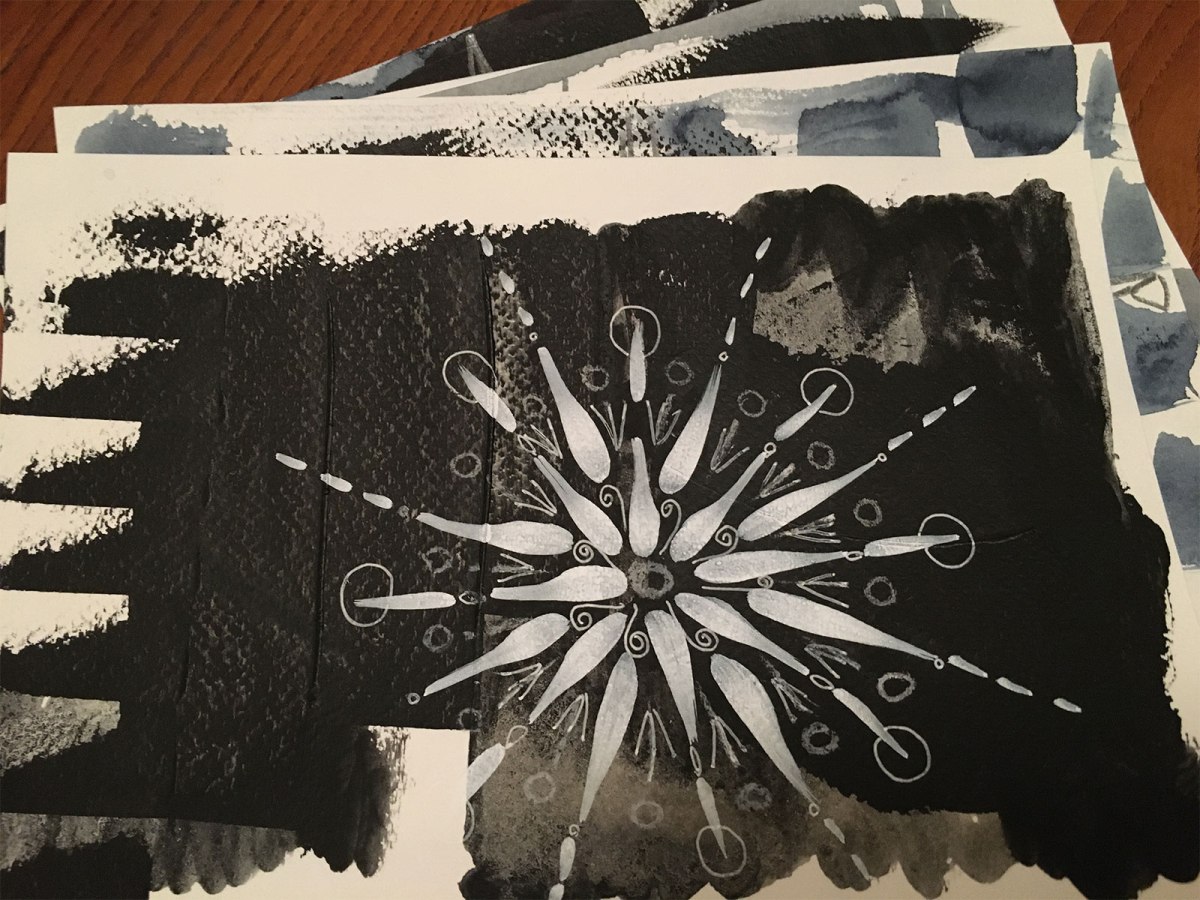
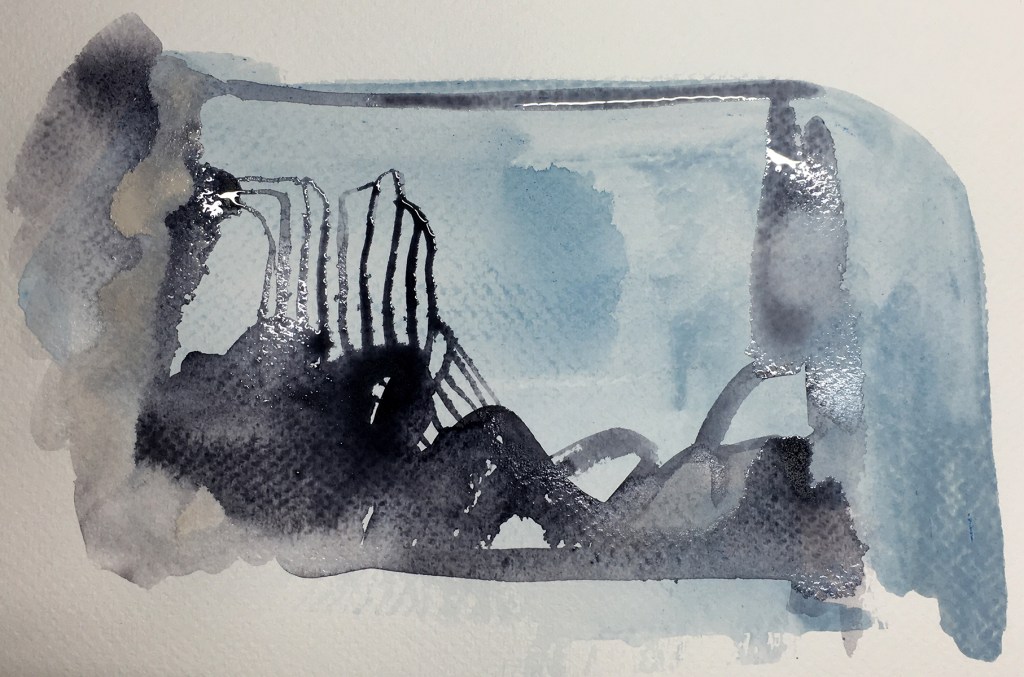
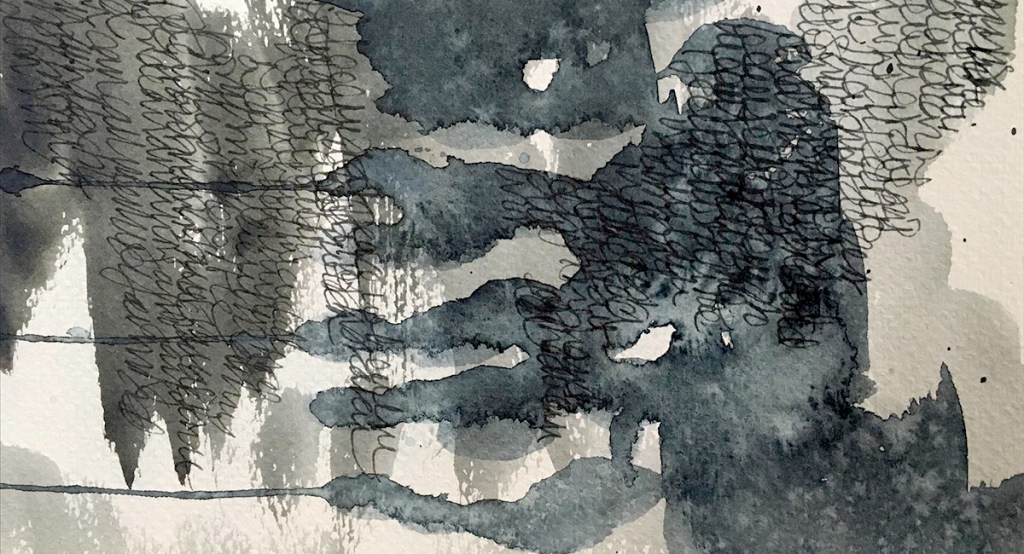
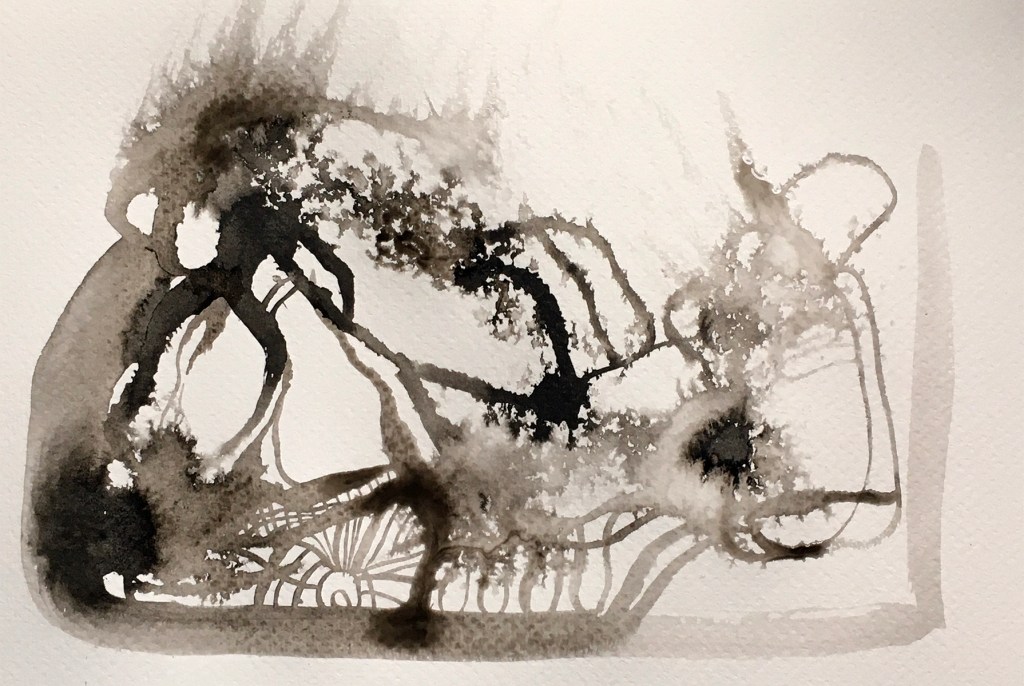
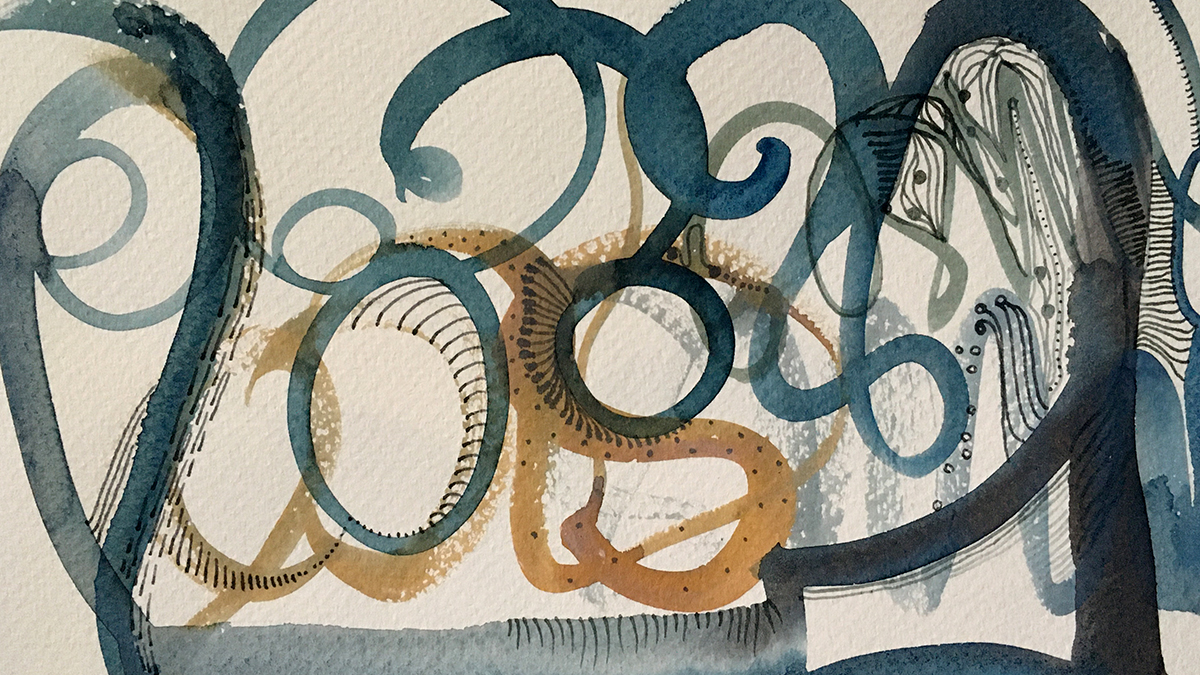
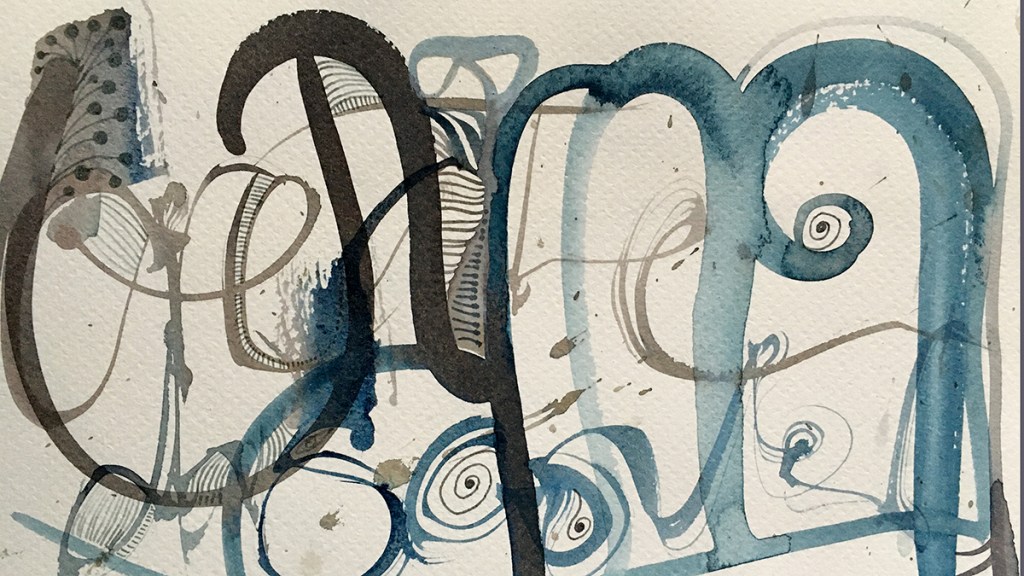
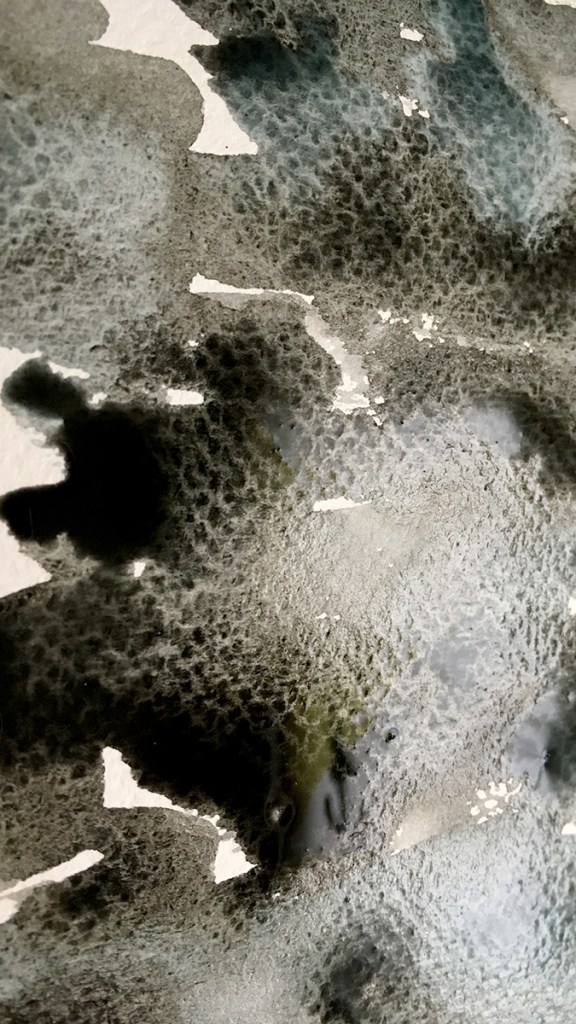
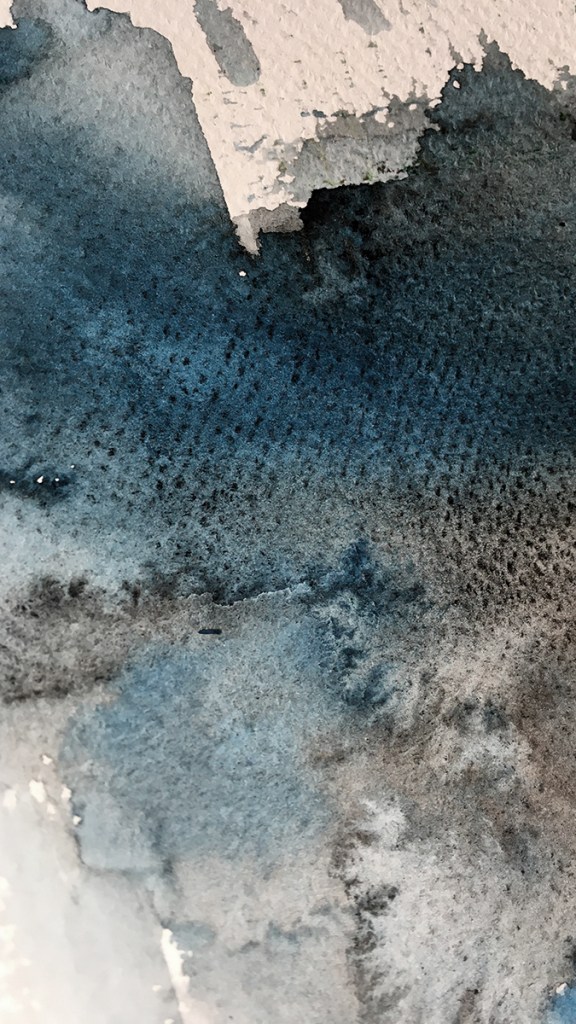
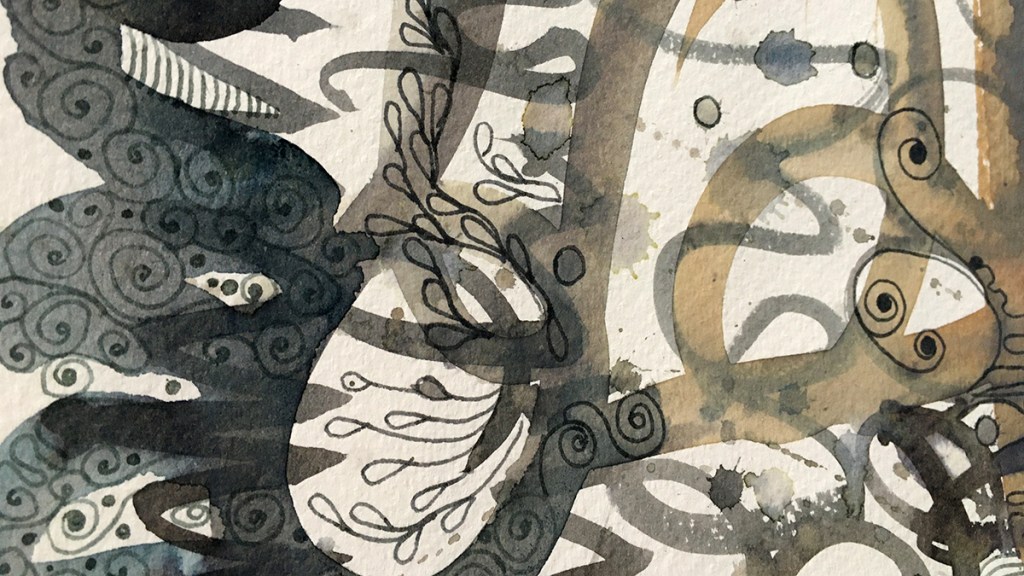
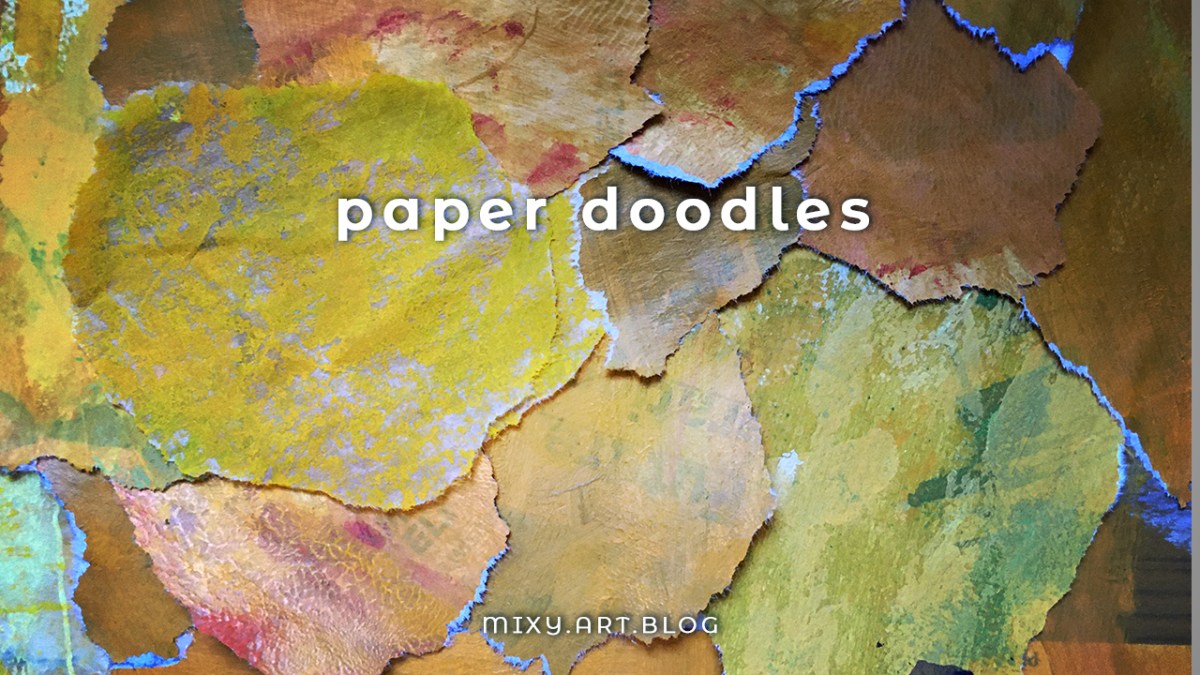
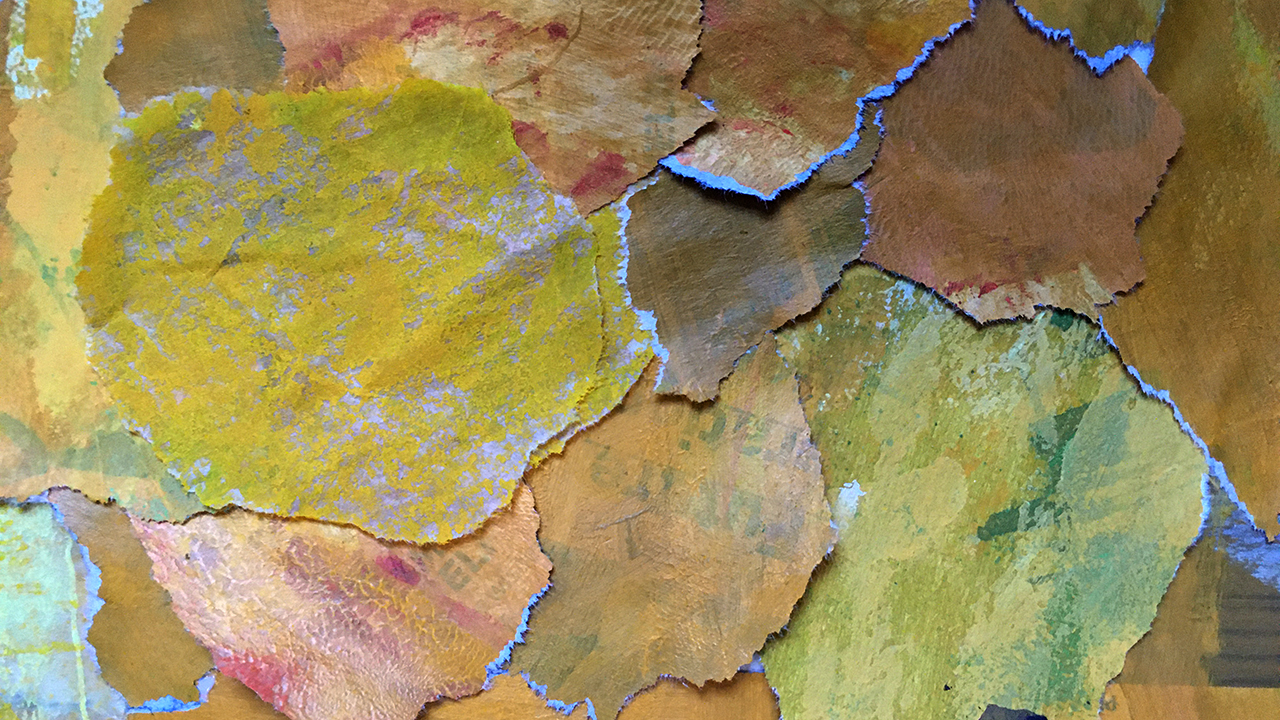
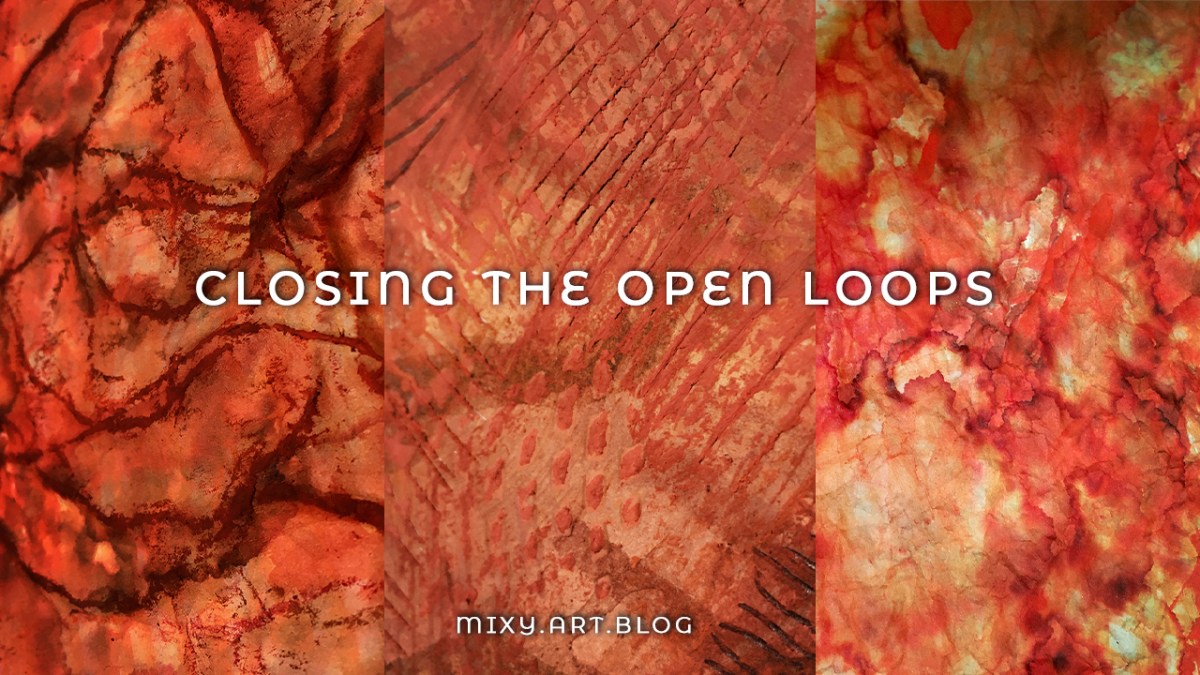
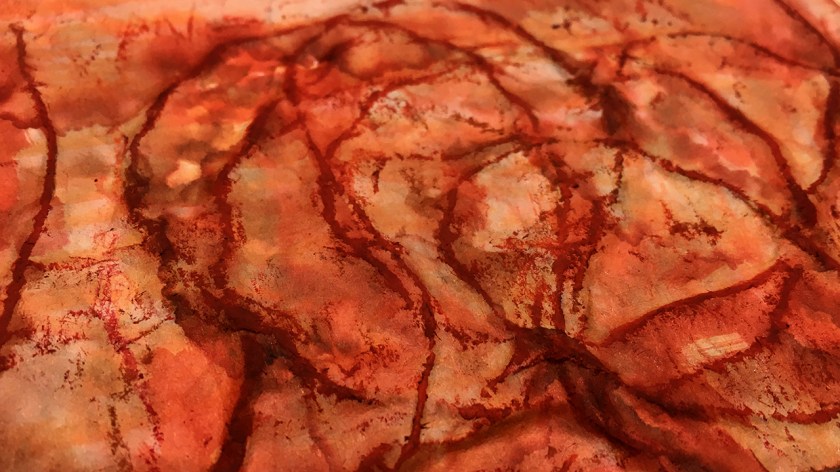
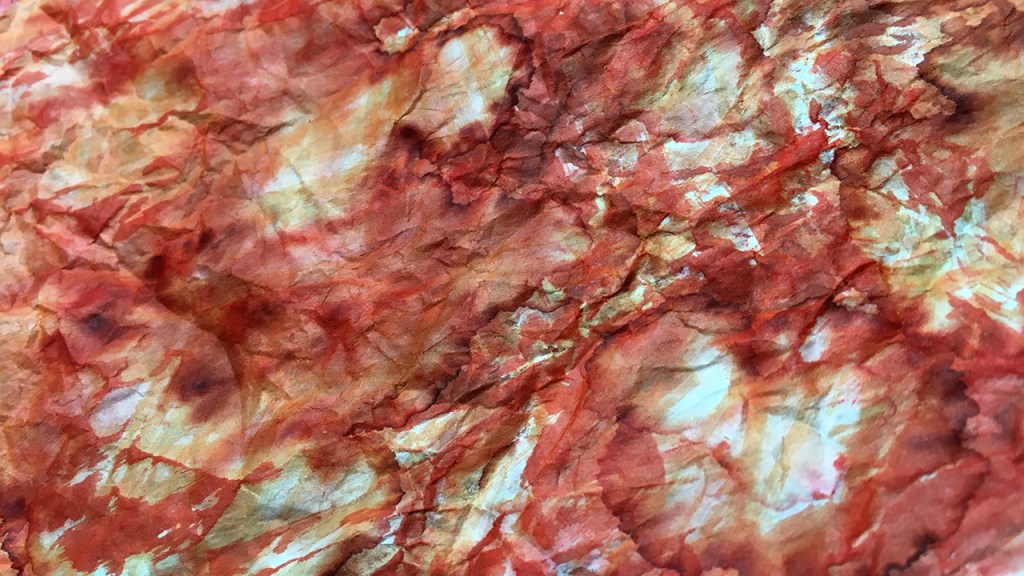
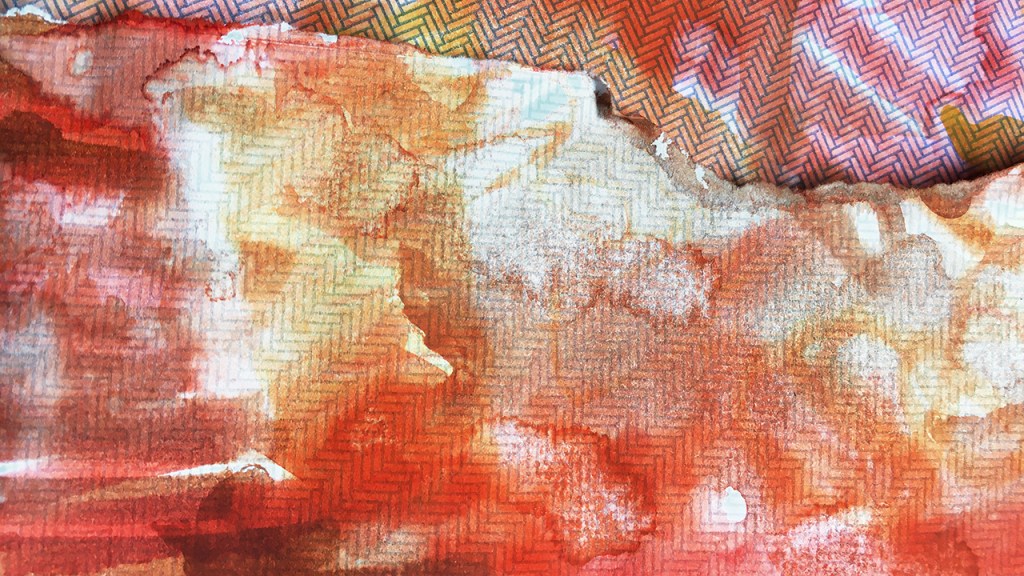
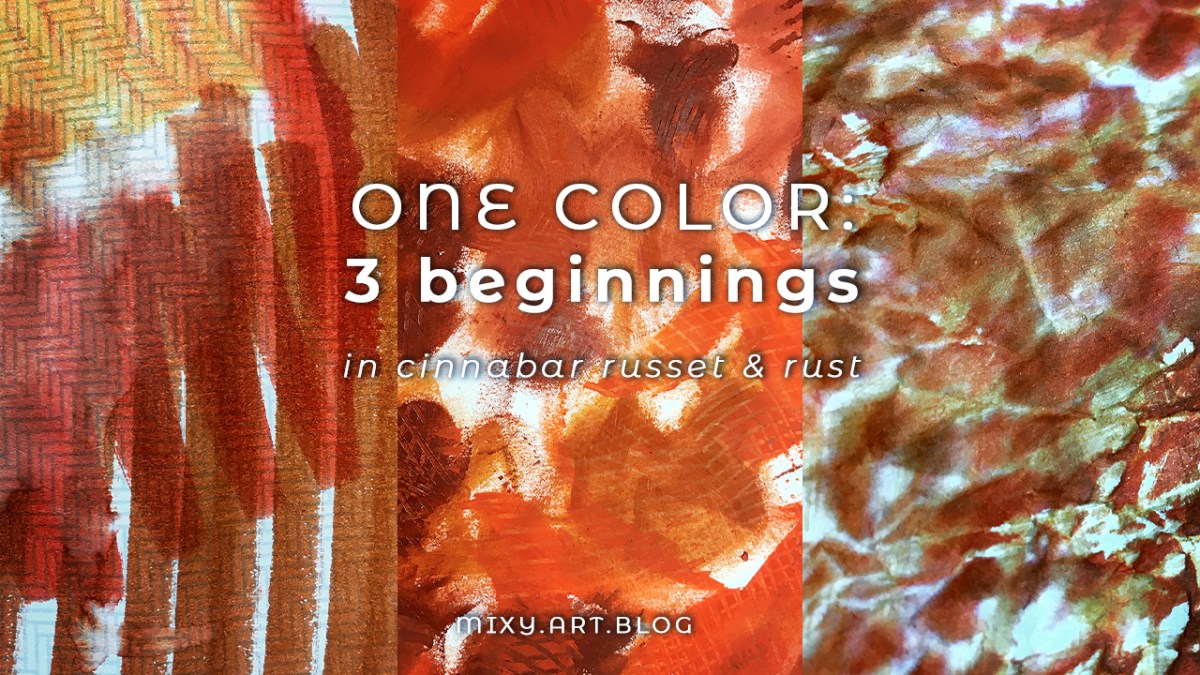
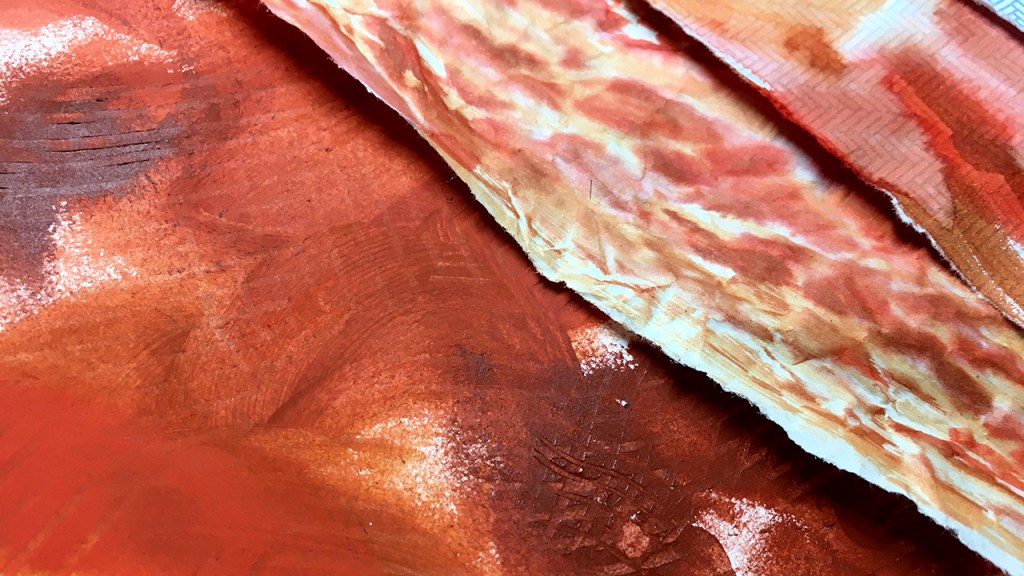
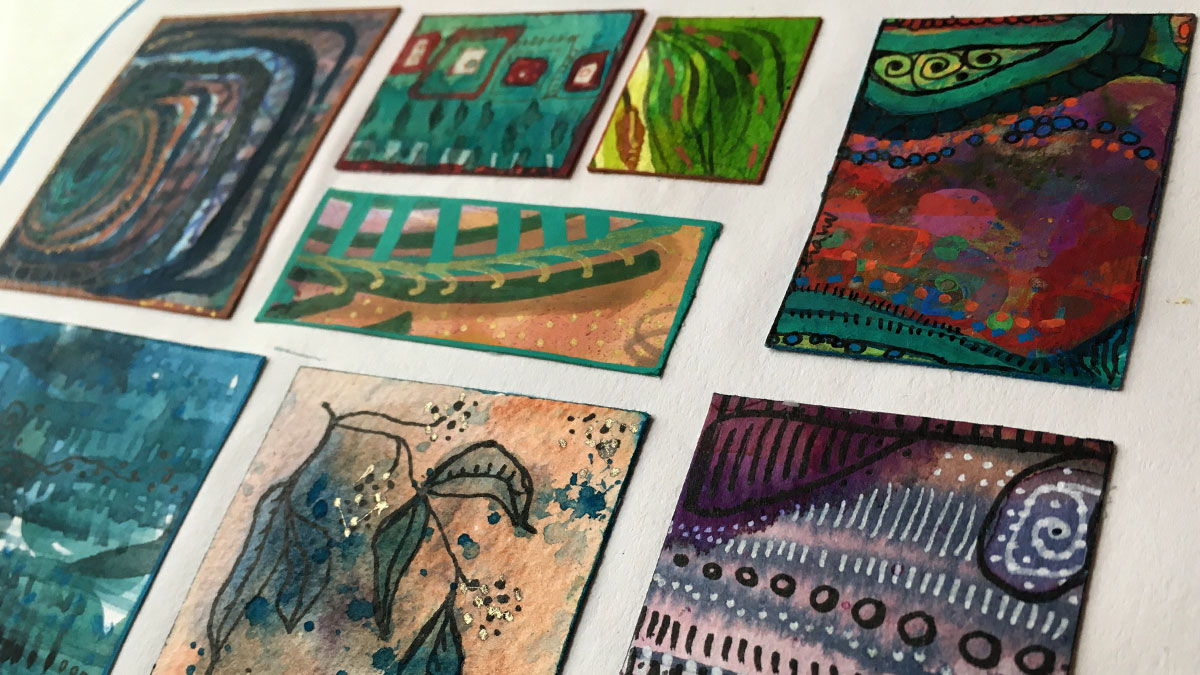
So to mark this very strange part of history I’ve used painted papers and screen prints from my studio to create a tiny gallery of tiny paintings in the pages of this book.

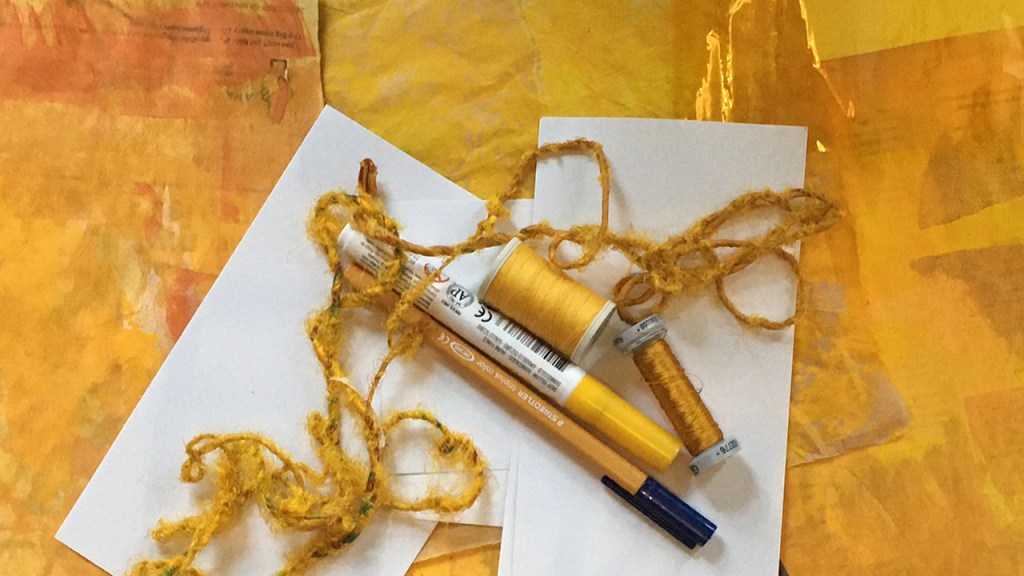
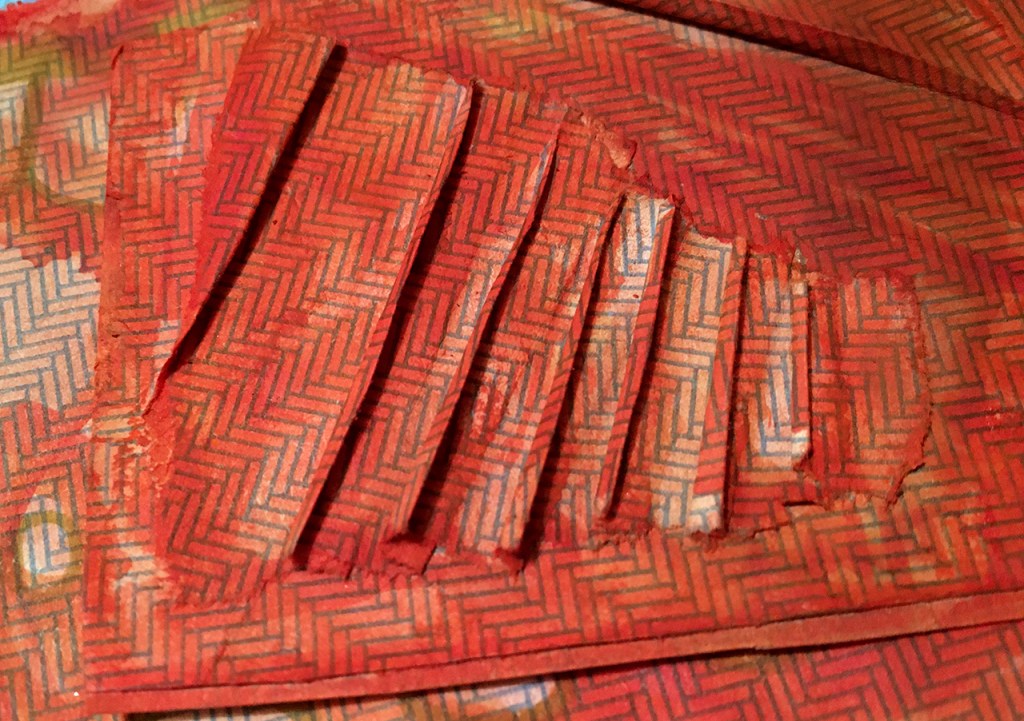
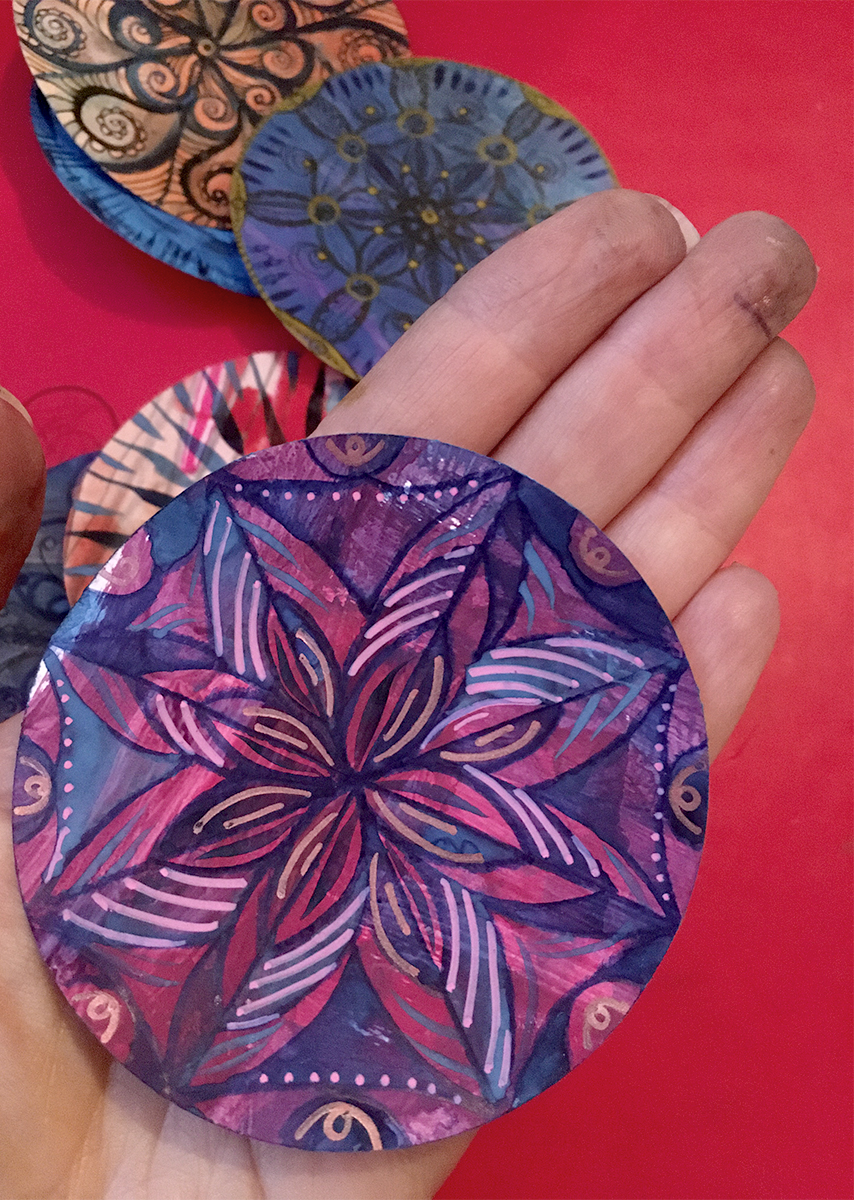
I began by cutting small pieces from the papers I chose and developing the shapes and colours I had as a starting point to make each individual tiny painting.

They range in size between less than an inch to maybe 3 inches at the largest.

100 tiny paintings in progress

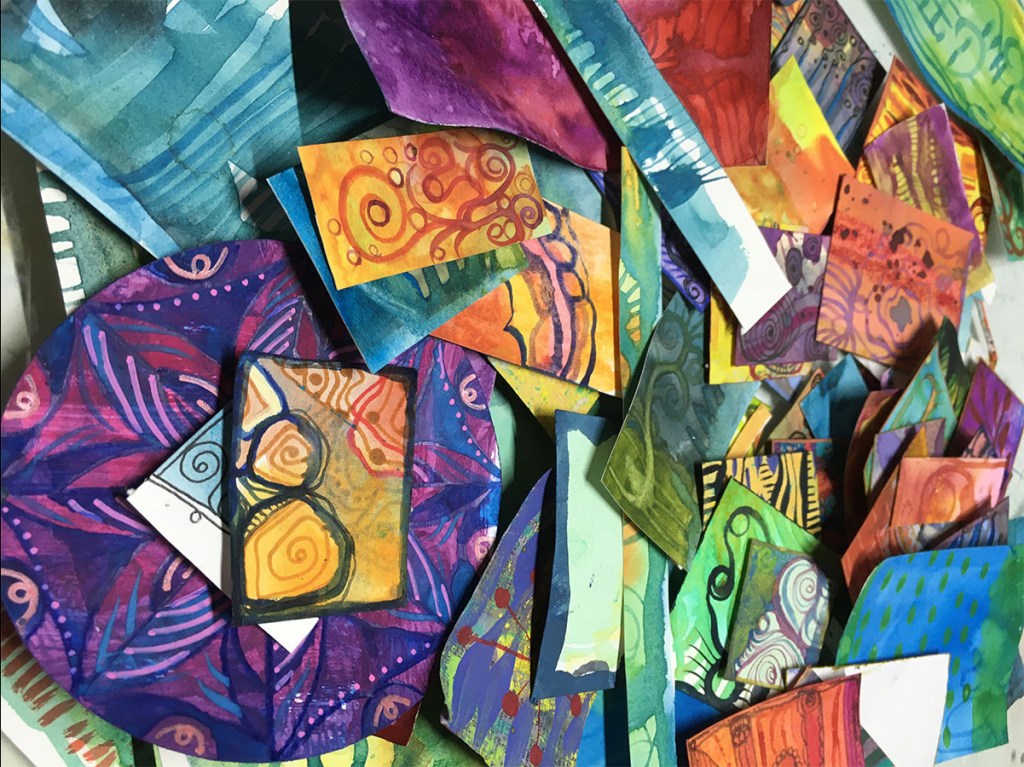
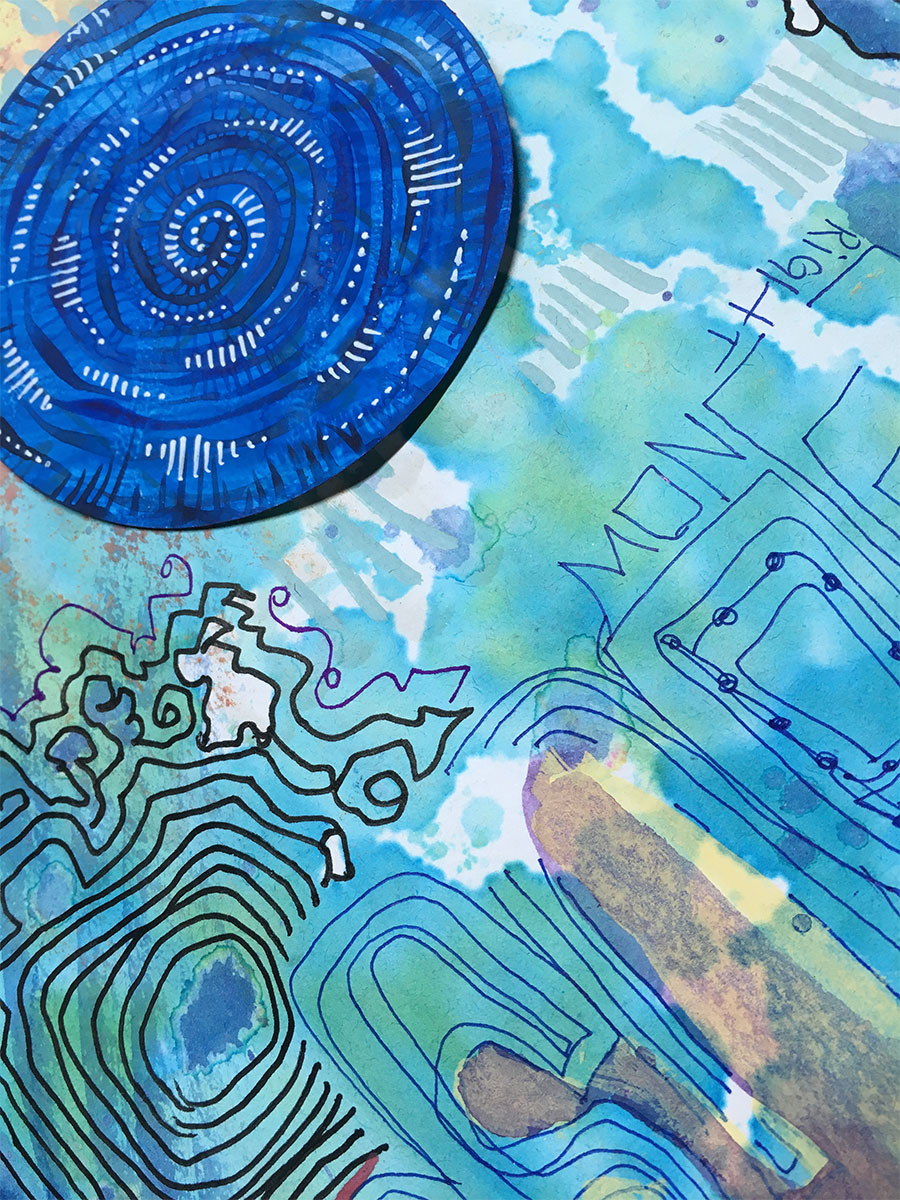
Naturally, the journey from start to finish took a few diversions on the way.


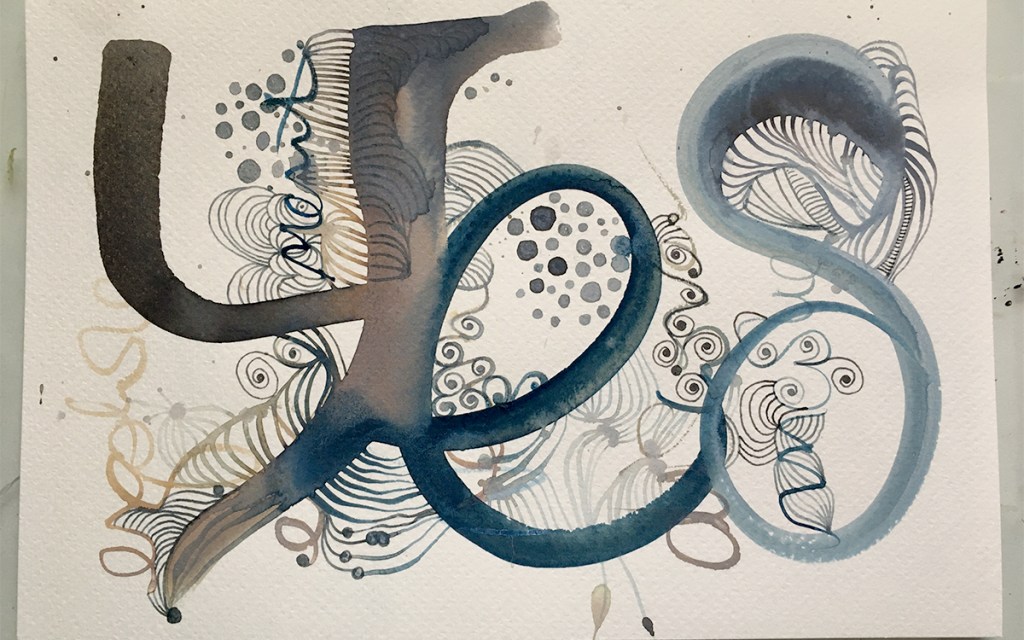
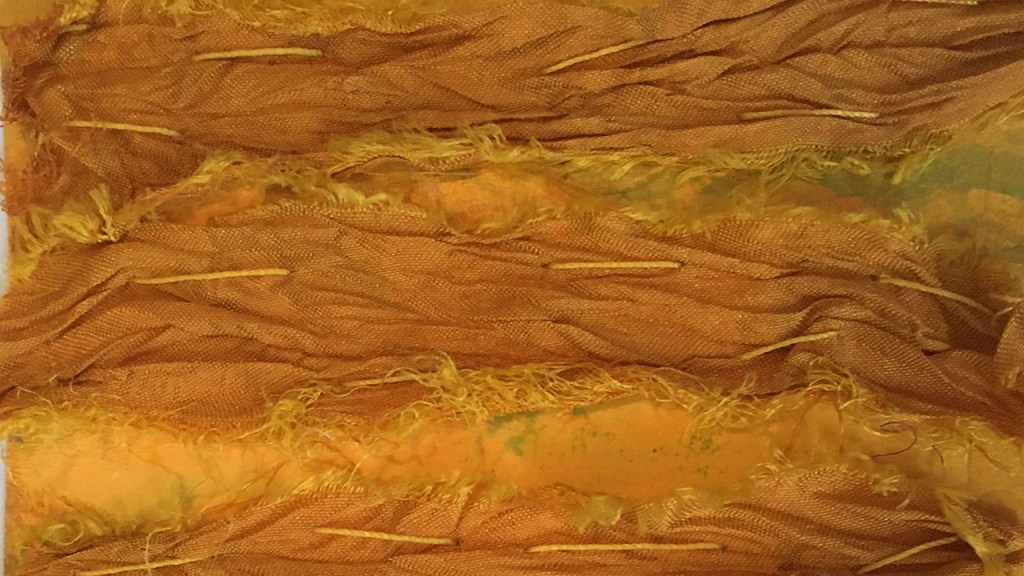
I considered stitching them into patchworked pages.

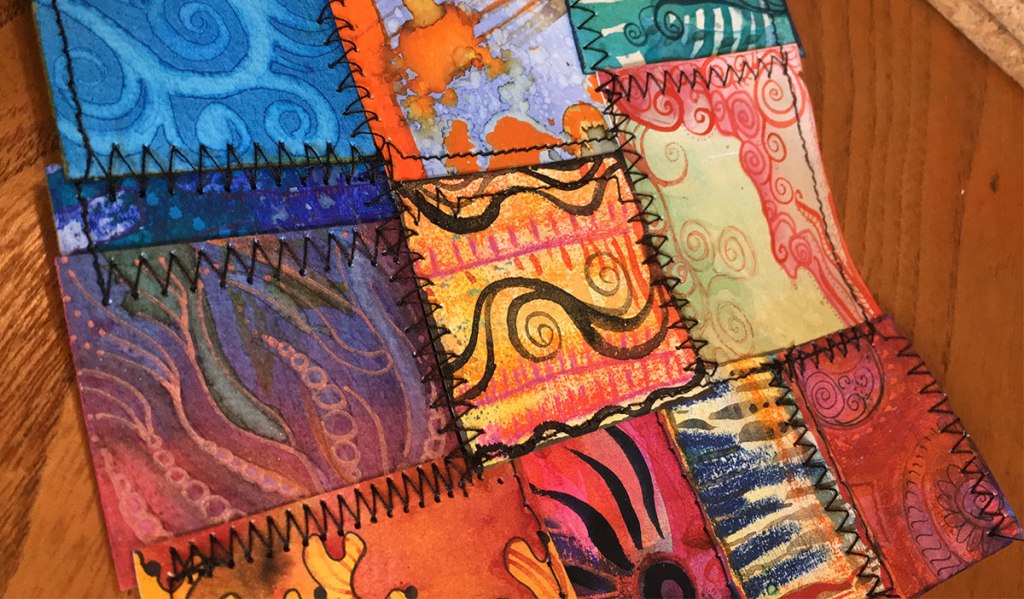
I like the effect of doing this, but went back to the ‘gallery’ idea. I’ll circle around to this idea another time.

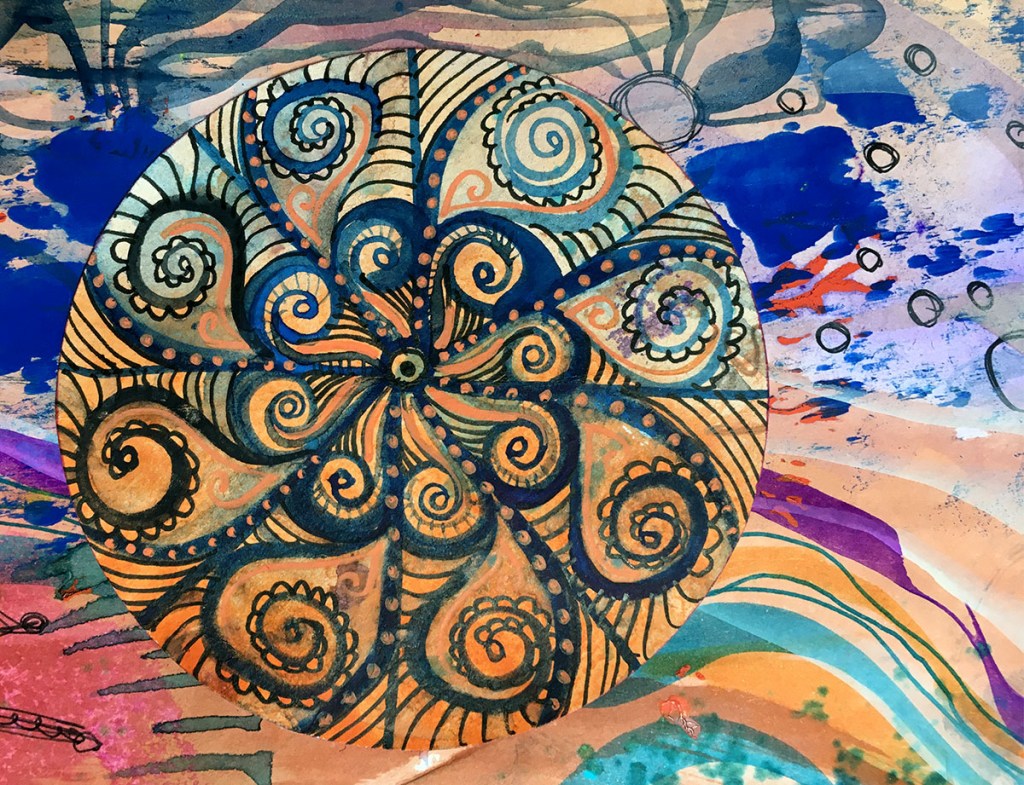
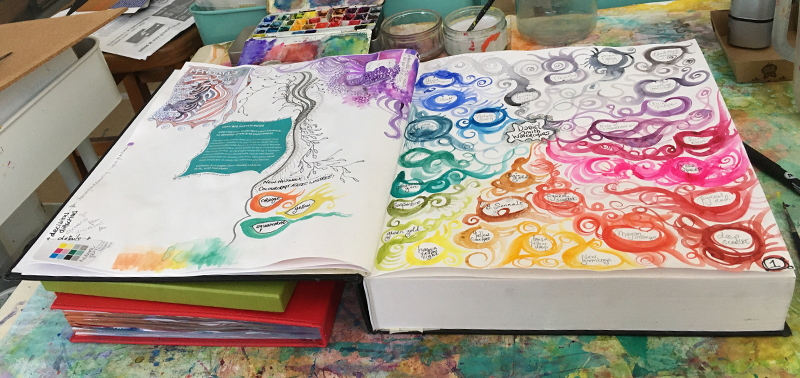
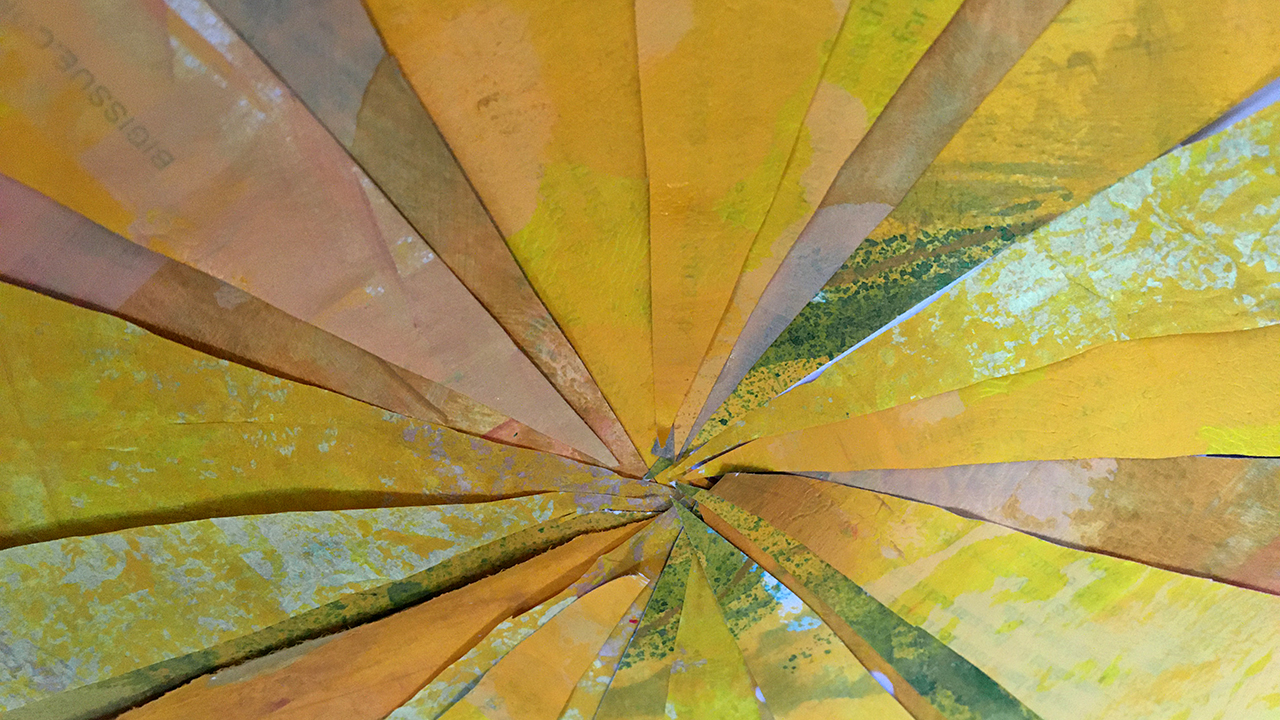
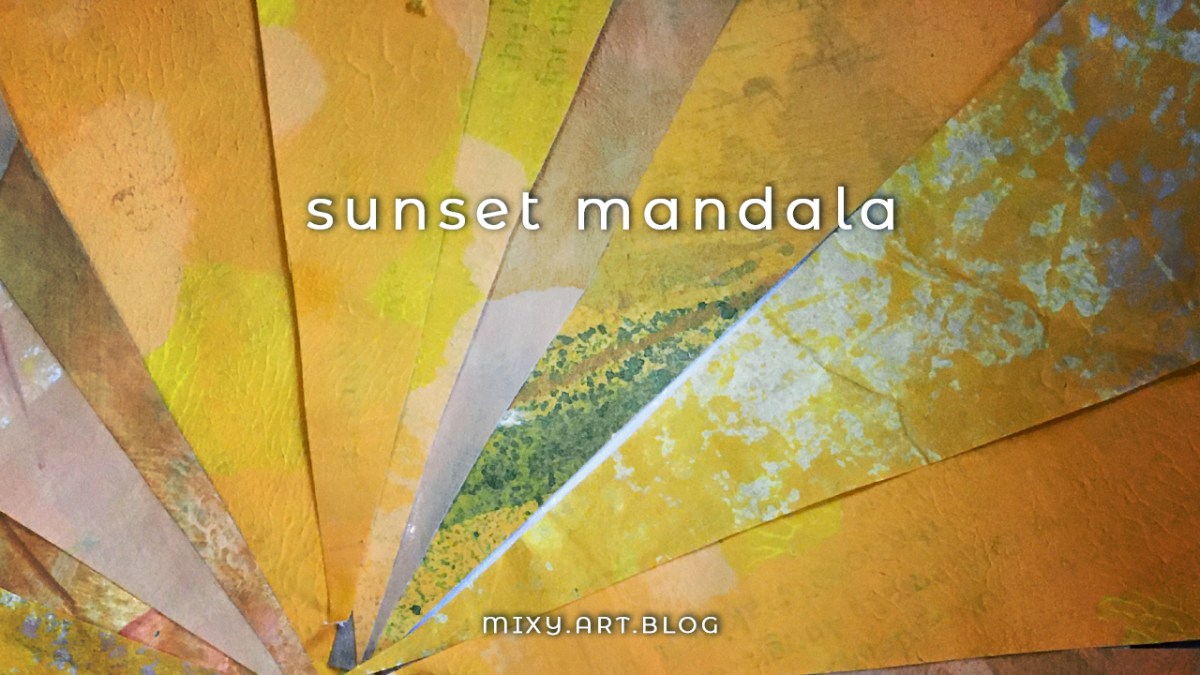
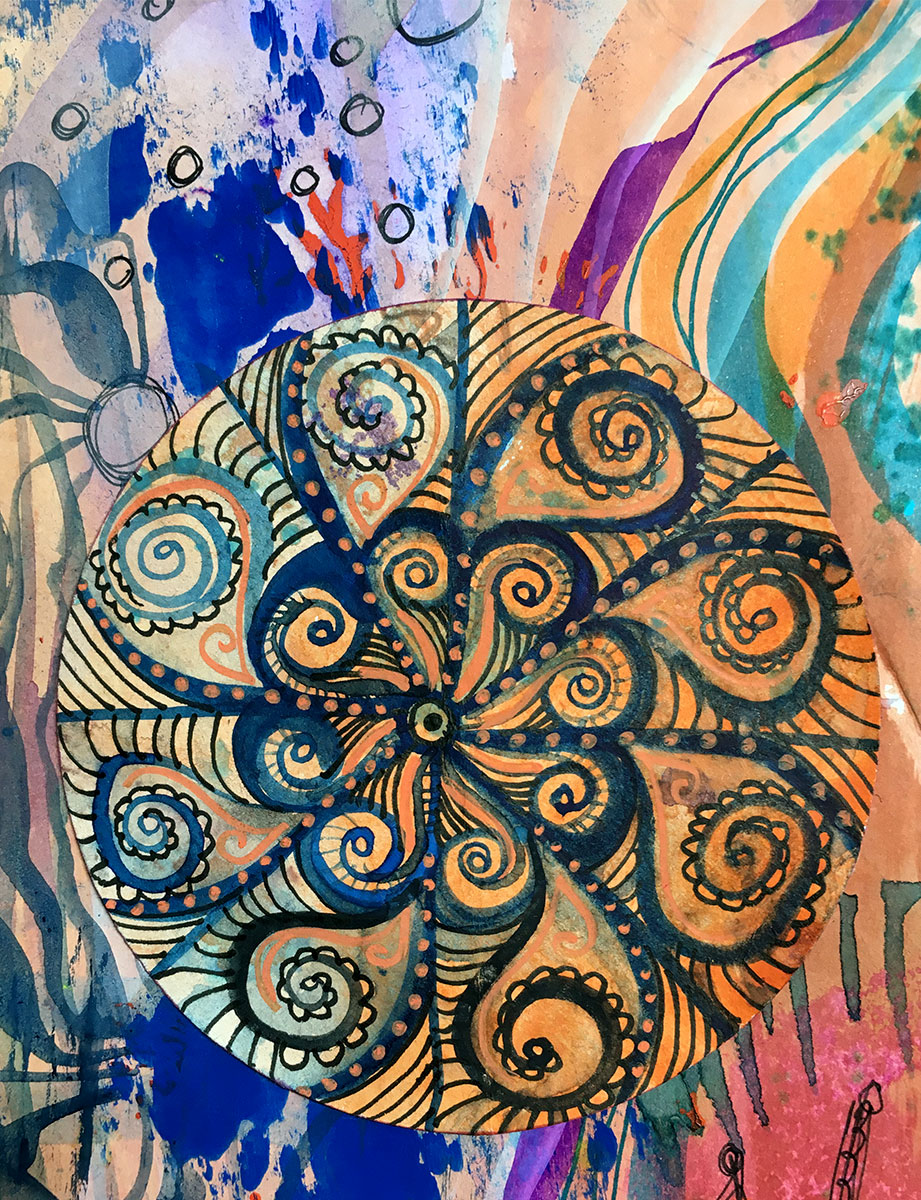
Then my thoughts wandered to mandalas.

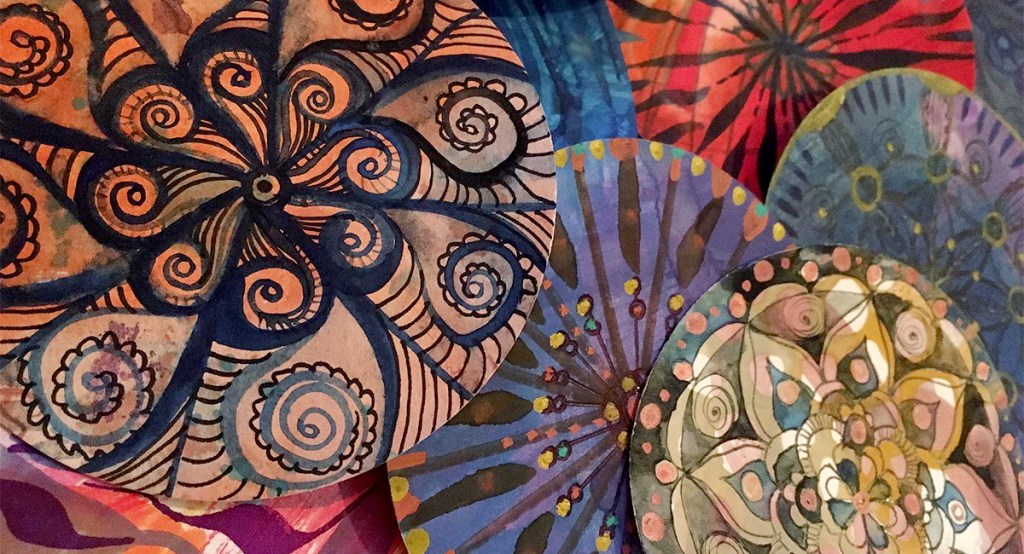
Could I make 100 tiny mandalas? …yes I could, but the deadline was looming so this is another idea on hold for another time. Meanwhile the ones I made are finding a home in my sketchbook for now.

Eventually I settled back on the original idea, and I just got it all done in time to mail it off to Brooklyn.

It will be part of the permanent collection after it’s arrived and been scanned, so you’ll be able to view it in real life or in their digitized library soon.

Meanwhile, if you’d like to watch a flip through with close ups of these weeny little pictures, be sure to catch my newsletter later this week.

the next of 100 beginnings

Twenty days in to the 100 day project, here’s where I’m at.

On 31 January I set myself the task to create 100 paintings in 100 days (see how it came about here).

I’ve been experimenting with different media and techniques, adding a little bit to a bunch of these paintings every day. Part of this challenge is to keep the colours quiet and muted, which doesn’t come naturally to me.

A few blue backgrounds were looking a little too vivid so I toned them down with grey to get back on track 😉

A bonus I did not expect from working in this whole new palette is that I’m getting much more of a buzz from the other (full volume color) projects that I’m working on at the same time.

To fully mix my metaphors, it feels like I’m getting a more balanced diet visually speaking, and I’m loving the contrast in flavours.

(I just finished a particularly colorful project, which I’ll tell you all about next week)

I enjoy using text in my art.

Either beginning with a word that fills the page and ornamenting it into something new, or using scribbled thoughts and chunks of wordage to fill blocks and shapes.

In the last few days I’ve been adding some time lapse videos of the process to the Instagram posts – I love re-watching the way pieces like this take shape as black ink squiggles about on wet paper.

To keep track of how many paintings I’ve started I began numbering them, which lead me to listing some words & thoughts on the back (As inspired by the great artist & teacher, Jesse Reno). Sometimes it’s a color I want to remember, or a thought that’s shown up (future me might bury that under more paint, so I’ve left her a note just in case).

As the layers build up, the lists will grow. Every painting will have its own little chronology. Some might become a poem, or a name for the painting might emerge. We’ll have to wait and see 😉

Follow me on Instagram for daily updates 🙂
#100daysofQuietColor


the first of 100 beginnings

10 days into the 100 days project, laying down the first layers of 100 paintings.

Ten days into the 100 day project, already I’m amassing a satisfying stack of paintings-to-be with first layers down.

My strategy this year is not to make a complete painting every day, but still to make 100 paintings in 100 days.

Because the way I work best is to have lots of pieces on the go at any time. I hop about between them and the ideas cross pollinate. These 100 days of Quiet Color are taking a familiar route, spiraling through layers and iterations of pattern.

Right now I’m all about watercolor and ink in swirly shapes (beginning with words which quickly evolve into more abstract shapes). Some already have a lot of tiny details,

(while these first colors are drying I move onto another one)

While others are washes and blobs of color – just a very beginning.

The quiet colors de jour are Payne’s Grey, Indigo & Sepia with a bit of Black & White gouache.

Follow me on Instagram for daily updates 🙂

#100daysofQuietColor


thoughts from the pause

Since last summer I’ve made a new 2 page spread in my ‘Book of Days’ every week. It’s become a mishmash of notes from podcasts, quotes and song lyrics, accompanied by sketches …

It’s been a few weeks since I began reorganising my studio space and I’m still in the “where did I put that” aftermath.

This has meant a pause in creating time, and in turn caused me to take a pause from online doings. And this, naturally, is also part of the global pause/chaos. How are you doing, are you still afloat?

One thing that has not paused is my ‘Book of Days’, this ginormous book of doodles, which is keeping me grounded throughout.

book of days (400 page sketchbook)

Quite literally – at 600 pages this thing weighs a ton! but also in the sense that it’s a consistent element accompanying a slow plod through winter.

Since last summer I’ve made a new 2 page spread every week. (sometimes I go ‘back in time’ to add extra doodles and details to earlier pages.)

It’s become a mishmash of notes from podcasts, quotes and song lyrics, accompanied by sketches of people, places, memories & dreams, with patterns to fill the in between bits. There are swatches from new paints and pens acquired, even the paints I used when I was painting some furniture last year. It’s a visual dumping ground, an abstract diary documenting these discombobulated times.

Book of Days: 600 page sketchbook

It will, all going well, be with me for a few years to come.

I’ll show you how it’s coming on, the first pages are here

Book of Days: 16 pages in 16 weeks.

This flip thru took us to some time around October, and I’ve continued a spread a week ever since.

To catch up to date with the latest pages, be sure to see my next newsletter, it’s out tomorrow 🙂

There’s a place to sign up at the tail of this post.


sari silk stripes

Join me for the final step around the color wheel…

Ever since I was a young thing,
I’ve always loved to sew.

The back and forth of needle through fibres almost hypnotises me into a meditative trance. I love the tactile textures of the fibres, the way shapes can be held together and yet still flex to move. The shadows in the folds, the waves in the weave.

All this to say, it will come as no surprise to learn I have a sizeable stash of fabrics in my studio with which to play.

It’s largely a collection of clothes {some old, almost worn out, most thrifted or rescued, saved for a quality to the fabric, the color or texture or pattern or something. Others saved for simply their fibres, to be chopped up and used as stuffing}

There’s also the yarns and threads, the ribbons and trim. Some rescued and tattered, some new. One type I’m especially fond of (shhh – don’t tell the others) is a type of yarn made from recycled sari silks.

This particular yarn delights my senses with its blend of rich vibrant colors, the light shimmer to the silk fibres. It has a character and charm in its wobbly bobbly line, like a tree branch or stream. But more than this! when lightly unravelled it reverts to ribbon with deliciously frilled raw edges, fluffy like feathers, and a criss cross of creases.

Yes, I’m altogether smitten with this stuff!

You’ll find sari silk yarns and ribbons online or in some fabric stores, I got mine online from Yarn Yarn & Good Karma Llama, these are the best I’ve come across so far 🙂

So for the final piece of this 12 month project I used my most favourite material. This golden egg yolk color was perfect to complete the wheel of color that’s taken us through this extraordinary year!

Sometimes (often times) its the simplest of ideas that lead to the best outcomes.

I cut short lengths of the yarn and unravelled to ribbons, hand stitched them using a long running stitch to form stripes on this painted paper I’ve been using all month.

Each strip of silk made stripes within stripes, the frayed edges, the stitches over and the creases in the fabric, and the marks on the paper showing through between. I deliberately didn’t iron the unravelled yarn flat to maintain the wrinkles, although next time I might add some ironed stripes in as well for yet another type of contrast. I’d like to try layering narrow stripes on top of broader ones…. so many ideas!

This is a quick look at today’s piece taking shape stripe by stripe.


“Twelvty” 12 Colors in 12 Months

Join me in the New Year to find out where this project is going next as I plan to combine them into some big multicolored works. 

(and maybe some more smaller pieces too)

paper doodles

making doodled patterns with painted paper shapes.

Following on from yesterpost’s painted paper collage inspired by the sun ray style mandala ideas, today I’m using the same papers but for something quite different.

From sharp cut, radiating lines to these freeform doodly torn wiggles.

I love making patterns from these rounded shapes – so much so I filled a whole sketchbook with them one time 🙂

Overlapping the pieces like scales or feathers gives them another layer of dimension, a sort of ruffled aliveness, and something I now want to explore again – maybe part of a bigger piece – maybe with fabric or card or something a bit chunkier to make them stand apart from each other even more.

Something I love most in this project is that each week I’m not just making the piece I show you in these posts, but they are sparking alive a whole flurry of offshoot ideas.

Here’s how today’s piece took shape


“Twelvty” 12 Colors in 12 Months

Every month this year I am making a series of mixed media pieces in just one color. At the end of the year I’ll combine them into one big multicolored work. 

I’m sharing my process throughout this adventure here in this blog. (So far this year I’ve explored YellowYellow-GreenGreenBlue-GreenBlueViolet-BlueViolet,  Red-Violet,  Red, Red-Orange & Orange)

sunset mandala

we’re into the last phase of this color wheel trip, the golden hues of ochre, turmeric and saffron, late afternoon sun, and desert sands.

Folks, we’re into the last phase of this color wheel trip! Our final color to explore is orange-yellow, the golden hues of ochre, turmeric and saffron, late afternoon sun, and desert sands.

Today’s exploration began with some painted papers (much more of these in a separate post soon!)

The paper I’m using is all scrap – from magazine pages, old drawings and a paper bag – the stuff that would end up in the recycling basket if I didn’t have this compulsion to turn everything into art.

I’ve been sorting through some art supplies i haven’t played with in a long while and came across some coloured cellophane too, so that’s in the stash as well as some thread and yarn and a couple of sandy-ochre coloured markers.

Let’s see what we can make with this assortment of orange-yellow things!

I’ve got a real fascination with mandalas right now (again – more to come on these in a few post’s time!) so that’s the idea which sparked today’s creation.

Beginning with a small piece from each of the painted papers I cut out a bunch of triangles. Using PVA glue on a piece of card for a backing I arranged the triangles, alternating the different papers, pizza-slice-fashion into a mandala of sorts.

I’m left wondering if it wants some patterns doodled onto some of slices, so this might still be a work in progress.

Options (as usual) remain open 😉

Here’s how today’s process took shape

Next post I’ll show you how the rest of the painted papers became part of this orange-yellow series.


“Twelvty” 12 Colors in 12 Months

Every month this year I am making a series of mixed media pieces in just one color. At the end of the year I’ll combine them into one big multicolored work. 

I’m sharing my process throughout this adventure here in this blog. (So far this year I’ve explored YellowYellow-GreenGreenBlue-GreenBlueViolet-BlueViolet,  Red-Violet,  Red, Red-Orange & Orange)

closing the open loops

Today is a day of finishings, of closing the open loops in the pieces I’ve been adding to all month.

Today is a day of finishings, of closing the open loops in the pieces I’ve been adding to all month.

“The most important thing about art is to work. Nothing else matters except sitting down every day and trying.”

– Steven Pressfield

If you haven’t already seen them – I shared making the first layers here, followed by the tricky middle stage here. Today is when all those loose ends come together!

What all of these monochrome pieces I’m making have come together in a similar fashion:

Experimenting, playing, setting it all aside for a while to return to with fresh eyes.

I’m working towards integrating this strategy in the rest of life beyond the studio – life as a bigger work in progress – but that’s for another post another time.

Feeling like this was the closest one to being finished, today I started out with the piece with the string.

Using loose scribbles just catching the raised parts brought more contrast to the squiggly lines. First using the same markers I began this one then with, and some oil pastels on top for a bit of extra grunge. Trimming the edges straight gave it another element of contrast with the contours and cloudy colouring.

Oftentimes my entire process consists of repeating the same steps over and over, and next up we have one of these. I loved how the newsprint/packing paper took the water soluble ink and water marks, each time I added more on top of the dried layers the patterns that formed became more intricate, so this is some more of the same 😉

The painted envelope pieces were the furthest from ‘done’ at the start of today. Still having a very scrap paper vibe I began by trimming them down to get rid of the unpainted edges.

The small pieces often work well in layers together, and I like adding folds and creases to break up the flow. It’s also a way to reshape a piece without cutting it up.

Don’t forget you can add layers under as well as on top. An almost finished piece can really come to life when ‘framed’ by layering it on top of something similar or contrasting. I used a bit of the mixed media paper behind my folded envelope parts. Keep stacking until it feels right!

 “Everything will be okay in the end.
If it’s not okay, it’s not the end”

Indian proverb

I think a lot of us are – especially in early days of art experiments – prone to lose faith before a piece is done.

The more I practice making art, the more convinced I am that if it isn’t looking right, it usually just needs more.

And that can be as simple as more of the same. A stripy layer over a stripy layer over another one. The final pieces I worked on today began with dollopy blobs of paint, some finger painting swirls to more the color around, then stripes made with my trusty art comb. (formerly a hair comb, retired to much more rewarding life in the studio).

The next layer was more paint blobs and more combing. And again. Finally some stripes in marker pen and then ballpoint to finish it up. Lots of directions, lengths, weight and media – all unified in stripiness.

Here’s how today’s finishing process looked:


“Twelvty” 12 Colors in 12 Months

Every month this year I am making a series of mixed media pieces in just one color. At the end of the year I’ll combine them into one big multicolored work. 

I’m sharing my process throughout this adventure here in this blog. (So far this year I’ve explored Yellow, Yellow-Green, Green, Blue-Green, Blue, Violet-Blue, Violet, Red-Violet & Red)

I’d love for you to join me. TWELVTY is open to everyone, and better yet, it’s free!

Sign up for my newsletter to find out more and get your free TWELVTY guide ebook. 

Processing…
Success! You're on the list.

You’ll get an email to confirm you’ve signed up and are human. Sorry, only humans (and their cats) can join. Check your spam folder cos sometimes the good stuff gets swept in there by mistake. Check with your cat too. You know it’s what they expect.

cross pollinating ideas

Taking up where I left off yesterpost, mixing up the mixed media ideas in this next step of red-orange monochrome.

Moving on from the first layers I showed you yesterpost, having set these pieces aside to dry I came back to find this lovely heap of semi-raw ingredients on my desk to play with today.

To unify the layers I began with, I’m using the same brush pens and acrylic paints + a little metallic orange and watercolor in deep orange and burnt sienna.

(the metallic orange looked exactly the color I wanted in the jar, but is more of a pale pinky coral on paper… but nothing that can’t be assimilated later, and some of that sheeny-shine will likely show through the layers)

Beginning with the envelopes, I wanted more vibrant color. Previously I used water to soften the coloured areas, but of course this dilutes the richness. I’ll often do this back and forth dance with pigment and water to build the layers up. As the water drops push the pigment to the outer edge of the puddles, a wiggly outline forms when it dries. Where the color is pale the pattern from the envelopes shows through.

While these were drying I moved on to the packing paper/newsprint. Being so thin, the color had seeped through to the other side and I really like the effect of both side. So I tore it in two to use make 2 new pieces.

The heavy mixed media paper doubled as a drop sheet so has been gathering incidental art marks along the way. I trimmed the edges to make a backing to collage the flimsier paper onto.

Now I could have just glued it down, but the patterns from the crinkles so delighted me I wanted to take this a step further. To give it some texture underneath so I could recreate the same again with more color and water, I glued a tangle of string between the two papers.

Finally I went back to the painted paper, trimming it down to make two small pieces, then adding a new layer of the acrylic, this time blending with a palette knife and repeating the mark making with the comb.

I can see potential in all of these, but none are quite finished yet – join me next time to see the final details take shape 🙂

This is what the process looked like today


“Twelvty” 12 Colors in 12 Months

Every month this year I am making a series of mixed media pieces in just one color. At the end of the year I’ll combine them into one big multicolored work. 

I’m sharing my process throughout this adventure here in this blog. (So far this year I’ve explored Yellow, Yellow-Green, Green, Blue-Green, Blue, Violet-Blue, Violet, Red-Violet & Red)

I’d love for you to join me. TWELVTY is open to everyone, and better yet, it’s free!

Sign up for my newsletter to find out more and get your free TWELVTY guide ebook. 

Processing…
Success! You're on the list.

You’ll get an email to confirm you’ve signed up and are human. Sorry, only humans (and their cats) can join. Check your spam folder cos sometimes the good stuff gets swept in there by mistake. Check with your cat too. You know it’s what they expect.

1 color: 3 beginnings

beginning a new color for the month — Orange-Red — with experimental layers. What to do when you don’t know what to do.

Where to begin?

How to begin?

What to begin?

“Start before you’re ready. Don’t prepare. Begin.”

– Steven Pressfield

Beginning before feeling ready seems easiest – in a contrary sort of way – when I’m unencumbered by ideas.

When the muse is nowhere to be seen and all I have is a heap of colors and paper, it’s like the pressure of ‘making something’ has been pushed away.

If nothing good emerges, so what. I’ve usually enjoyed the process, maybe learned something accidentally, maybe not.

And sometimes a seed of magic sprouts forth. Maybe not right away, maybe days or weeks or longer into the future. This happens enough of the time for me to trust it’s always possible.

So far in this year of color I’ve showed you a full start to finish process of some pieces in this collection. In reality though, I rarely make one piece at a time.

Mostly I cycle between few different pieces. I utilise the waiting to dry time, or the I’ve lost all direction moments, when a piece needs to be set aside and left a while. I shuffle my attention to the next piece.

Sometimes it’s a way to stretch and find divergence – I did/used one thing on this piece, now to try a different thing on this one.

Sometimes a common theme develops – like little splashes of water or paint – focussing on one, but spilling across to others (purposefully sometimes, not always). Or I’m so enjoying making – for instance – tiny squiggles that I add them here and there to different pieces until I get bored with that and feel called to make broad stripes, color washes, collage or whateverelse and around I go with that for a time.

If you have scattily erratic leanings like I do – I totally recommend this approach – especially if you like to work fast and furious!

“Start where you are, use what you have, do what you can”

– Arthur Ashe

Today – first steps into the realms of Orange-Red – was one such day: here’s what using just what’s on my desk looks like. One color, no particular ideas!

Ingredients:

Papers:

  • envelopes foraged from the recycling pile (love those geometric patterns printed inside)
  • packing paper – this is the thin stuff, a lot like newsprint
  • mixed media paper – heavy weight, great for thick paint layers.

Colors:

  • water soluble markers: letraset aqua marker & ecoline brush pens
  • craft acrylic paints

Techniques:

  • scribbling across overlapping papers – switching directions – random marks to fill white space with color.
  • water drips & splashes on water-soluble ink – move color around.
  • scrumpling up paper – lightly brushing color on to catch the texture.
  • acrylic craft paint directly onto mixed media paper – finger painting with non dominant hand- smudge, smear, mark making with a comb.

I gave myself 20 minutes or so to play and to see what early stage ideas would come up. Then to put all this away for a few days, and look at it with fresh eyes and develop the next layers [which you can see in my next post coming very soon!]

Here’s how today’s creating came together.


“Twelvty” 12 Colors in 12 Months

Every month this year I am making a series of mixed media pieces in just one color. At the end of the year I’ll combine them into one big multicolored work. 

I’m sharing my process throughout this adventure here in this blog. (So far this year I’ve explored Yellow, Yellow-Green, Green, Blue-Green, Blue, Violet-Blue, Violet, Red-Violet & Red)

I’d love for you to join me. TWELVTY is open to everyone, and better yet, it’s free!

Sign up for my newsletter to find out more and get your free TWELVTY guide ebook. 

Processing…
Success! You're on the list.

You’ll get an email to confirm you’ve signed up and are human. Sorry, only humans (and their cats) can join. Check your spam folder cos sometimes the good stuff gets swept in there by mistake. Check with your cat too. You know it’s what they expect.

Design a site like this with WordPress.com
Get started