some more of the iceberg

In these strange days I’m leaning extra hard into my creative practices.

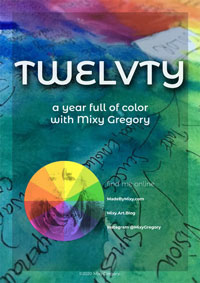
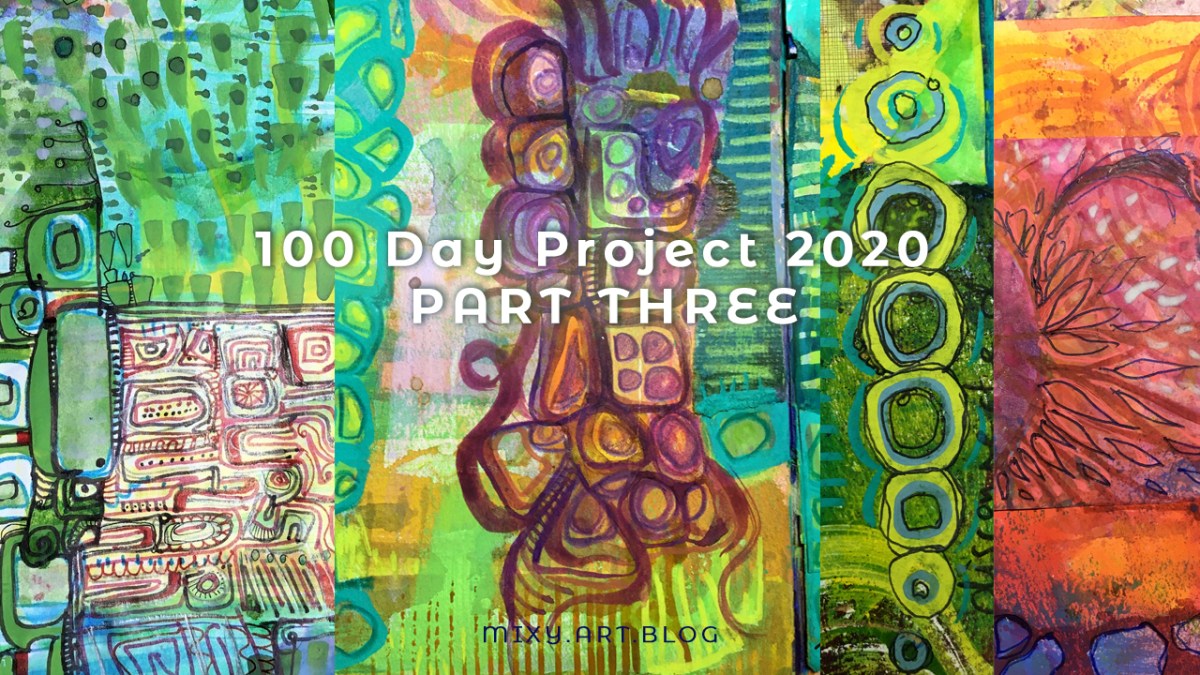
Most of what I share here in this blog is from my one color a month project, TWELVTY, but there’s a lot of other stuff bumbling away in the background.

I think of that other stuff being the other 9/10 of the creative iceberg.

illustration: one page at a time

In this month’s studio musings email I shared a new project I’m just embarking on.

It’s something really enormous, both literally, and I hope, figuratively too.

All of this is feeding into what comes next.

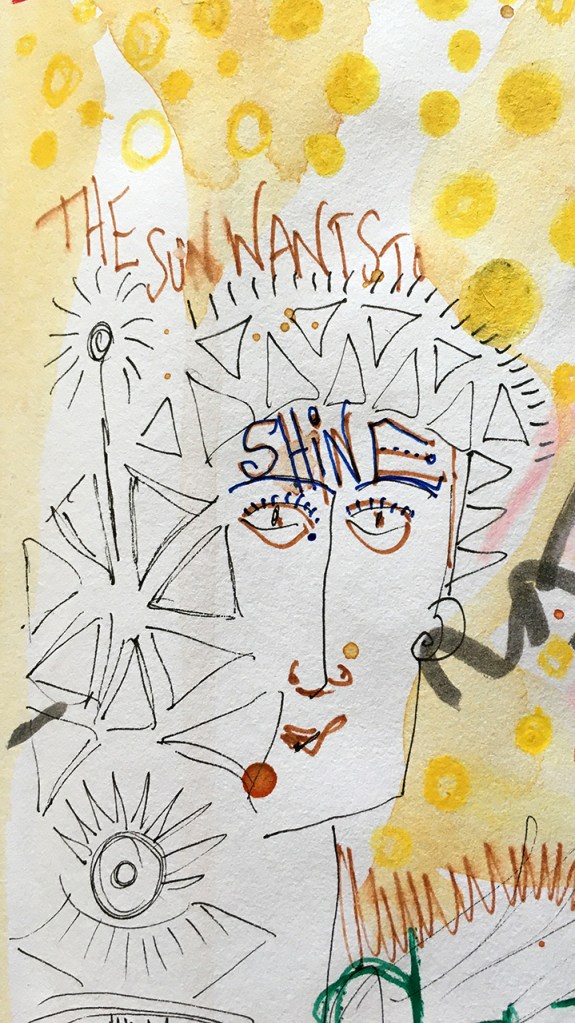
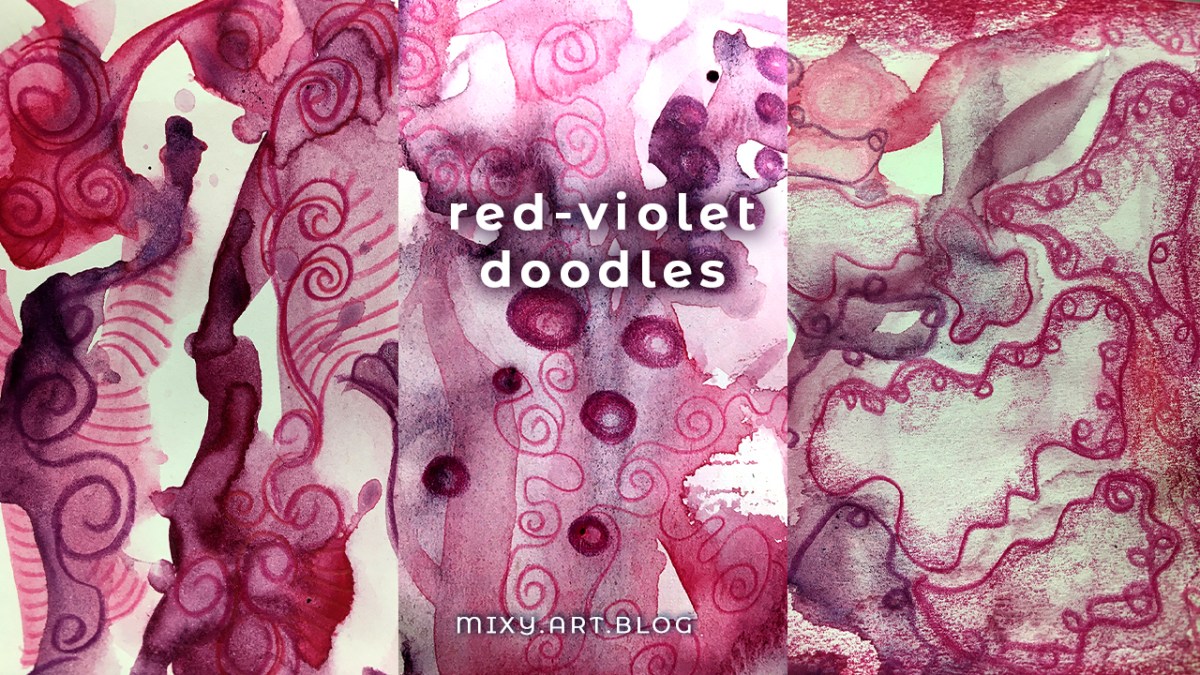
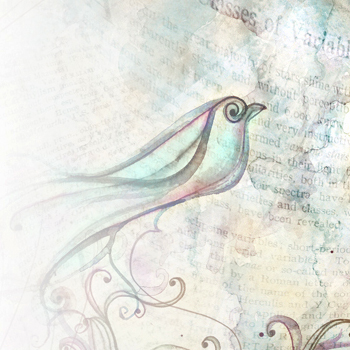
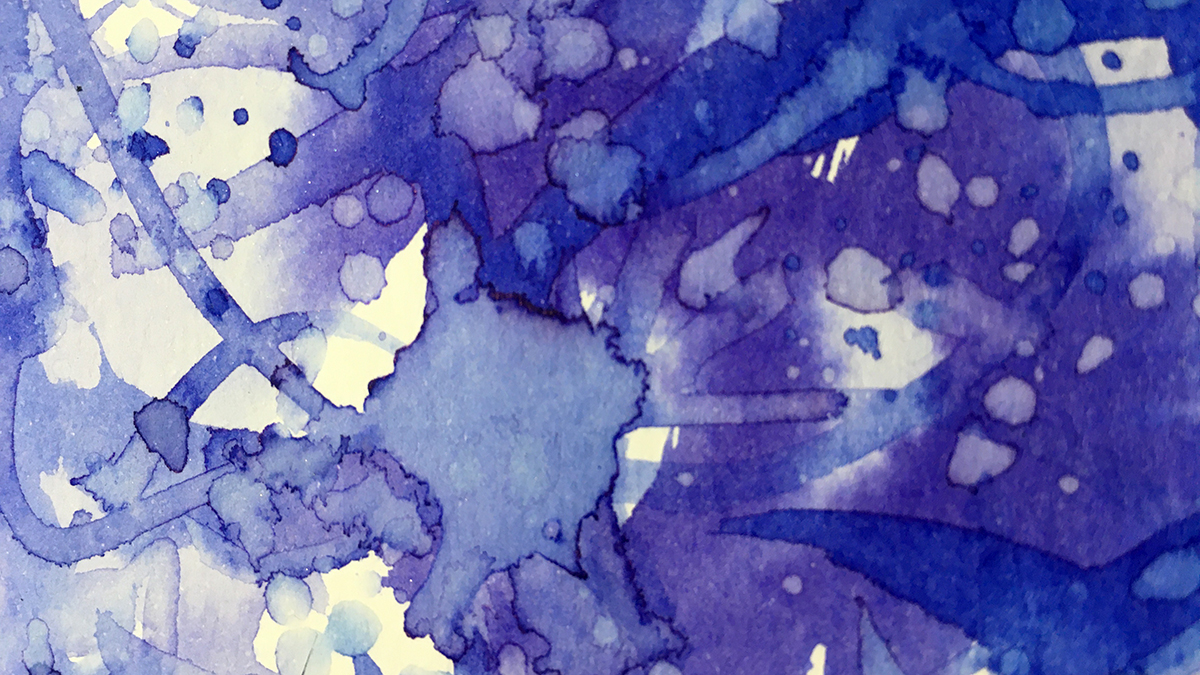
‘The sun wants to shine.’

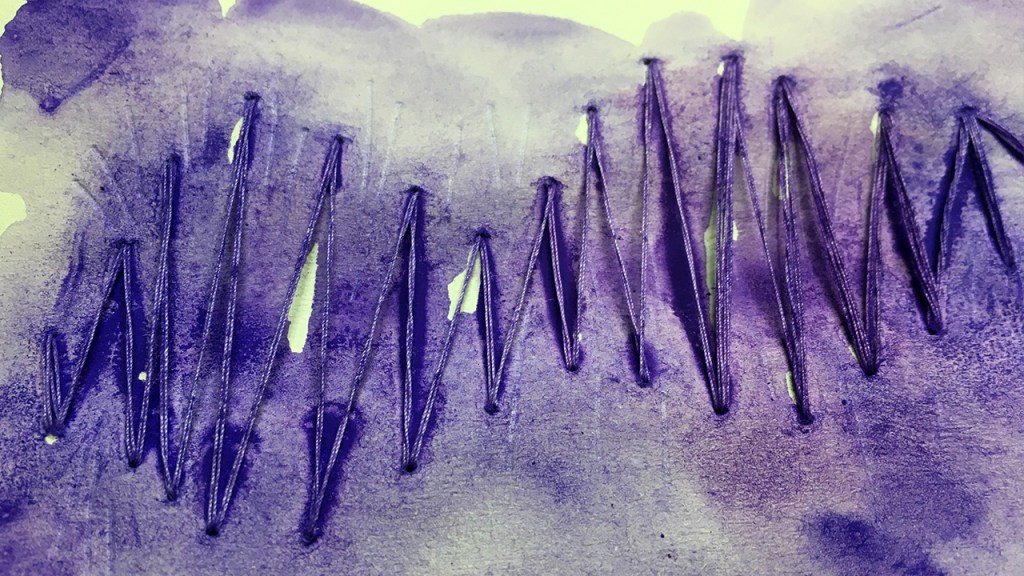
I add these little thought snippets to my drawings.

Oftentimes words from whatever I’m listening to as I draw. Sometimes they have a meaning to me at the time, but sometimes the meaning arrives weeks or even years later.

Or the meaning gets lost and reappears later, morphed, updated to the current moment.

It’s a leap of faith – putting this out there into the internet, and saving these thoughts in my drawings. Faith that it will have some meaning to someone -a future version of me, or a present day version of someone reading this.

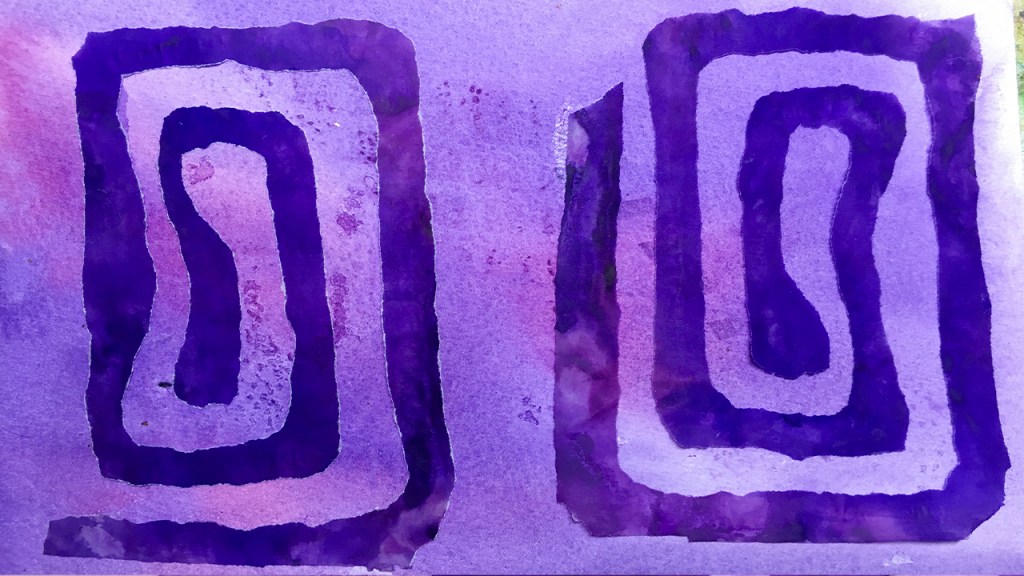
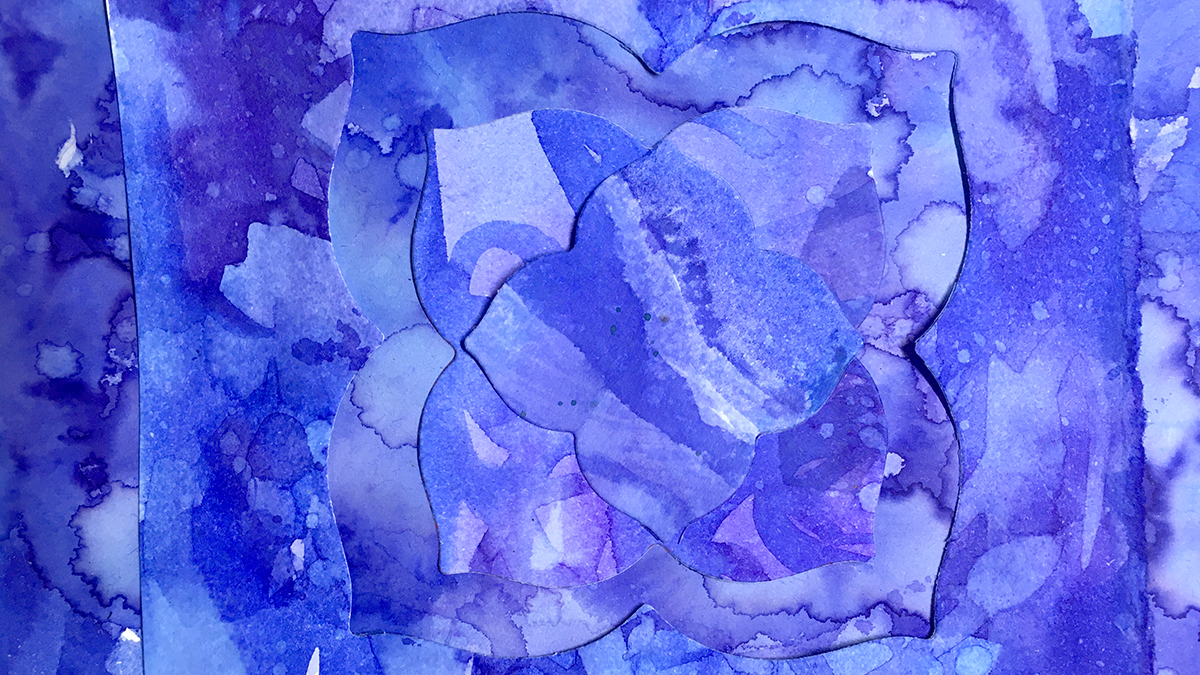
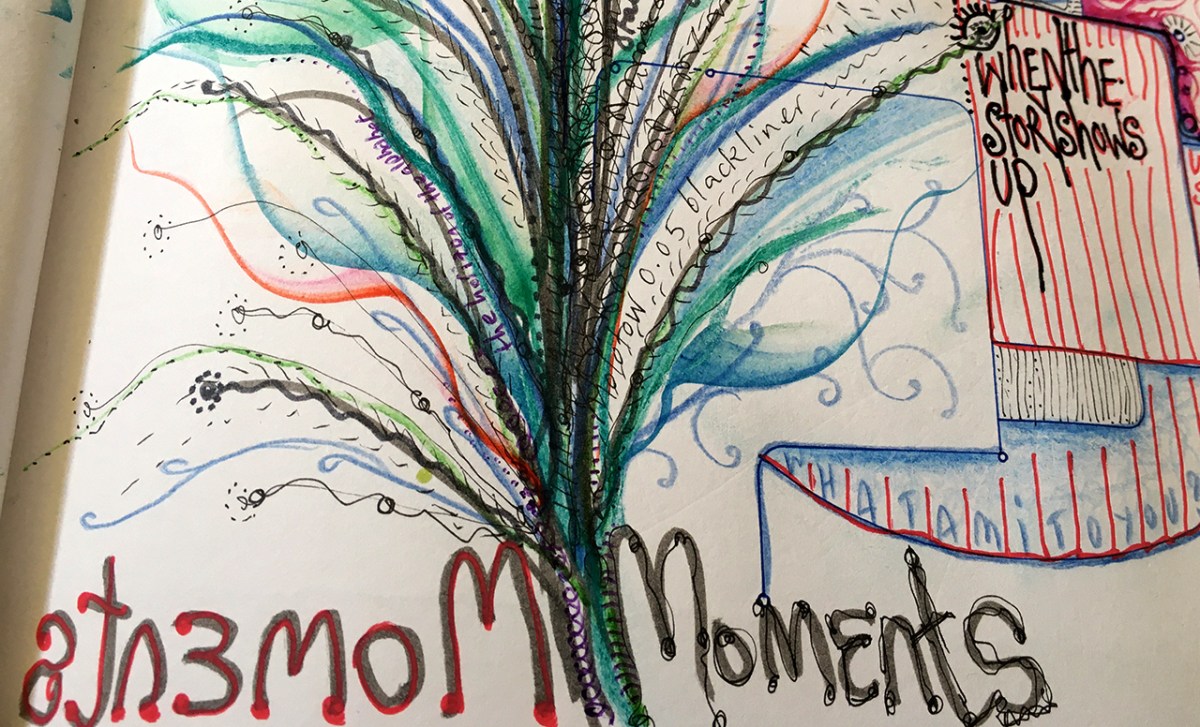
It’s like a lot of loose puzzle pieces to me right now.

I’m intrigued and entranced by the process of puzzling, through drawing and words.

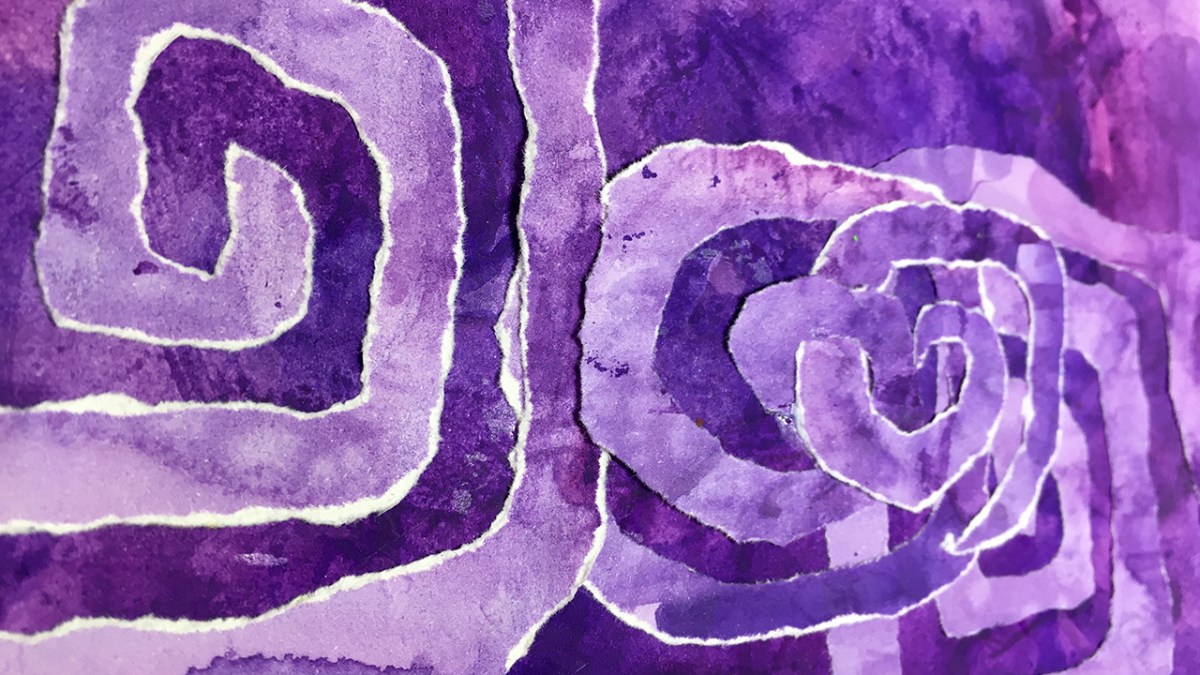
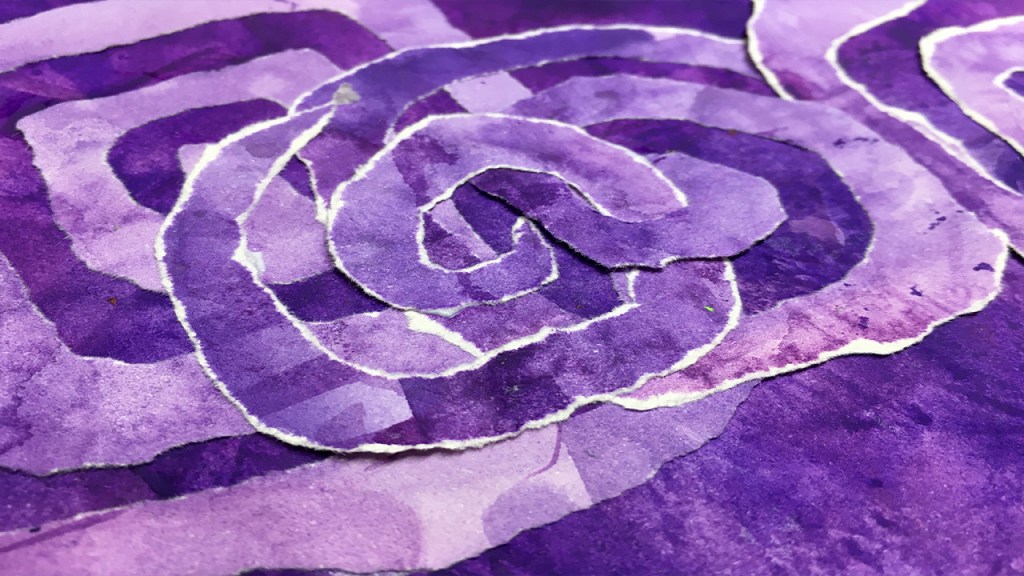
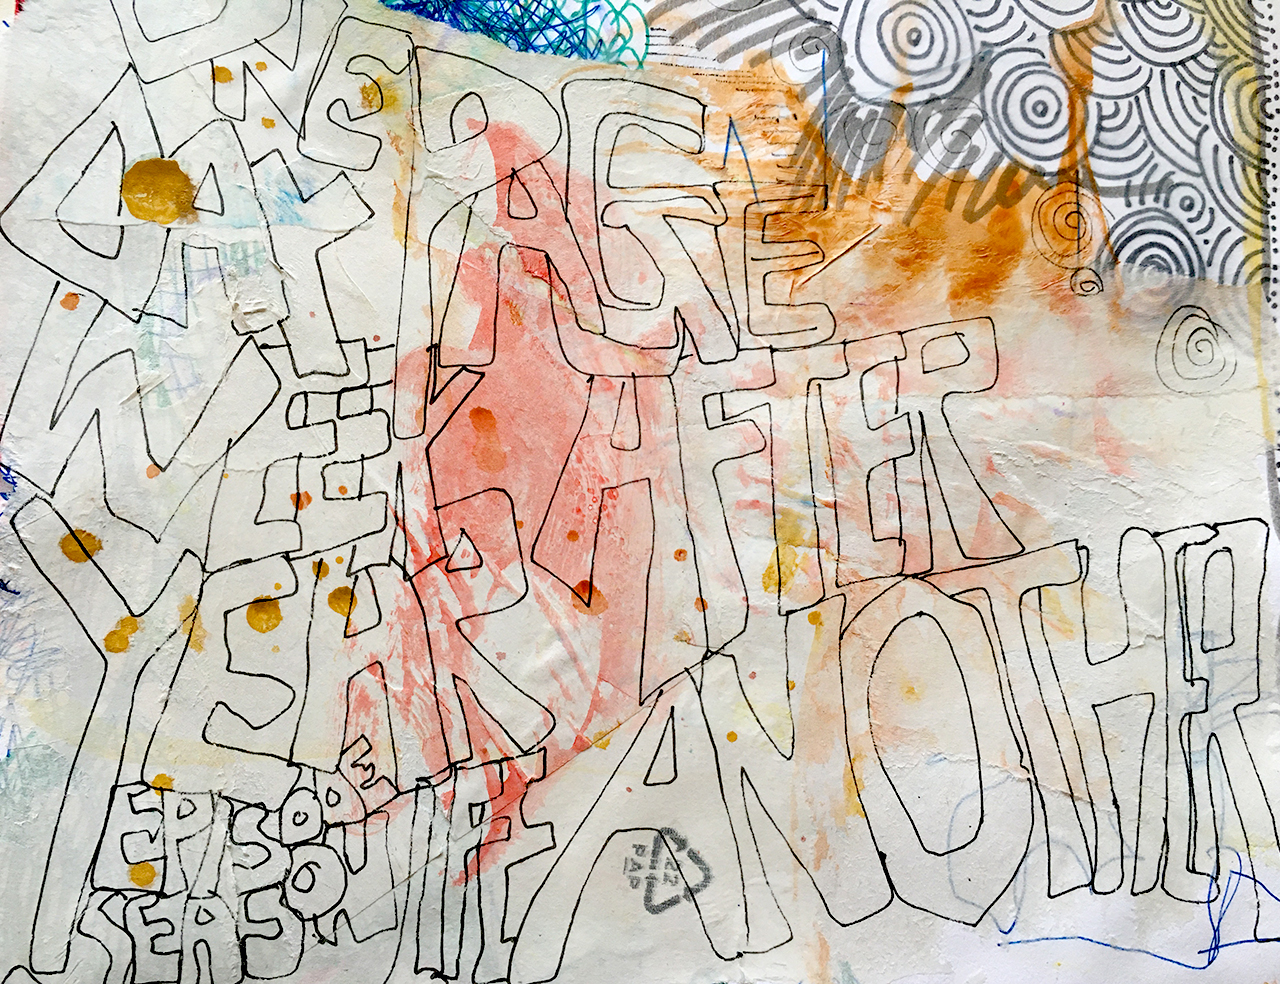
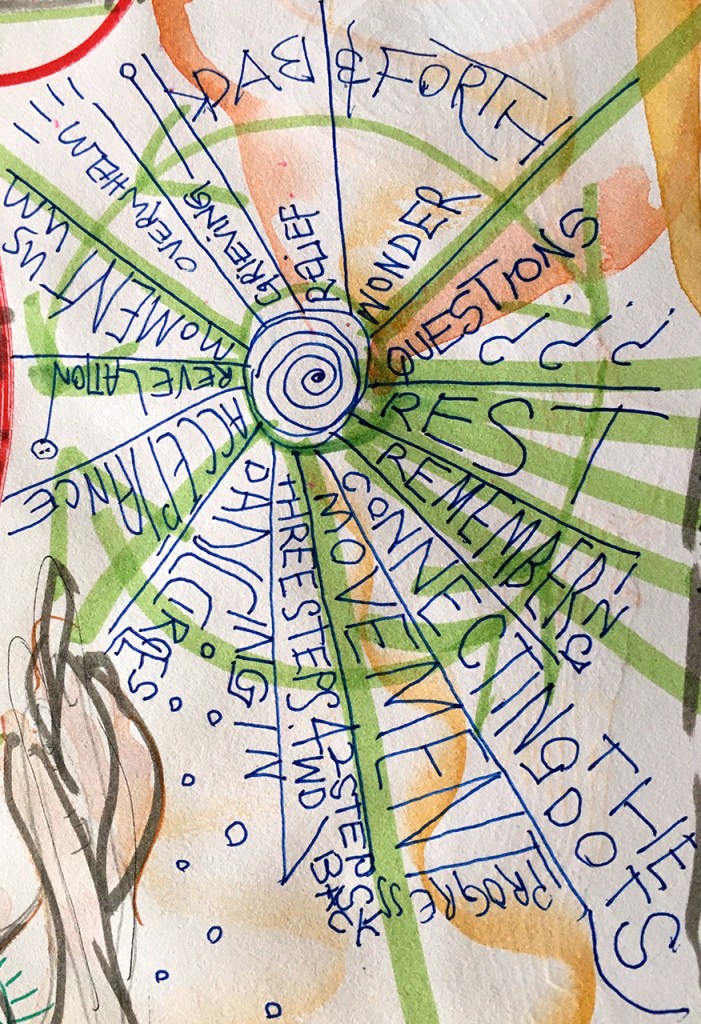
To slow down the spiral enough to catch focus on what the elements of it are:

The repeating patterns, the sequence of feelings, the stories that play out over and over again.

I don’t have answers, but I do have observations, and new questions all the time.

If you’d like to join in me in this curious adventure, sign up to my newsletter and I’ll show you where I’m at right now. Let’s puzzle some of this out together, shall we?


Irresistible Textures

Playing with color resist over texture: mixed media experiments with tissue paper, gloss medium, oil pastels & ink. Oh my!

I couldn’t sit down and draw these kind of organic squiggles, that look like the bark of a tree, like a dry riverbed, like the craggy contours of a rock. These intricate organic details take serendipity to shape in all the unexpected, uncontrolled ways that makes mixed media appear magic to me.

Like a lot of folk I’ve been getting parcels in the mail of stuff I’d ordinarily get from the shops until the upside down of 2020 changed everything. With every parcel I get a bunch of free art making materials, corrugated card & packing paper, bubble wrap & tissue paper. It all gets recycled in some fashion, most often becoming fodder for my studio hoards.

Tissue paper is especially fun, and today I wanted to use the texture of scrumpled tissue as a kind of resist, to explore new ways to enhance these universal patterns.

I used gloss gel medium to stick the paper down. Making sure to get a some places flatter and some places super wrinkly to test this idea out to its fullest. Little torn bits layer up and fill in the gaps and very flat parts.

The gloss gel, once dried, I figured would work as a resist against watercolor ink. But for an extra layer of resist I also used a couple of pinky-magenta oil pastels to skim across the ridges of the dried tissue before dripping on the ink.

I love these intensely pigmented inks by Dr PH Martin (in Magenta + Red-Violet) but I think you’d get the same effect with any drawing ink or watercolor paint (I must experiment more to find out – watch this space!)

I wet the surface with water before the ink and encourage it to find its way through the rivulets of texture with a loose floppy brush. I might have been a bit heavy handed in all the excitement here, but I dabbed up the too much and the patterns revealed themselves again.

I think this would look amazing with a bit of metallic something in the mix to give it some twinkle, so I might give that a try next!

This is the process, and how they all turned out!


“Twelvty” 12 Colors in 12 Months

Every month this year I am making a series of mixed media pieces in just one color. At the end of the year I’ll combine them into one big multicolored work. 

I’m sharing my process throughout this adventure here in this blog. (So far this year I’ve explored Yellow, Yellow-Green, Green, Blue-Green, Blue, Violet-Blue & Violet)

Iโ€™d love for you to join me. TWELVTY is open to everyone, and better yet, itโ€™s free!

Sign up for my newsletter to find out more and get your free TWELVTY guide ebook. 

Processingโ€ฆ
Success! You're on the list.

You’ll get an email to confirm you’ve signed up and are human. Sorry, only humans (and their cats) can join. Check your spam folder cos sometimes the good stuff gets swept in there by mistake. Check with your cat too. You know it’s what they expect.

idea seeds

This month’s color is red-violet: all that’s magenta, maroon & wine coloured.


โ€œThere is a seed inside of every tree and a tree inside of every seed.โ€
ย 

ย Matshona Dhliwayo

Much of the art I’ve shared with you in these single color posts have a common seed of an idea: a doodle.

Often times it’s in messy watercolor or ink splashes, I get excited by the dynamism of moving water and pigments, the witnessing of art making itself. This never gets old to me!

Today I was interested in painting 3 pieces from a common seed to explore the directions they could take.

(I could come back and add more – this is just how the process begins)

To keep the pieces similar to begin I dragged and splashed color across all three together.

(I used Quin Violet & Rose of Ultraviolet from Daniel Smith+ an unnamed red-violet from the Kuretake Gansai Tambi Japanese Watercolour set)

Extra Idea Seeds…

Here’s something I often do when I’m working small like this (these pieces are maybe 4 x 5 inches or so) – I use a blank page in a sketchbook or art journal as a drop sheet.

I can happily paint over the edges and let color spill around, when the paint is too watery and/or I’m too impatient to wait for it to fully dry, I can use the page underneath to blot the water, as well as to clean off my brush.

All this makes some beginning patterns for the first layer on that page into the bargain: More seeds for more ideas!

watercolor doodles

Once these had dried I moved on to the next step for today’s creating – a medium I didn’t use for a really long time – but was inspired to revisit: coloured pencils.

I recently picked up a couple of Derwent Procolour & Faber Castell Polychromos Pencils. Oh my days what a world apart these are from the ancient coloured pencils I’ve had kicking around since forever ago!

The pencil doodles were all about following the lines in the paint shapes, wiggling around the contours and the negative space in between, filling with spirals, squiggles and little circles.

Taking each piece in turn, my intention was to give each its own character, like siblings in a family, related but still unique.

This is the painting process, and how they all turned out!


“Twelvty” 12 Colors in 12 Months

Every month this year I am making a series of mixed media pieces in just one color. At the end of the year I’ll combine them into one big multicolored work. 

I’m sharing my process throughout this adventure here in this blog. (So far this year I’ve explored Yellow, Yellow-Green, Green, Blue-Green, Blue, Violet-Blue & Violet)

Iโ€™d love for you to join me. TWELVTY is open to everyone, and better yet, itโ€™s free!

Sign up for my newsletter to find out more and get your free TWELVTY guide ebook. 

Processingโ€ฆ
Success! You're on the list.

You’ll get an email to confirm you’ve signed up and are human. Sorry, only humans (and their cats) can join. Check your spam folder cos sometimes the good stuff gets swept in there by mistake. Check with your cat too. You know it’s what they expect.

book pages & thread doodles

After yesterpost’s experiments with stitching paper, my thoughts moved on to other ways of making doodles with thread. I’ve found no better way to create perfectly organic scribbles than with loops of thread!

I’m using book pages for two reasons: first off I love the contrast of the printed text and the abstract splotches and whirls of color. Secondly, I’ve got a big stack of old books I’m recycling into art I was curious to compare how the different types of paper reacted to this process.

Some of the books are very old, the paper has become brittle and porous, their pages soak up water like a sponge. One old text book is printed on a slightly shiny paper (think magazine page sheen). This was by far my favourite from the way it reacted to watercolor paint, the pigment granulated wildly and created this fabulous crackled finish. It’s inspired me to play with magazine pages another time.

Like a map detailing the tributaries of a waterway, watercolor paint on printed paper.

The process was a simple one, my usual splashy wash of watercolor across all the pages, extra water, then using sewing cotton. I let the unravelled thread make a pattern in the wet paint. Then some extra paint and water for good measure – to make sure it’s all soaked through – and wait for it to dry.

Just for good measure, I gave the process a second round, this time with purple ink.

The patterns from the thread were the perfect cues for doodling.

This is the thread painting process


“Twelvty” 12 Colors in 12 Months

Every month this year I am making a series of mixed media pieces in just one color. At the end of the year I’ll combine them into one big multicolored work. 

I’m sharing my process throughout this adventure here in this blog. (So far this year I’ve explored Yellow, Yellow-Green, Green, Blue-Green, Blue & Violet-Blue)

Iโ€™d love for you to join me. TWELVTY is open to everyone, and better yet, itโ€™s free!

Sign up for my newsletter to find out more and get your free TWELVTY guide ebook. 

Processingโ€ฆ
Success! You're on the list.

You’ll get an email to confirm you’ve signed up and are human. Sorry, only humans (and their cats) can join. Check your spam folder cos sometimes the good stuff gets swept in there by mistake. Check with your cat too. You know it’s what they expect.

100 days & beyond…

as one project ends another begins. see the full flip through of my 100 day project + where to see what I’m making now!

The 2020 #100dayproject
junk journal

Last week saw the last day of the 100 day project which has kept me busy since early April.

Every day for 3ยฝ months I added more to this little junk journal: more doodles, collage, patterns and thoughts. Even these little paper animals who live tucked right in the middle at page 50!

Beginning just a week or two into the covid lockdown, this project and the daily ritual of posting on IG really helped me by providing an anchor to the reality of the day, one single constant amid the overwhelm, and kept me from drifting off in the confusion.

For a long while I was quite set on the idea of carrying on beyond the 100 days, especially as I’d overshot in the making of the junk journal and still have lots of *prepped pages.

But as the 100th day loomed I was already getting giddy on ideas for what’s coming next. It’s a much bigger project, and something that will keep me busy for much more than 100 days this time!

*so there will be a junk journal part two at some point in the future!

For now, here’s the full flip through of the 100 page book.

Junk Journaling: April – July 2020


ย 

In other news, my monthly-ish newsletter has resumed!

After a short hiatus, my spring/summer studio musings went out last week {Sign up below & I’ll send it to you!}

The next one goes out in August: where you’ll be first to see the latest about my gigantic new project + how I’m getting on with some new mixed media techniques I’m about to dive into. ๐Ÿ˜€


Stitching Paper Zigzags

I love to sew and I love experimenting with mixed media, so I guess it was kinda inevitable that one day I’d try stitching on paper.

โ€œLet the beauty of what you love be what you do.โ€

โ€“– Rumi

stitching on paper

I love to sew and I love experimenting with mixed media, so I guess it was kinda inevitable that one day I’d try stitching on paper.

I forget when it was I first tried – but it was like two parts of my world colliding – and I have been low-level obsessed with it ever since.

Here are a few tricks I’ve picked up along the way:

  • Piercing the stitch holes in the paper before you begin is far easier than straight up sewing the paper. Depending on its thickness, it will either put up a forceful struggle against the needle, or else it will tear against the pull of the thread.
  • Piercing with a regular sewing needle is usually fine, but thick paper (like watercolor) or card stock might require something like a darning needle, a compass or even a bradawl.
  • Have a stab-proof surface to pierce onto. Polystyrene is great (yay for not throwing out the packaging from something fragile that came in the mail!) I’ve also got a cork tile and a cutting mat I use. This keeps the paper flat when fromit tries to fold under pressure of the needle, and protects the hand that’s holding the paper from getting holes in it.
  • Unlike sewing on fabric, the loose ends of the thread can be glued down at the back to secure them from unravelling.
  • I like experimenting with different threads, yarns, single ply and multiple. Just the same as my drawing, I like to make lines vary in weight, this can be done by over stitching some places.
  • If I don’t have the color I want to use, I always have white thread, which can be painted with ink or watercolor after the stitching is done.

painted stitches

For this week’s experiments I doodled about with a stitched zigzag pattern (white thread on white paper – because that was easier than rummaging for the colors I wanted. Plus it’s fun to paint.)

I coloured the stitches with watercolor in dioxazine purple and imperial purple.

painted stitched zigzags

Here’s how my purple zigzagging happened


“Twelvty” 12 Colors in 12 Months

Every month this year I am making a series of mixed media pieces in just one color. At the end of the year I’ll combine them into one big multicolored work.ย 

I’m sharing my process throughout this adventure here in this blog. (So far this year I’ve explored Yellow, Yellow-Green, Green, Blue-Green, Blue & Violet-Blue)

Iโ€™d love for you to join me. TWELVTY is open to everyone, and better yet, itโ€™s free!

Sign up for my newsletter to find out more and get your free TWELVTY guide ebook. 

Processingโ€ฆ
Success! You're on the list.

You’ll get an email to confirm you’ve signed up and are human. Sorry, only humans (and their cats) can join. Check your spam folder cos sometimes the good stuff gets swept in there by mistake. Check with your cat too. You know it’s what they expect.

Violet Spirals

โ€œTheย pathย isn’t a straight line; it’s aย spiral. You continually come back to things you thought you understood and see deeper truths.โ€

โ€“Barry H Gillespieย 

exploring the spiral path

As we continue around the color wheel, this week I’m sharing my first experiments with the color violet.

I’ve taken this year long trip around the color wheel a few times now. So stepping into each color feels like a return to a familiar place.

A few years ago I set the starting point of this color adventure as yellow, meaning that violet marks the mid point in the journey, and in turn has come to be the color of summer to me.

I love how these connections develop over time, it’s something we can appreciate more and more with each year clocked up in this lifetime.

Each time I repeat this 12 color project I learn something new in the nuances, and a bit more about myself along the way. So I was inspired [there’s that word again] to revisit a pattern that suits this notion – the spiral.

a spiral collage

I began with some painted papers, much like i have thoughout this journey.

Painted with watercolor and gouache in my usual haphazard way, today I’ve got regular drawing paper (pages from a sketchbook) and some heavy weight tracing paper, for contrast. I like tracing paper for the way the color shows through both sides, and the way it crinkles up on contact with paint and glue.

I tried three shapes for my spirals: a square, a long rectangle, and a circle. The long rectangle was the most fiddly to handle, the circle probably the easiest, being the smallest of the shapes it didn’t flop around so much.

the long rectangle spiral made with painted tracing paper.

You could do this with scissors, but I love torn edges so much I freehanded all of these.

I’ve been playing with this torn spiral technique in my art journals for a long time so can go quickly, but if you’re trying this for a first time it might be easier to sketch your path out on the back of the paper before you begin.

The trick is to keep the spiral wide enough to follow the line in to the middle, then back out to the edge. That way you get two complete pieces. Hopefully that explanation will make more sense in the video!

By the time I finished I had a little heap of spirals. They naturally like to knot together (in the same way as cables do) so in this last collage I let them do this.

I especially like the combination of surface pattern in this one, it reminds me of batik dyed fabric. It’s got me wondering about trying a more intricate pattern for a larger piece. What do you think?

Here’s how my spiralling went


“Twelvty” 12 Colors in 12 Months

Every month this year I am making a series of mixed media pieces in just one color. At the end of the year I’ll combine them into one big multicolored work. 

I’m sharing my process throughout this adventure here in this blog. (So far this year I’ve explored Yellow, Yellow-Green, Green, Blue-Green, Blue & Violet-Blue)

Iโ€™d love for you to join me. TWELVTY is open to everyone, and better yet, itโ€™s free!

Sign up for my newsletter to find out more and get your free TWELVTY guide ebook. 

Processingโ€ฆ
Success! You're on the list.

You’ll get an email to confirm you’ve signed up and are human. Sorry, only humans (and their cats) can join. Check your spam folder cos sometimes the good stuff gets swept in there by mistake. Check with your cat too. You know it’s what they expect.

Considering Contrasts

contrasting the wibbly-edged puddles and spills of ink from yesterpost with frayed torn edges against the sharp clean line of geometric die-cut pieces.

โ€œDonโ€™t think about making art, just get it done.ย  Let everyone else decide if itโ€™s good or bad, whether they love it or hate it.ย 
While they are deciding, make even more art.โ€

โ€“Andy Warhol 

a story about edges

How do we find contrasts when making art in monochrome?

There’s the tonal value: darks offsetting lights. What else?

Today I’m exploring contrasting edges:

From the wibbly-edged puddles and spills of ink from yesterpost, with frayed torn edges for an organic and weather-beaten feel, beside the sharp clean outline of geometric die-cut pieces.

Because if we don’t try, we won’t know, right?

I collaged the die-cut pieces onto a background of torn pieces, playing with different layouts, using the negative space shapes and a mixed up almost symmetry.

I get twitchy with anything approaching perfection so the off centred aesthetic is not a mistake ๐Ÿ˜‰ I like the sense of what I make being one zoomed in part of an unknown bigger whole, like a passing snapshot, a glimpse.

I’m curious to see how that all adds to the effect when I piece these bits together in the next stage of this project.

I keep any leftovers to use in my art journals as a reminder of projects gone by. Likely we’ll see these bits show up on a future page of the 100 day project ๐Ÿ™‚

Here’s how I put together a couple of versions of this idea


“Twelvty” 12 Colors in 12 Months

Every month this year I am making a series of mixed media pieces in just one color. At the end of the year I’ll combine them into one big multicolored work. 

I’m sharing my process throughout this adventure here in this blog. (So far this year I’ve explored Yellow, Yellow-Green, Green, Blue-Green & Blue)

Iโ€™d love for you to join me. TWELVTY is open to everyone, and better yet, itโ€™s free!

Sign up for my newsletter to find out more and get your free TWELVTY guide ebook. 

Processingโ€ฆ
Success! You're on the list.

You’ll get an email to confirm you’ve signed up and are human. Sorry, only humans (and their cats) can join. Check your spam folder cos sometimes the good stuff gets swept in there by mistake. Check with your cat too. You know it’s what they expect.

3/4 of a junk journal

To celebrate 3/4 thru the 2020 #100dayproject, here’s a quick whizz through the next 25 pages in this ever evolving junk journal.

The 2020 #100dayproject
is 3/4 done!

To celebrate the 3/4 point, here’s the next 25 page skip through the pages in this ever evolving junk journal.

You can see the first 25 pages here & part two here ๐Ÿ™‚


I am having the most fun making this!

This daily exercise has stretched my creative muscles & become the scaffolding of my days these last few weeks.

The project began a week or two into lockdown, and it’s been the one consistent part to my days while everything else is in flux.

I come and go to this book through the day – adding a bit and leaving it while the paint dries to get on with something else.

I wind down in the evening by adding bits of collage here and there, shuffling through my stash of painted papers to find just the right bit for just the right space.

It’s like a meditation of sorts.

And as day 100 looms I’m thinking I’ll likely carry this on past that point. In such wildly uncertain times it’s wonderful to have something to anchor my attention to. Let’s see!

Meanwhile, I’ll be back with Part four in a few weeks time ๐Ÿ™‚


So join me, will you?


I’m @mixygregory over on Instagram, and for the course of these 100 (or so) days I’m posting daily updates with the tags

#100daysbymixy and/or #100pagesbymixy

(because being consistent was never my strongest skill.)


Layering in Inks

The essence of mixed media is layers. Today I want to explore a lighter, more dreamy version of layering.

Stop acting so small. You are the universe in ecstatic motion.

โ€“ Rumi

It’s all about the layers

The essence of mixed media is layers. I love piling layers up, with scribbles over paint over collage over who knows what lies beneath.

But layers don’t have to be weighty and dense.

My tendency is often towards over-ness: over complicated, over-thinking, over-working. So here is a stretch for me – cos I believe it’s always beneficial to stretch our creativity.

Today I want to explore a lighter, more dreamy version of layering.

I’m using the same two inks from last time, because these colors are perfect, and because I’m all about simplifying my process right now. Less decision making & more spaciousness!

Here’s my simplicity:

  • Two inks + water + plain white paper.
  • One brush.
  • Paint quickly.
  • Don’t stop to think – keep moving.
  • Let it dry.
  • Repeat until done!

Here’s how the process played out:

The result was some delicate patterns which I find only come from creating spontaneously like this.


“Twelvty” 12 Colors in 12 Months

Every month this year I am making a series of pieces in just one color. At the end of the year I’ll combine them into one big multicolored work. 

I’m sharing my process throughout this adventure here in this blog. (So far this year I’ve explored Yellow, Yellow-Green, Green, Blue-Green & Blue)

Iโ€™d love for you to join me. TWELVTY is open to everyone, and better yet, itโ€™s free!

Sign up for my newsletter to find out more and get your free TWELVTY guide ebook. 

Processingโ€ฆ
Success! You're on the list.

You’ll get an email to confirm you’ve signed up and are human. Sorry, only humans (and their cats) can join. Check your spam folder cos sometimes the good stuff gets swept in there by mistake. Check with your cat too. You know it’s what they expect.

Design a site like this with WordPress.com
Get started