
“You can’t stop the waves, but you can learn to surf.”
― Jon Kabat-Zinn.
Today’s one-color piece came about by accident, through a series of frustrations, not knowing what I wanted to make.
As the colors mingled and the shapes began to show up I saw a pattern emerge – I caught a wave – and let it carry me through this process.
Like all creative folk, I don’t always love what I’m making – I don’t always feel lit up inside by a vision of what I’m making – and I don’t always feel sure it will result in something good / usable / worth the time it took to make.
But experience has shown that, more often than not, I can bring it round. At least to be better than it was at it’s lowest point.
And, even if I don’t like it now, I will likely see it through different eyes in the future. Perhaps it needs to be put away for a while to rest so when I revisit it I can see what it needs to bring it around to be something I like.
That’s just how it went today.
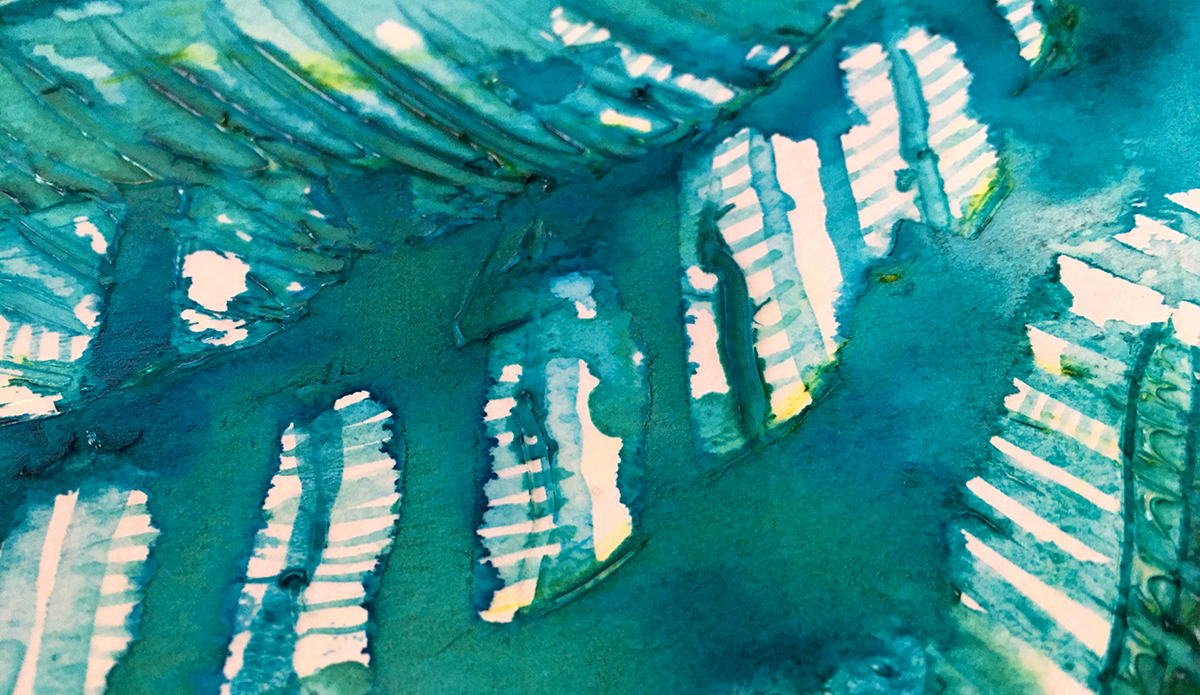
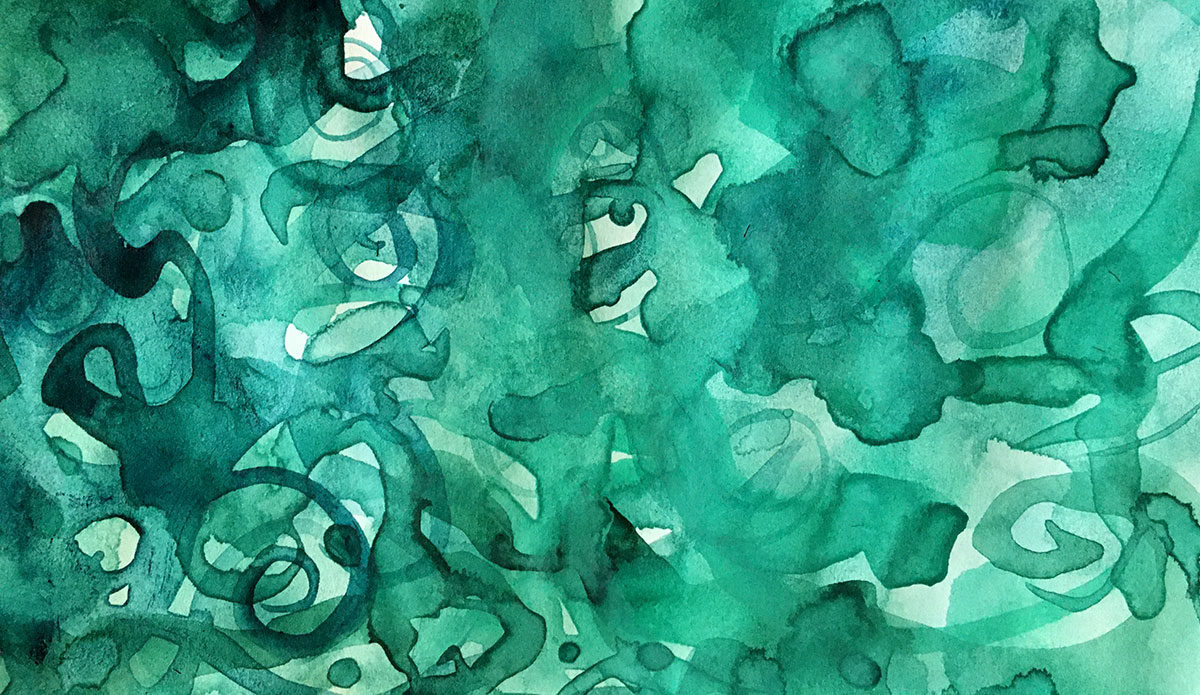
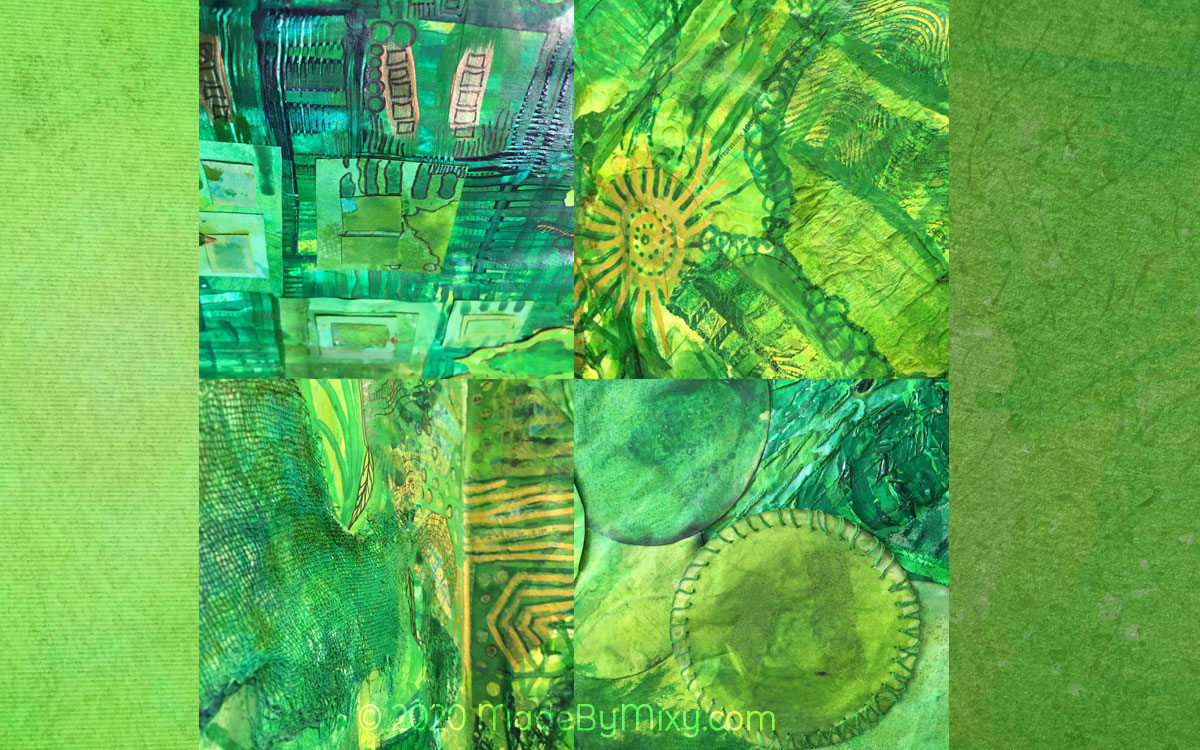
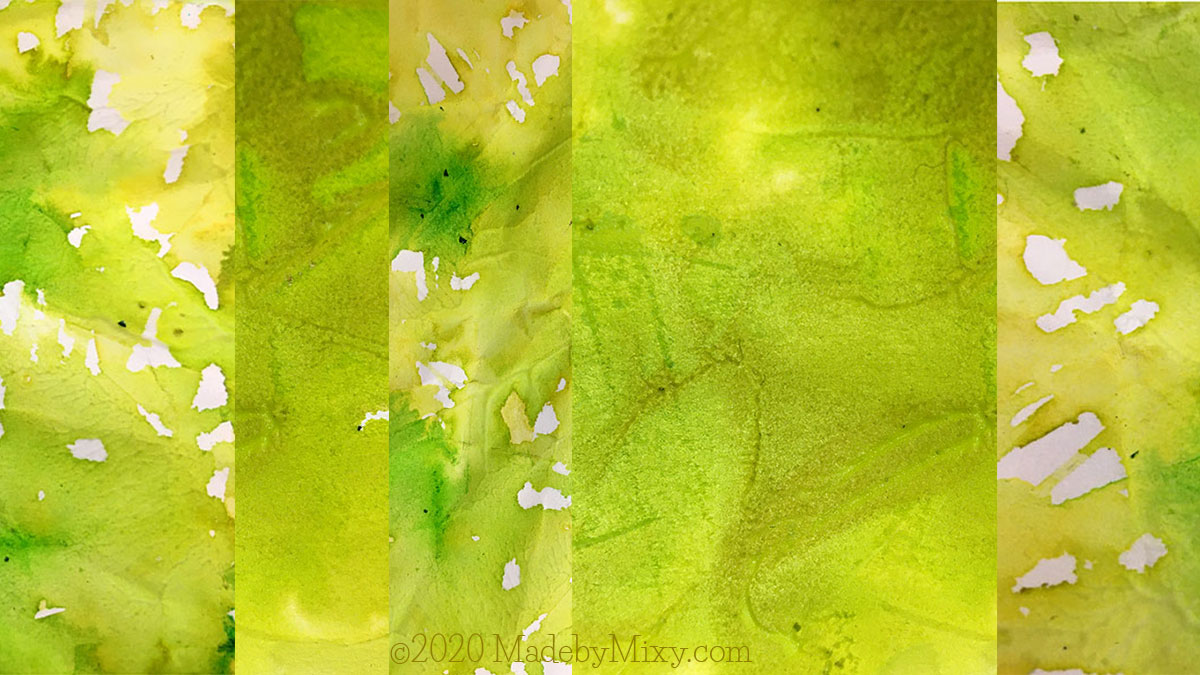
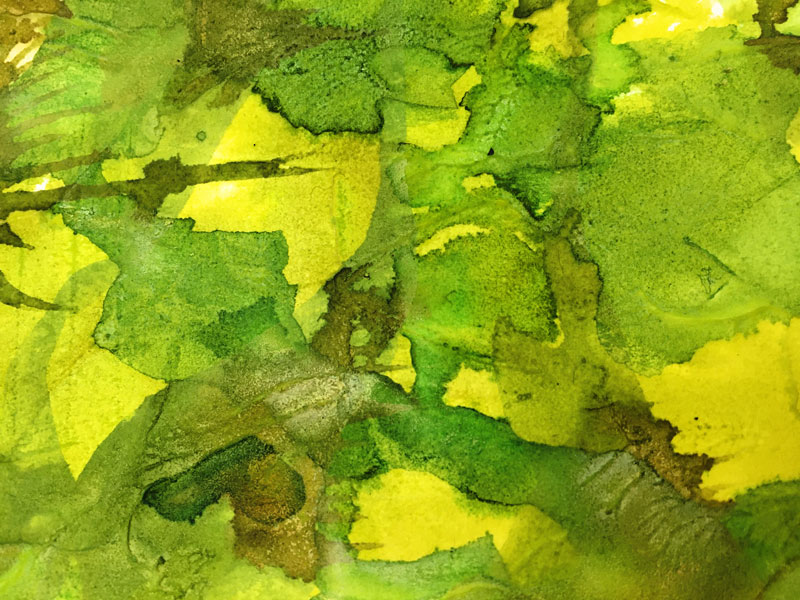
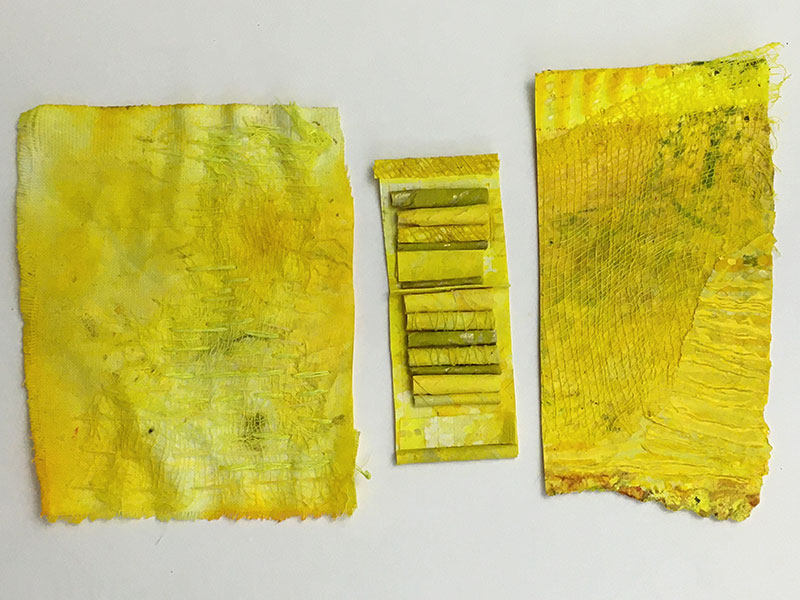
I began this piece moving color about. Two turquoises, a greenish-blue & a blue-ish green. The very first wiggles and waves in the paint marks became a repeating motif, despite them being lost under layers quite early on, I think that idea was lodged in my unconscious thinking.
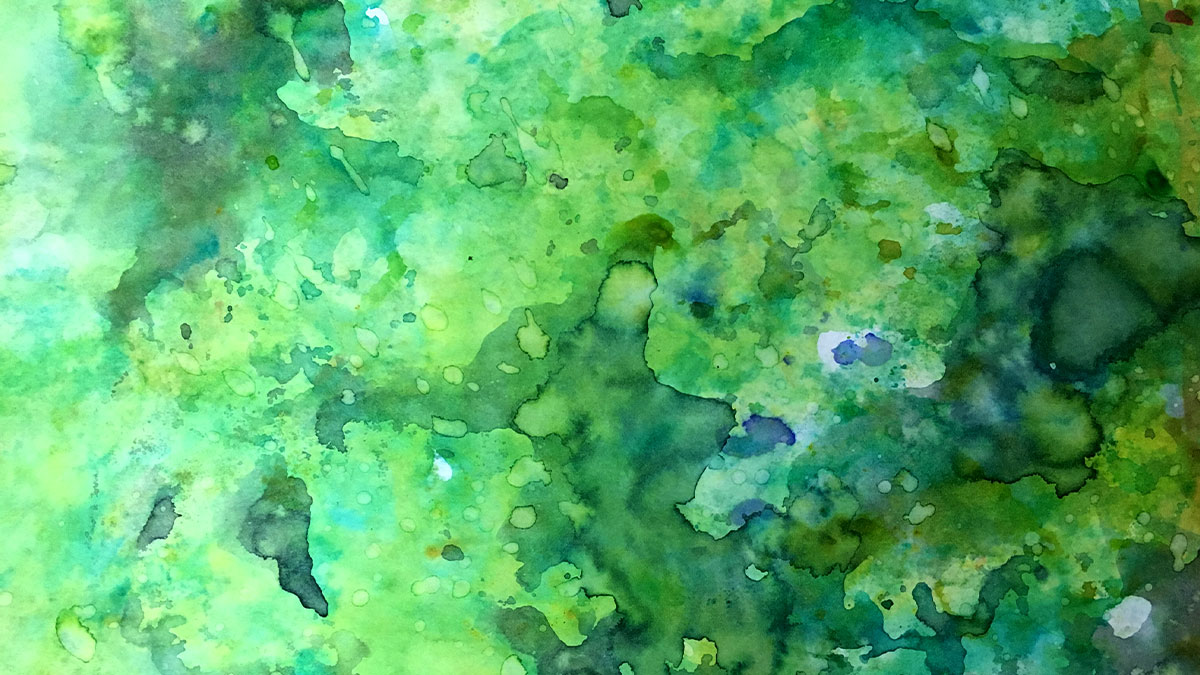
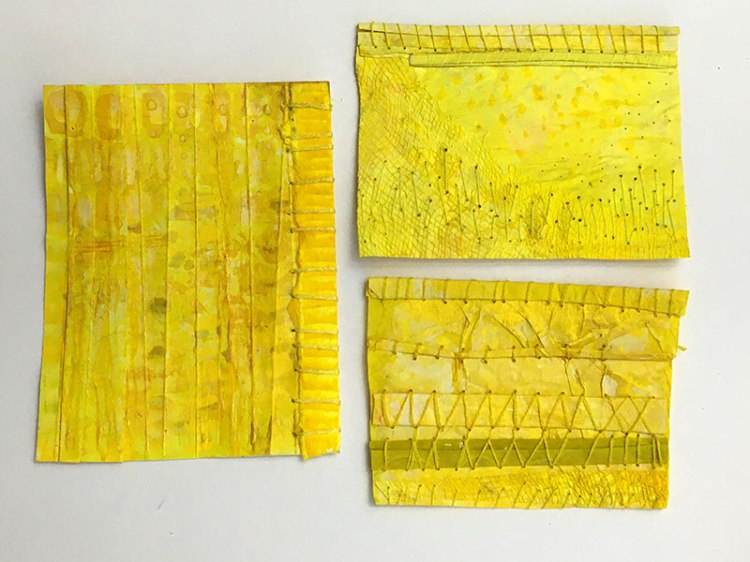
A thing I often find myself doing while I’m lost in the ‘no idea’ foggy stage I’ll just smother more and more layers until a critical mass of muddiness appears – like the tide which reaches it’s furthest stretch and has to return – there’s no more way to add more paint so I have to blot some away.
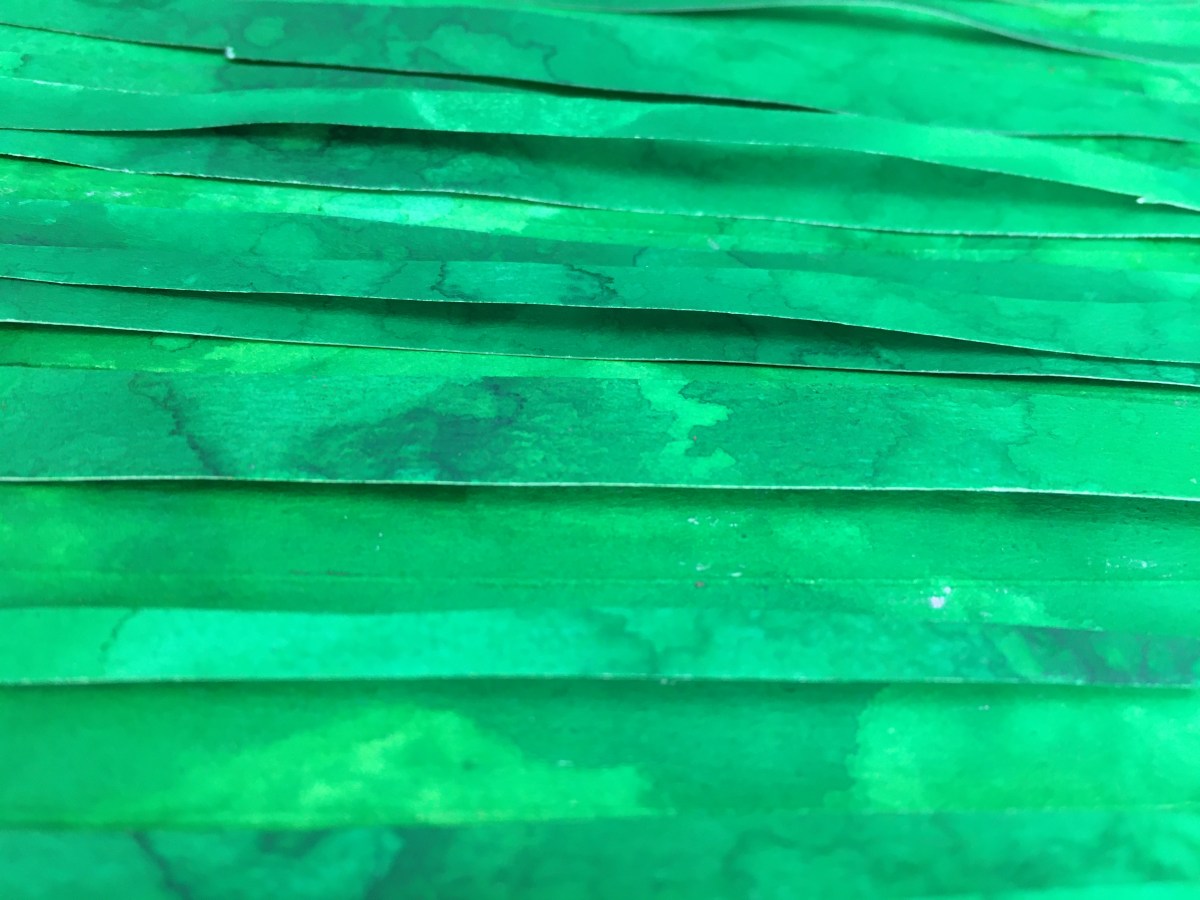
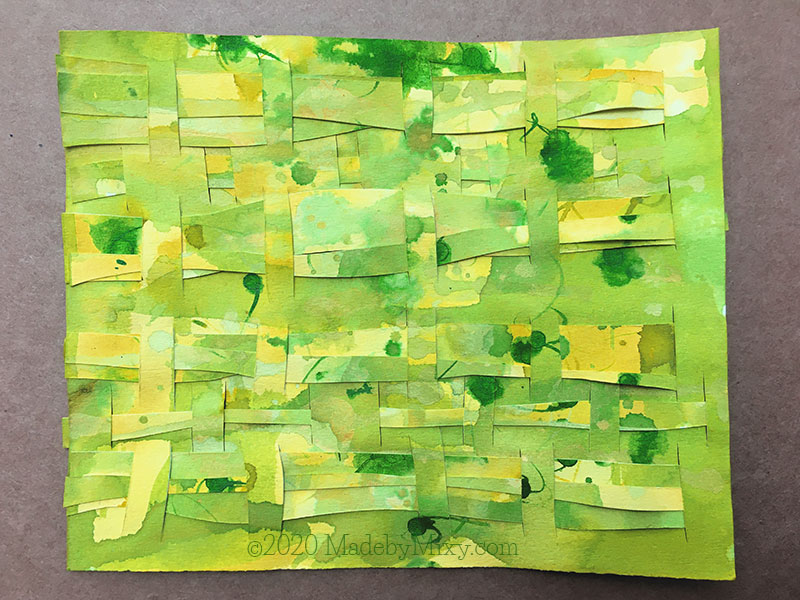
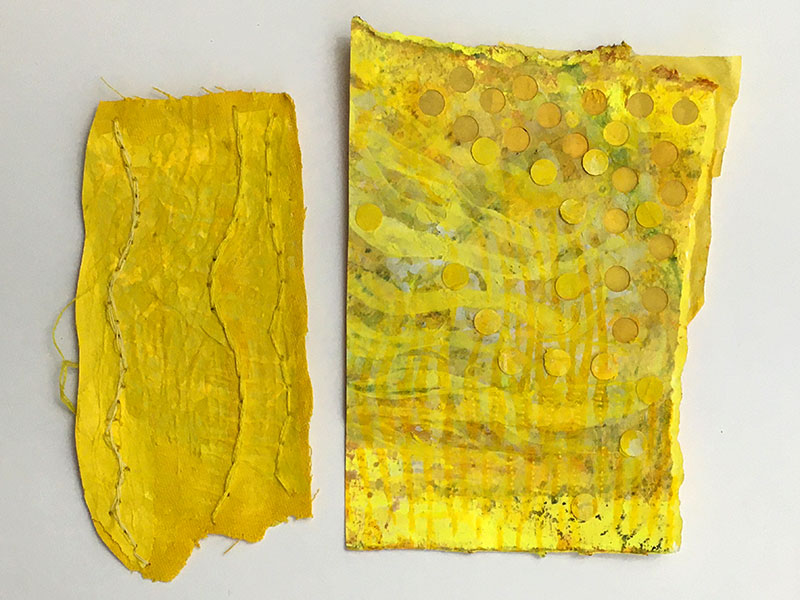
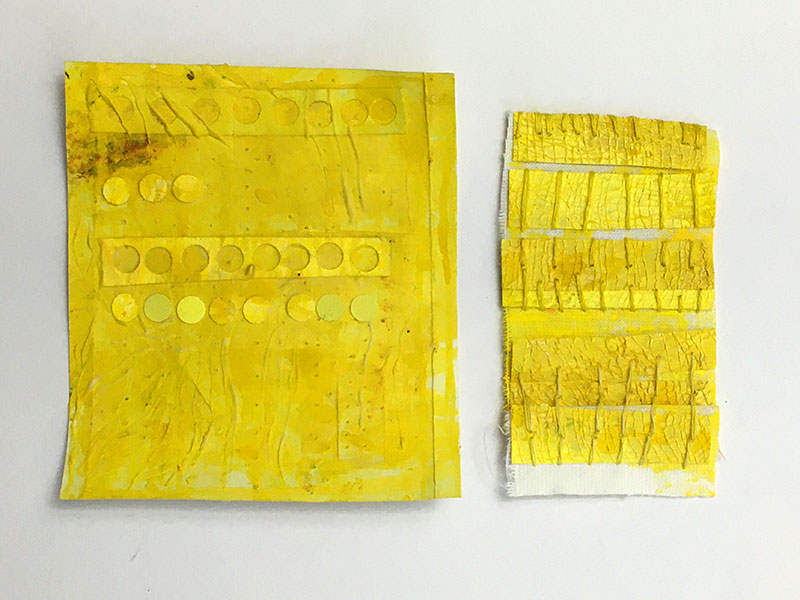
Then if all else fails, cut it up and rearrange the bits.
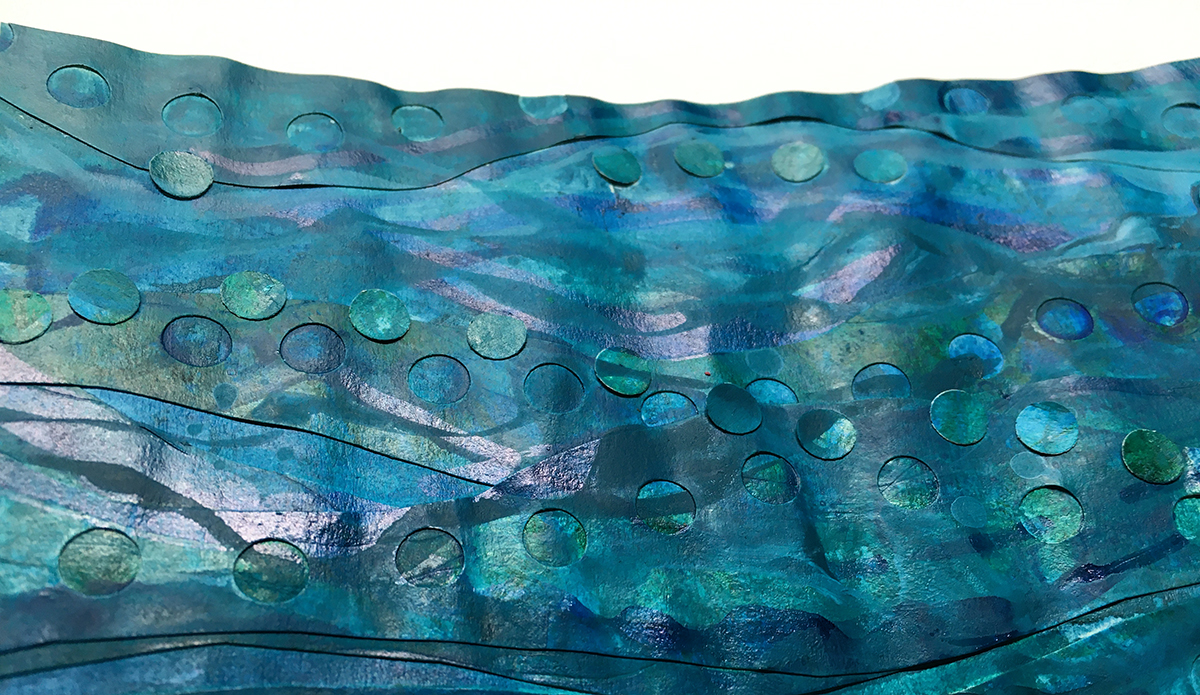
All those layers of wet paint and collage gave the whole piece a pleasingly wiggly rippled surface to echo the waves.
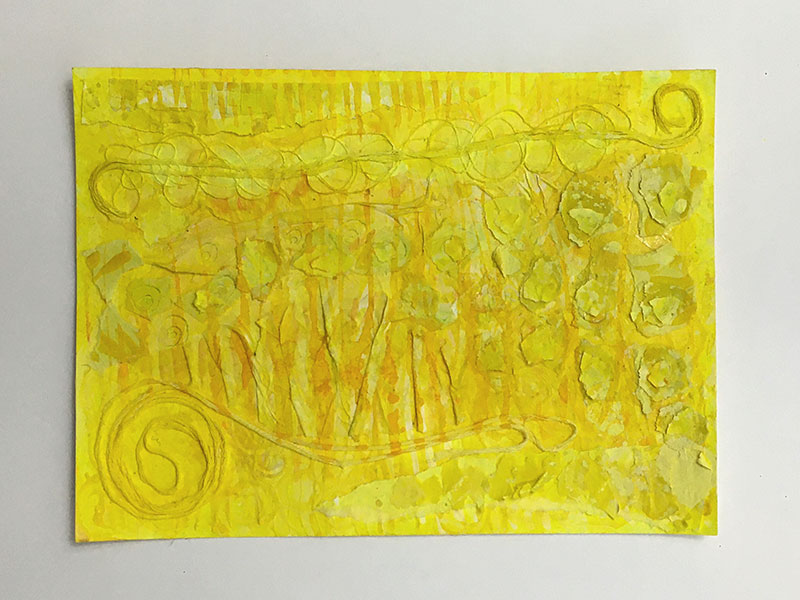
Here’s how this piece came together…
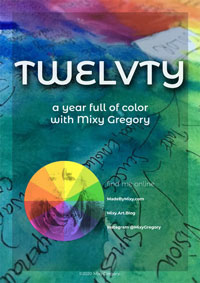
“Twelvty” 12 Colors in 12 Months
Every month this year I am making a series of pieces in just one color. At the end of the year I’ll combine them into one big multicolored work.
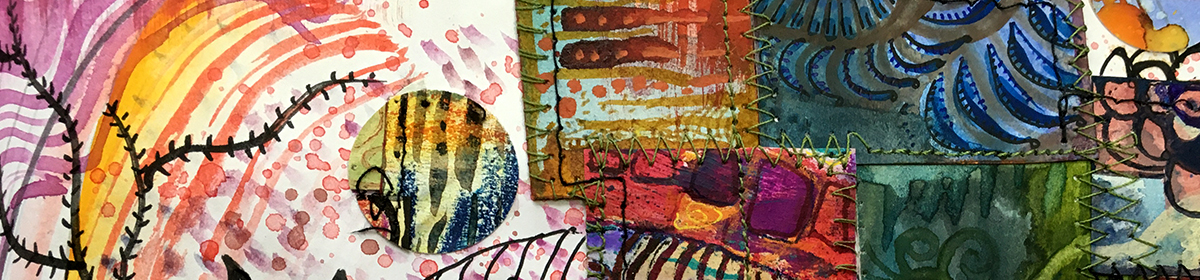
I’m sharing my process throughout this adventure here in this blog. (So far this year I’ve explored Yellow, Yellow-Green & Green)
I’d love for you to join me. TWELVTY is open to everyone, and better yet, it’s free!
Sign up for my newsletter to find out more and get your free TWELVTY guide ebook.
You’ll get an email to confirm you’ve signed up and are human. Sorry, only humans (and their cats) can join. Check your spam folder cos sometimes the good stuff gets swept in there by mistake. Check with your cat too. You know it’s what they expect.