“Art is in all the details.“
— Christian Marclay
Little Steps
As I type this, for context, we’re on lockdown day 1 in the UK.
Early days in the unfolding story of 2020.
It seems more poignant than I could have predicted to be talking today about the little steps along the path to an uncertain destination.
The context I had in mind was about creating mixed media art in a single color. And saying it now feels trite and superficial.
But, this is here to take or leave as you choose. It might serve as a distraction, or a metaphor, or just some visual music to soothe a few minutes in your day.
“The true secret of happiness lies in taking a genuine interest in the details of daily life.”
~ William Morris.
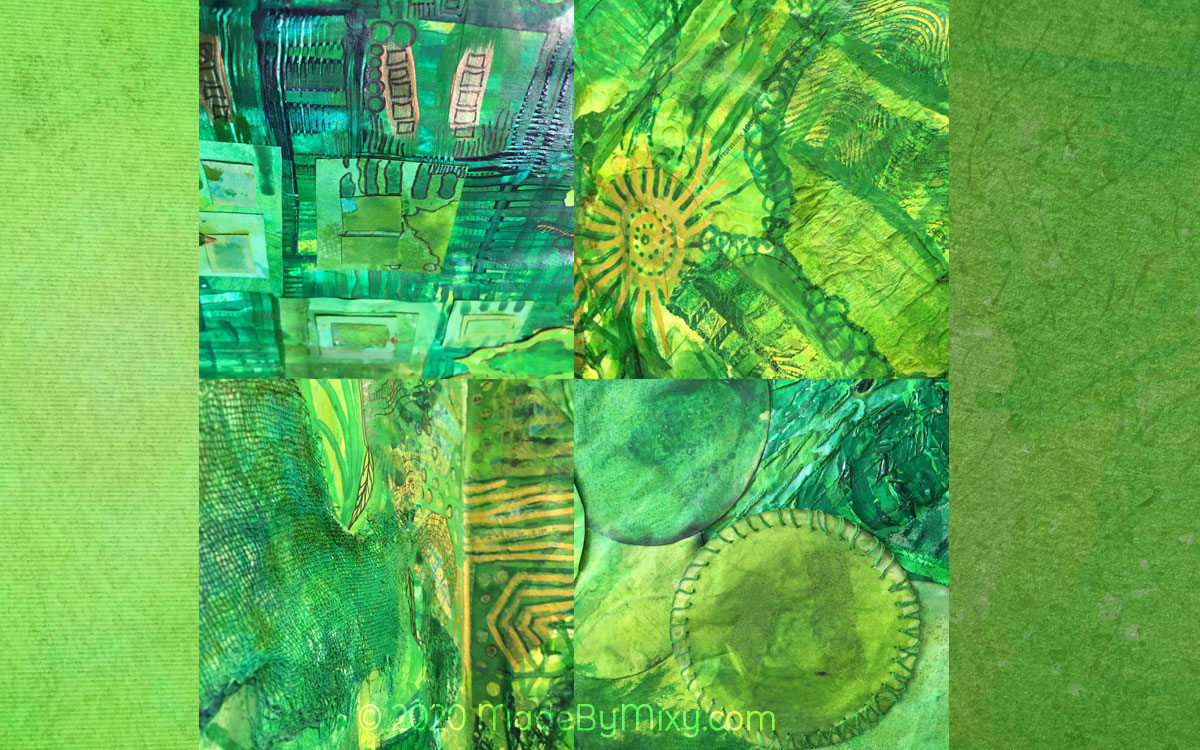
In life, in art, the details are what I’m focussing on right now.
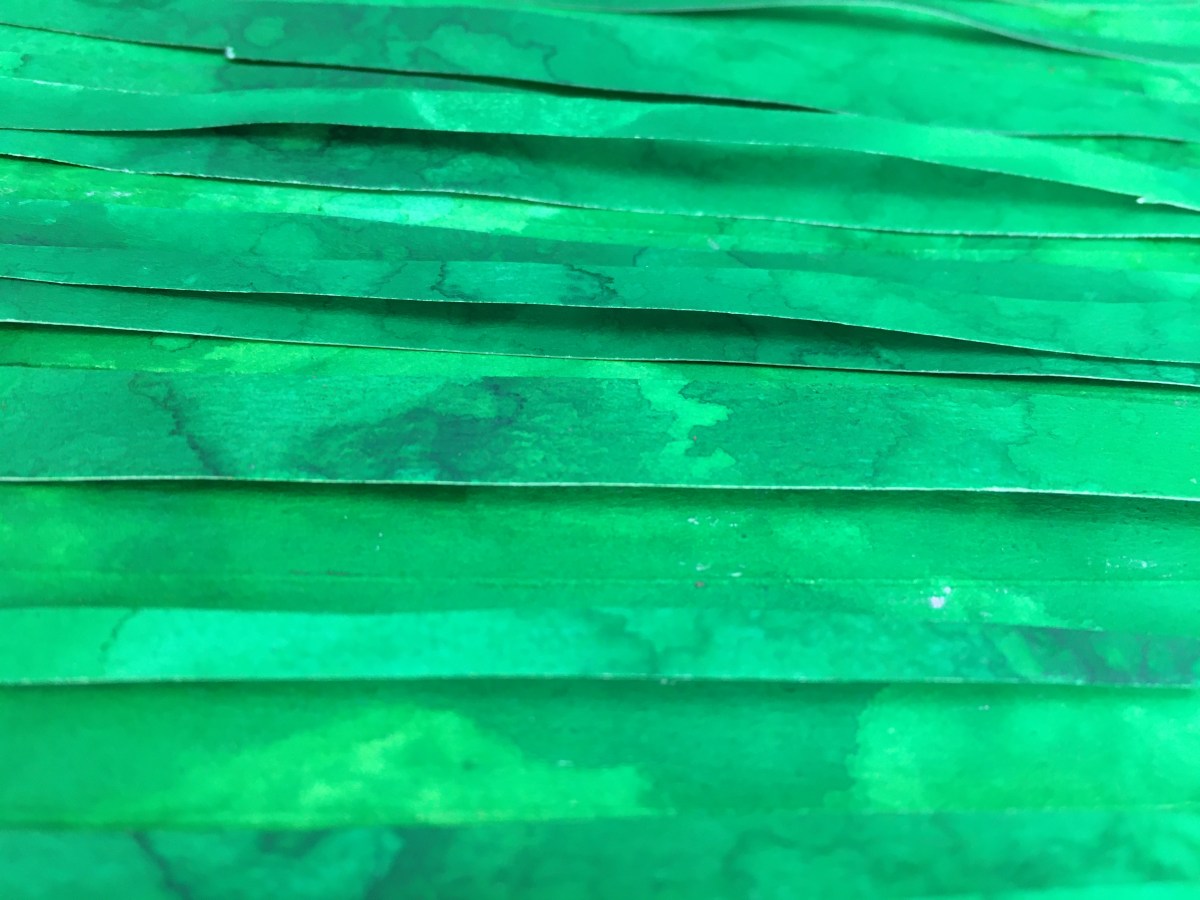
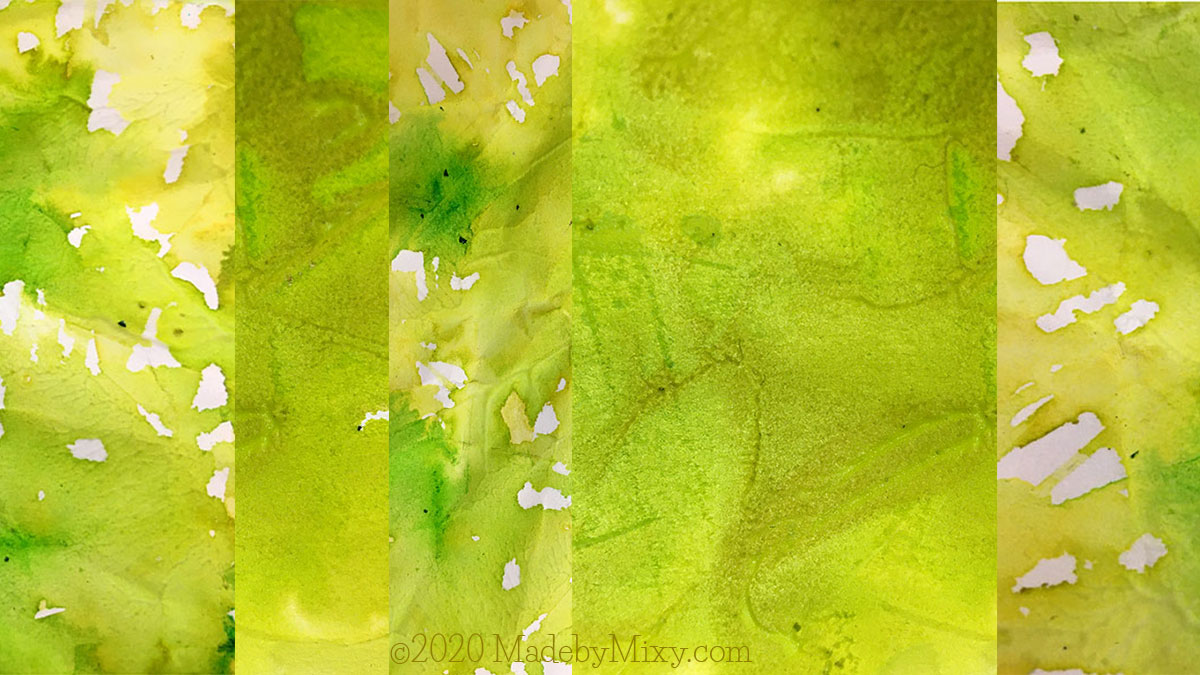
Especially when using a single color, it’s the little details that bring a piece to life, adding character, dimension.
Details in a neutral color (black, grey tones, white) break up the intensity of a solid field of one hue. That’s exactly what I did here.
Above all, doodling is a low-mental-bandwidth activity that seems to dissipate angsty monkey mind chatter.
You don’t need a plan, just follow the lines and shapes. Use little marks, dots, scribbles, whatever shapes take your fancy. For once, don’t look at the bigger picture, just take a little area and dance the pen about. Doodle until you’ve had enough and then set it aside. That’s all there is to it!
“Twelvty” 12 Colors in 12 Months
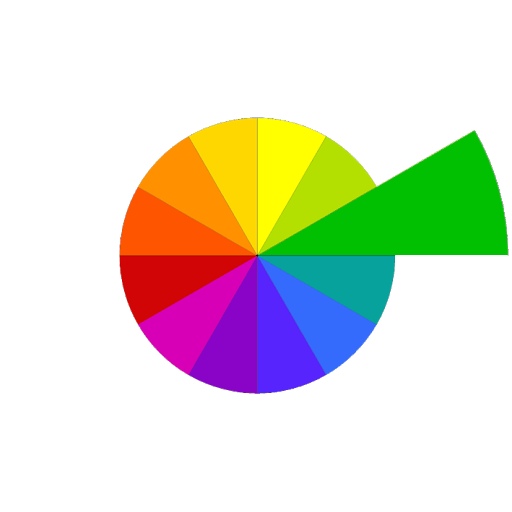
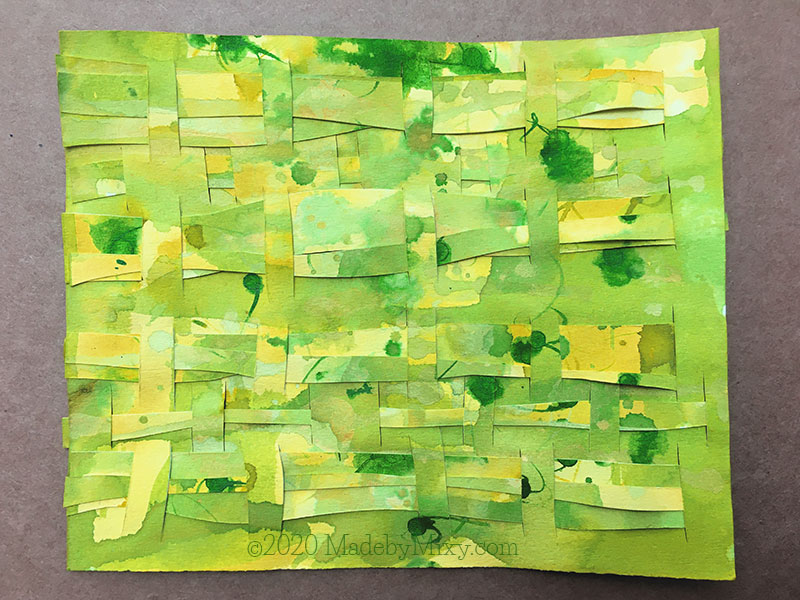
Every month this year I am making a series of pieces in just one color. At the end of the year I’ll combine them into one big multicolored work.
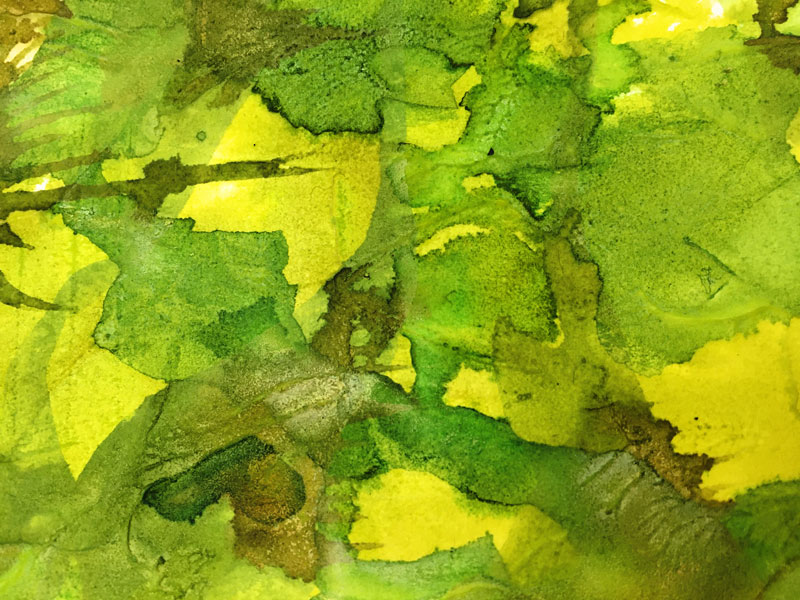
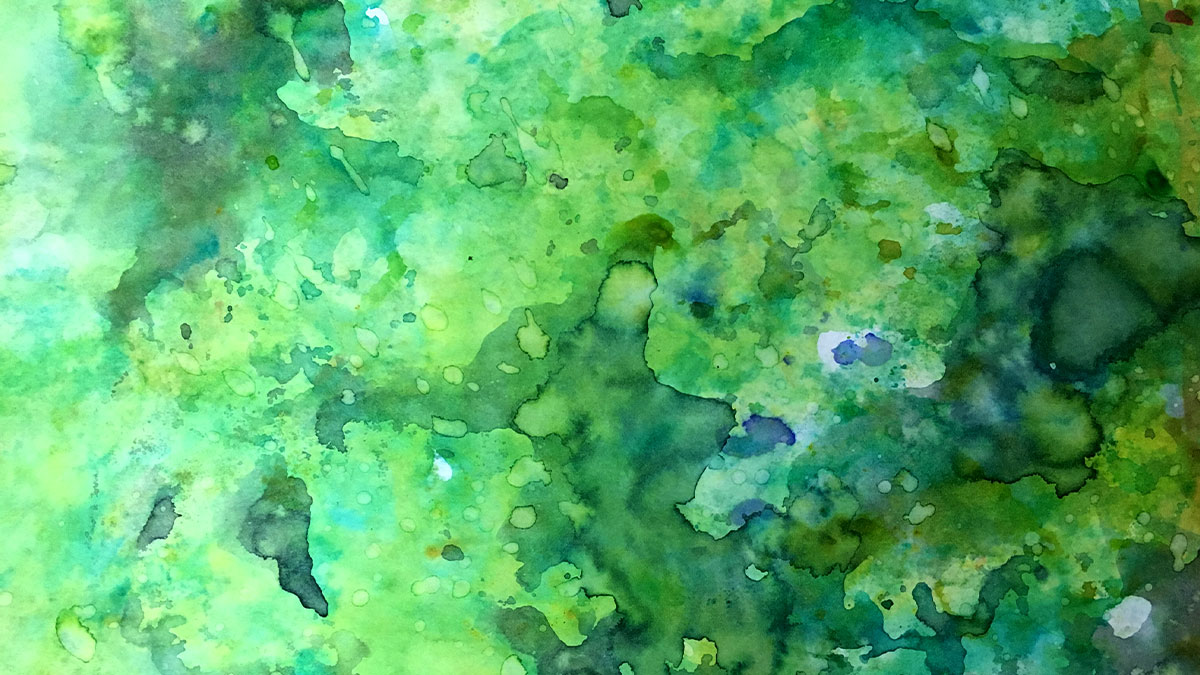
I’m sharing my process throughout this adventure here in this blog. (So far this year I’ve explored Yellow & Yellow-Green)
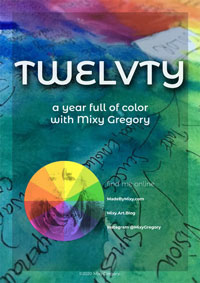
I’d love for you to join me. TWELVTY is open to everyone, and better yet, it’s free!
Sign up for my newsletter to find out more and get your free TWELVTY guide ebook.