Can’t help myself, every day gotta get a fix of colors. Colors in combinations that don’t always sit comfortably. Colors in big splashy forms. Speckles n freckles you only see close up….
Tag: paper

the book as a metaphor
As one day merges into another, so the theme of a page drifts through those either side. I’ve noticed this more and more as the book goes on.

(Starting in mid March I’ve probably only got about a week’s worth of pages to go. Three months have flewn!)

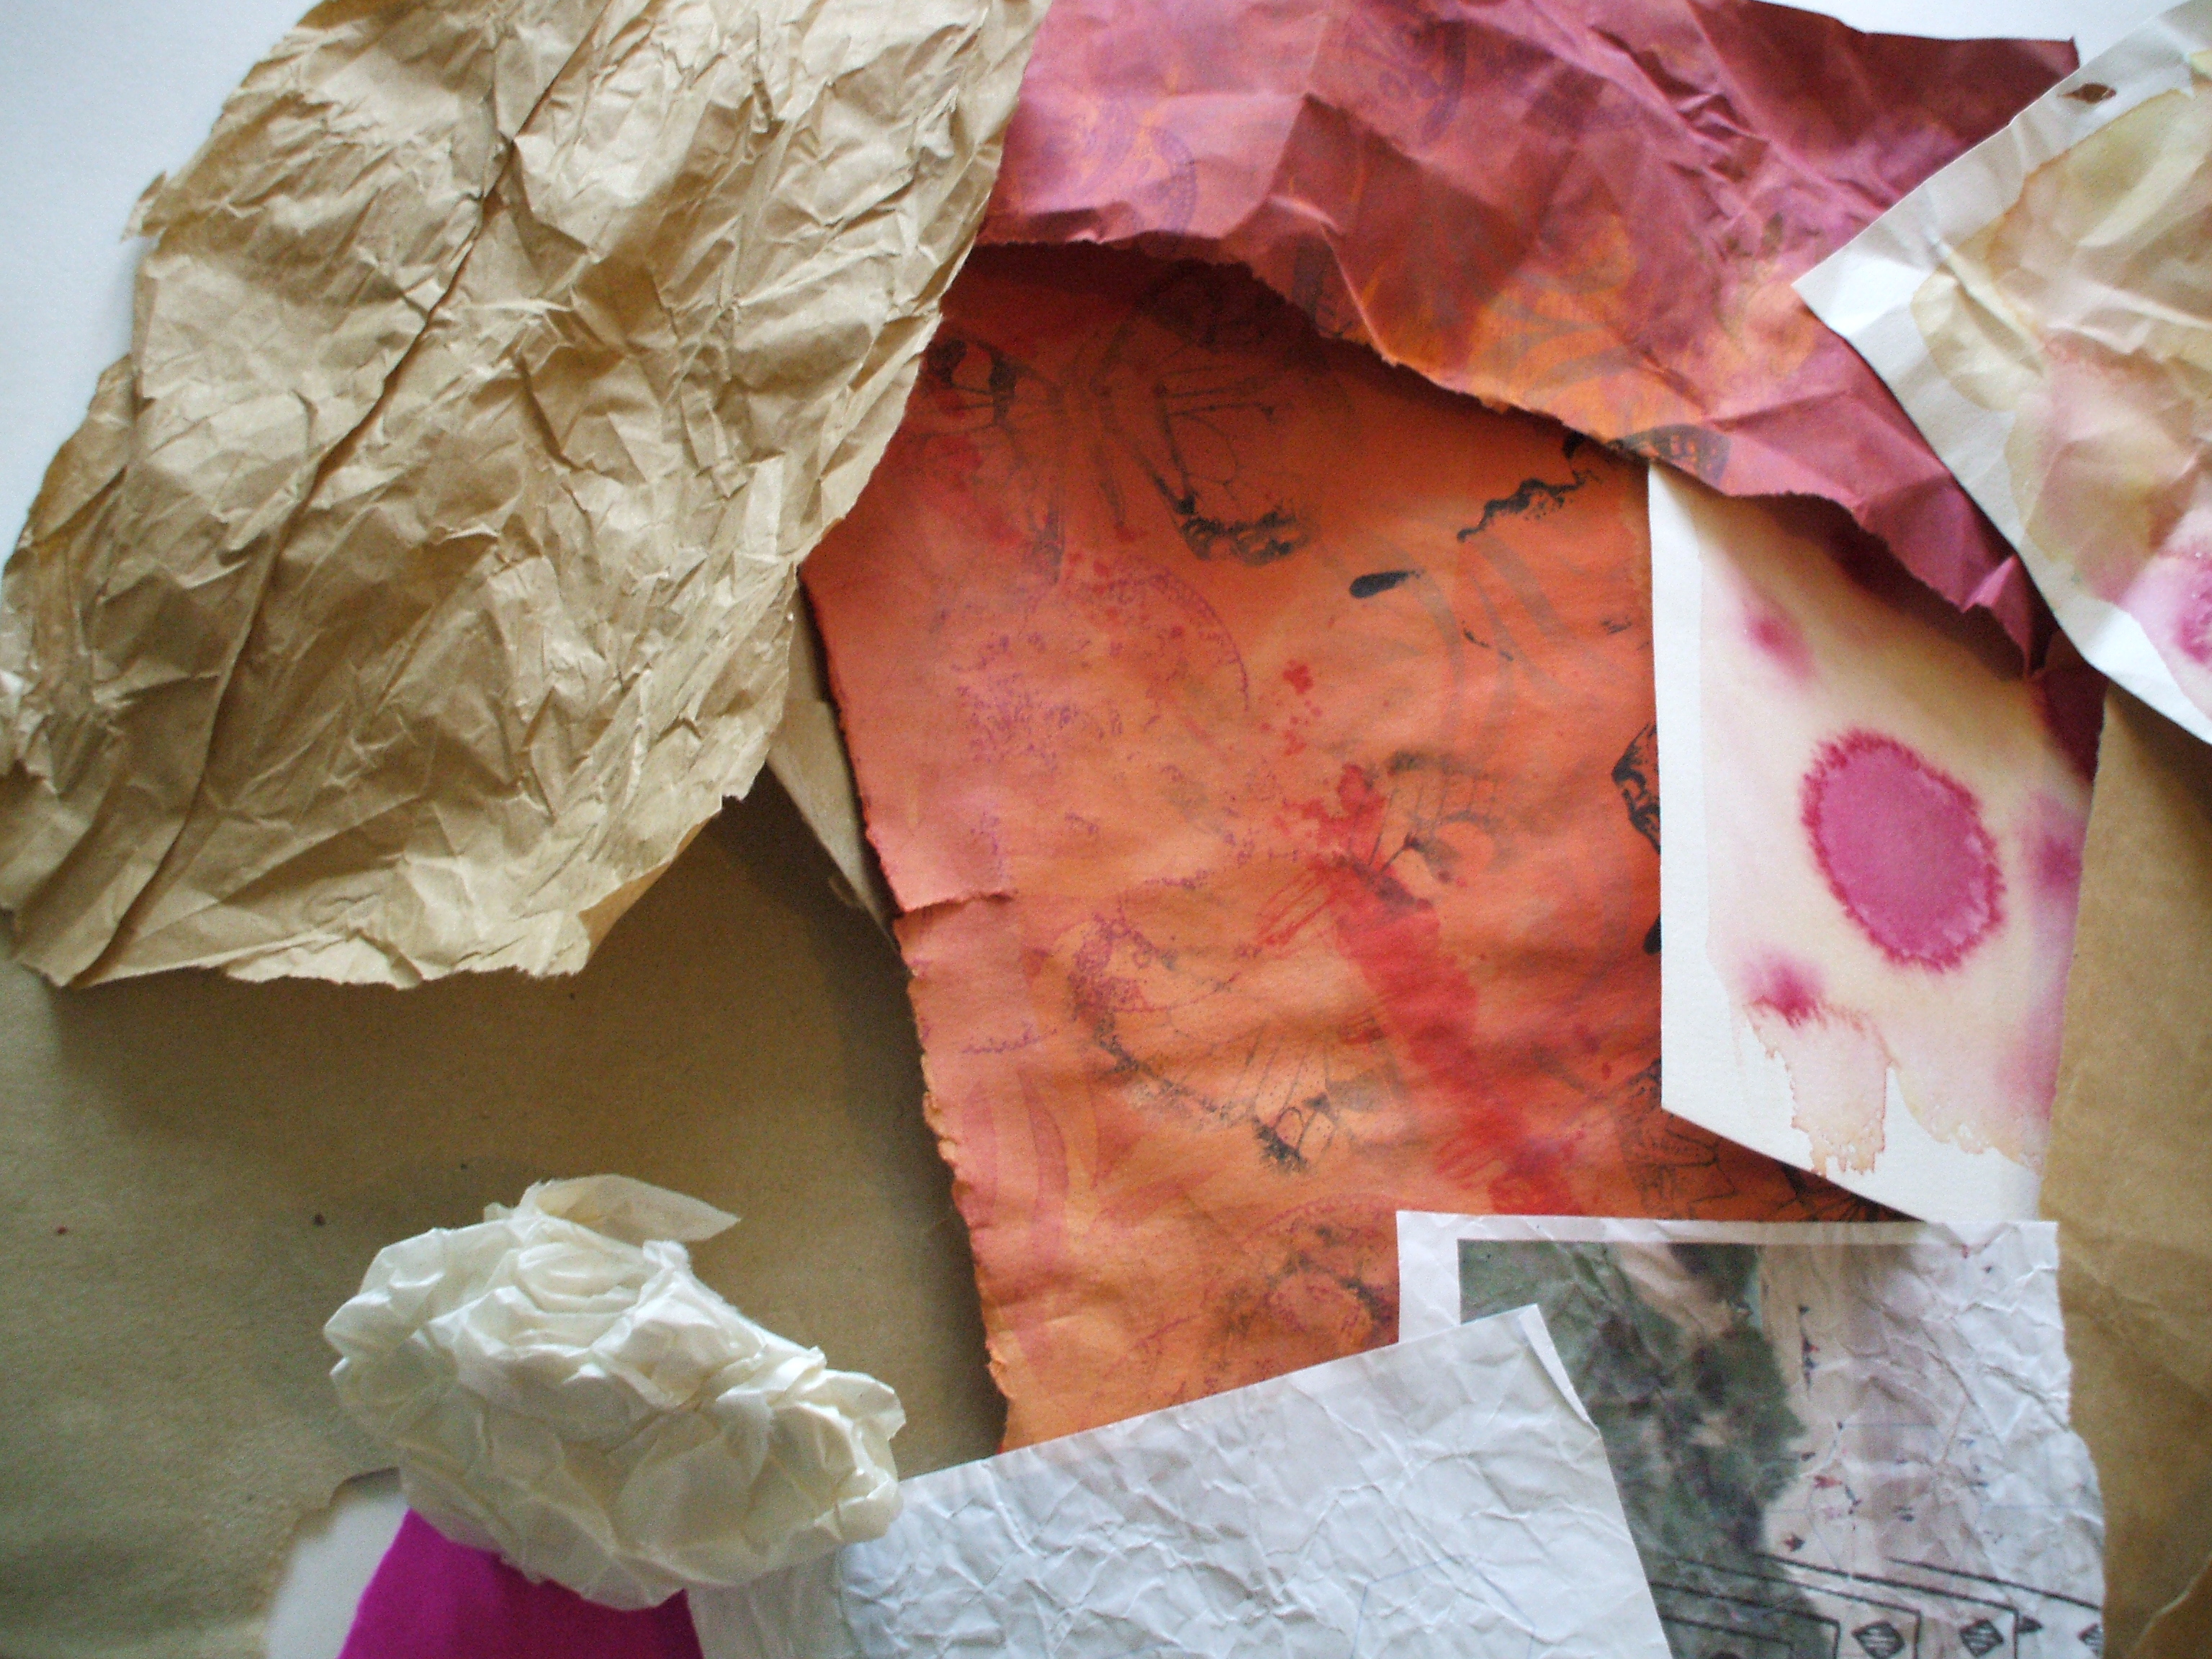
The past week I’ve been more than a bit preoccupied with paper cut outs. I’ve been using up some of the dyed paper

Repeating shapes unite the pages. Contrasting colors separate them.

Layers on layers, lifting edges, like leaves.

Share this:

serendipity
Serendipity [noun] “an aptitude for making desirable discoveries by accident.”
I think this sums up so much of what I do. Yesterday’s post about recycling was a tangent I wandered down when thinking about how the collage pieces I make come into being.
Paper is readily recyclable these days (indeed it’s often recycled when it’s ‘new’) but I like to get every last ounce of use out of it. Once it’s been printed on (both sides) with info that’s no longer needed, it retires to a life in art.
Images and pictures, blocks of color or gradients, maps, poetry, lyrics, photos, scanned doodles and sketchbook pages, mish-mashed up in photoshop, I let fate take over and set the printer running. And if there are gaping spaces left, the page gets turned around and over-printed again. Serendipity occurs!

The ones that don’t happen into something immediately usable cover my work table to take on new nuances with splashed color, and as testing grounds for paints and inks and stampings. Or used to soak up excess color from dying fabrics and threads (I think this must be where the great paper-dying project originated… one idea bears fruit and blossoms into new ideas and schemes and badly mixed metaphors!)
Share this:

Mesh Mess
Y’know that sticky mesh tape stuff you stick plaster board together with? Yeh, sure you do! Here it is… It’s meant for healing up wounds in walls n ceilings, but I have a much better use for it.
Made from fibreglass it’s super-tough and water resistant, and the tape has just the right ickiness to it. If you’ve seen my last few posts you’ll know where I’m going with this…
It makes for excellent griddy stenciling and painty fingers!

Close ups….


Share this:

Frisket stencils, part 1
I do love stencils, and after watching this vid from Julie Pritchard and Chris Cozens I was inspired to follow their technique using my own stencils. (I especially like the way they recycle the colors from the stencils onto tissue paper to reuse later on in collages)
So, I got myself some Frisket Film (if you’re shopping in the UK I can recommend Artifolk.)
Frisket is a low tack film that can be be cut to shape with scissors or craft knife, made especially for airbrush masks. (although I’m not air brushing, I’m using a spray bottle with dye.)
Used on a flat paper it sticks just enough to withstand leaks and dislodging, but on the bumpy lumpy surface of my sketchbook page it doesn’t have enough ‘cling’ to make a completely water-tight seal, but I’m happy with this – where the color oozes under it makes for a deckled edge to the stenciled lines.
Building up the layers is a lot of fun!

Dabbing the puddles of color to soak up excess liquid keeps it (slightly) under control!)

After letting it dry I added a couple more Frisket shapes, re-sprayed and a sprinkling of Brusho powder.

Check back later and I’ll show you how it developed from here!
Share this:

visual echos
Thursday’s page focused on utilising bits of the dyed paper through stacking n stitching, to exploring cut and torn shapes
The echoing shapes from previous pages are now just indentations. To continue the theme of the swirling frond shape that has lasted all week I cut a stencil from acetate and used this with ink and then acrylic glaze for a subtle sheeny shape here n there.
The roughed up surface, sheen of the glaze and the warm earthy colors put me in mind of a leathery effect.
Share this:

lost in color (continued)
I love the crinkles formed in tissue paper when it gets wet n painty.

and the rivulets of ink, dabbed in a semi-dry state, neatly outlining themselves and marking their dribbly paths
doodles run around inky tidemarks, colors blend and merge the disparate 
layers piled high, paper takes on a feathery appearance, ruffled.
Not starting out with a ‘plan’ to how a page will take shape is liberating.
 It’s not a piece of art it’s a page in a book.

It’s just for today. I offer no judgement.

Free to let the colors and shapes just happen.
Share this:

Bubblewrap, Buttons & Rice (Oh My!)
The anticipation of unpeeling and revealing the results of the paper dying exploration is magical!
Of all the results, I think it’s the rice I’ve found most inspiring.
Share this:

dyed paper!
Thanks to all who’ve joined me in these last few days of paper dying.
If you’d like to catch up on the story so far, it started here, went here, went off track awhile here, before showing up here.
It’s taken over my weekend, spilling into the weeks either side, and still there’s stuff soaking and hanging out to dry! But, that all comes later. First of all…..
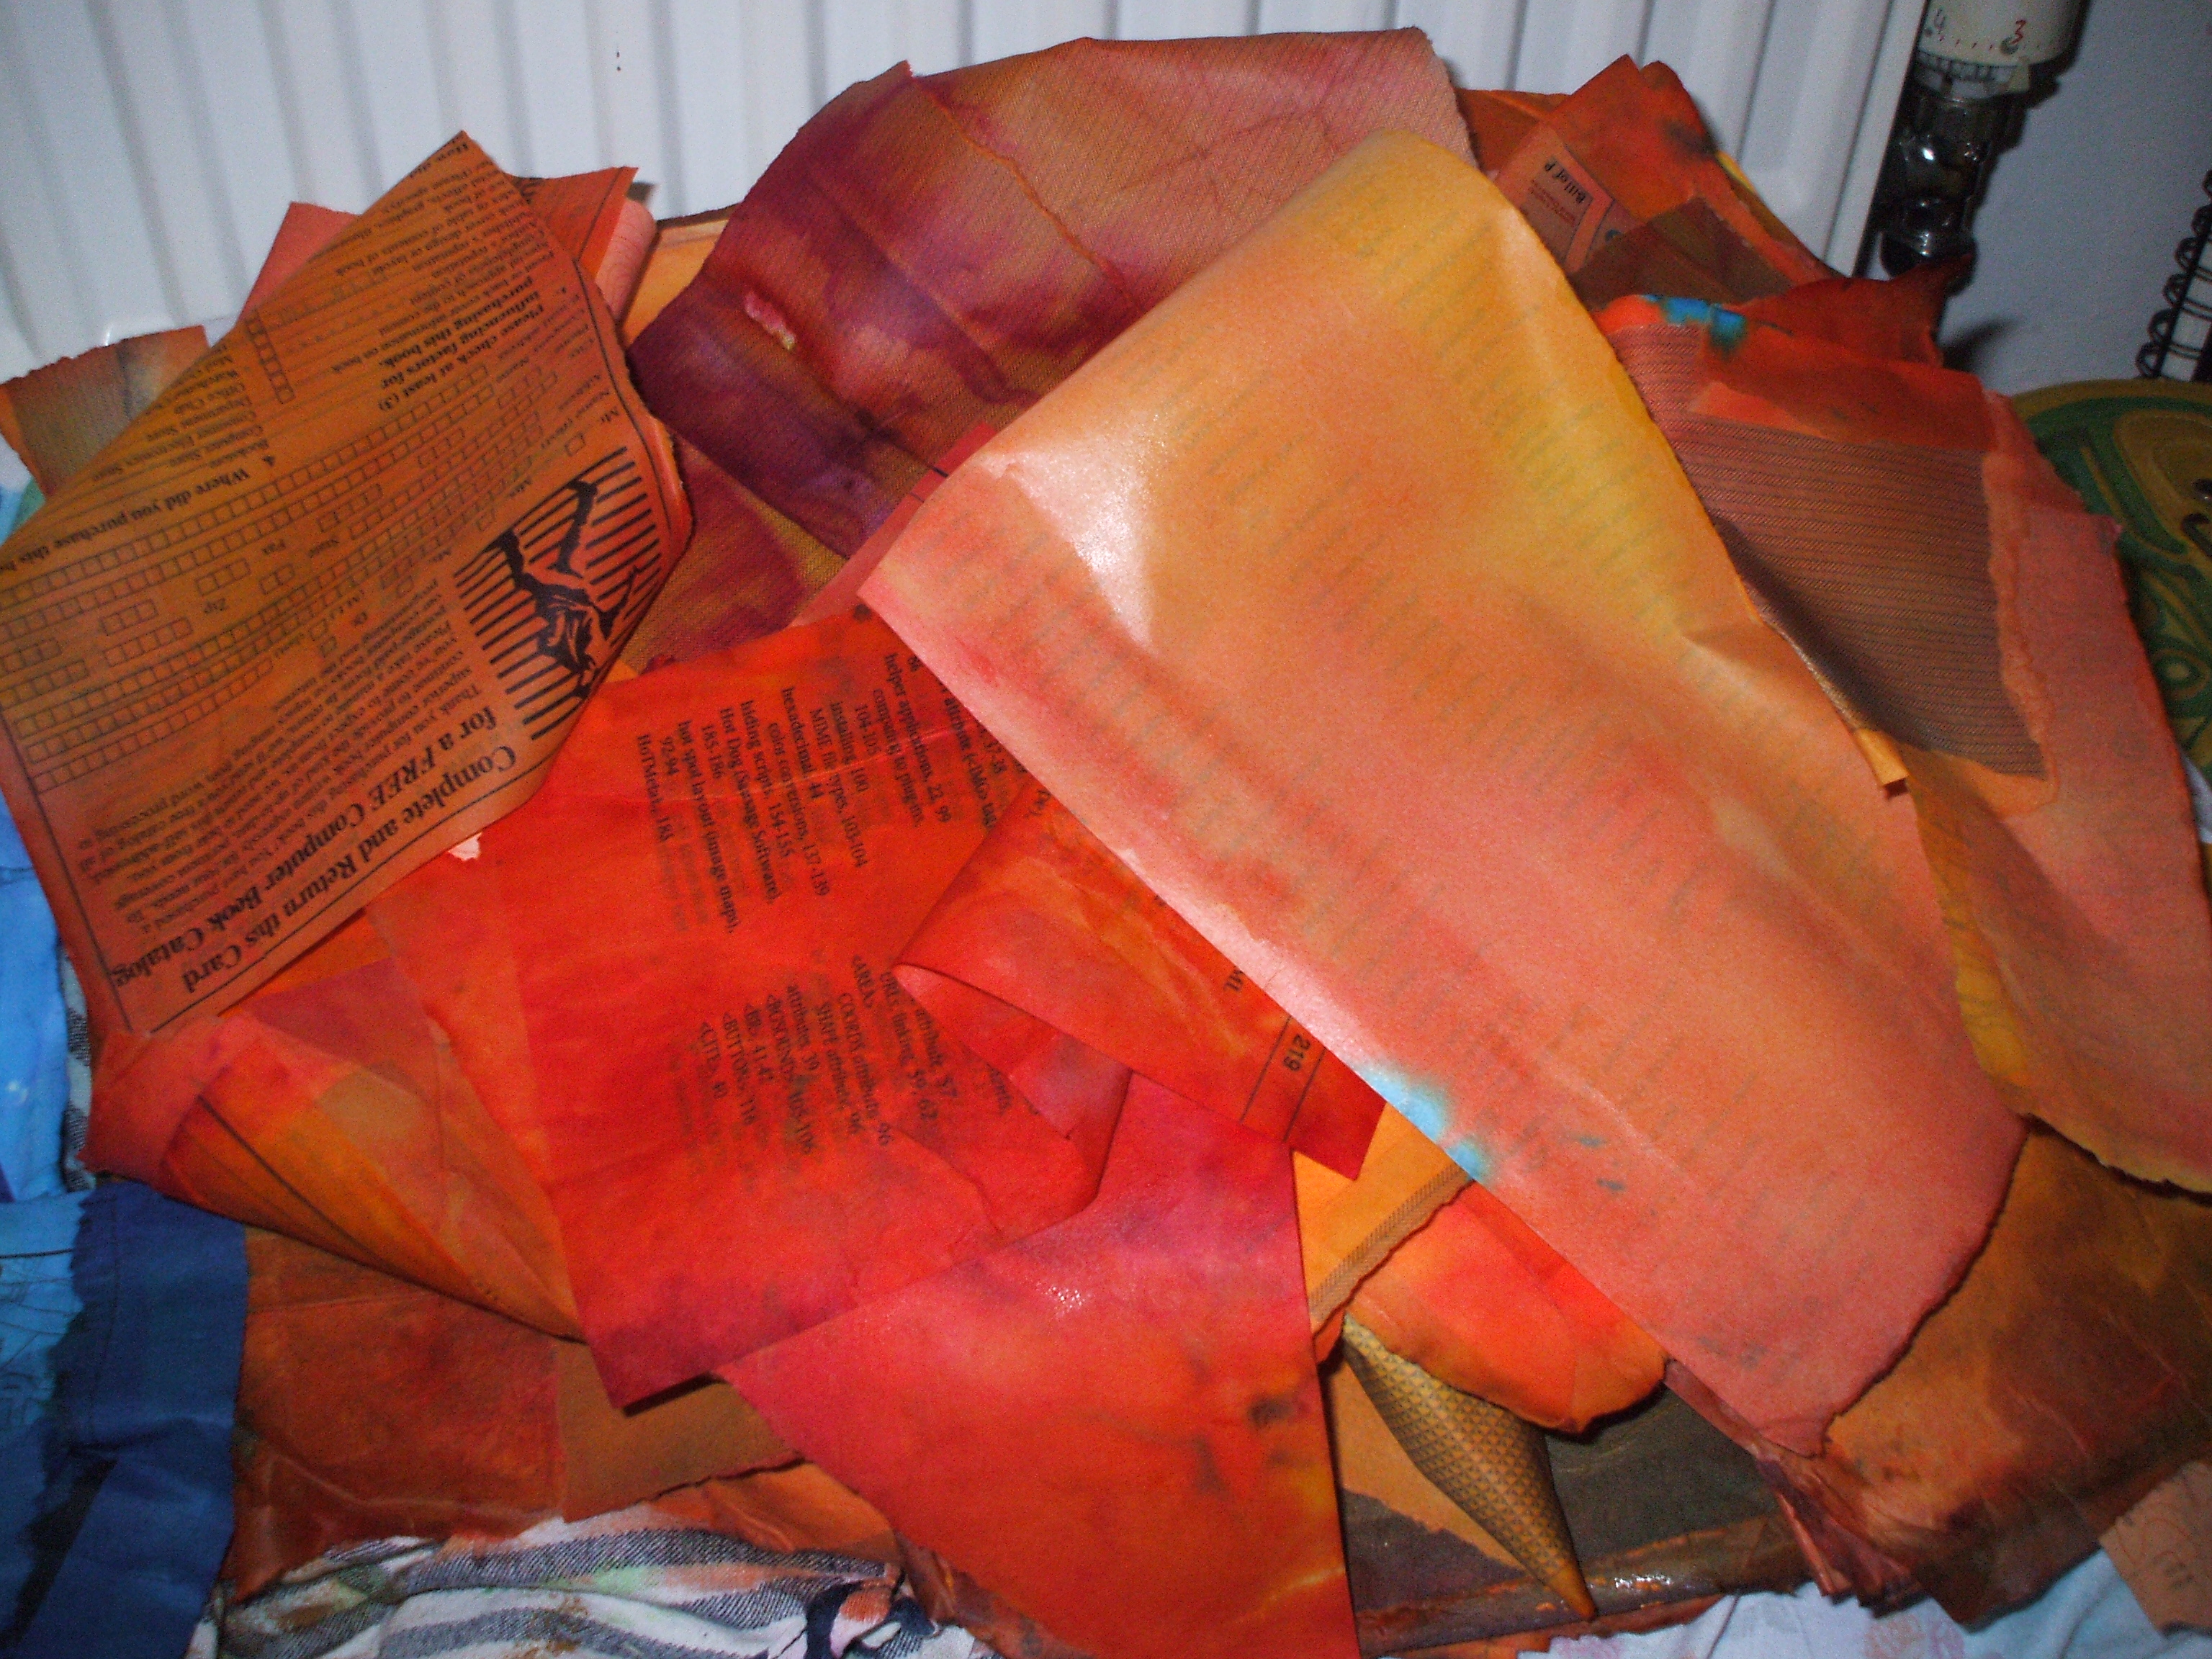
First batches!


I should really photograph these in daylight, and with less wobble, but was too giddy with excitement I didn’t want to wait!
Share this:

paper dying, part one.
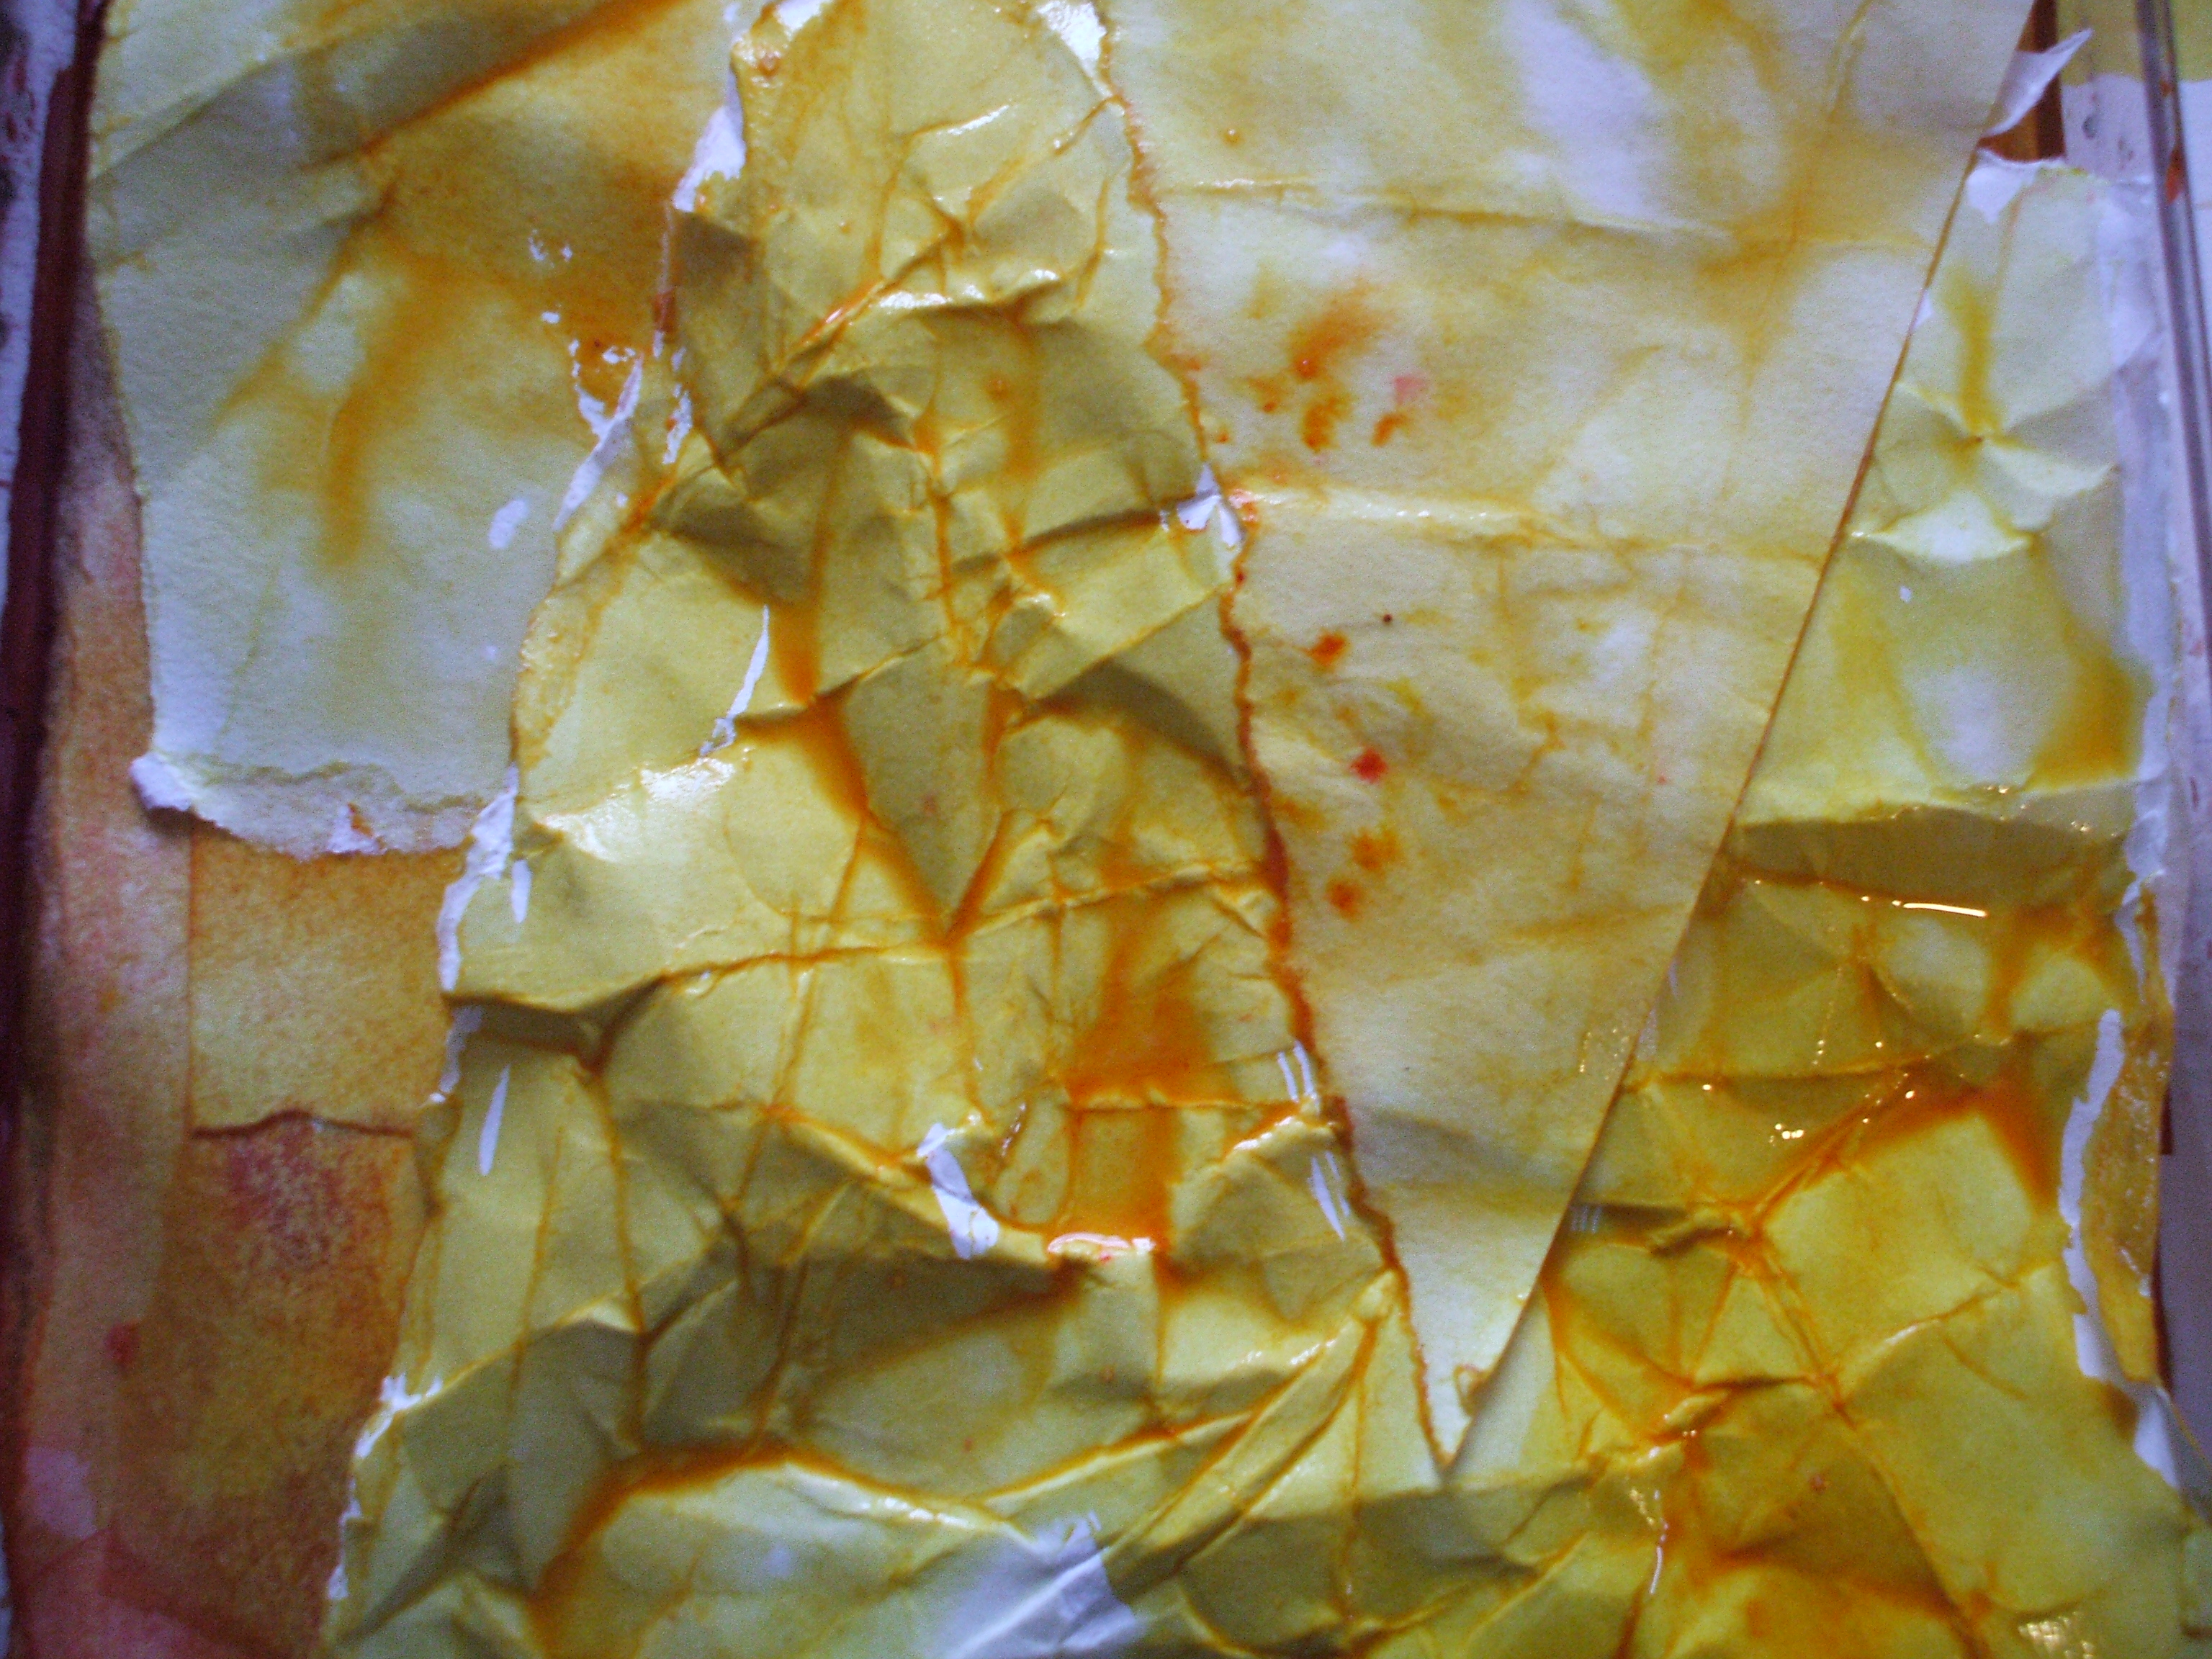
With fabric and textiles, I’m rarely put off by material being the ‘wrong’ color, provided I can dye it. Lately I’ve expanded this reasoning to include paper too. Fortunately for the sake of this project I’d already squirreled away a stock of paper, and the only preparation to be done was some therapeutic tearing and scrumpling.
Some paper (tough brown envelopes, cartridge, wallpaper lining, and watercolor) will tolerate heavy handed roughing up. Tissue, copier, newsprint and (my least fave) sugar paper just don’t have the same endurance, but will survive a lower level of scrunch.
The purpose of this is break up the surface, the scar lines offer a more porous surface for the dye to bleed through, and sometimes give a nice batik-y result.And sometimes they don’t. But we don’t care, we’re just here for shits and giggles.
Let the messy stage commence!
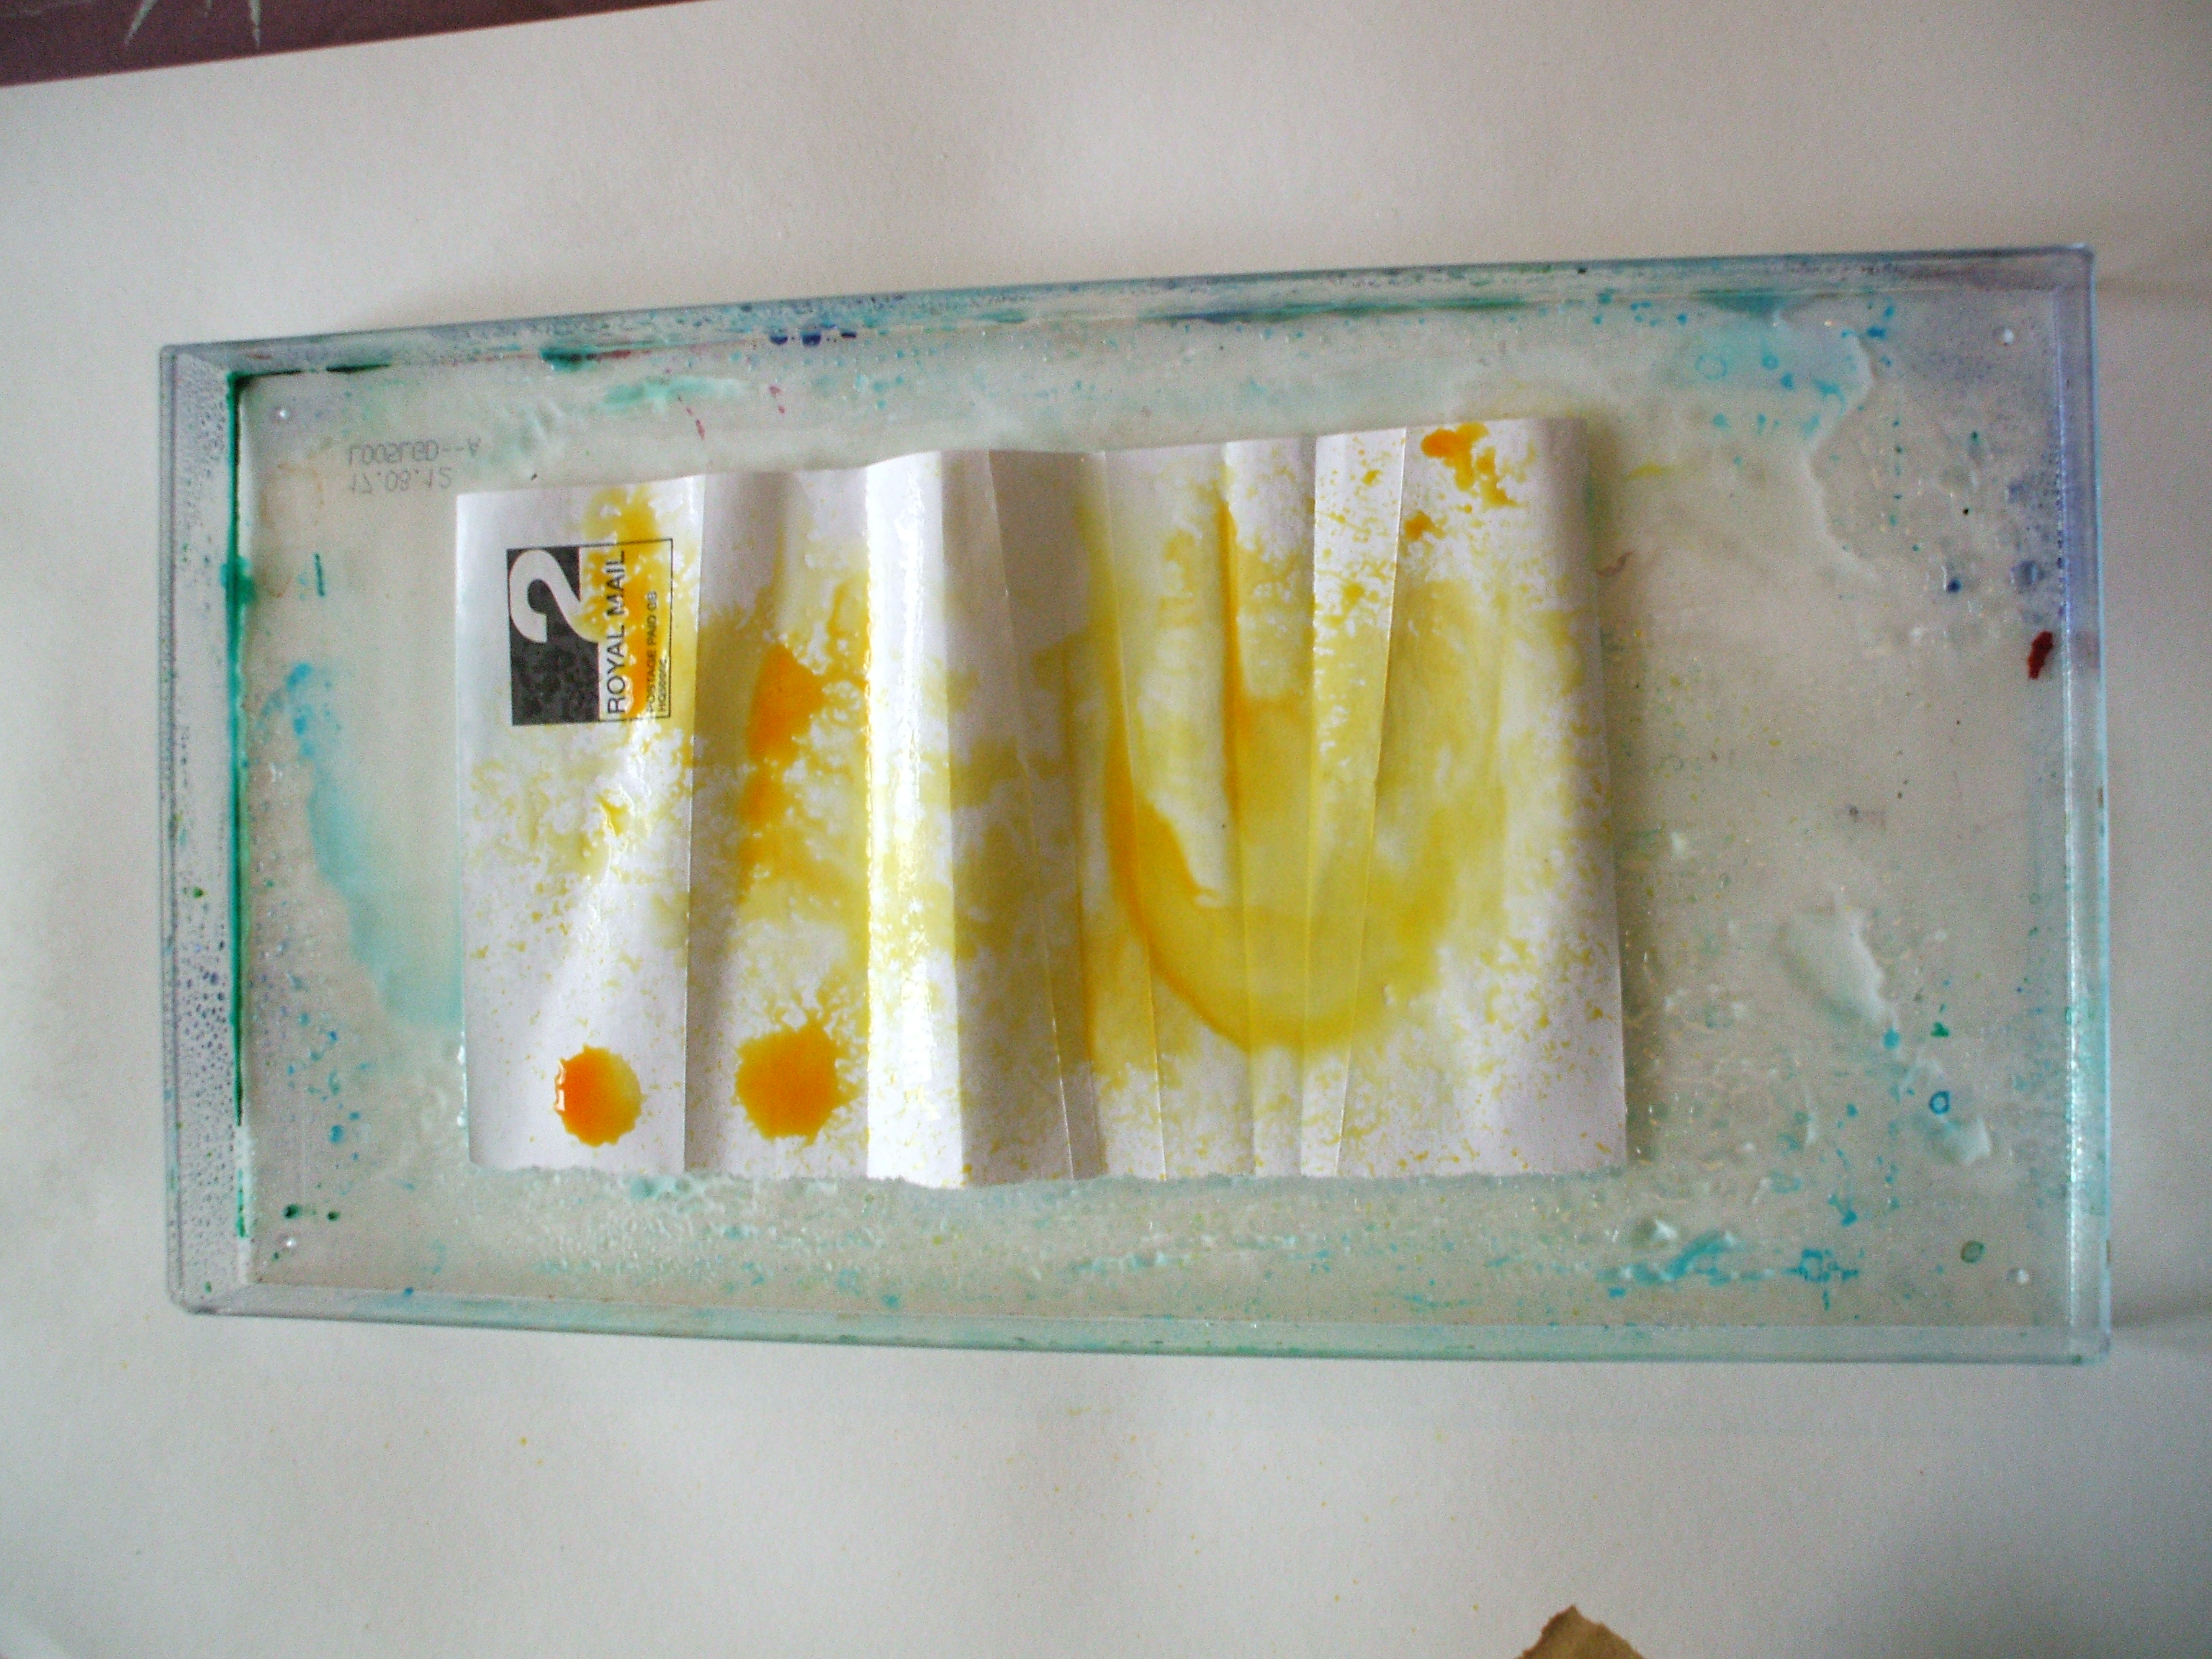
Plastic tray, bit of paper, swish with water, drips of dye & ink.
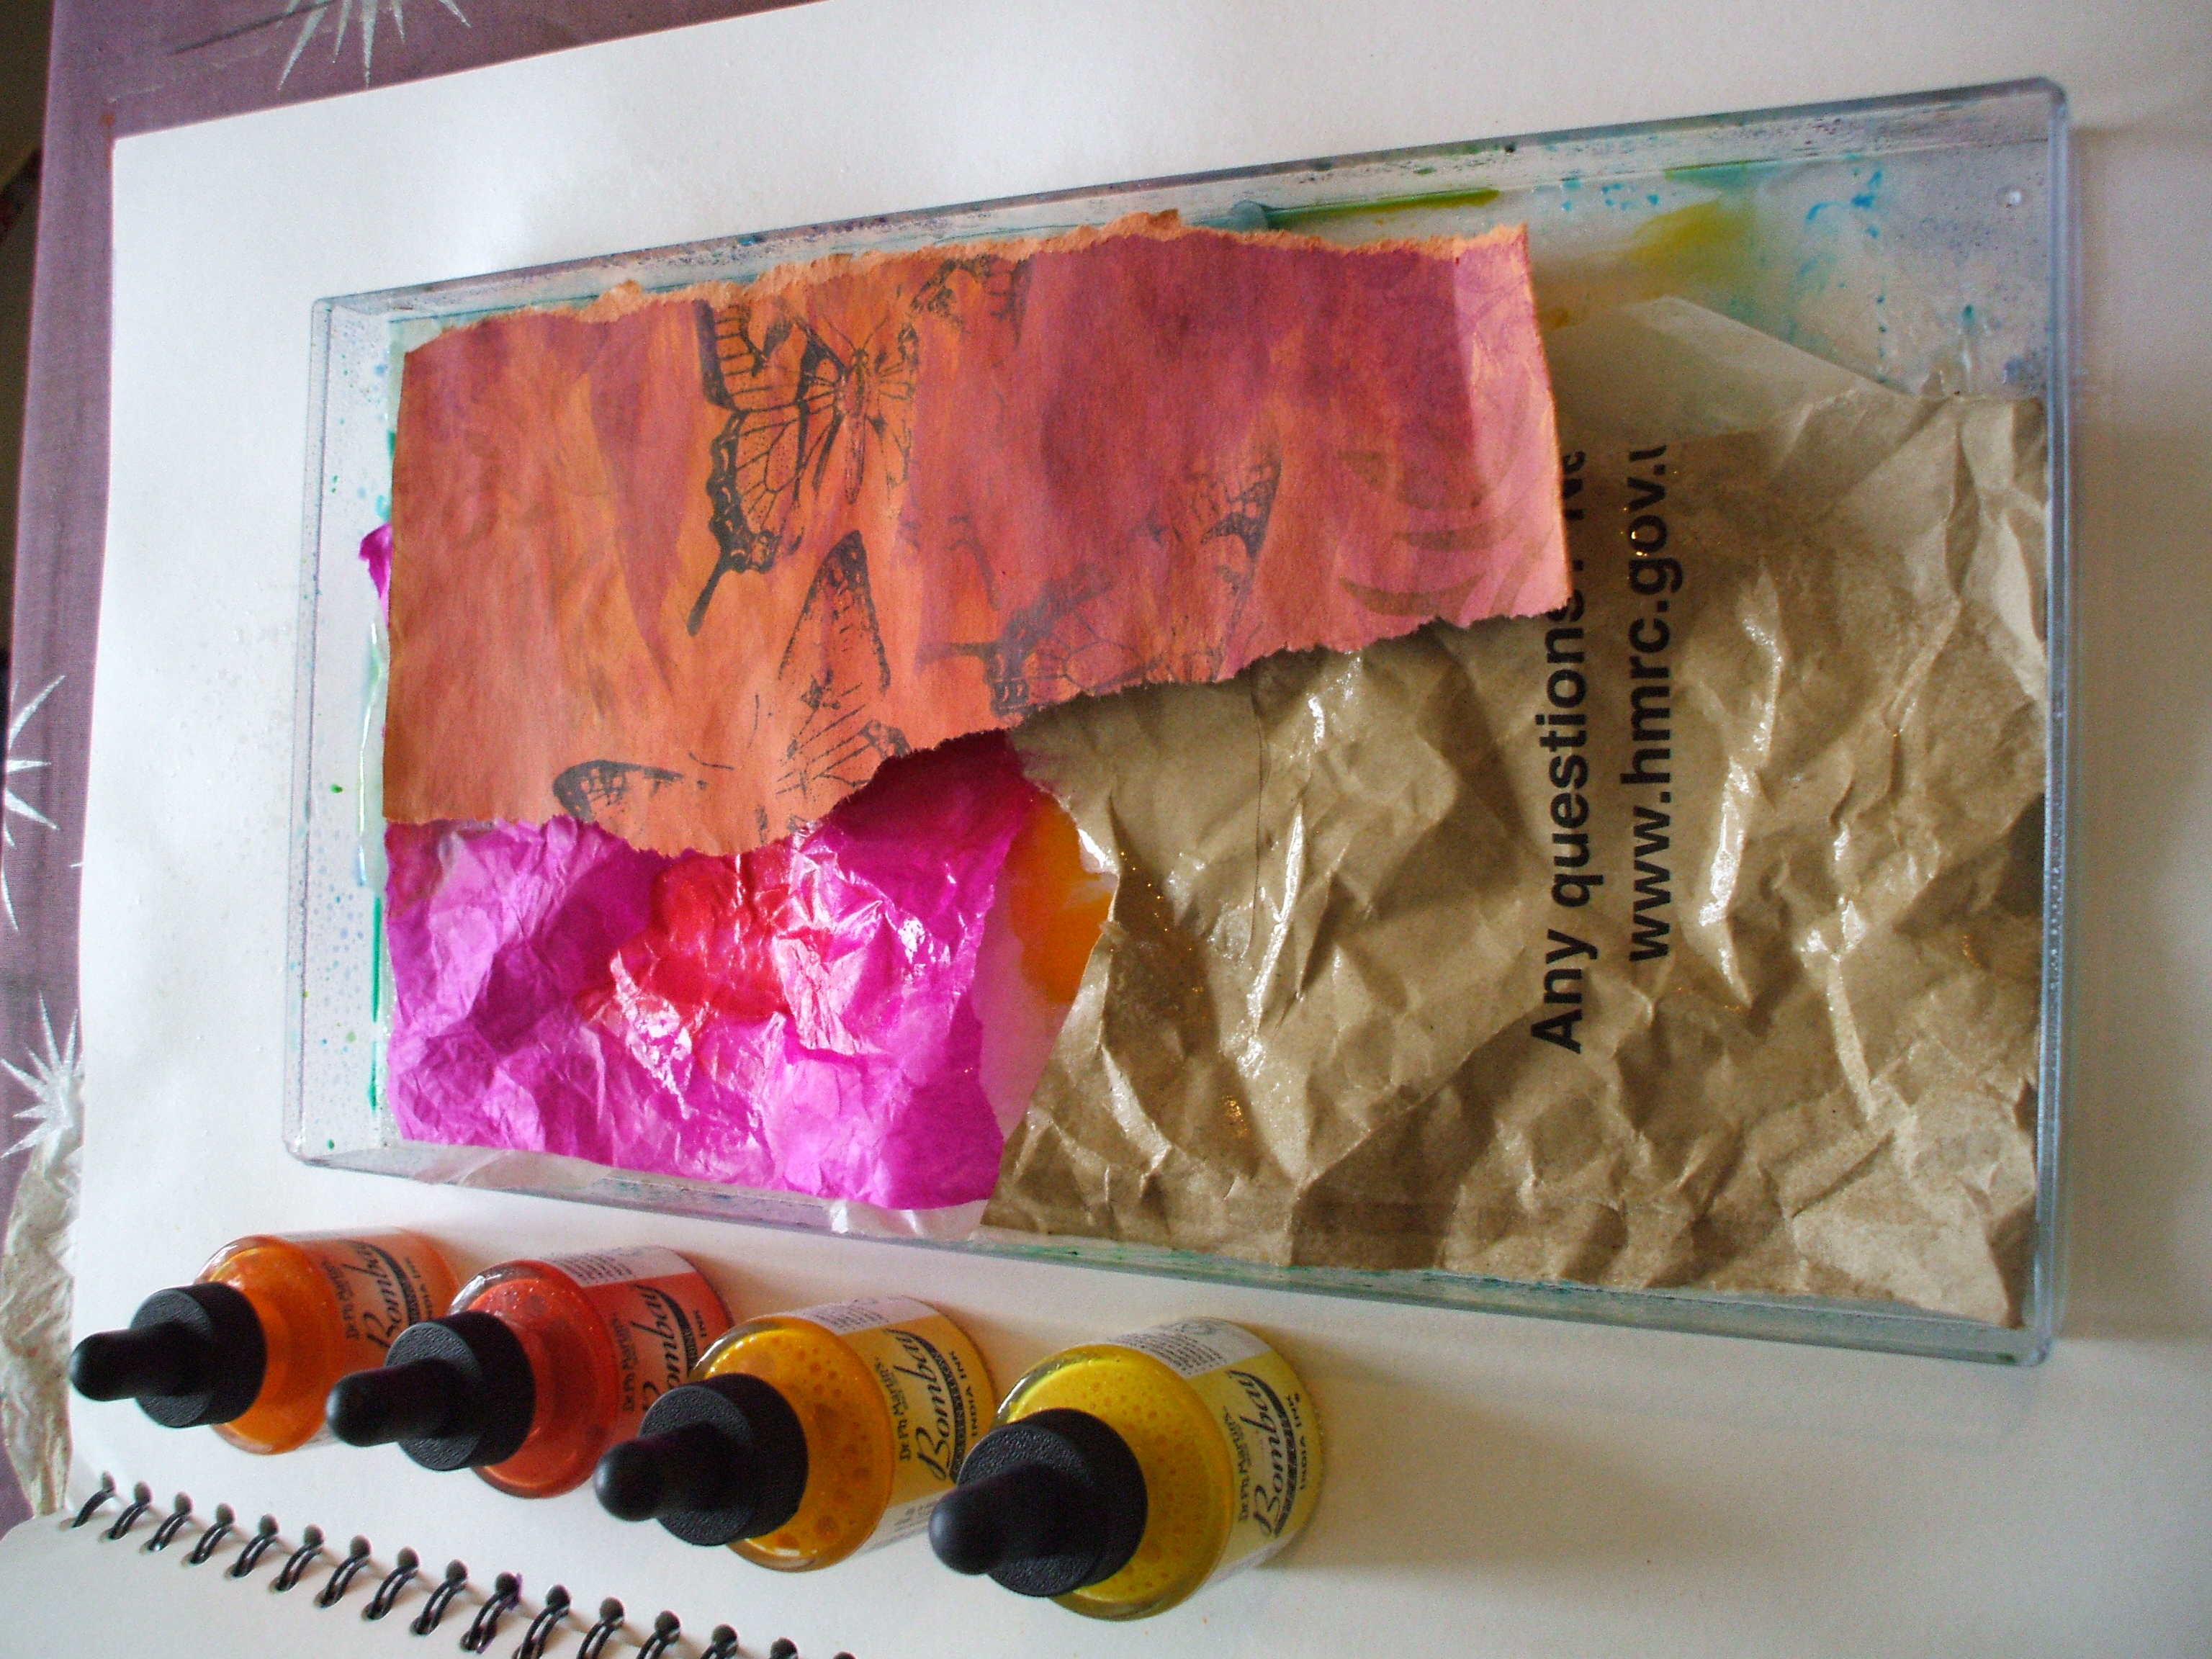
From here it’s a matter of layering (thinking ‘lasagna’, but without the food elements. Srsly, that would be a whole different result, and not what I’m after here at all)
Thicker acrylic based inks work best thinned right down with water,acrylic acts as an adhesive and if/when used thickly will gum the papers together into an unpickapartable cludge.
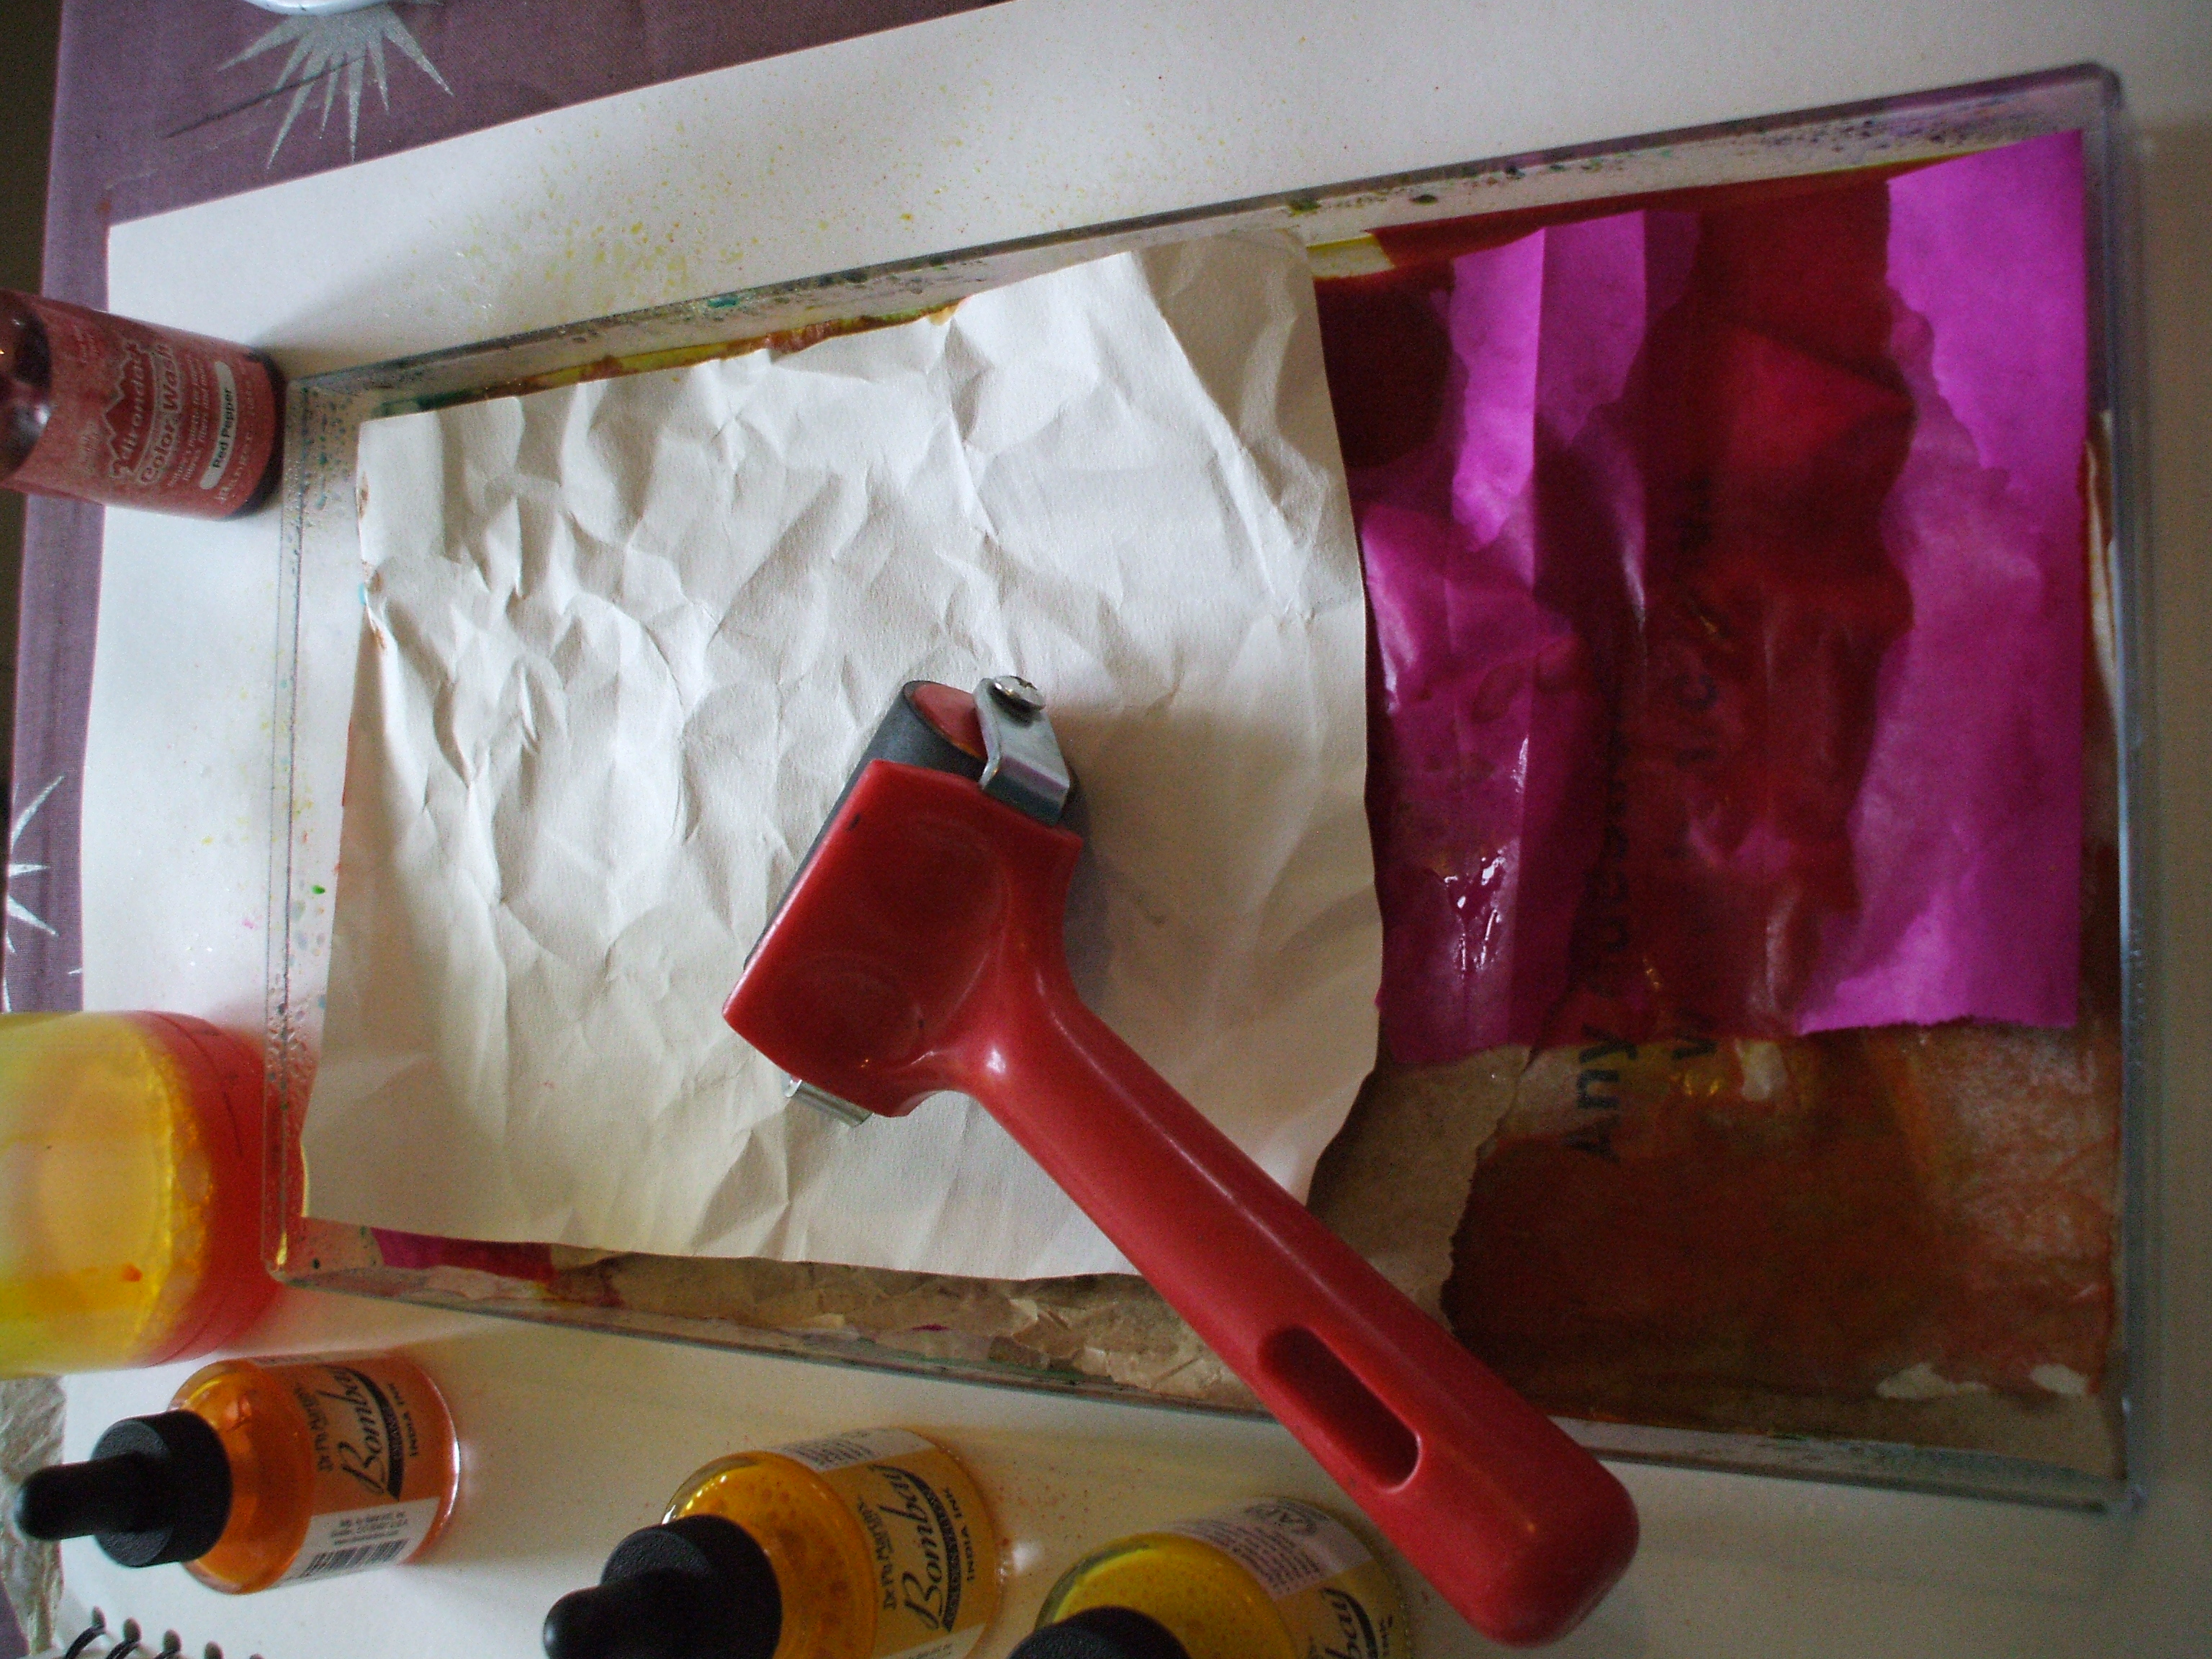
Some layers through I like to give the soaking papers a bitova squish with a roller (brayer). The dye will penetrate the paper fibres better, and slop out of the edges of the tray if you’re not careful.
Sometimes I pour off a bit of excess wet into a jar and reuse it further up the ‘lasagna’.
See the batik-y thing going on? Yay!

Onward n upward, paper, water, dye, swish, squish, paper, color, swish, etc
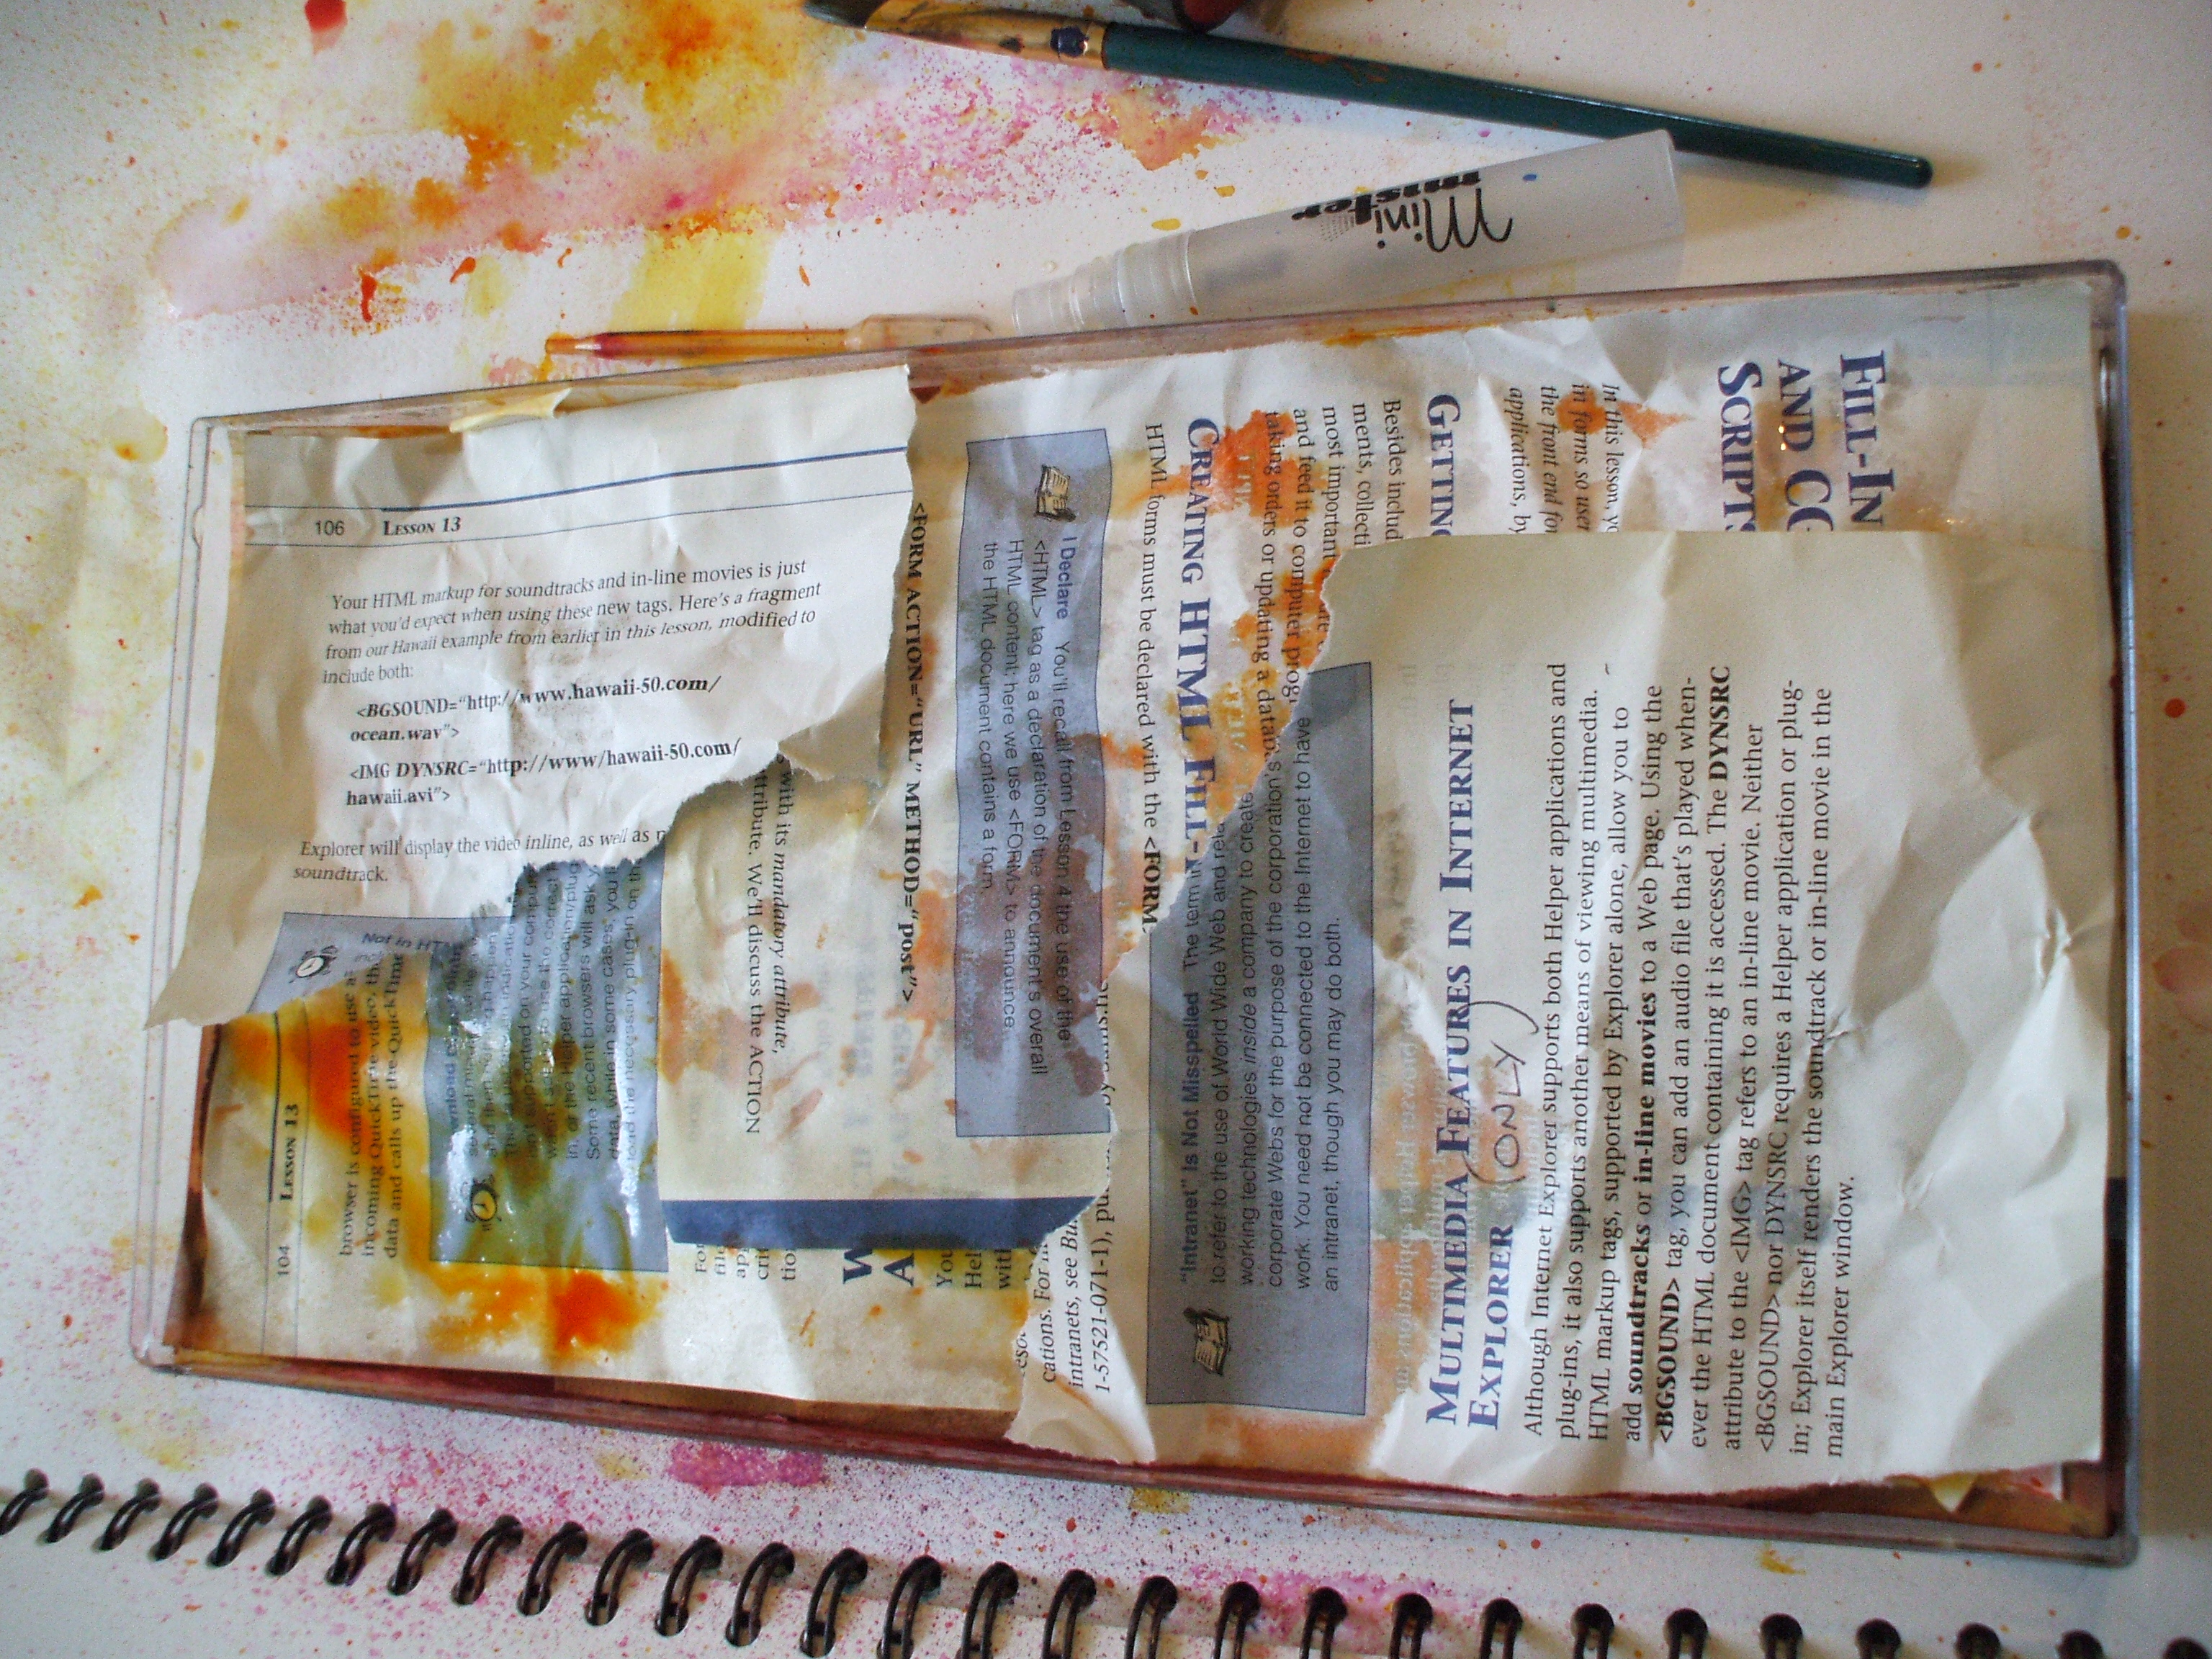
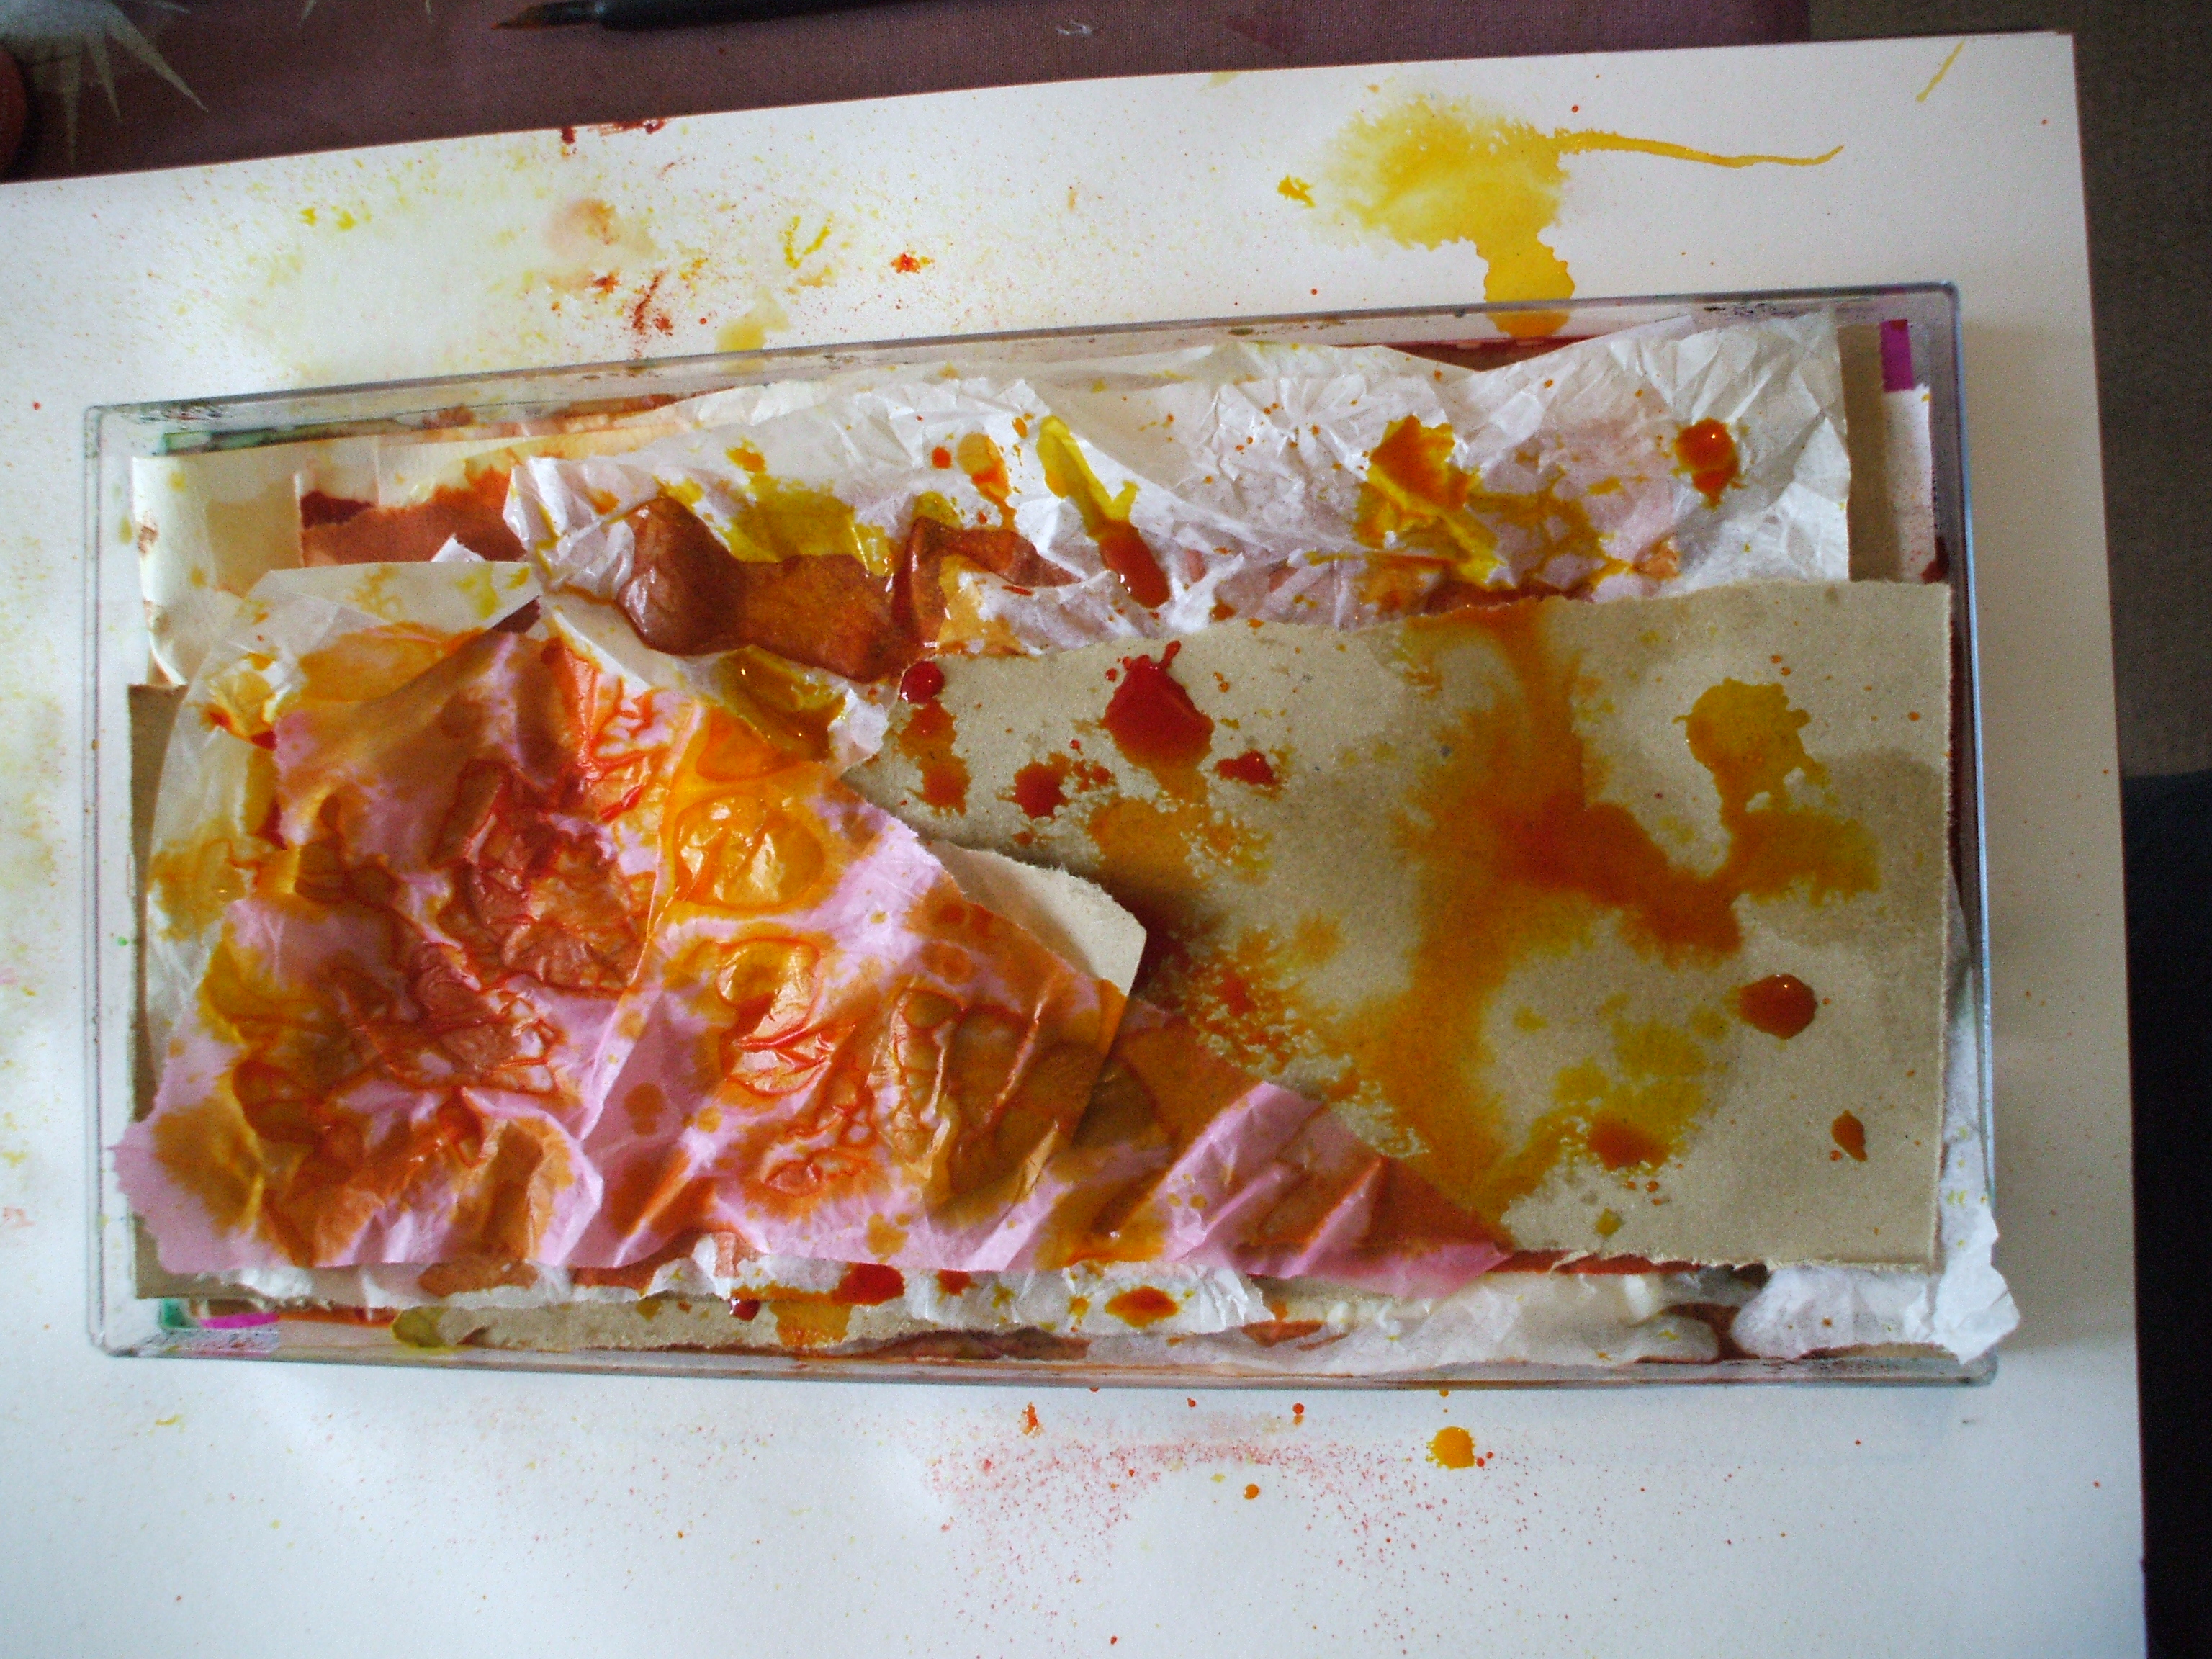
Disclaimer: no books were harmed in this production. Apart from this one. (Second hand and out of date when I got it, 15 year old book on web site building. ) Just saying. Books are my friends, and I never deliberately dismember friends, even in the name of art. Except for the very dead ones.
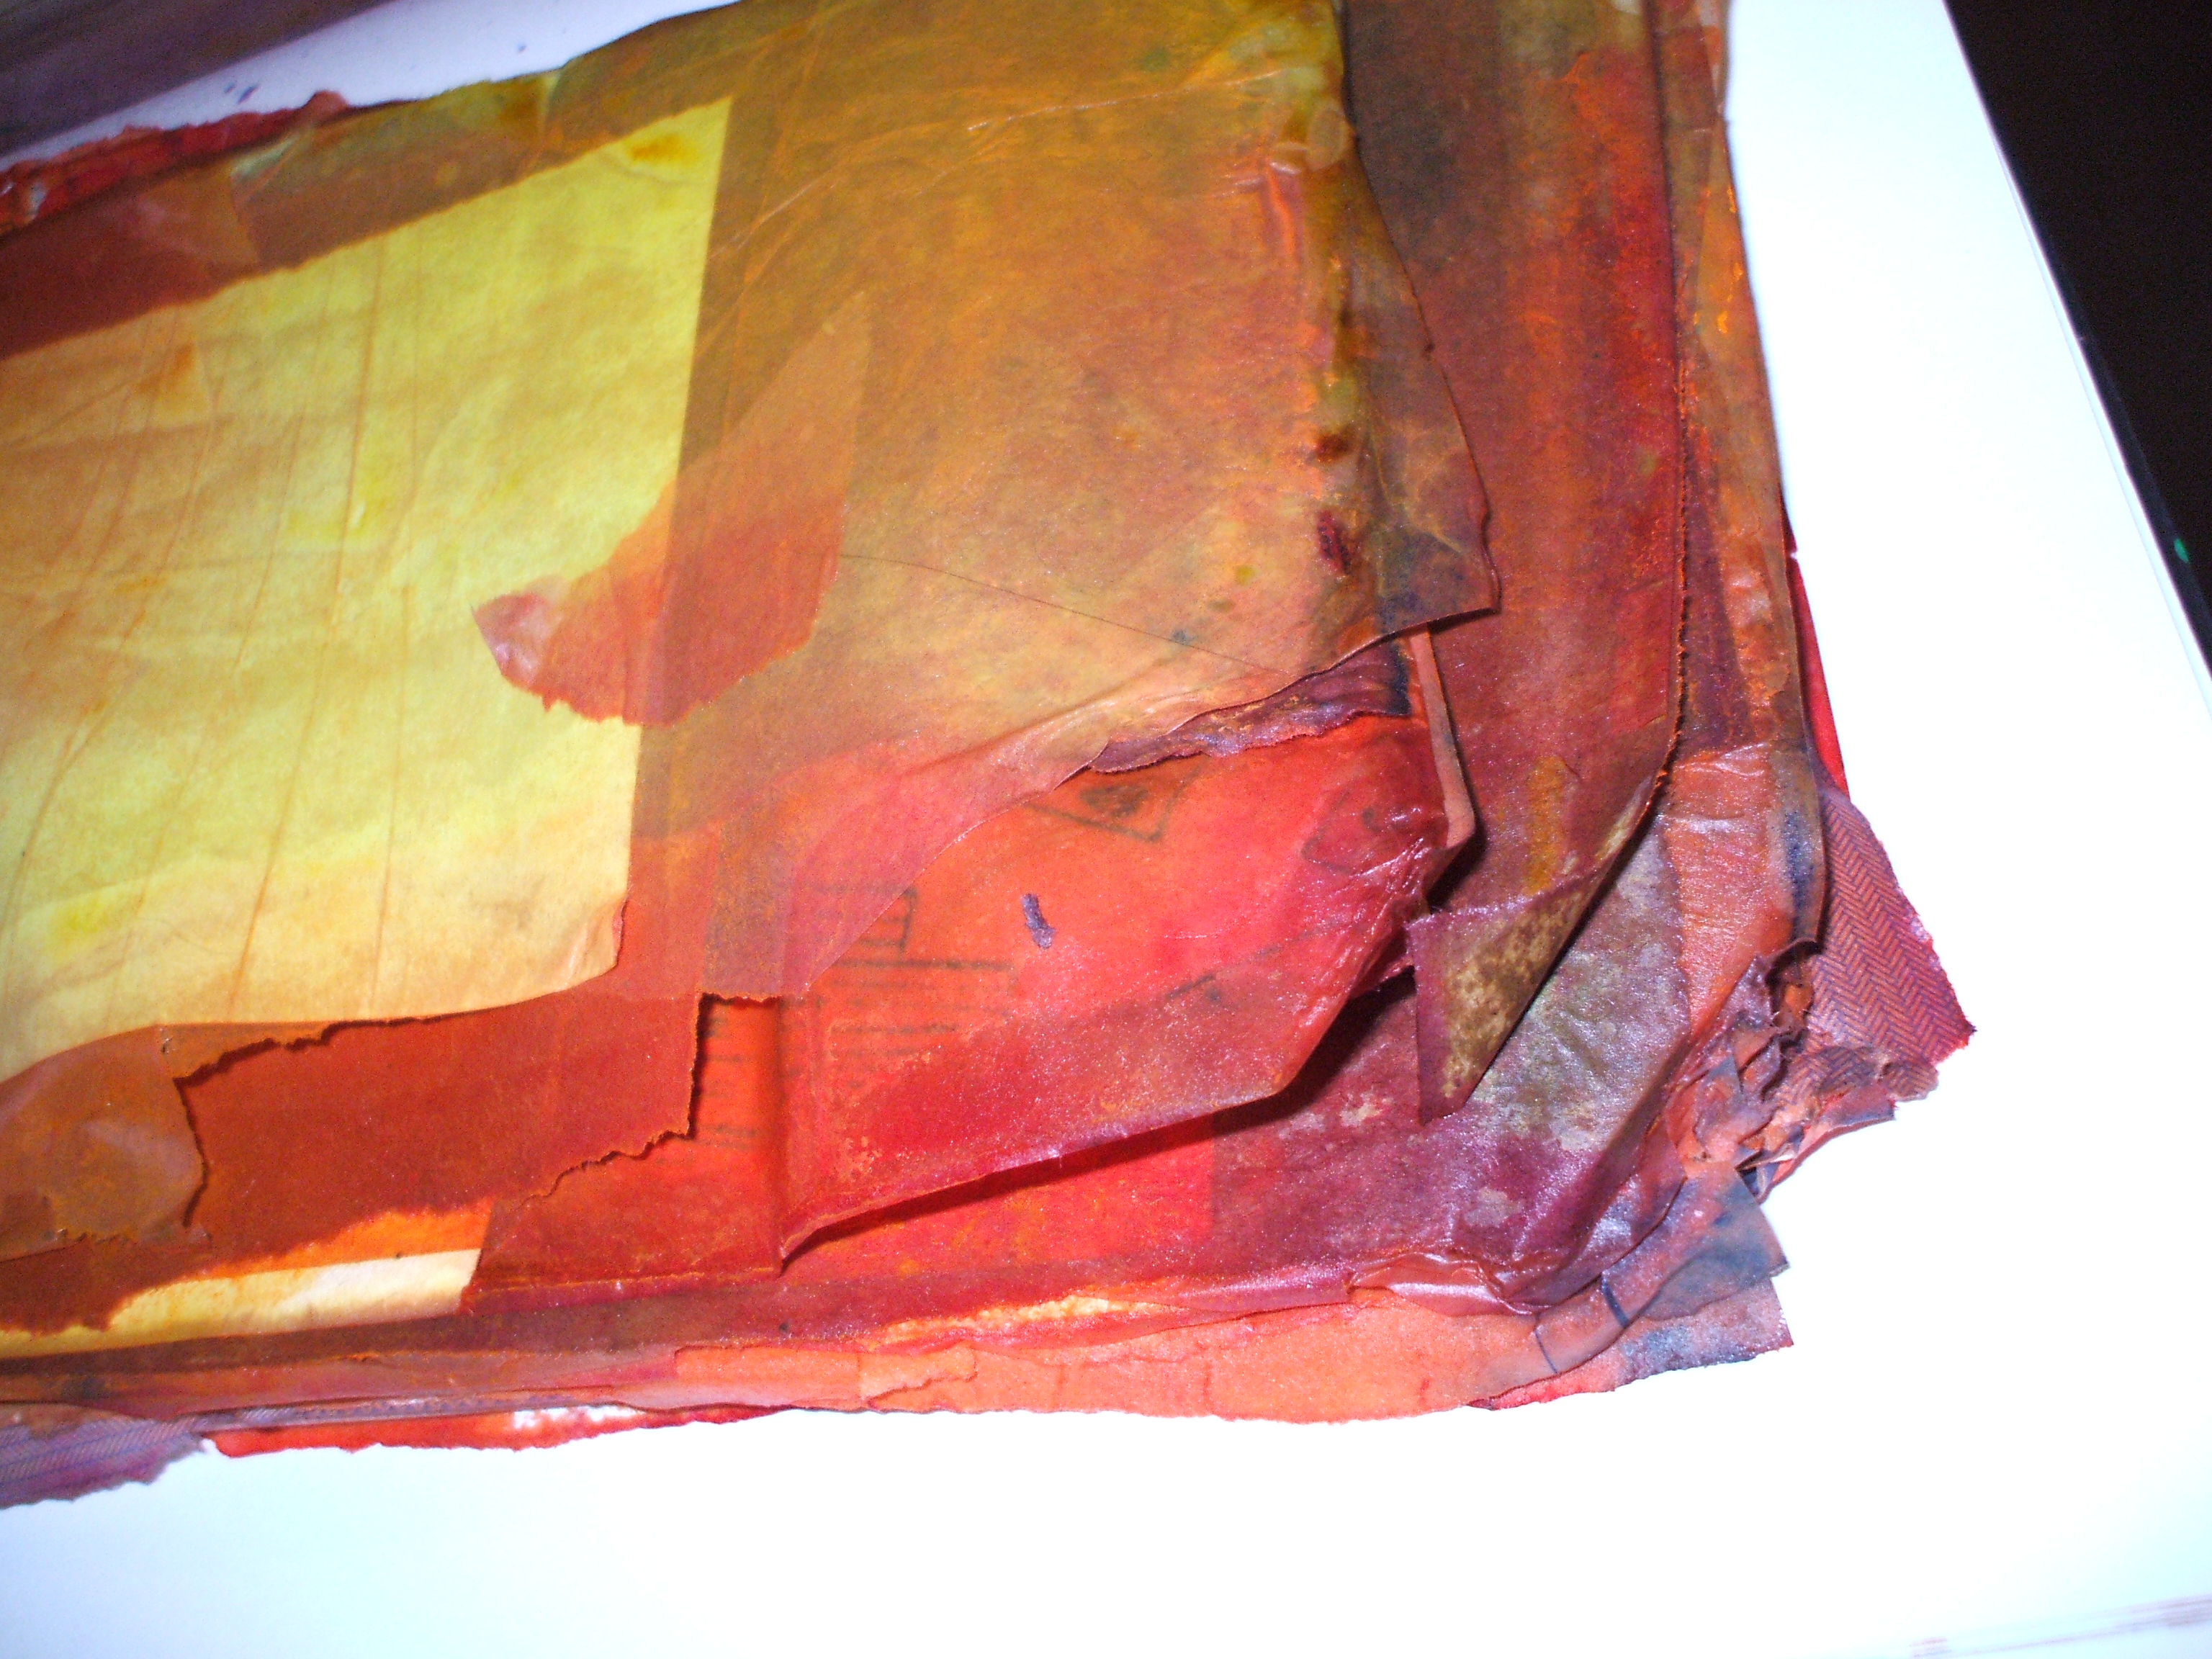
Some hours later, tray filled, excess juice drained, the soggy lump of color gets tipped out onto something porous (I used a selection of my finest knackered tea towels) and left to dry by the radiator. (If time and climate allow, sunshine will do the trick too)
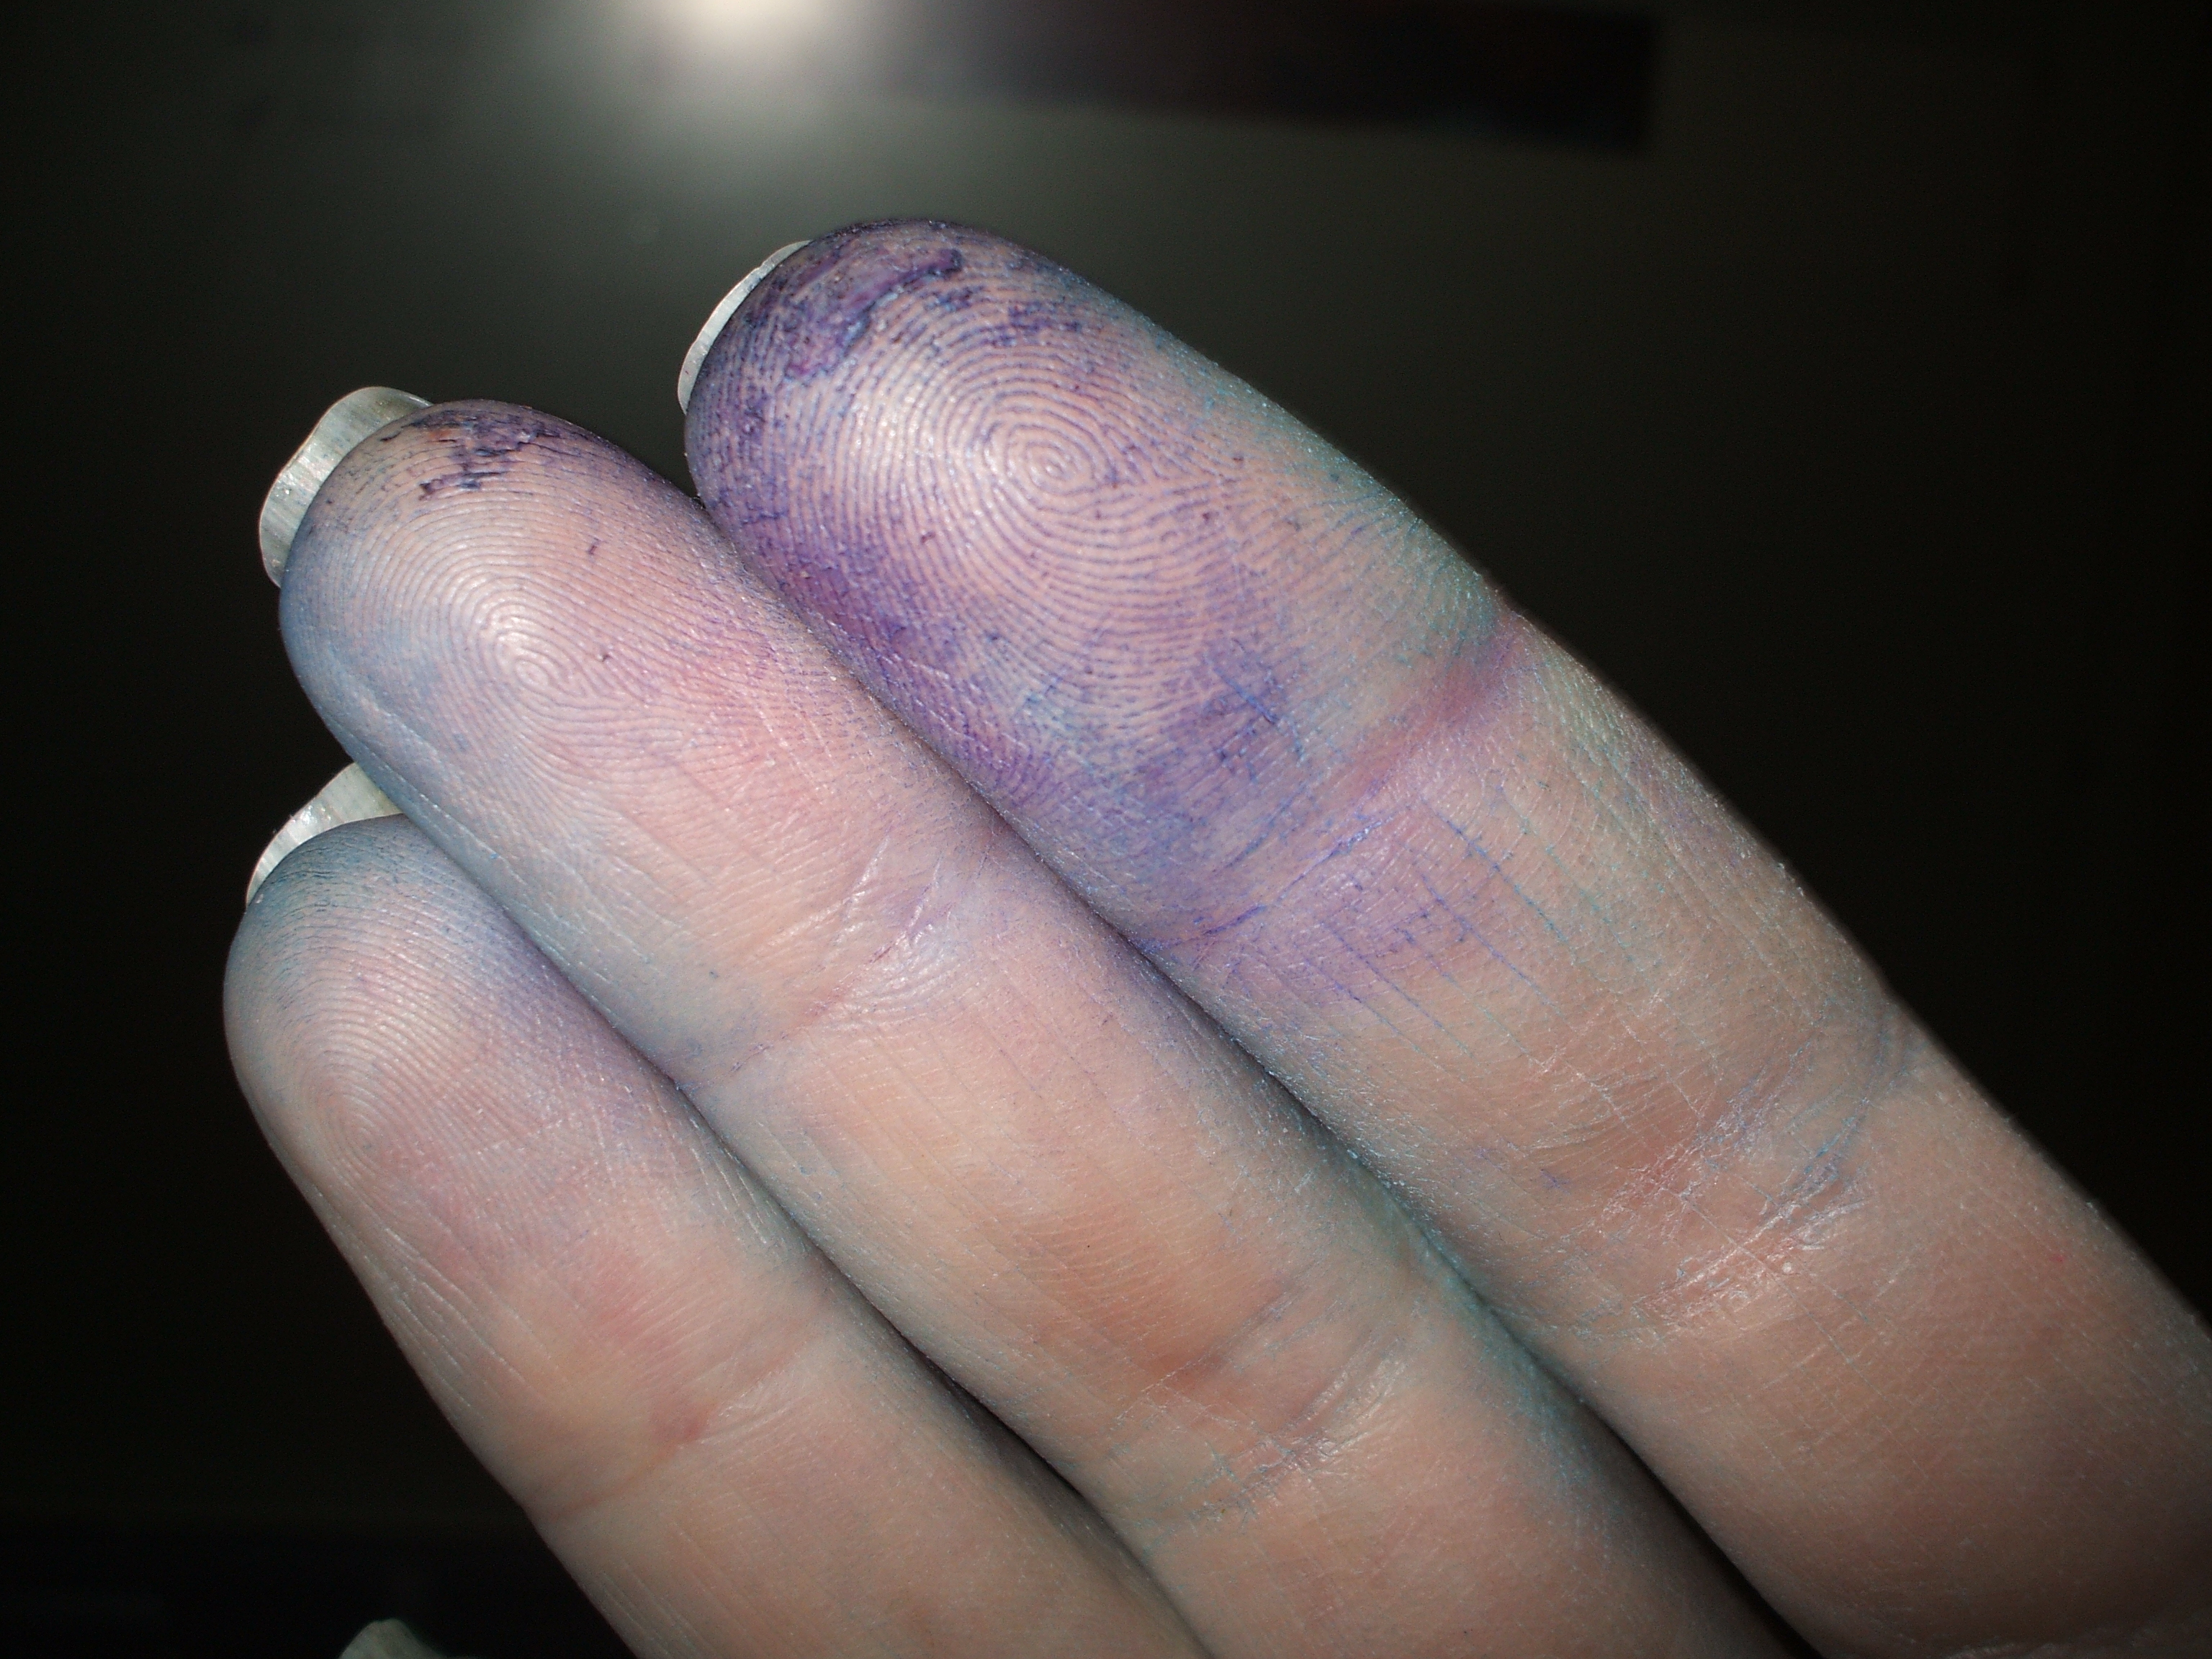
Oh, n you might wanna be wearing gloves for this. Or, like me, you might only remember this once you have dyed fingers…