
Having let the first ink drippings dried, stage 2:

And a swish of water, then a bit more for good measure
Tag: art materials

dyed paper things
When I was doing my paper dying some weeks back, it was without any real plan as to what comes next. Then last night I found myself making these.
There’s about 125 of them at last count, and already a few have found a home on today’s page a day page (more on that later!)
Share this:

moments like these
Yesterday I had to go to the art store. They had some end of line acrylics on sale. It would have been churlish not to help them clear this stock, so I came home with more stuff than I bargained for. But hey!

This is Sunday’s page, I just had to revisit it last night to add these spots of Indian Yellow, and I had to photograph them before they inevitably get squished under the weight of future pages! 🙂 I’ll show you the rest of this page later. It’s one of my faves so far 😀
Share this:

tissue paper runs!
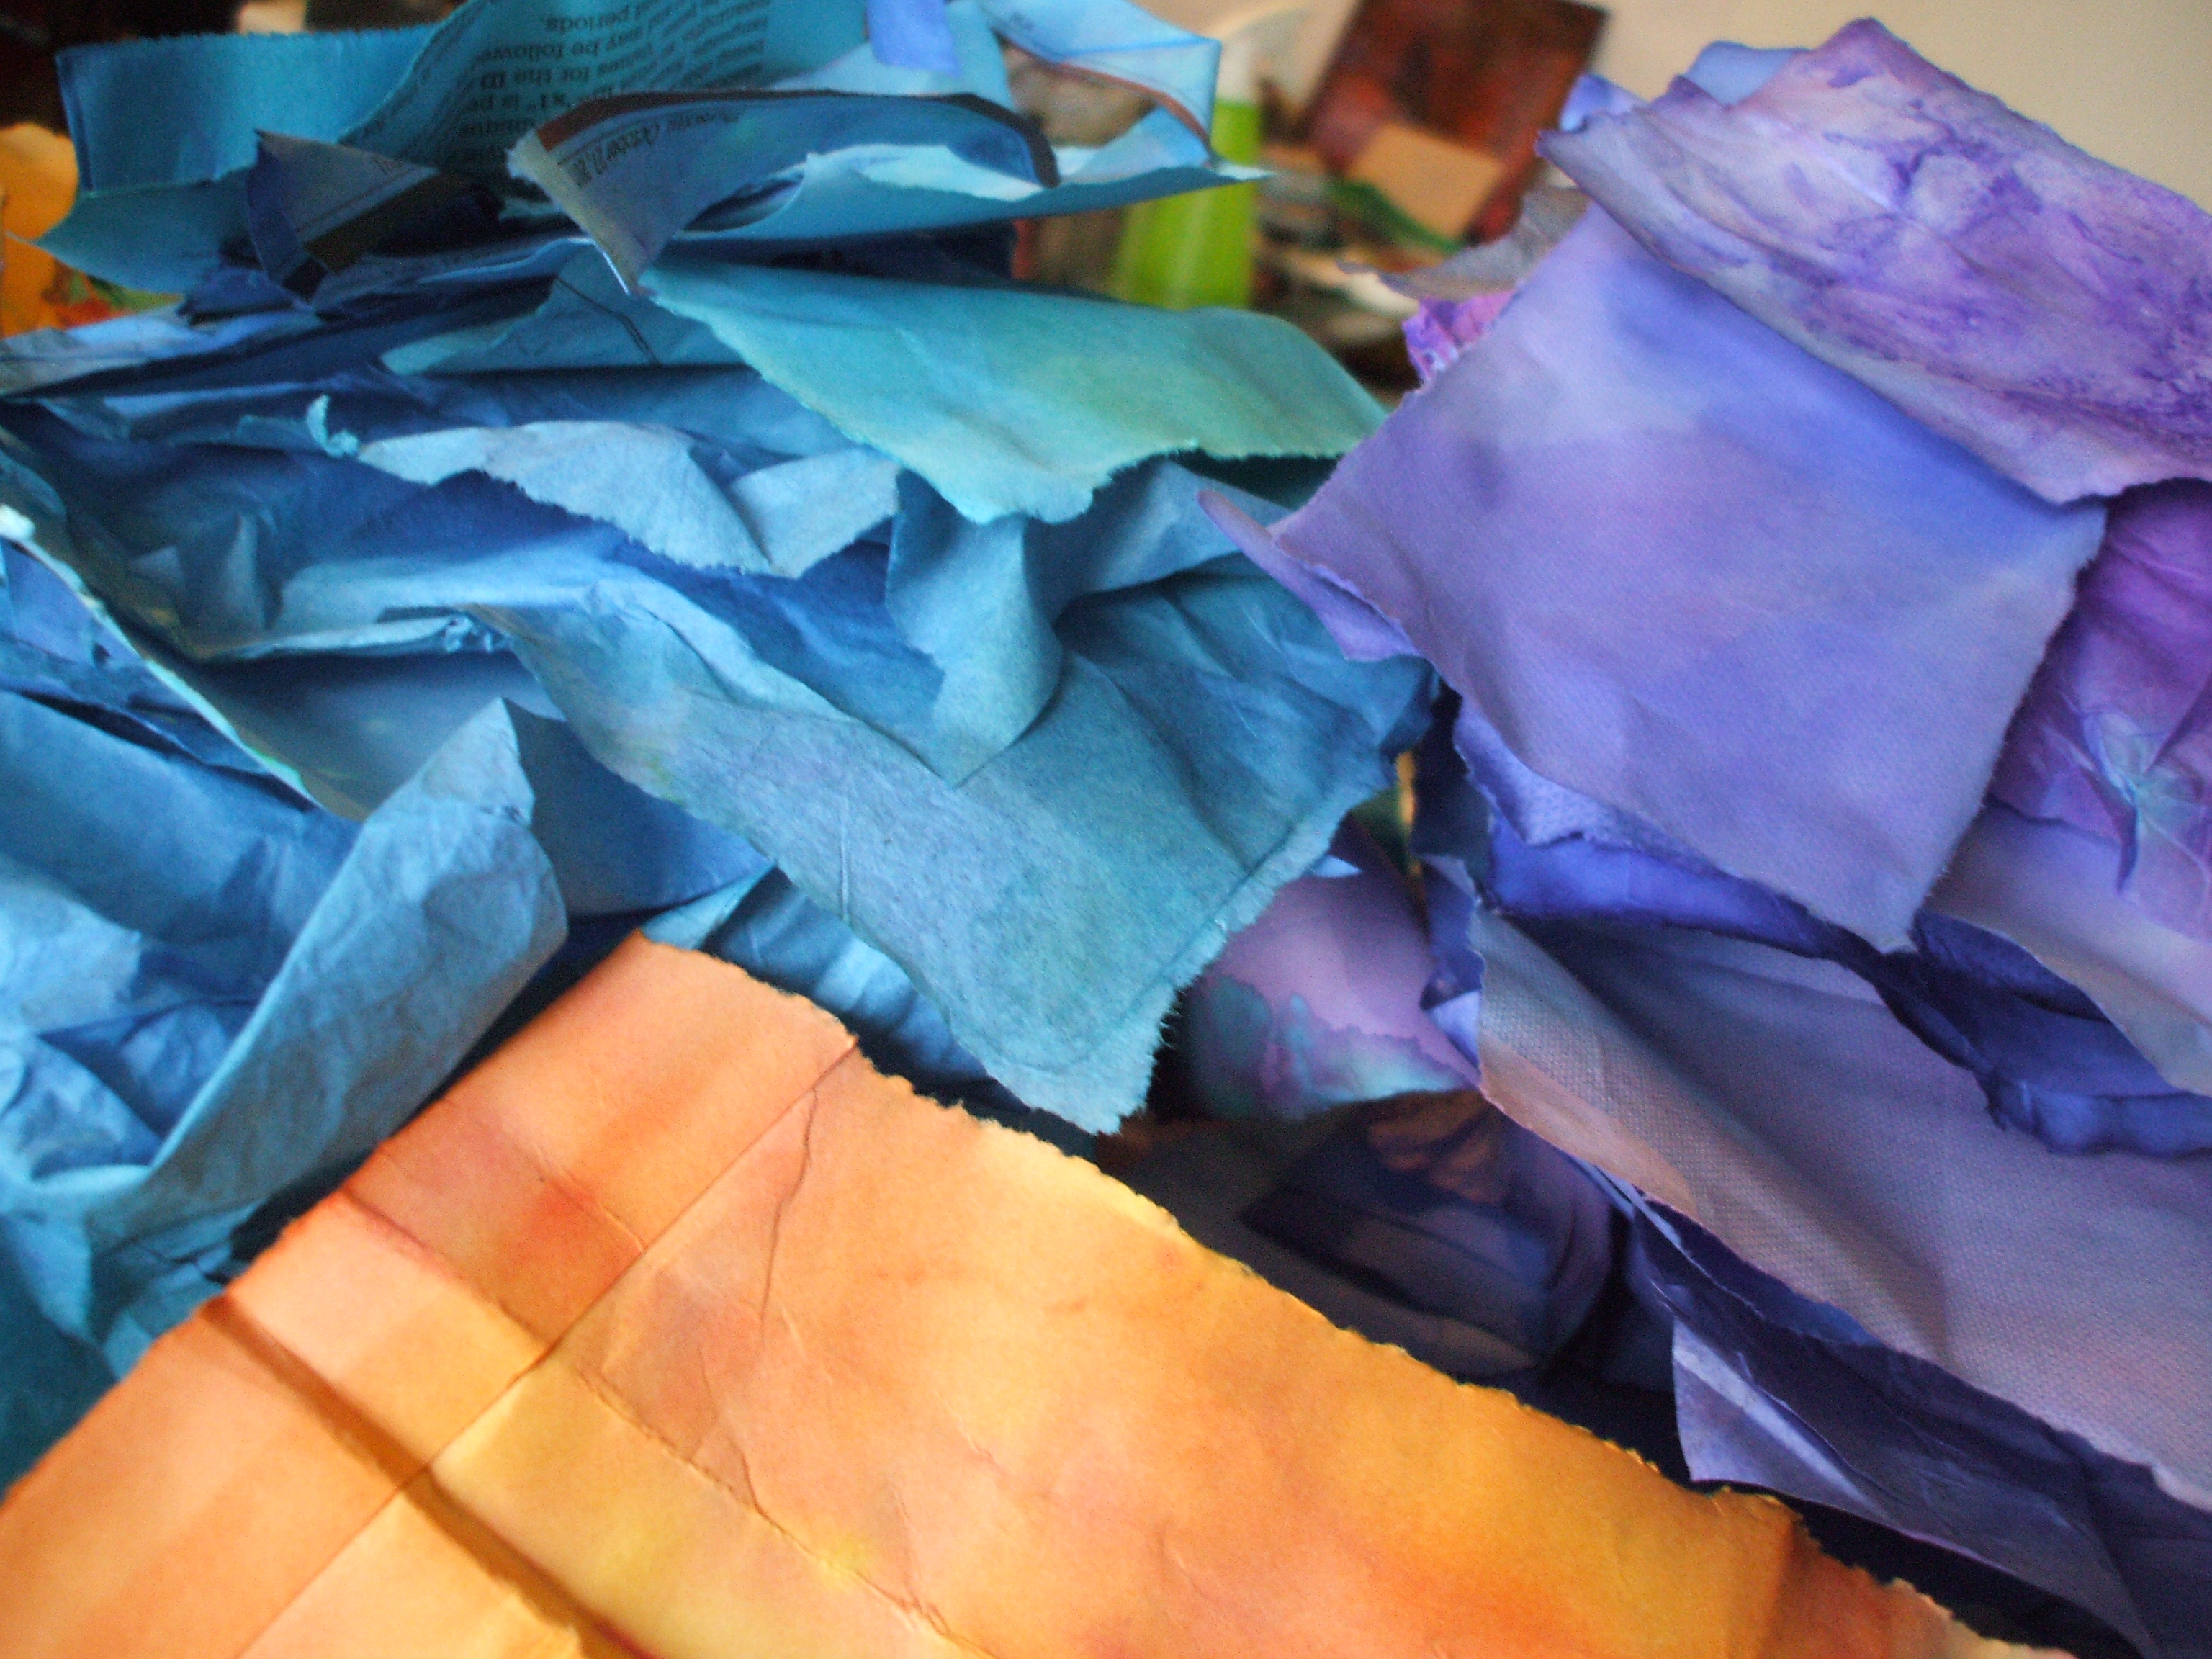
Just a little by the way from usual antics, you know how the color in tissue paper runs when it gets wet?
Scrumpled up and spritzed with water, then squished between sketchbook pages and left to dry overnight got these results
I used dark and mid blue tissue, so as well as staining the book pages they also added color to each other and have gone in the collage-scraps box …. another time I think I’ll try this on watercolor paper, got a feeling that’ll be a cool effect.
Share this:

serendipity
Serendipity [noun] “an aptitude for making desirable discoveries by accident.”
I think this sums up so much of what I do. Yesterday’s post about recycling was a tangent I wandered down when thinking about how the collage pieces I make come into being.
Paper is readily recyclable these days (indeed it’s often recycled when it’s ‘new’) but I like to get every last ounce of use out of it. Once it’s been printed on (both sides) with info that’s no longer needed, it retires to a life in art.
Images and pictures, blocks of color or gradients, maps, poetry, lyrics, photos, scanned doodles and sketchbook pages, mish-mashed up in photoshop, I let fate take over and set the printer running. And if there are gaping spaces left, the page gets turned around and over-printed again. Serendipity occurs!

The ones that don’t happen into something immediately usable cover my work table to take on new nuances with splashed color, and as testing grounds for paints and inks and stampings. Or used to soak up excess color from dying fabrics and threads (I think this must be where the great paper-dying project originated… one idea bears fruit and blossoms into new ideas and schemes and badly mixed metaphors!)
Share this:

Mesh Mess
Y’know that sticky mesh tape stuff you stick plaster board together with? Yeh, sure you do! Here it is… It’s meant for healing up wounds in walls n ceilings, but I have a much better use for it.
Made from fibreglass it’s super-tough and water resistant, and the tape has just the right ickiness to it. If you’ve seen my last few posts you’ll know where I’m going with this…
It makes for excellent griddy stenciling and painty fingers!

Close ups….


Share this:

Sat urday
With the rest of the alphabet stencils cut (ok… v, w, x, y, z aren’t done yet… it’s a bit fiddly and I wanted to get on and play!) today’s page is all about sat sat saturday…

Layering up the letters, positive and negative cut-outs

Using a mix of acrylics, glazes, watercolors, gouache, pastels and charcoal to see how they work out

Share this:

Frisket stencils part 2
I left the Frisket Stencils overnight, and yesterday morning I unpeeled the results…

See what I mean about the deckled edges? See close up, there’s the trace of an outline where the colors bled under the stencil.

At a midway point in the process I added more stencils over the already colored page, it’s made a ghostly image

I also began cutting an alphabet stencil. I was playing about with the cut out letters……

The letters placed at the edge of the page were on flatter paper so weren’t so prone to under-bleed of the ink – slightly crispier clean edges!

Share this:

adventures in color: ingredients
In response to the feed back on my paper dying project, thought I’d share some inspiration and some of my fave ingredients if you’re interested in doing something similar.
 Firstly I must introduce you to an artist I find enormously inspirational, Ruth Issett.
Ruth has authored several books of mouth-wateringly delicious adventure in color and frequently runs courses and workshops.
Take a peak at her Glorious Papers: Techniques for Applying Colour to Paper – this is one of my fave books to set ideas flowing.
Dyes
 For real vibrant colors, both for fabric and paper, I use Procion dyes. These are available at some art/craft stores, or the trusty shop that sells most everything.
The dye powder needs to mixed with water, and the colors blend beautifully. If you’re using them for paper there’s no need to use any fixative, just treat them like an ink.
Inks
 I also love to use Brusho inks. Again these come in powder form to be mixed with water.
If you sprinkle the dry powder (a little goes a long way) on damp paper you can get some fabulous starburst effects and color separation from the individual hues of pigments . Try it and find out!
 Then there’s the Ranger Adirondack Color Wash sprays.
These can be used on fabrics too if heat set with an iron.
Ready mixed, these come in spray bottles.

Having picked up a bottle of this at my local art shop, in a fit of extravagance I got myself both full sets of 12 colors and have to say it was a great investment.
They come in dropper bottles, perfect for dripping onto paper!
The colors are vibrant and strong, so again you don’t need to use loads, and a bottle lasts a long time.
Paints
 Koh-I-Noor paints are fab for several reasons.
The colors are rich and intense dye-based paints which come as 4 stackable palettes. The middle bit of each palette, along with the lid, can be used for water or mixing shades, and they are perfect if you want to take your colors out and about with you.
NB Koh-I-Noor also make stackable palette sets like this with regular watercolor – this is the one in the illustration. The ones I use are the intense dark dye based ones. Check out the comparison of colors here. Read more about playing with these here
I hope you’ve found this interesting/useful and it may have sparked some ideas for you. Til next time, happy creating, folks! 😀
Share this:

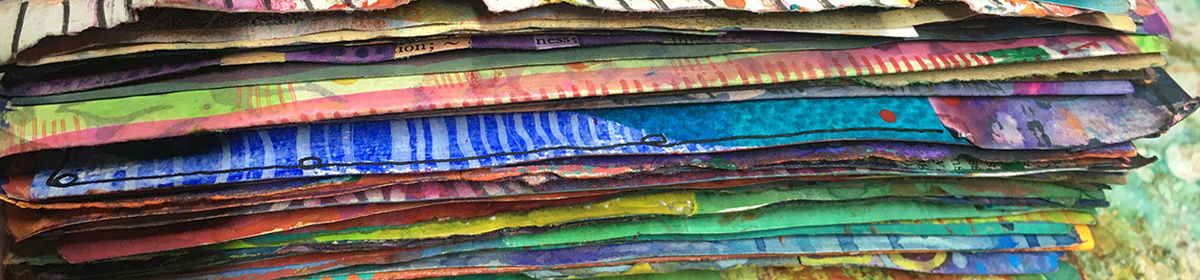
paper dying, part two
Last night I left the marinaded paper ready to sweat by the rad…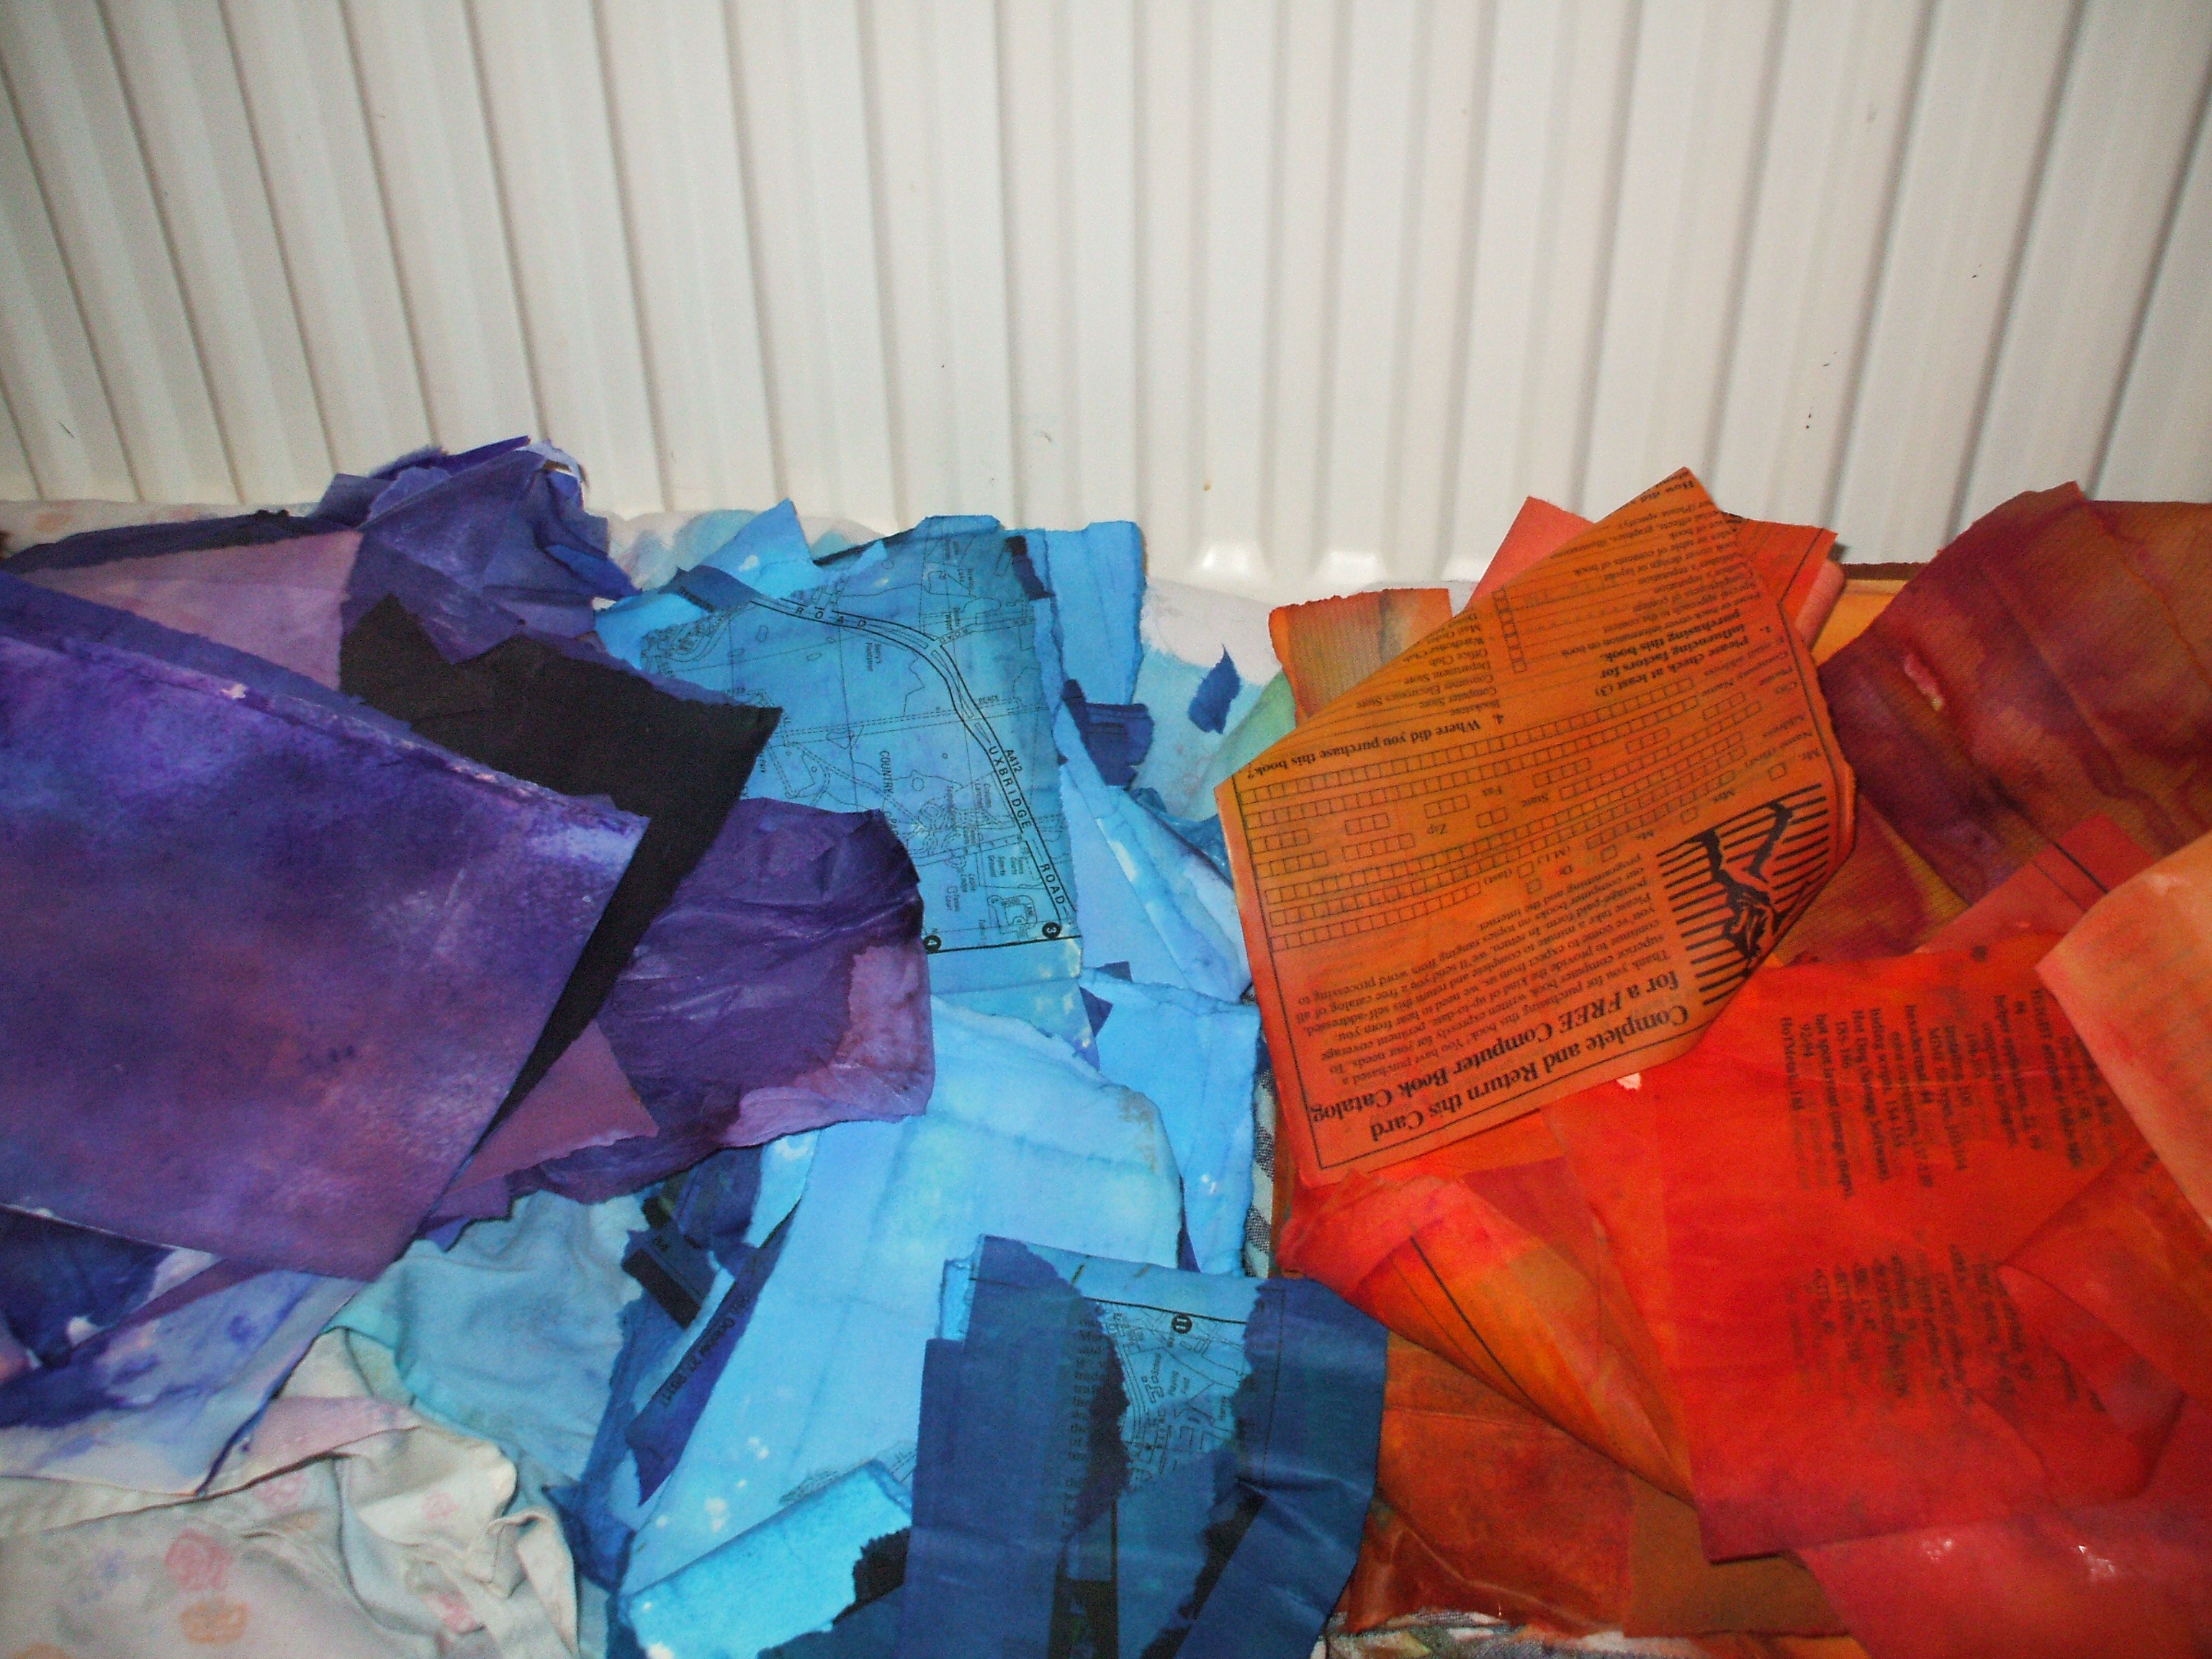
Today’s weather has supported my efforts by being quite cold, justifying use of central heating to warm room as well as dry my doings from yesterday.
Carefully unpeeling the layers to get some air flow, I then sorted then into heaps to finish drying and admire
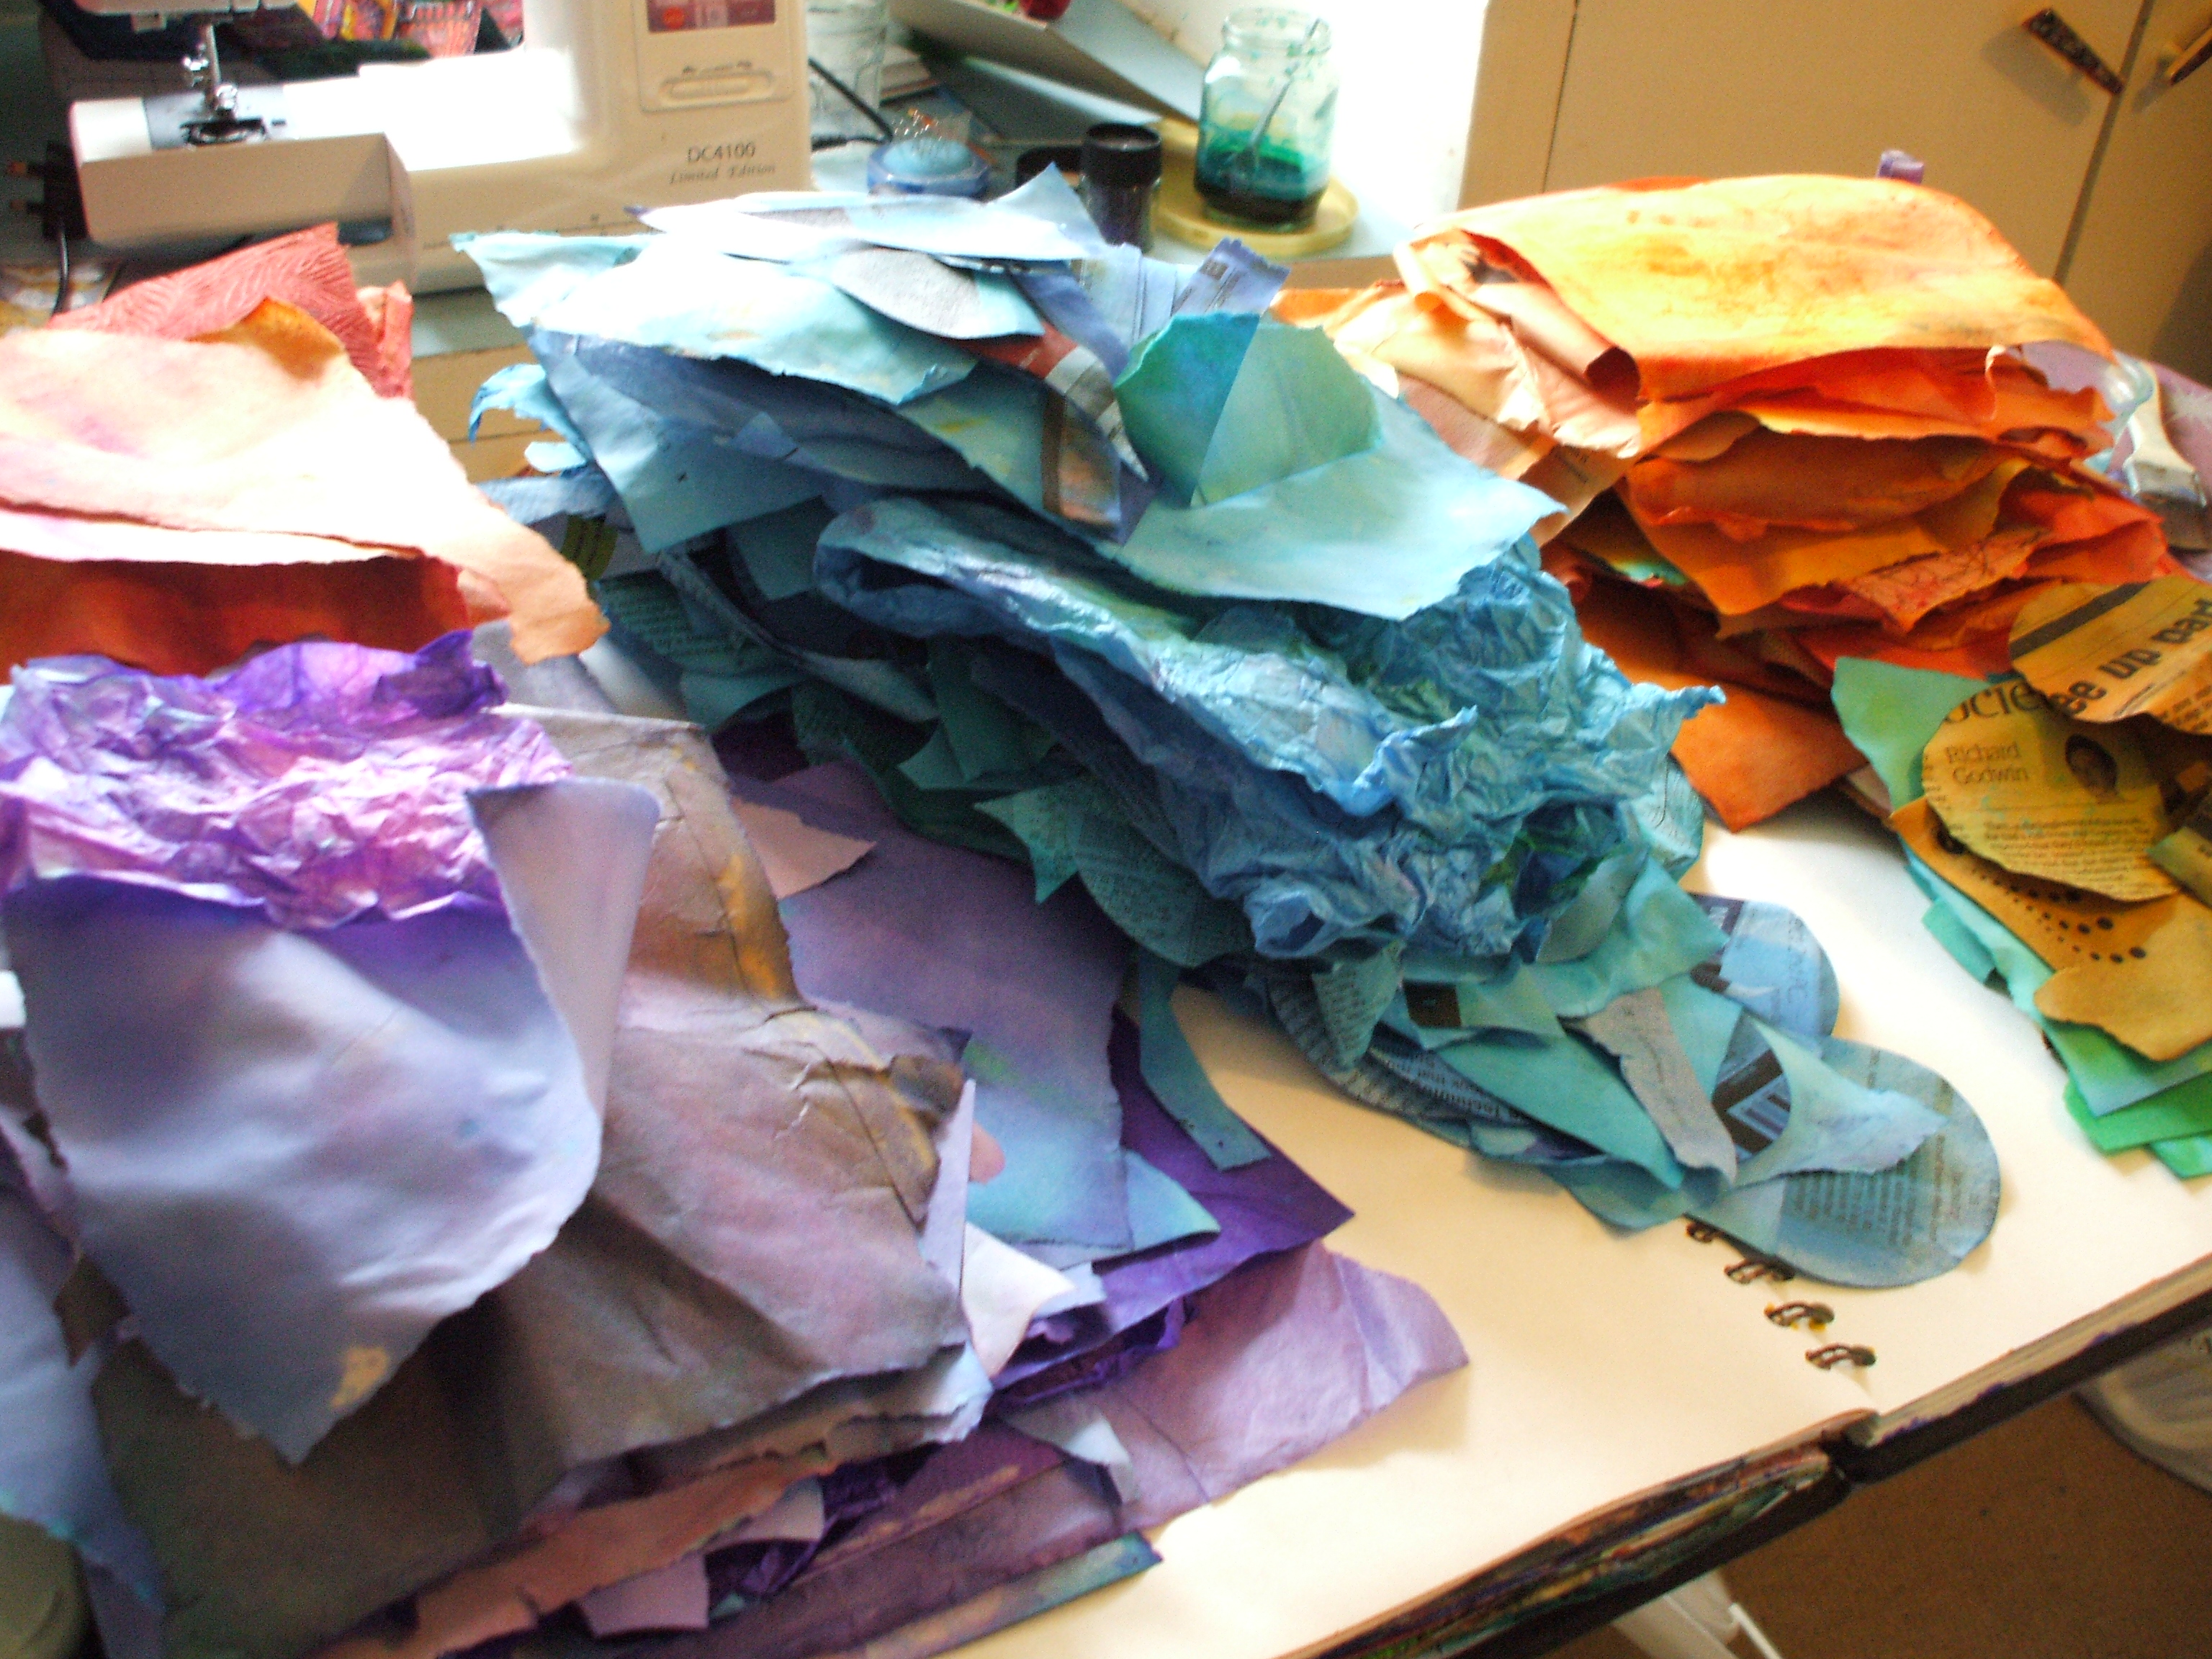
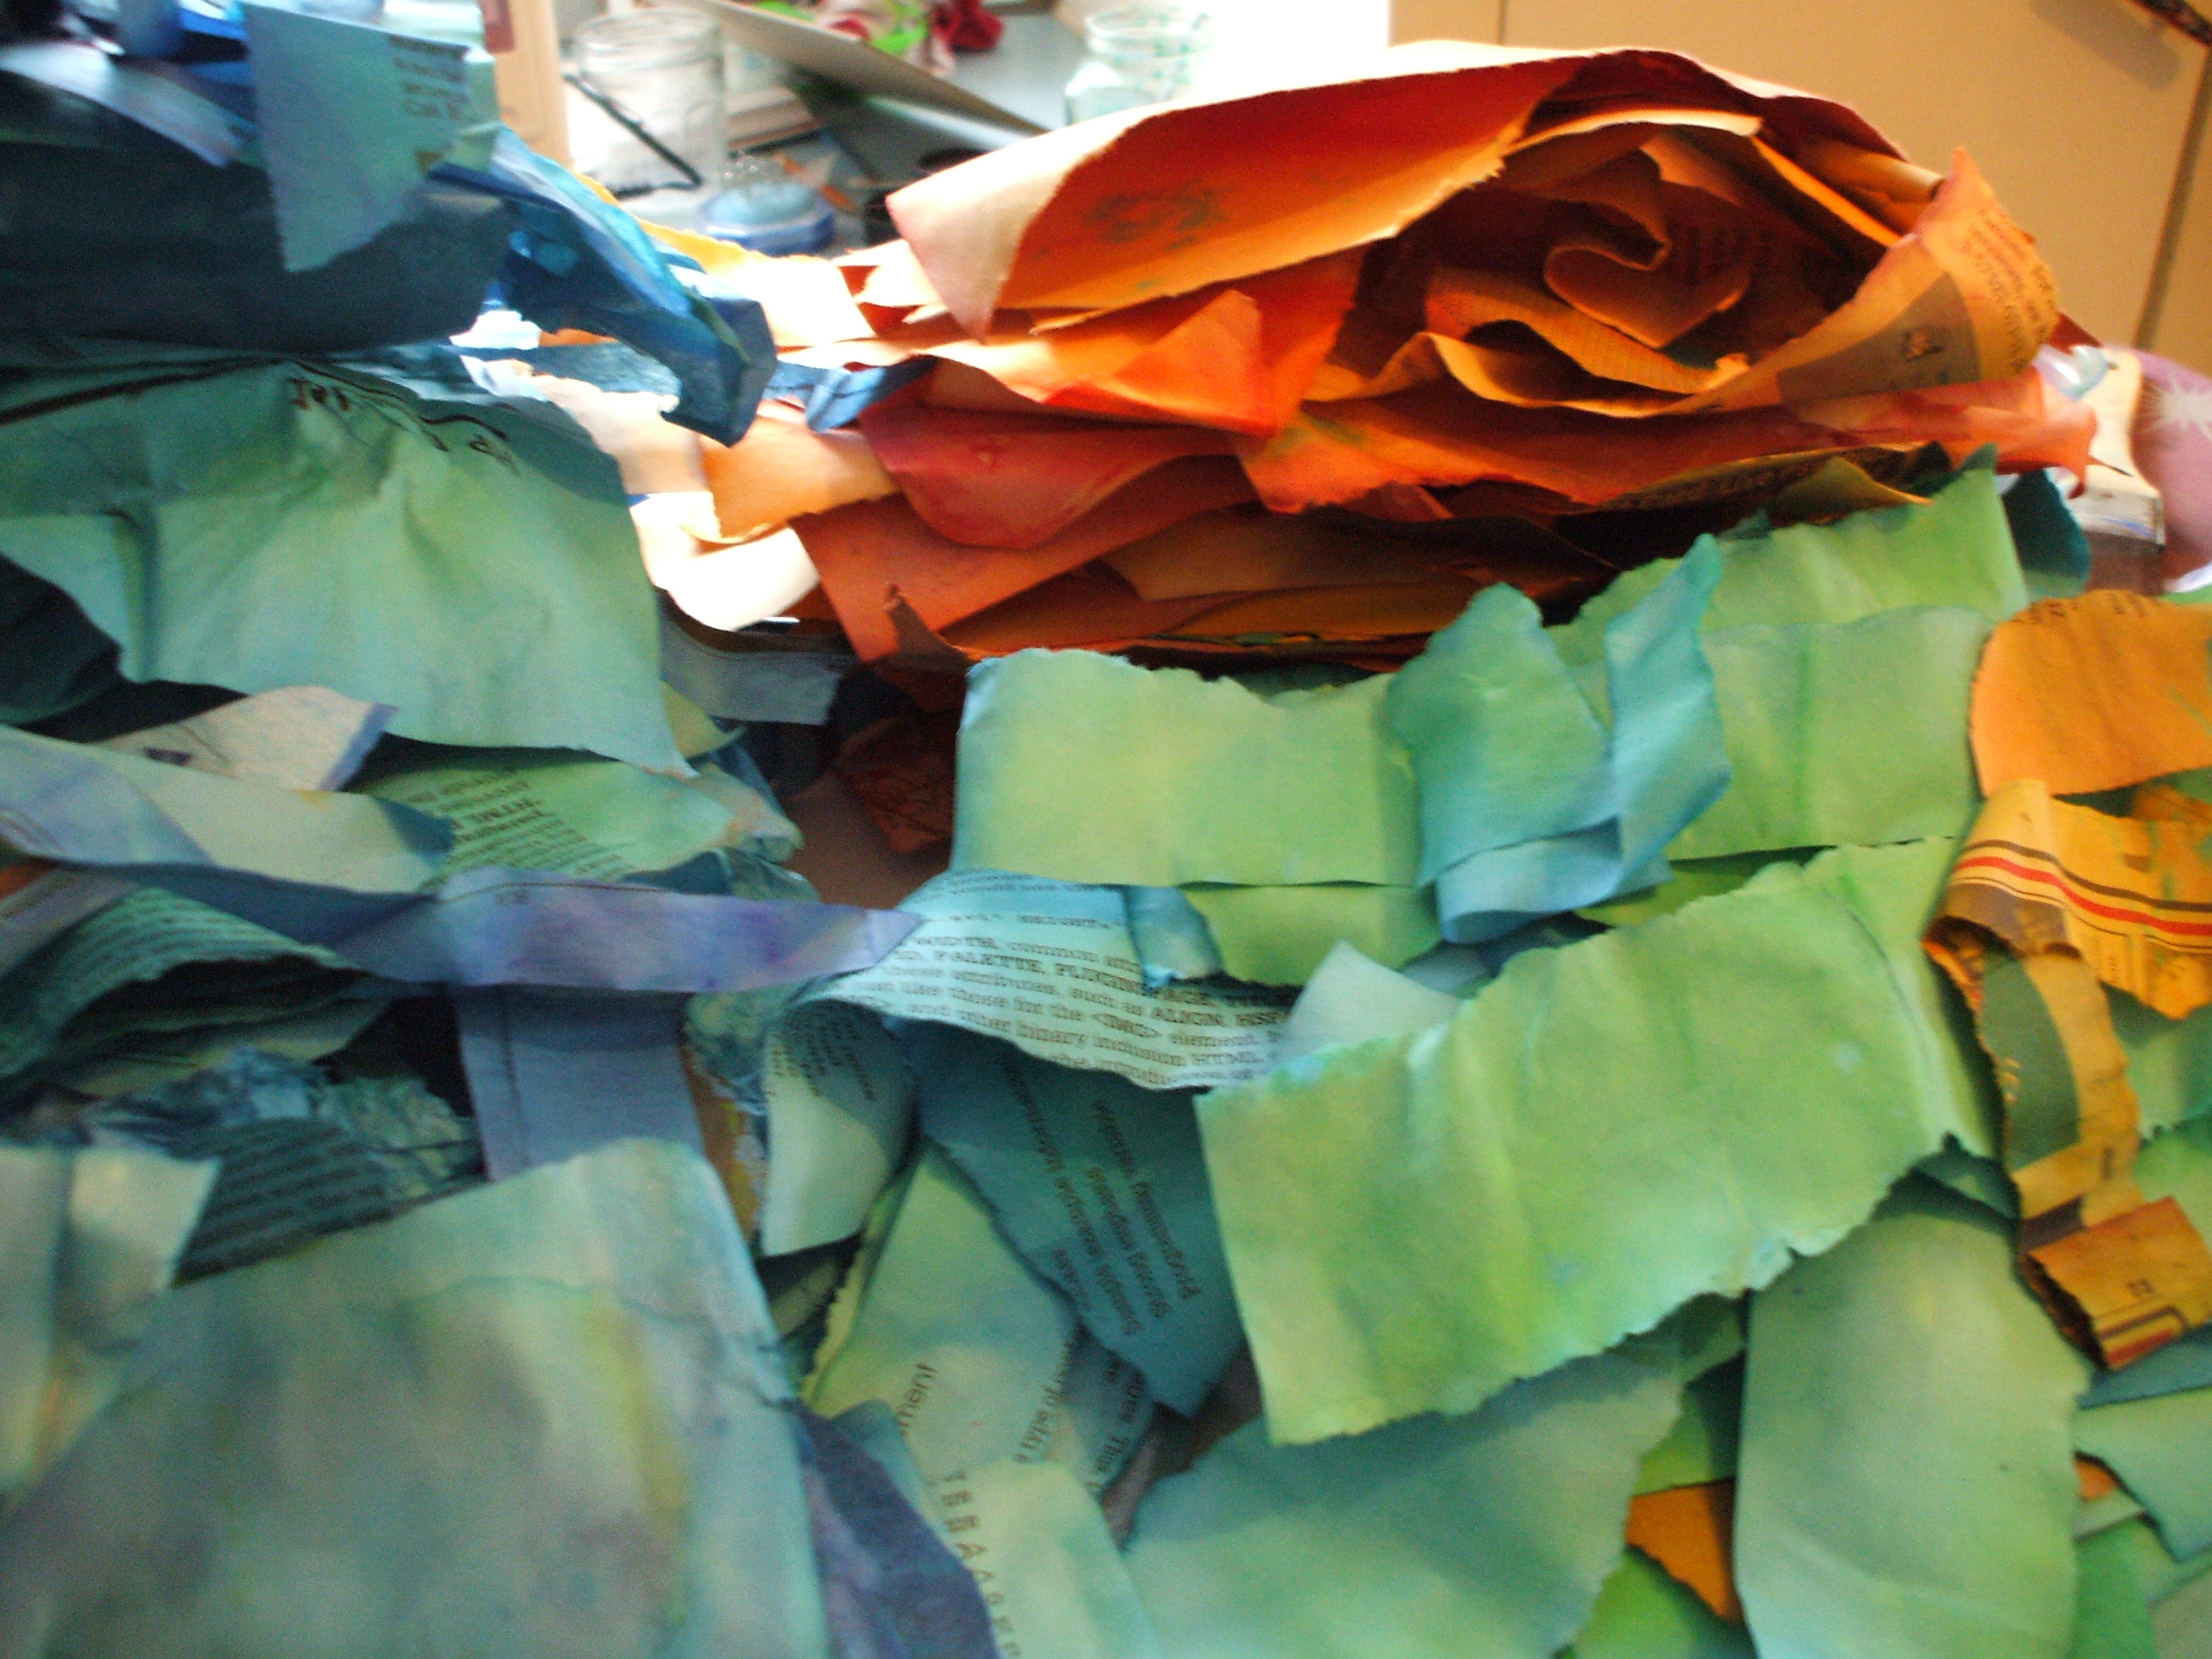
Next stage is sort the ‘finished’ from the ‘not quite there yet‘, iron the former and carry on playing with the latter.

