dyed paper things

When I was doing my paper dying some weeks back, it was without any real plan as to what comes next. Then last night I found myself making these.

This slideshow requires JavaScript.


There’s about 125 of them at last count, and already a few have found a home on today’s page a day page (more on that later!)

confessions of a color junkie

Can’t help myself, every day gotta get a fix of colors. Colors in combinations that don’t always sit comfortably. Colors in big splashy forms. Speckles n freckles you only see close up….

visual echos

Thursday’s page focused on utilising bits of the dyed paper through stacking n stitching, to exploring cut and torn shapes

This slideshow requires JavaScript.


The echoing shapes from previous pages are now just indentations. To continue the theme of the swirling frond shape that has lasted all week I cut a stencil from acetate and used this with ink and then acrylic glaze for a subtle sheeny shape here n there.
The roughed up surface, sheen of the glaze and the warm earthy colors put me in mind of a leathery effect.

pink rice beginnings

Wednesday’s page started out with the results of playing with dye and rice. I poured rice onto the puddles of dye that’d spilled onto the page


As the rice absorbed the water in the dye, the concentration of the pigment outlined the grains.


I’ll post what happened to this page later…

adventures in color: ingredients

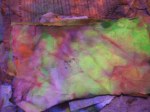
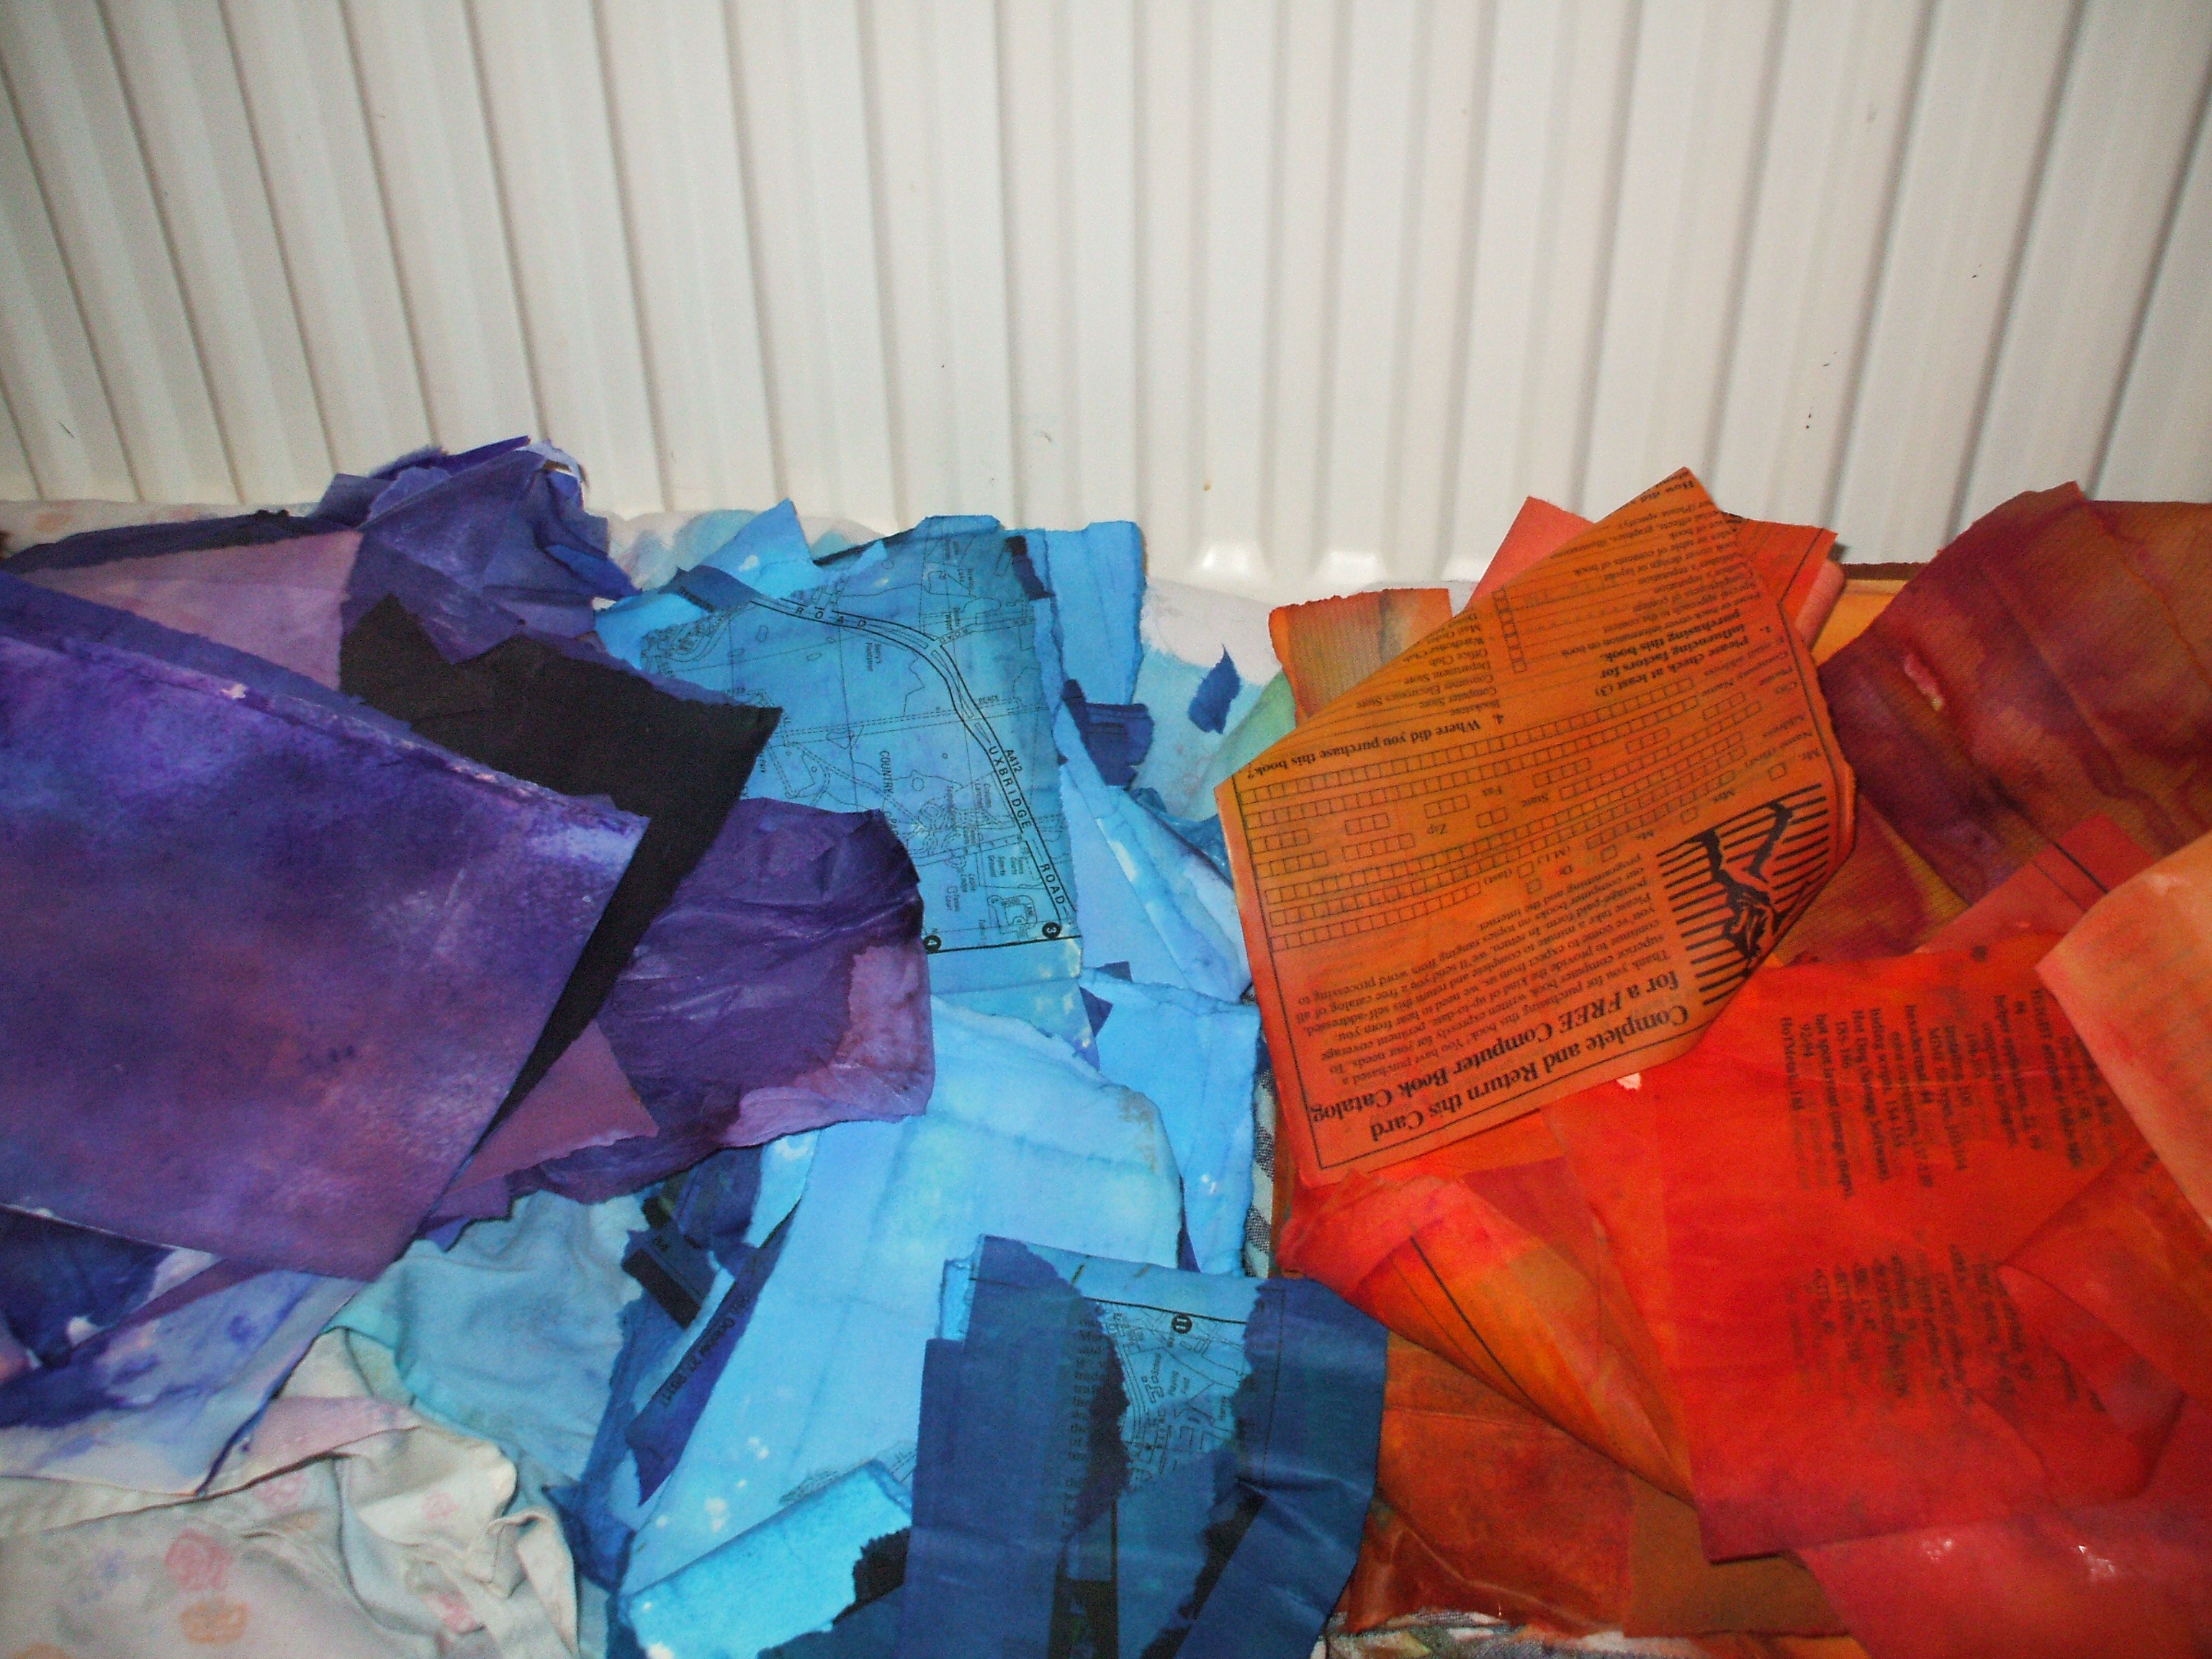
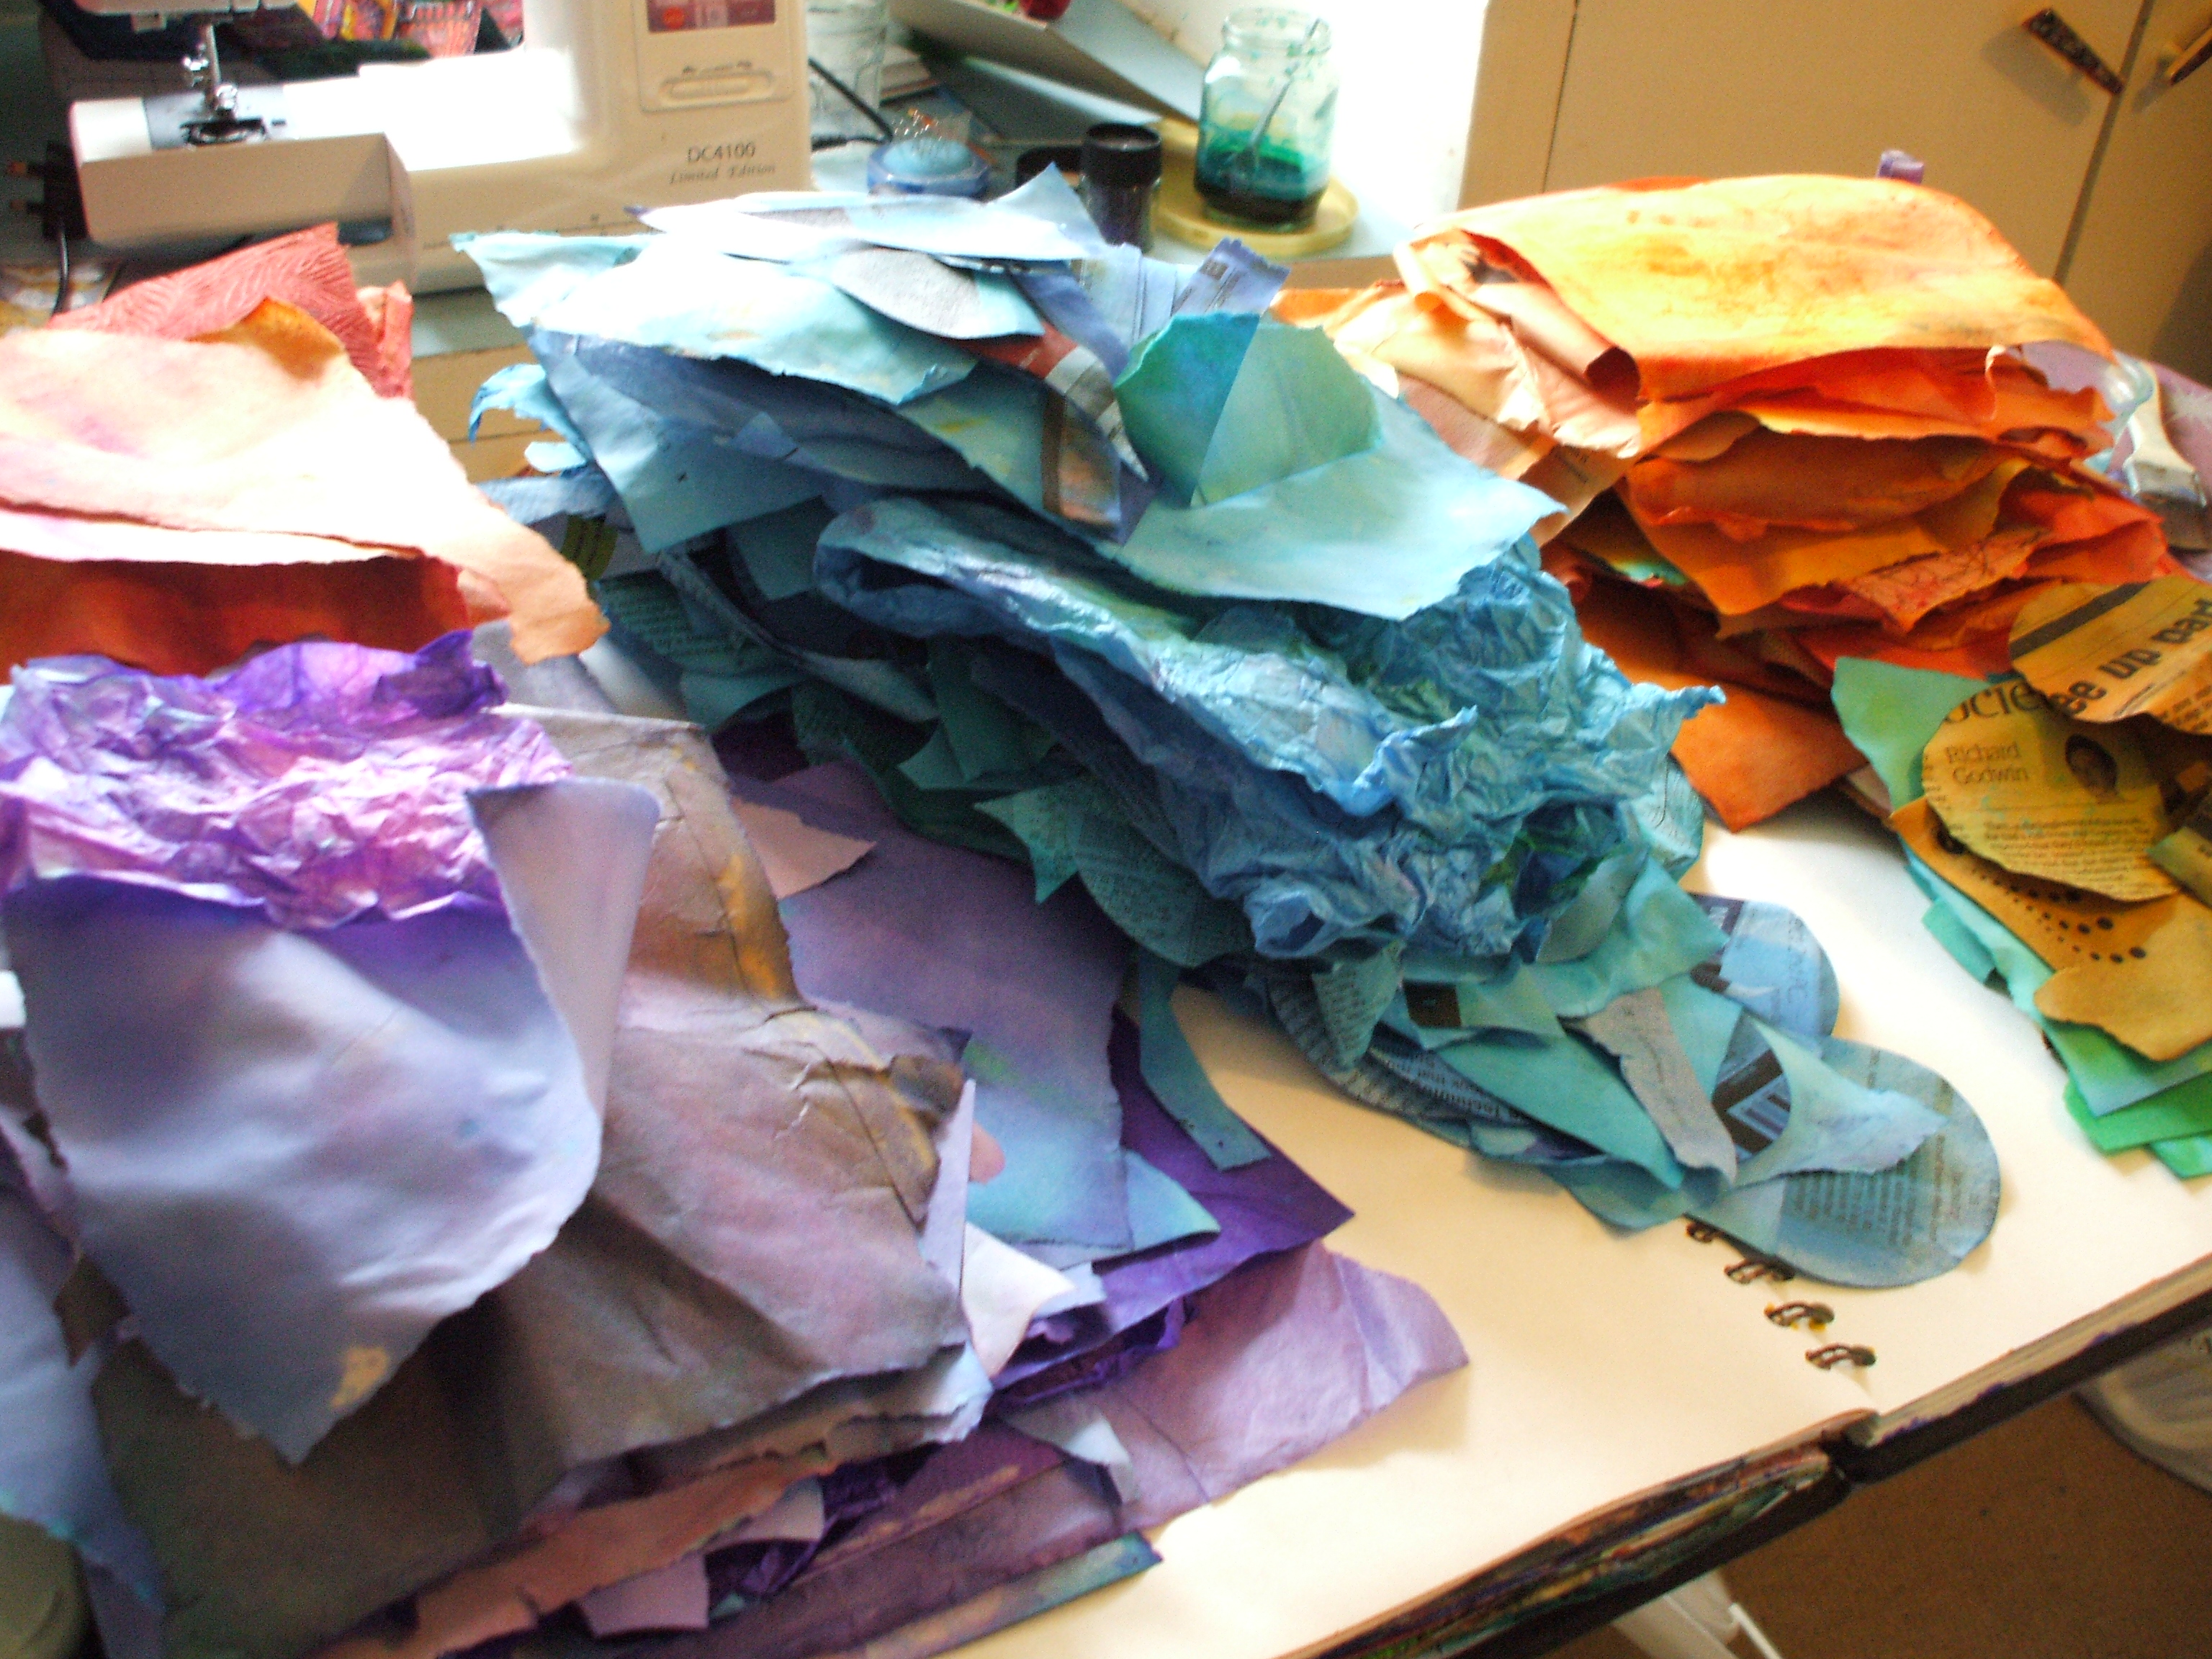
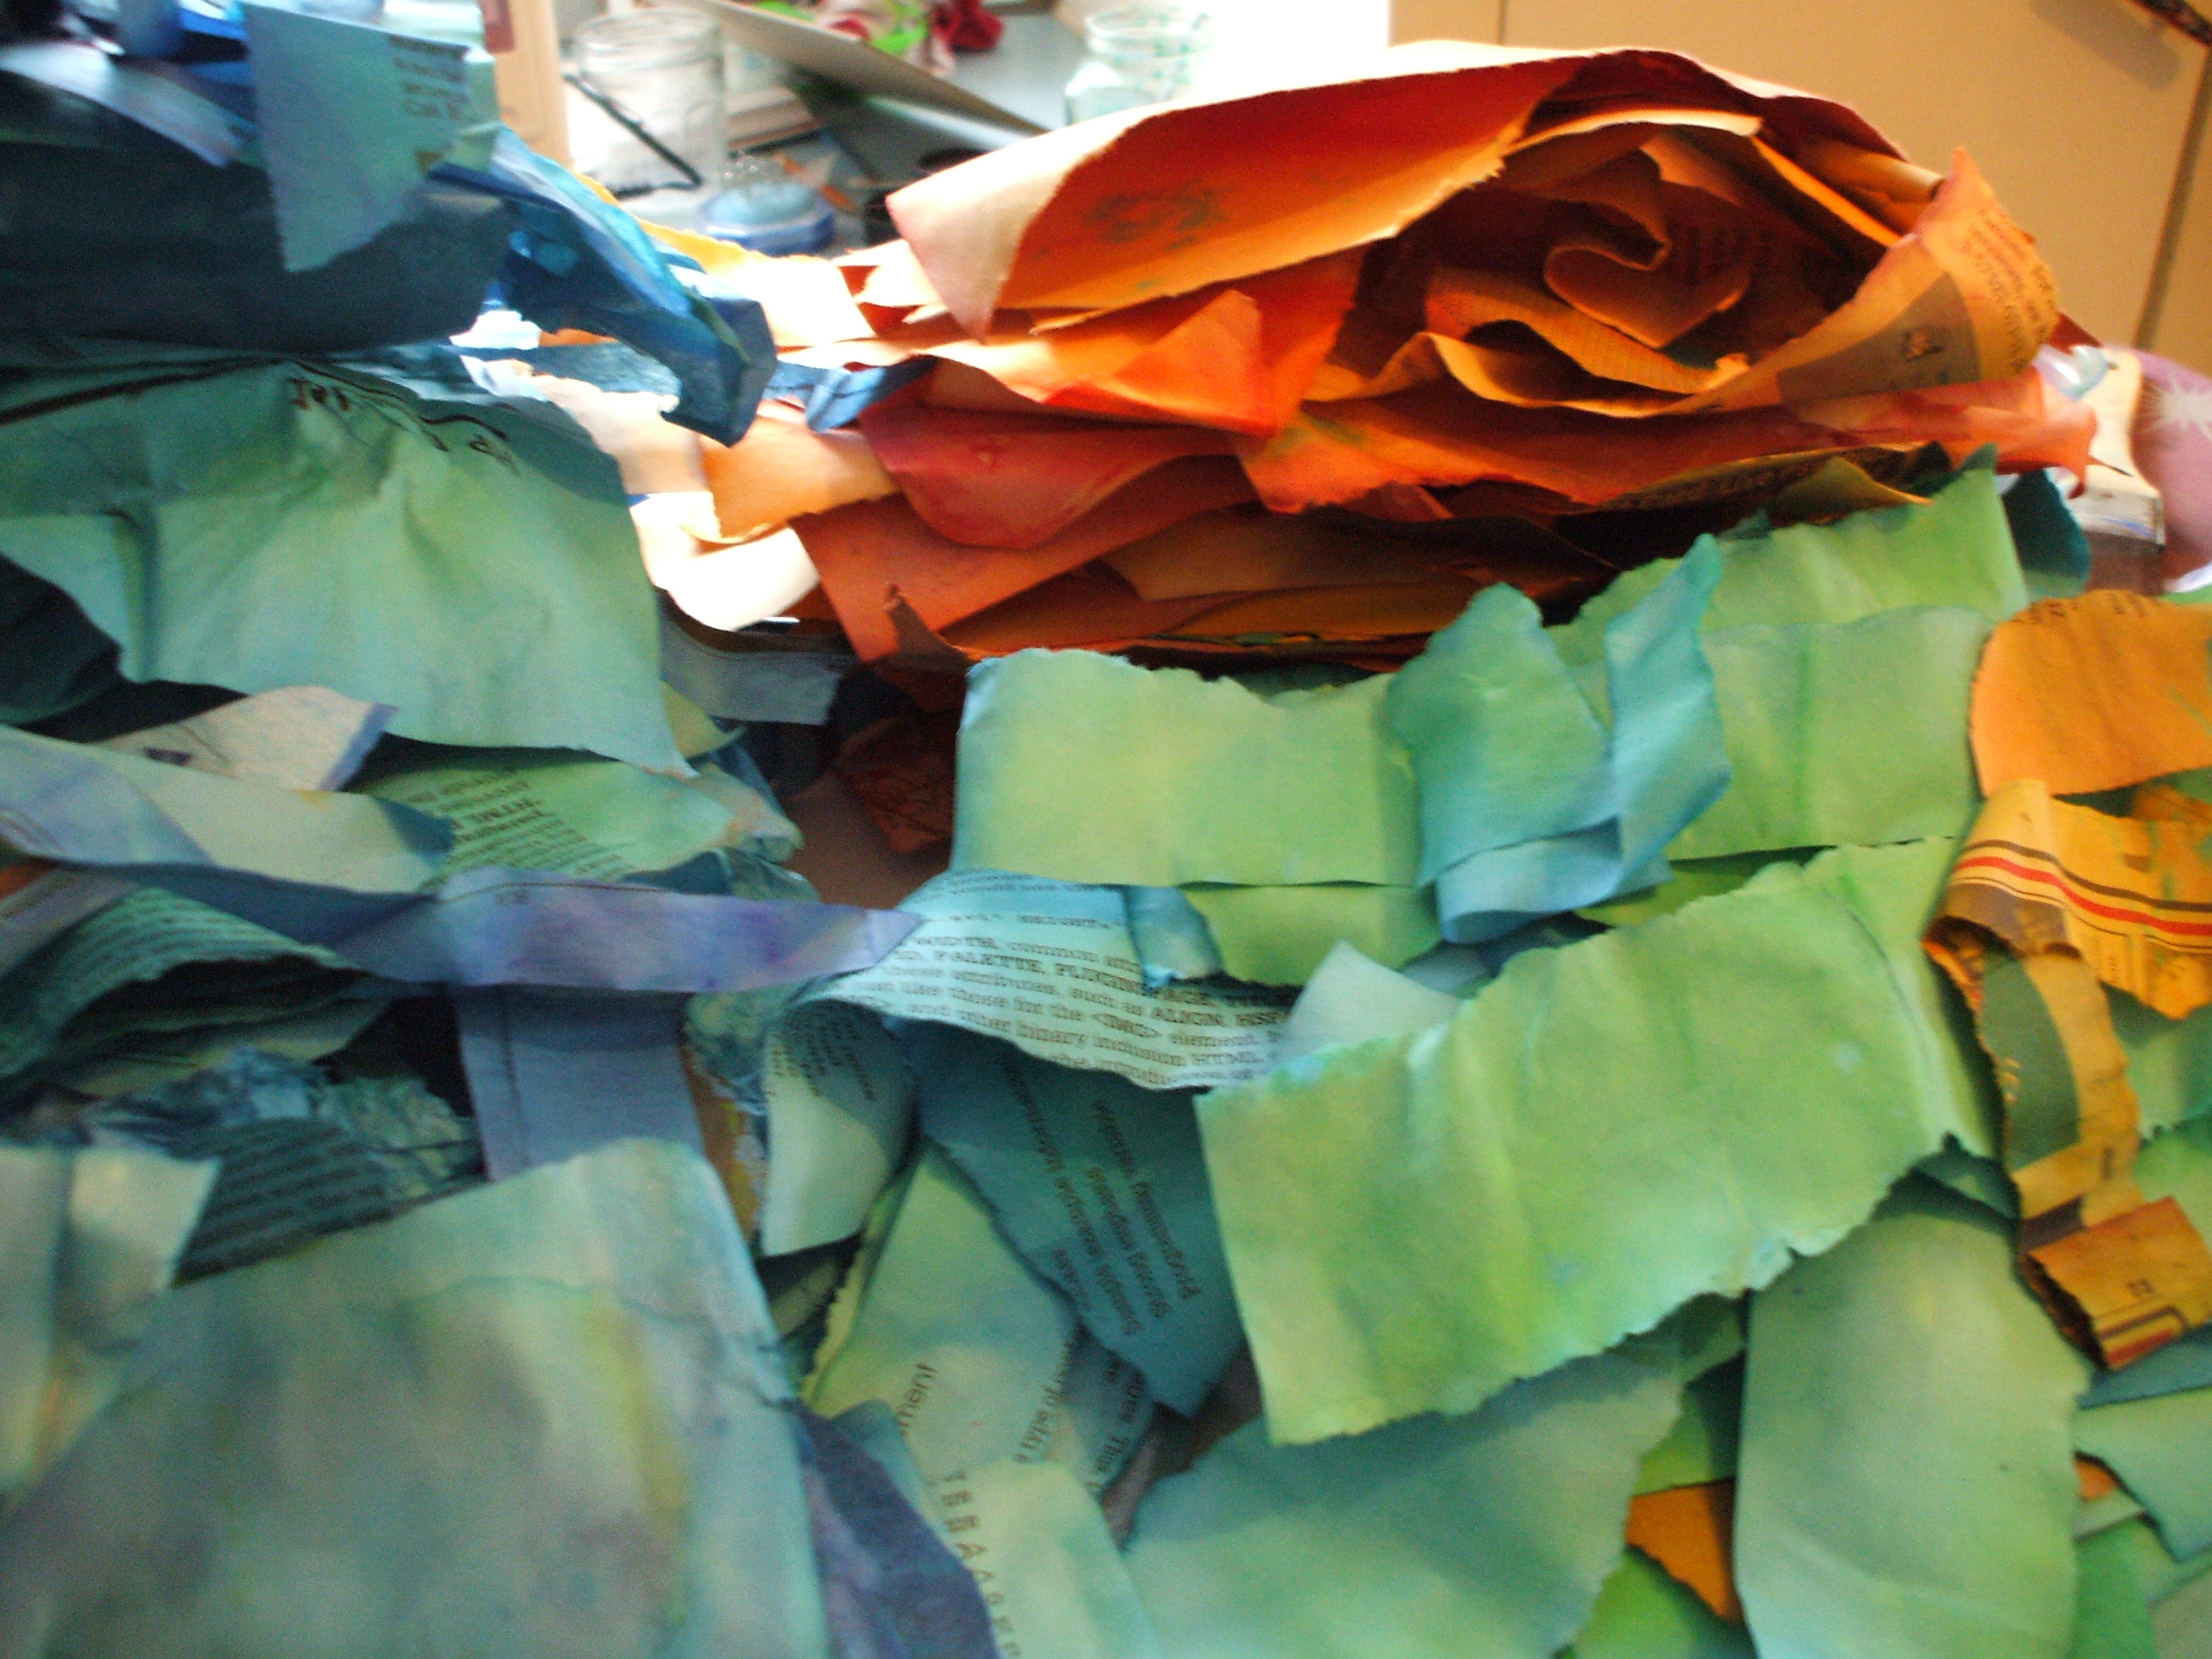
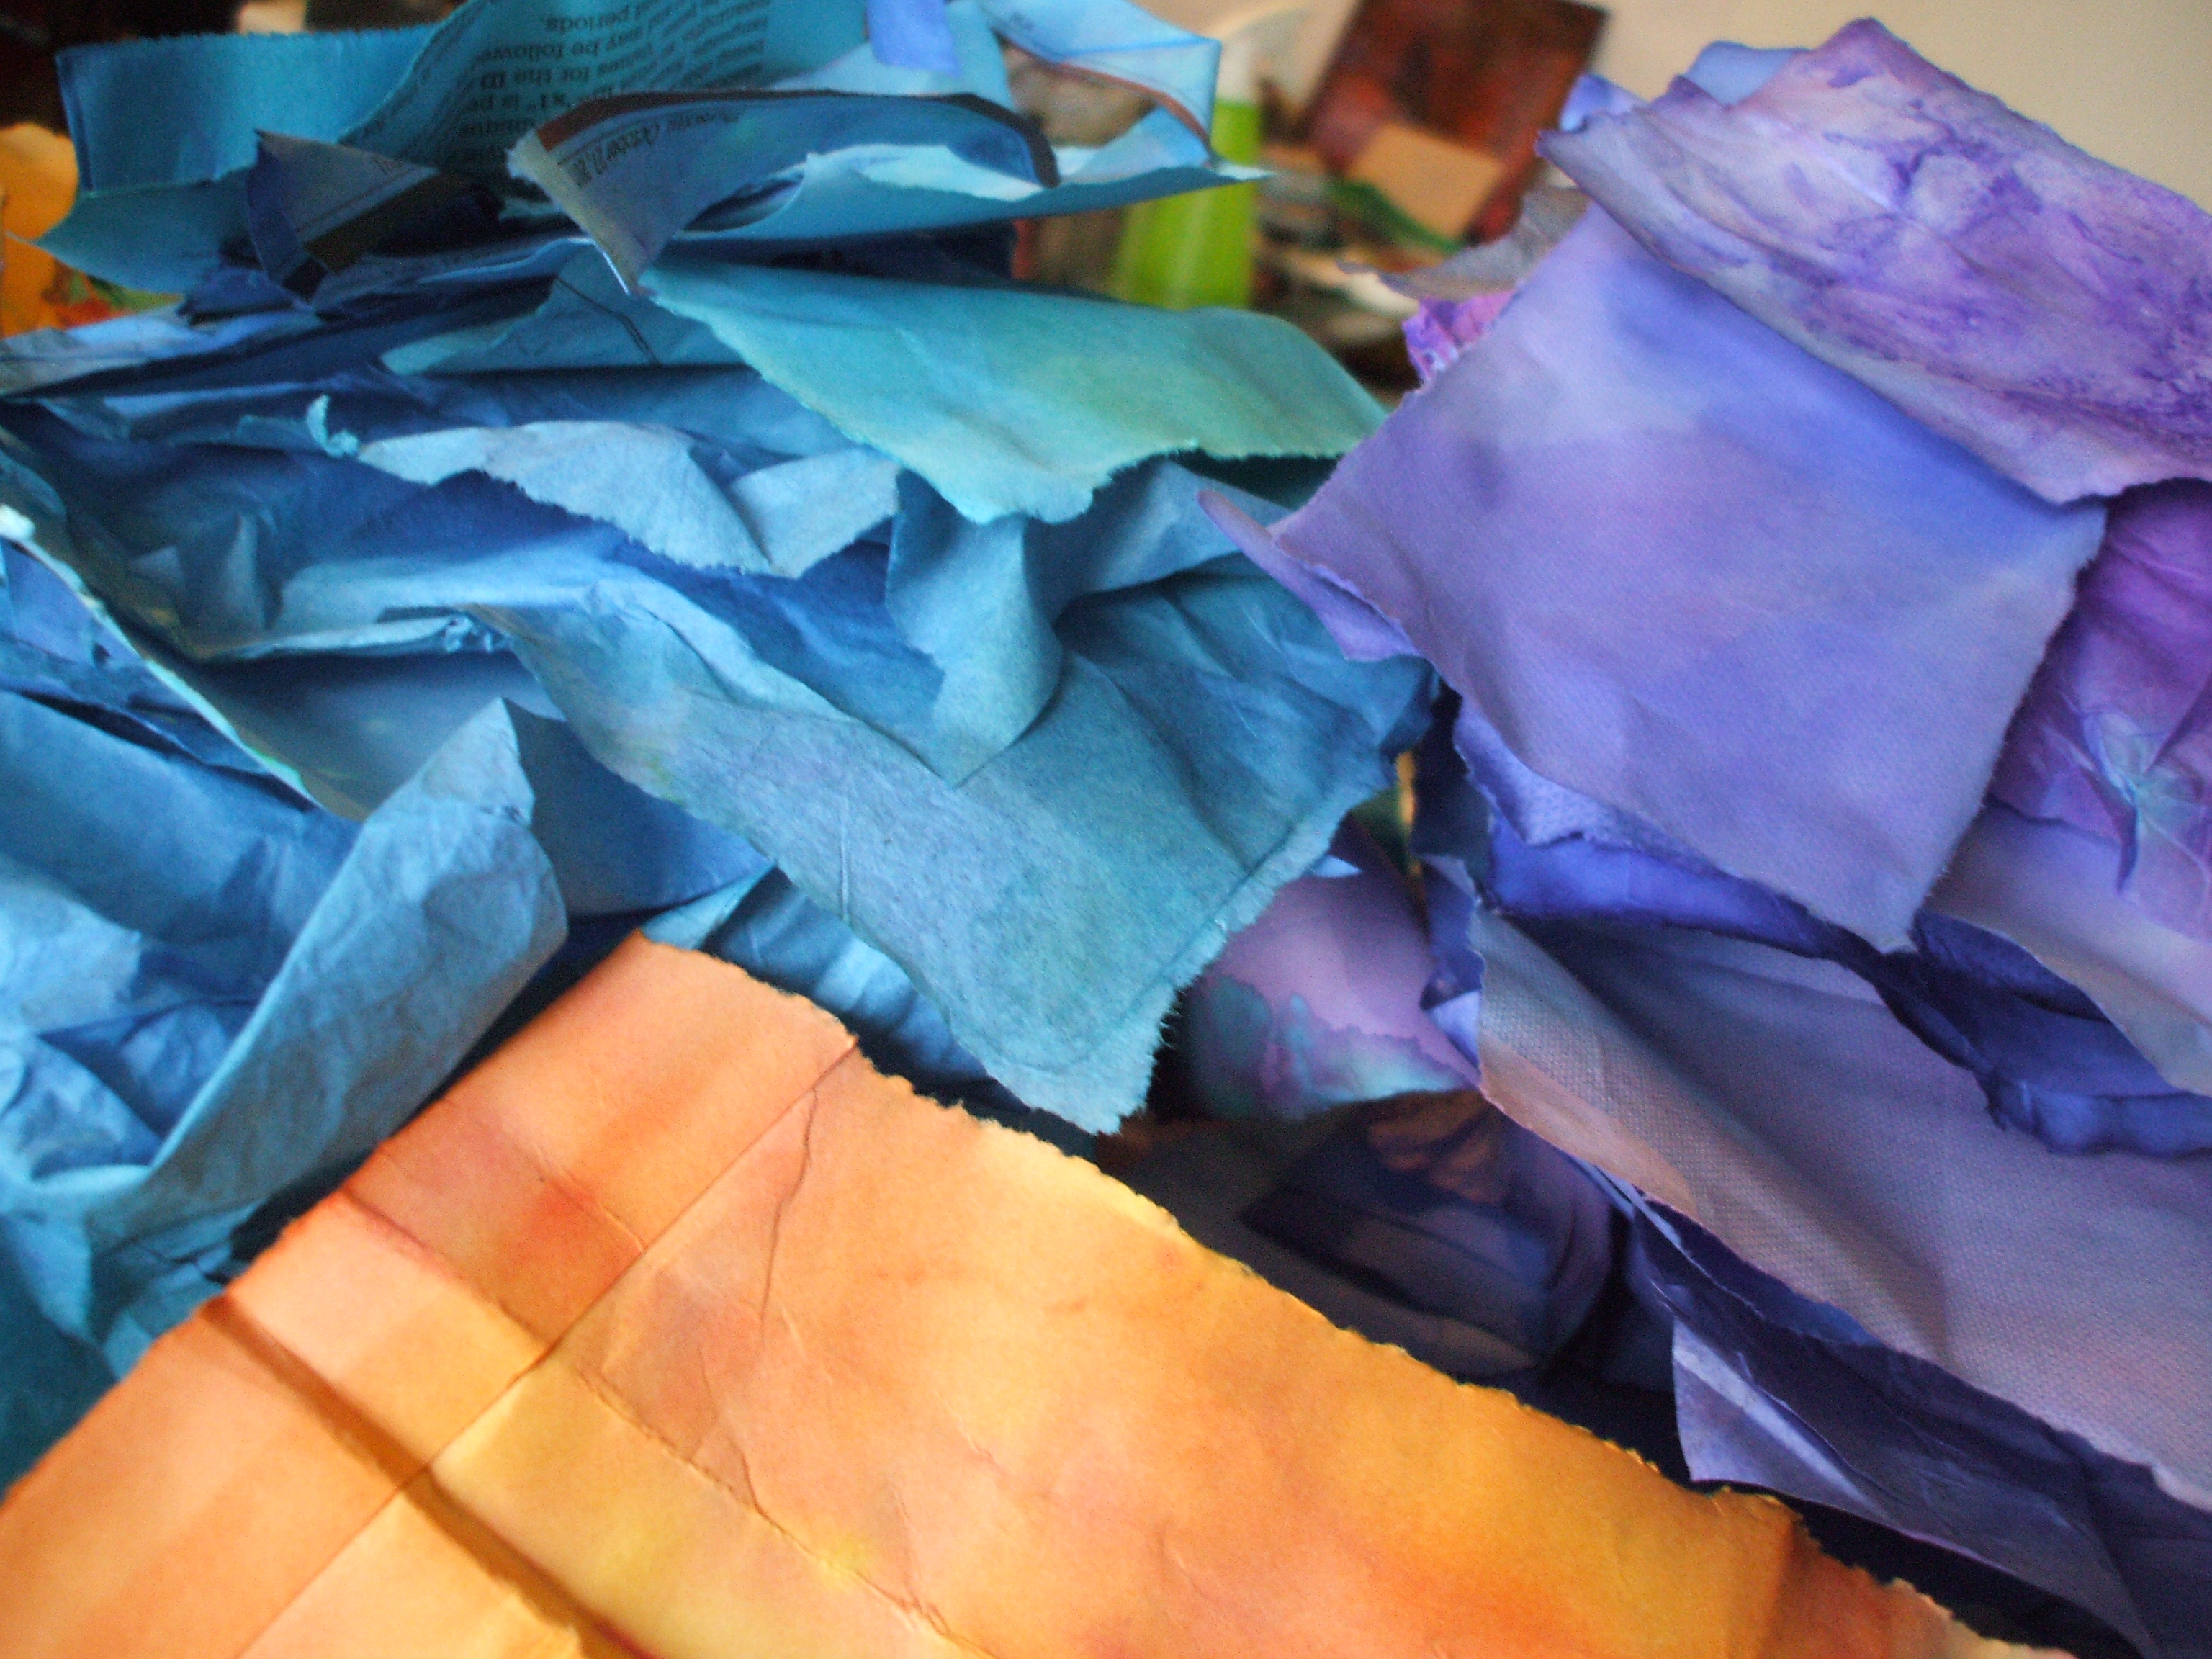
In response to the feed back on my paper dying project, thought I’d share some inspiration and some of my fave ingredients if you’re interested in doing something similar.

Firstly I must introduce you to an artist I find enormously inspirational, Ruth Issett.

Ruth has authored several books of mouth-wateringly delicious adventure in color and frequently runs courses and workshops.

Take a peak at her Glorious Papers: Techniques for Applying Colour to Paper – this is one of my fave books to set ideas flowing.

Dyes

For real vibrant colors, both for fabric and paper, I use Procion dyes. These are available at some art/craft stores, or the trusty shop that sells most everything.
The dye powder needs to mixed with water, and the colors blend beautifully. If you’re using them for paper there’s no need to use any fixative, just treat them like an ink.

Inks

I also love to use Brusho inks. Again these come in powder form to be mixed with water.
If you sprinkle the dry powder (a little goes a long way) on damp paper you can get some fabulous starburst effects and color separation from the individual hues of pigments . Try it and find out!


Then there’s the Ranger Adirondack Color Wash sprays.
These can be used on fabrics too if heat set with an iron.
Ready mixed, these come in spray bottles.


Dr P H Martin’s Bombay ink.

Having picked up a bottle of this at my local art shop, in a fit of extravagance I got myself both full sets of 12 colors and have to say it was a great investment.

They come in dropper bottles, perfect for dripping onto paper!

The colors are vibrant and strong, so again you don’t need to use loads, and a bottle lasts a long time.

Paints

Koh-I-Noor paints are fab for several reasons.

The colors are rich and intense dye-based paints which come as 4 stackable palettes. The middle bit of each palette, along with the lid, can be used for water or mixing shades, and they are perfect if you want to take your colors out and about with you.

NB Koh-I-Noor also make stackable palette sets like this with regular watercolor – this is the one in the illustration. The ones I use are the intense dark dye based ones. Check out the comparison of colors here. Read more about playing with these here


I hope you’ve found this interesting/useful and it may have sparked some ideas for you. Til next time, happy creating, folks! 😀

Bubblewrap, Buttons & Rice (Oh My!)

The anticipation of unpeeling and revealing the results of the paper dying exploration is magical!

This slideshow requires JavaScript.


Of all the results, I think it’s the rice I’ve found most inspiring.

dyed paper!

Thanks to all who’ve joined me in these last few days of paper dying.

If you’d like to catch up on the story so far, it started here, went here, went off track awhile here, before showing up here.

It’s taken over my weekend, spilling into the weeks either side, and still there’s stuff soaking and hanging out to dry! But, that all comes later. First of all…..

First batches!


I should really photograph these in daylight, and with less wobble, but was too giddy with excitement I didn’t want to wait!

paper dying, part 3

As an aside, before I show you the latest happenings from the paper dying project: I never realised when I embarked on this it would become so all-consuming. I thought maybe a day of tearing, soaking, dripping, swishing, squishing and waiting would be followed up by a few hours of drying, unfolding, oooh-ing n ahhh-ing, then straight on to using and gluing and making.

Nope. Anyways, I’ll explain as I go along.

Having filtered out the papers deemed ‘not quite done’ I was left with a fairly substantial heap of partly-colored insipid stuff to re-dye. In a bid for something different I explored some new techniques.


Putting bits in a jar instead of a tray (done this with fabric, but not paper before)


Using pre-cut-out bits of paper


Using small things to add a bit of pattern. These wire coils were leftover from a previous project…


Ditto with rice (thinking – will absorb moisture as well as leaving rice-shape-patterns)


And again, with buttons


..Bubble wrap…


I haven’t looked at the latest results yet, check back later and find out if any of this worked out!!

off on a tangent & happy accidents

Using a blank page from my sketchbook to work on for the paper dying episodes has a threefold purpose:

  1. It’s a nice clean white (to begin with, at least) backdrop to photograph and record work in progress. A3 size book, opened up is a good sized working area.
  2. It protects my work surface (for now, an ironing board)
  3. It’s captured some gorgeous incidental art. Every stage of art, is art, right?

This slideshow requires JavaScript.


The little wire coils? Yeh, I’ll explain them later. Meanwhile I’ve got drying paper to go check on. BRB 😉

paper dying, part two

Last night I left the marinaded paper ready to sweat by the rad…Image

Today’s weather has supported my efforts by being quite cold, justifying use of central heating to warm room as well as dry my doings from yesterday.

Carefully unpeeling the layers to get some air flow, I then sorted then into heaps to finish drying and admire

Image

ImageImage


Next stage is sort the ‘finished’ from the ‘not quite there yet‘, iron the former and carry on playing with the latter.

%d bloggers like this: