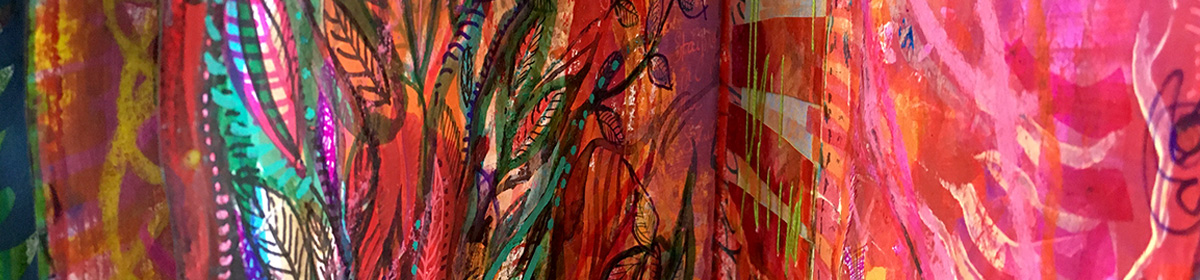
Since I relaunched my website a little while ago, some folks have commented on the loop of images scrolling round at the top of the home page.
Loads of sites use scrolling images, and there are umpteen plugins and gizmos to magic up some kind of animated doodad like this. I used Electric Carousel, but there are many others out there.
Like everything, it’s easy if you know how. So I’ve put together this thing on how to prepare the pictures for a seemingly seamless picture-roundy-thing. It will assume a working knowledge of Photoshop.
So here’s how:
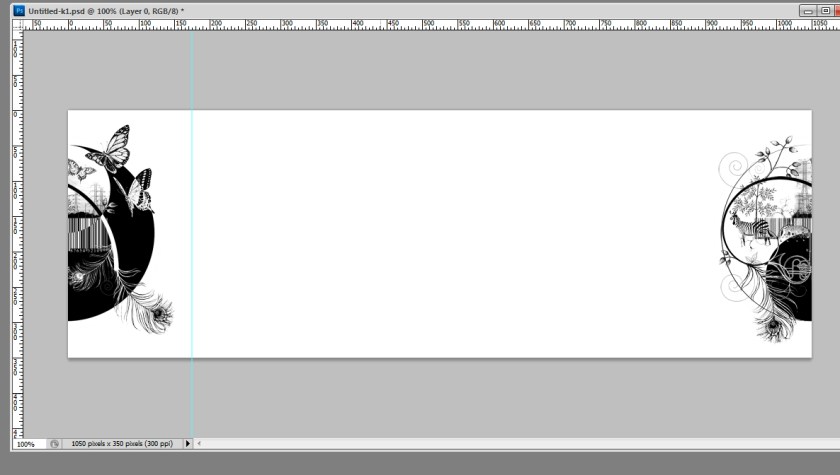
Starting out with one of the images you want to include, open it up in Pshop.
Now go Image>Canvas Size… [Alt+Ctrl+C]
What we’re going to do is put all the images together as a super wide picture like mine up there, then slice them up into separate images again. This’ll make sense again in a few steps time.
In order to do this we want a much wider canvas to work on. For the sake of the screenshots I’ve done 300% width, but in reality I think I did about 1000%. Eyeball it. Use your best judgment.Or actual pixel numbers, if you’re that way inclined.
*Be sure to do these things:
Uncheck ‘Relative’. Otherwise it’ll make it taller as well as wider. We don’t want that.
Move the anchor point to Mid-Left. We want all our new canvas area on the RHS
Using the Rectangular Marquee tool you can select the LHS half of this image and copy to a new layer Layer>New…>Layer via copy [Ctrl+J]
Drag this new layer over to the RHS.
Shuffle your original layer to the left until the raw edges meet up and just touch, so you can’t see the join. Zoom right in.You wanna get this bit pixel-perfect. There will be an annoying hiccup if it isn’t bang on.
From here you can bring in your other images as new layers and arrange them as you wish. (I haven’t done this, pretend there are more images in the middle of this)
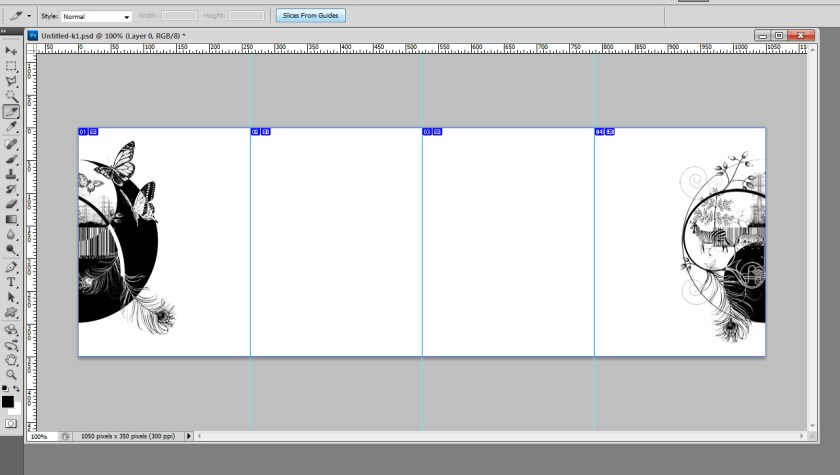
Now to chop it back up into separate images set vertical guides at regular distances across the width of the image. View>New Guide…
Grab the Slice tool and hit Slice From Guides.
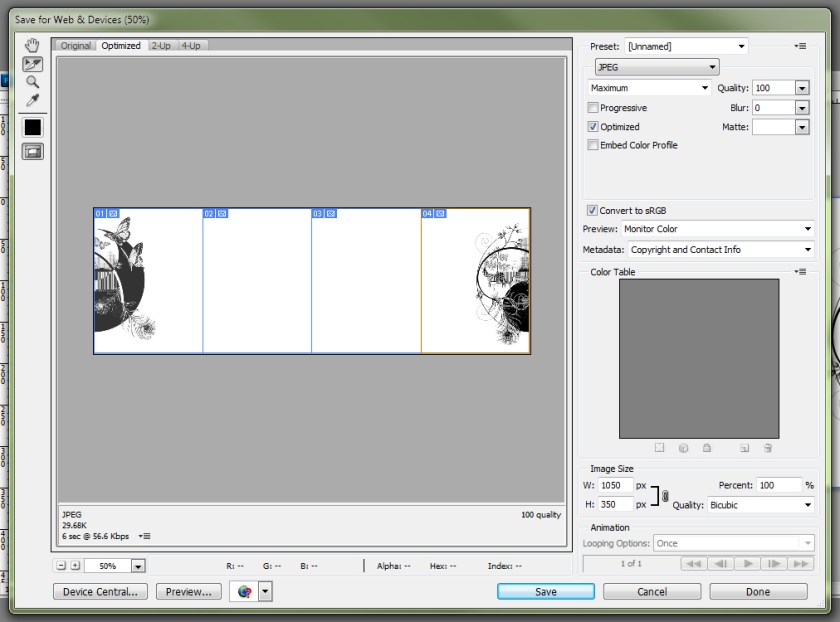
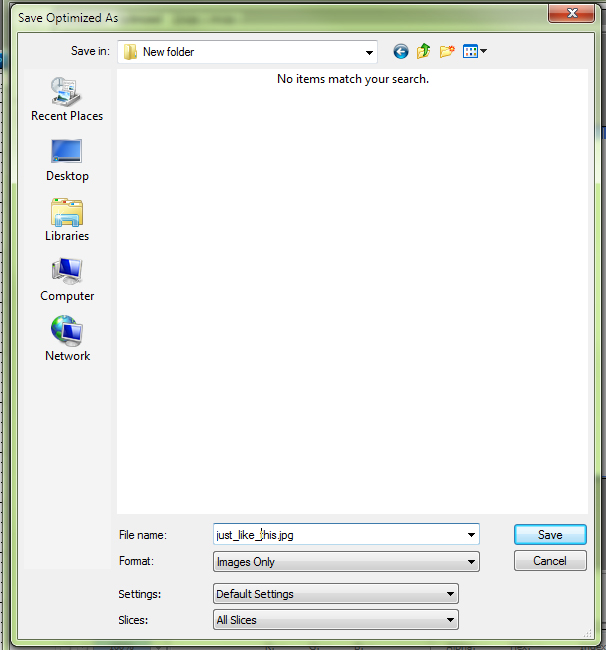
And finally, File>Save For Web & Devices [Shift+Alt+Ctrl+S]
Set your settings where you want them and hit Save
Give it a great name like scrolly_thing.jpg or RoundAndRoundAndRound.jpg or whatever…
Be sure it’s showing Format: Images Only & Slices: All Slices in the options
By the magic of Photoshop you’ll now have a set of lovely images, neatly numbered in a file called ‘images’, ready to load into the whizzy-roundy-thing of your choice.
I hope this is of some use to someone out there – drop me a comment if it is/n’t, or if there’s anything I haven’t explained clearly.
I’m making a journal for the new year, which as the Solstice starts a new moon too, I began from it then. I’m enjoying the making process, and it’s another invented as it goes along adventure. And like all the rest of them, it’s a work in progress that isn’t exactly finished (the making stage) before beginning (the using stage). Kinda overlapped.
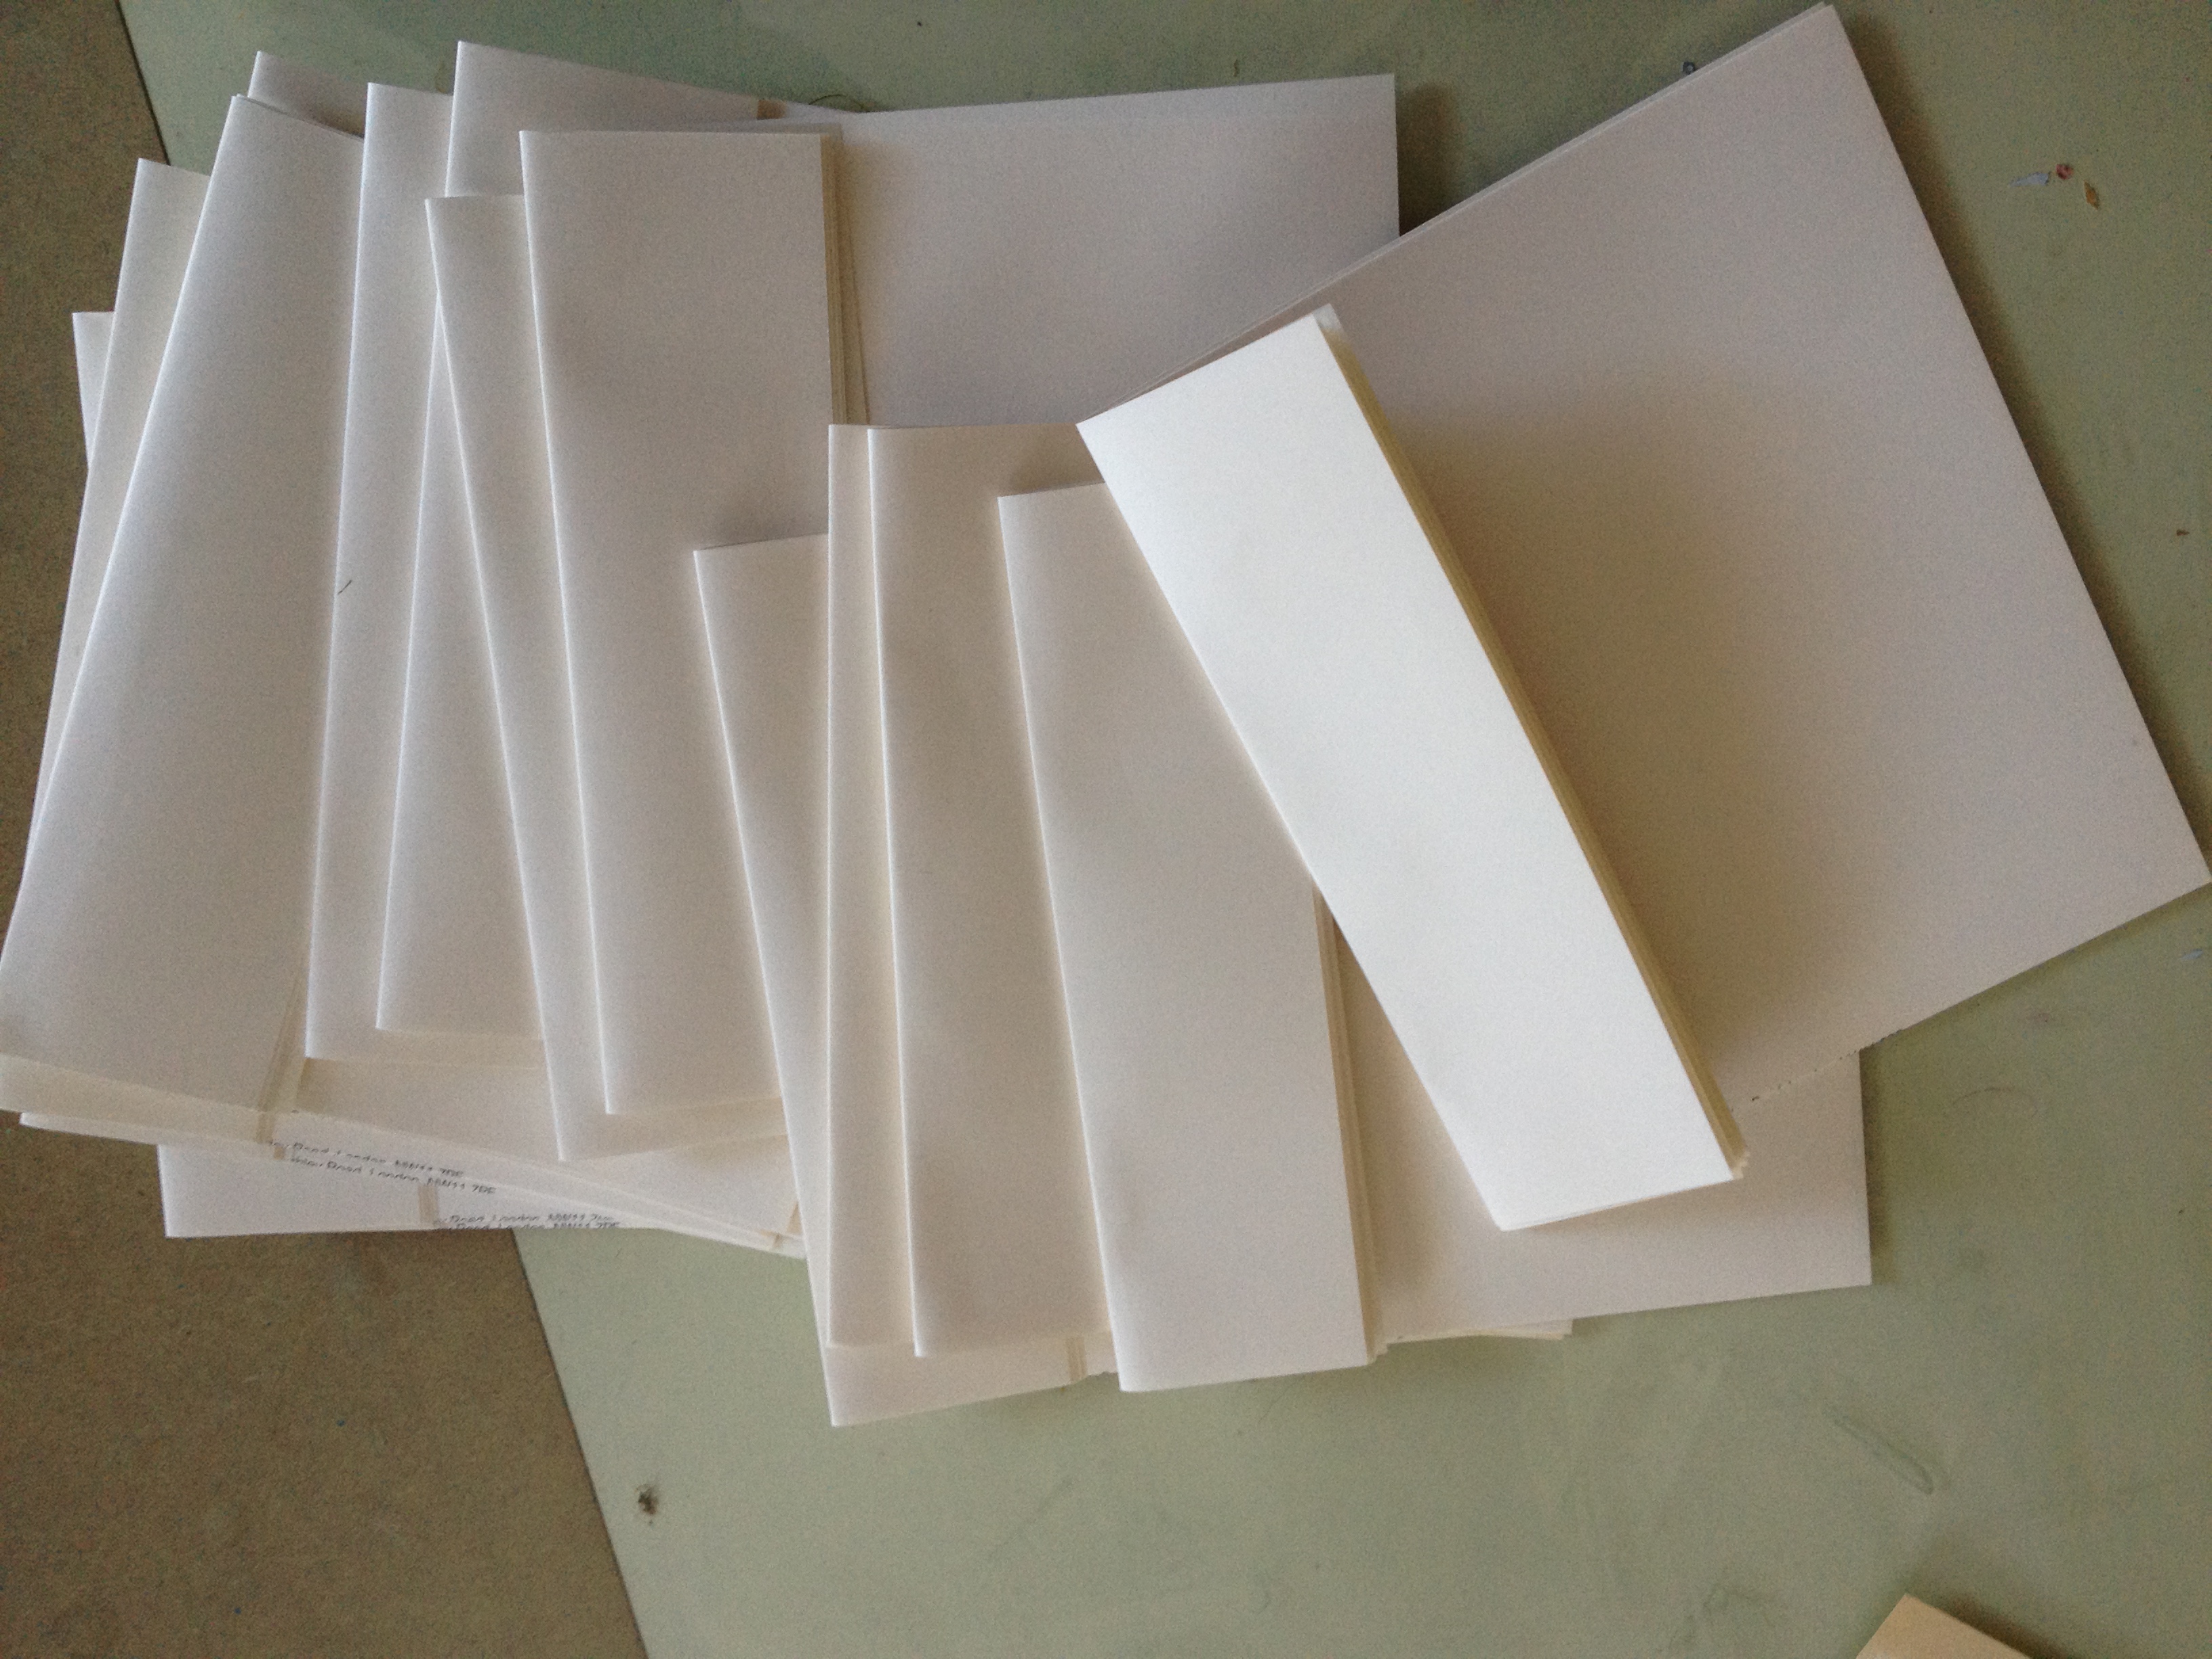
Over the years I’ve used regular diaries, journals, notebooks, sketchbooks, heaps of loose paper and the backs of envelopes to record the events, the thoughts and feelings, the minutiae, that collectively forms my days. On assessing the amount of rescued and recycled paper I’ve amassed, this time I decided to make my own book. I was surprised how easy it turned out to be. If you’ve ever considered doing this, here’s how I did mine…
Obsolete letterheads, beheaded.
Here’s a thing about shop bought books – you wanna stick in new bits and pages, lists and the like, scrips and scraps and souvenirs and reminders. So either you gotta make space by extracting some of the pages it was bought with often leaving the binding loose and flimsy or severed and prone to accidental page-drop…. Or you live with a bulging wedge shaped book that won’t shut flat. Which is fine, in both cases, absolutely fine.
But if it’s a book of my own inventing… can I bypass that whole thing?
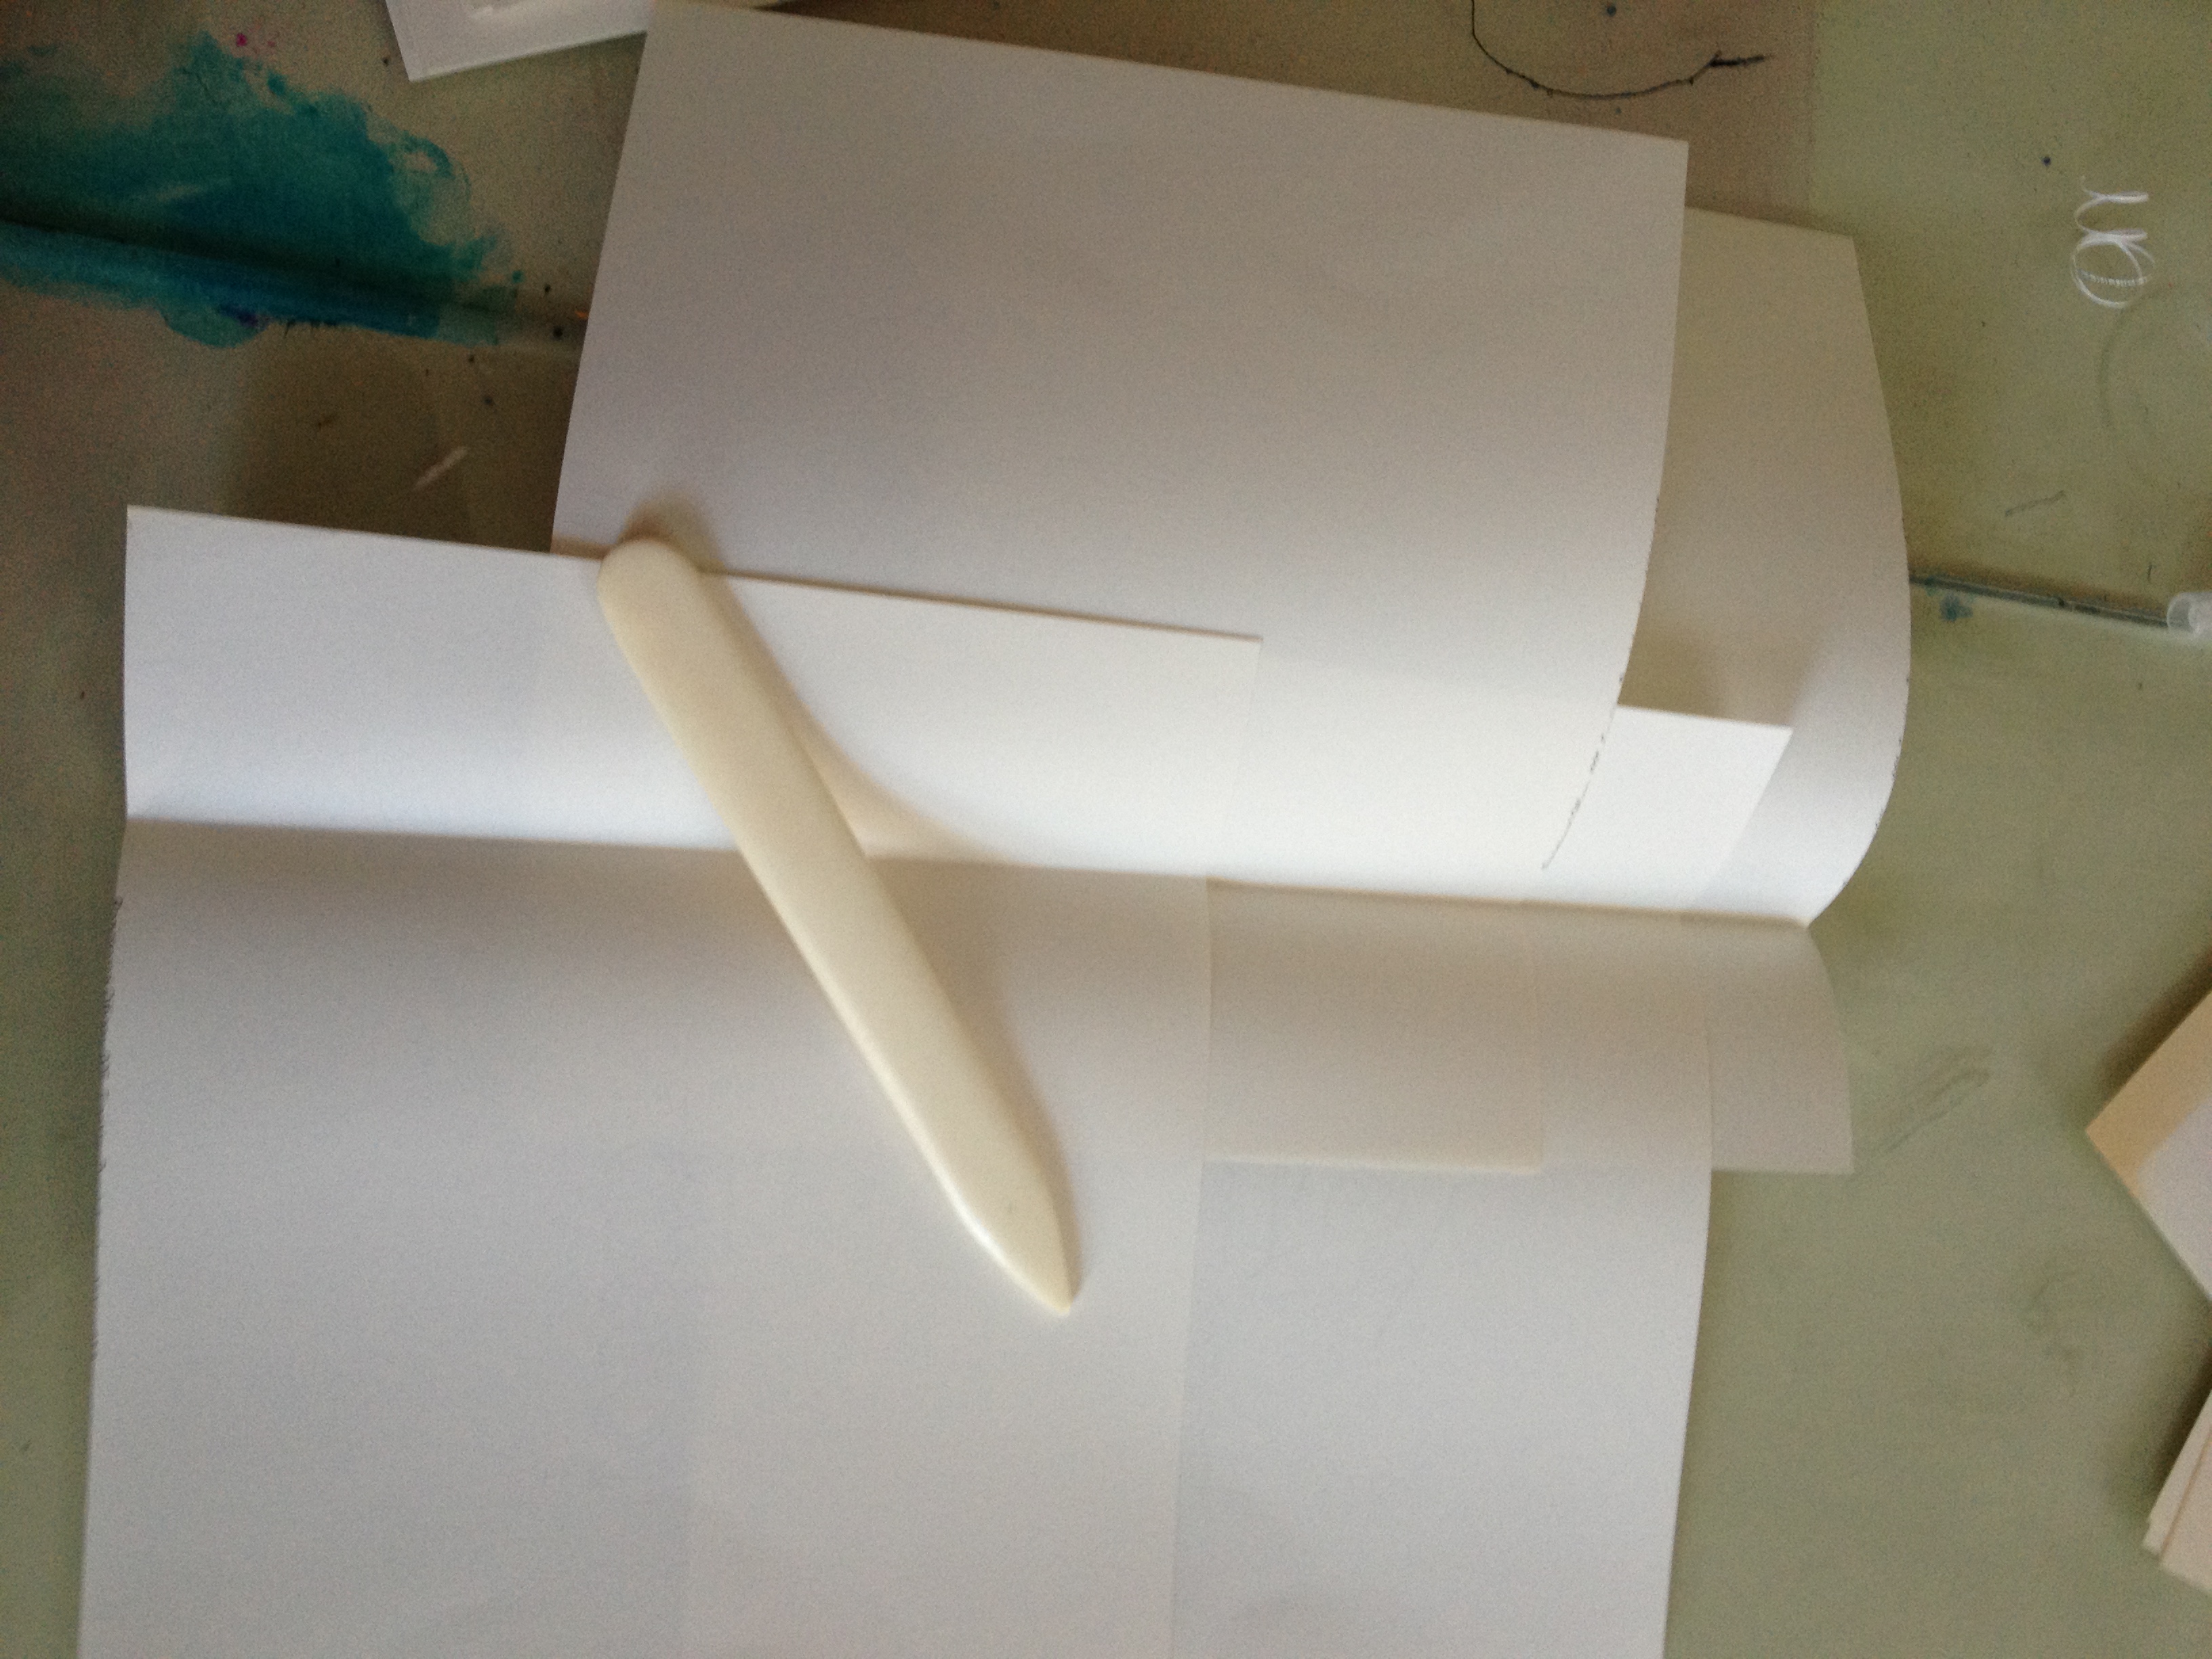
This fitted with the predicament of using recycled letterheads: once the letterheaded part was sliced off, the resulting folded in half size makes for fairly small pages. Not so compatible with big loopy writing that makes up words who need space to play in. So here comes the multipurpose wide page/thin page idea!
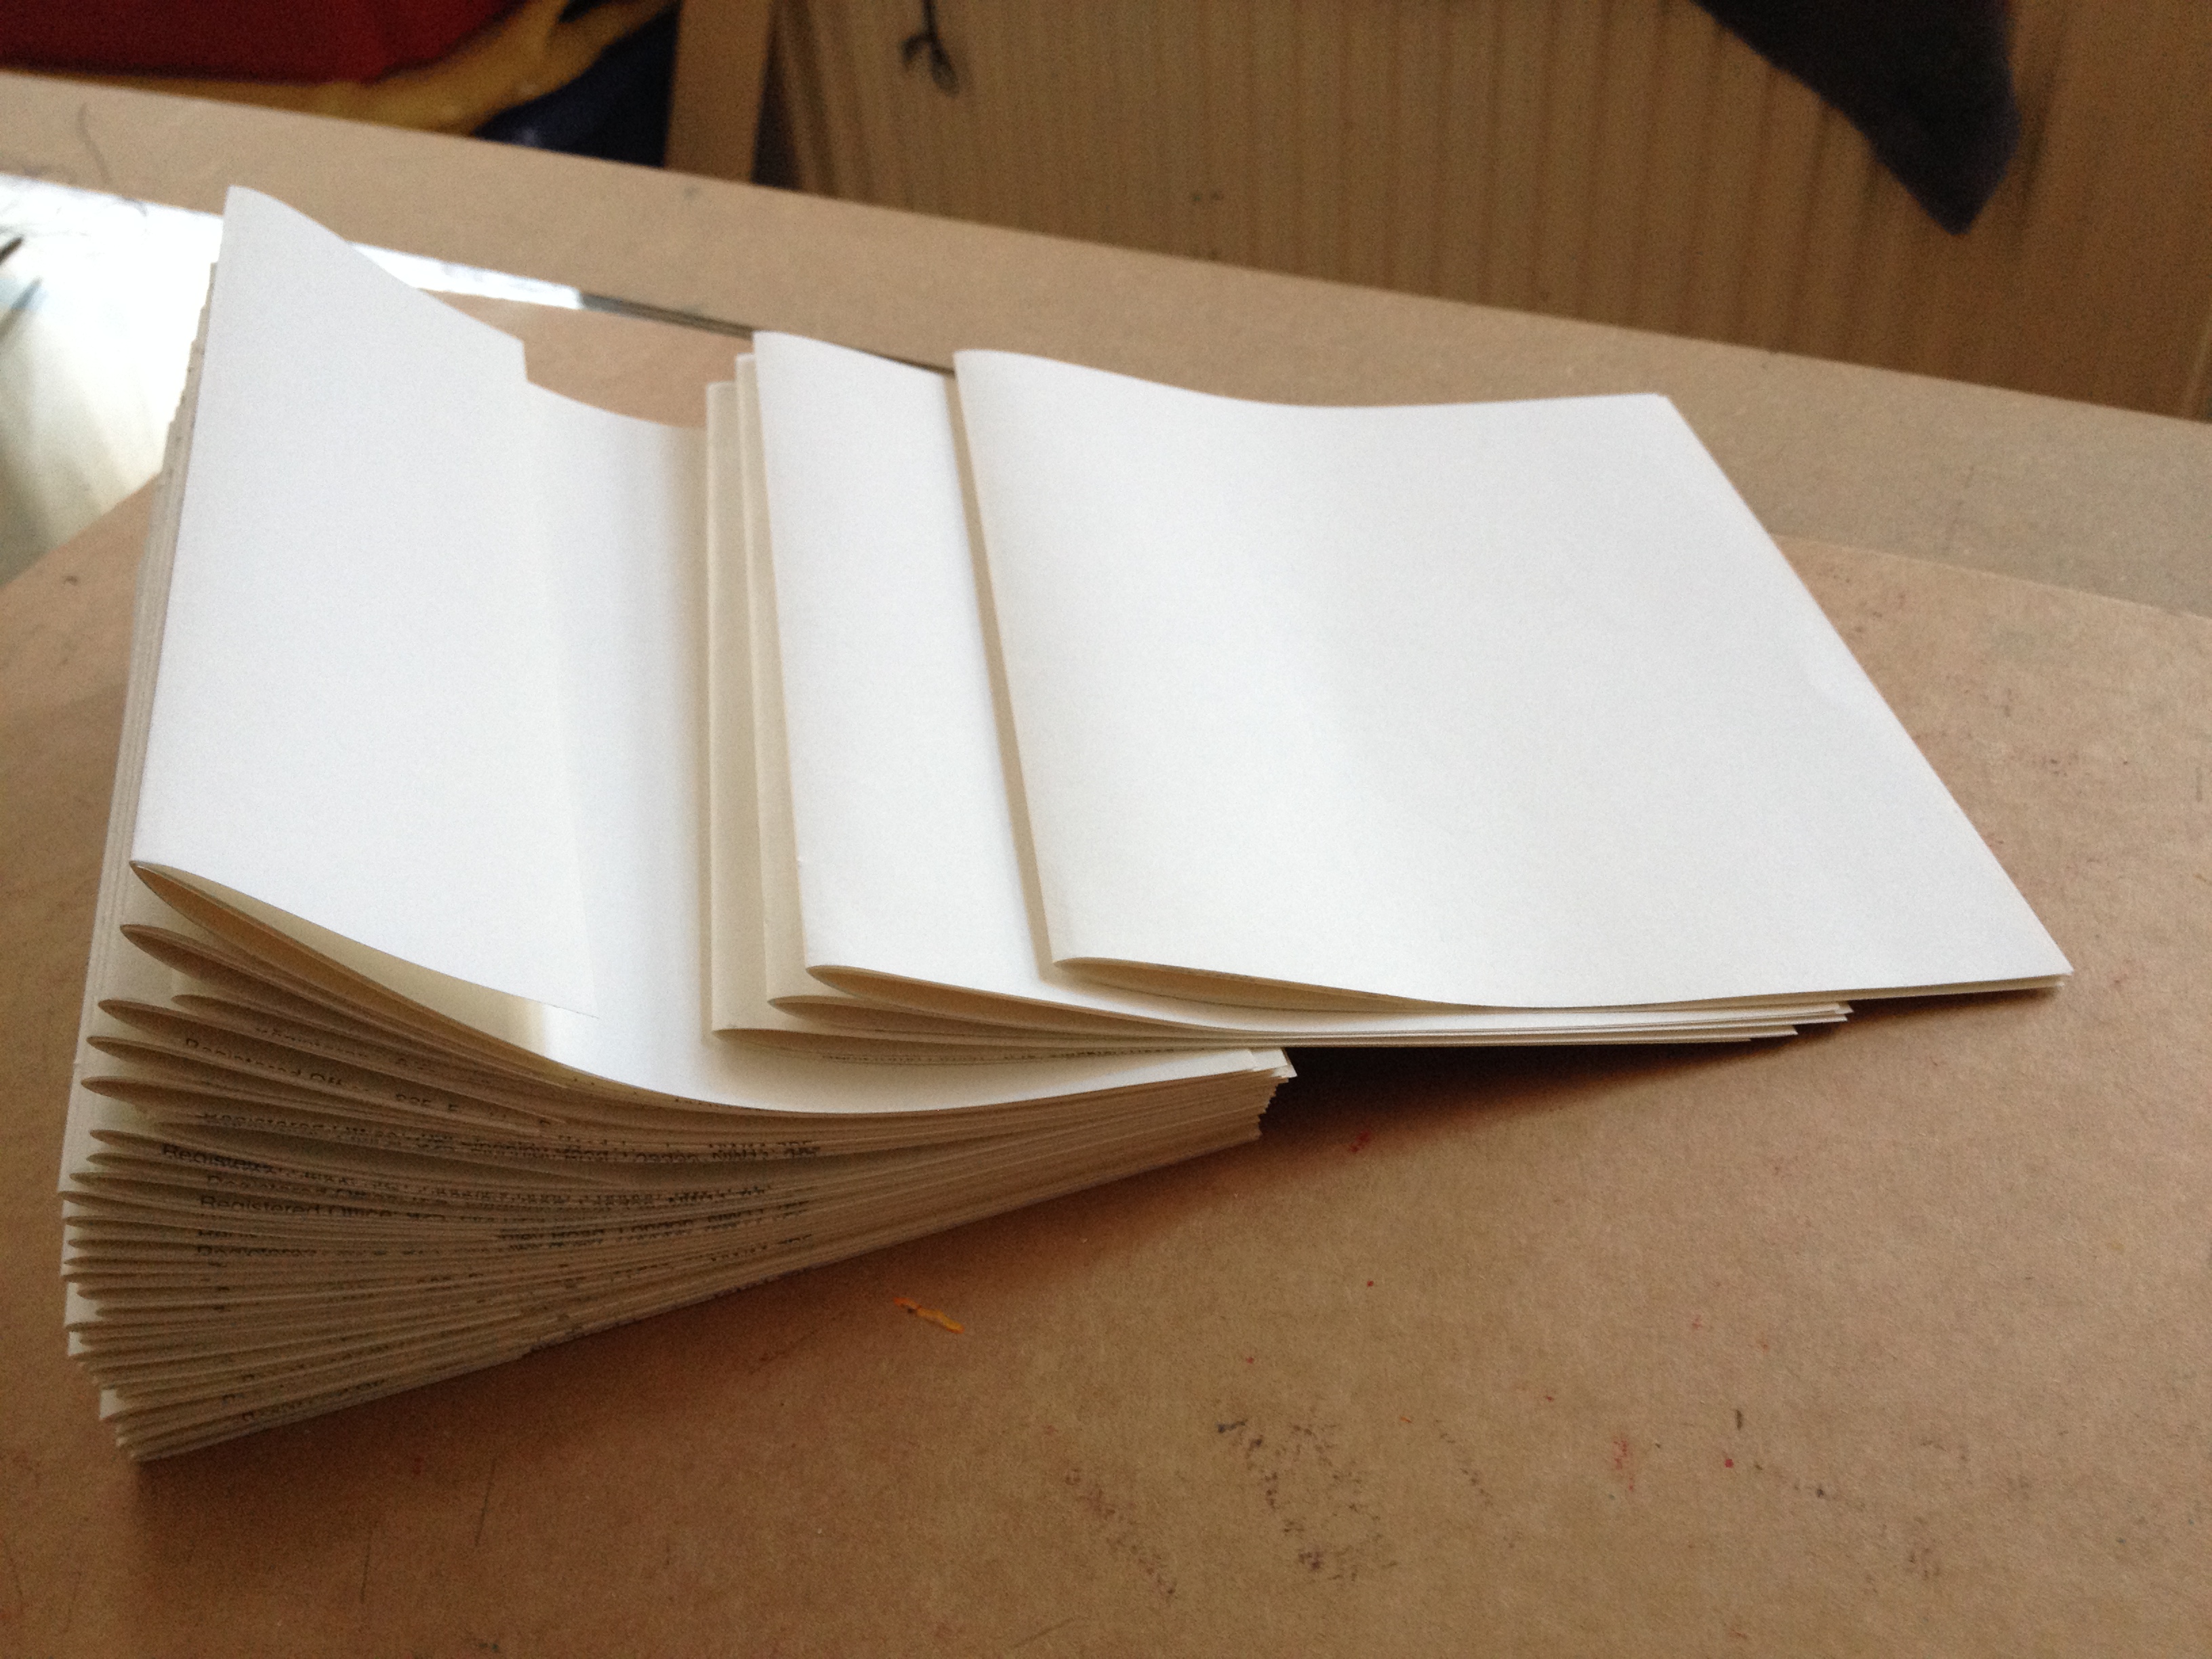
I’m thinking the thin pages will be ideal for post it notes and small folded pages to be stuck in. And they are list shaped too and I love a good list! Consequently my book is starting it in the reverse wedge shape and will, in time, plump out into a flat book shape.
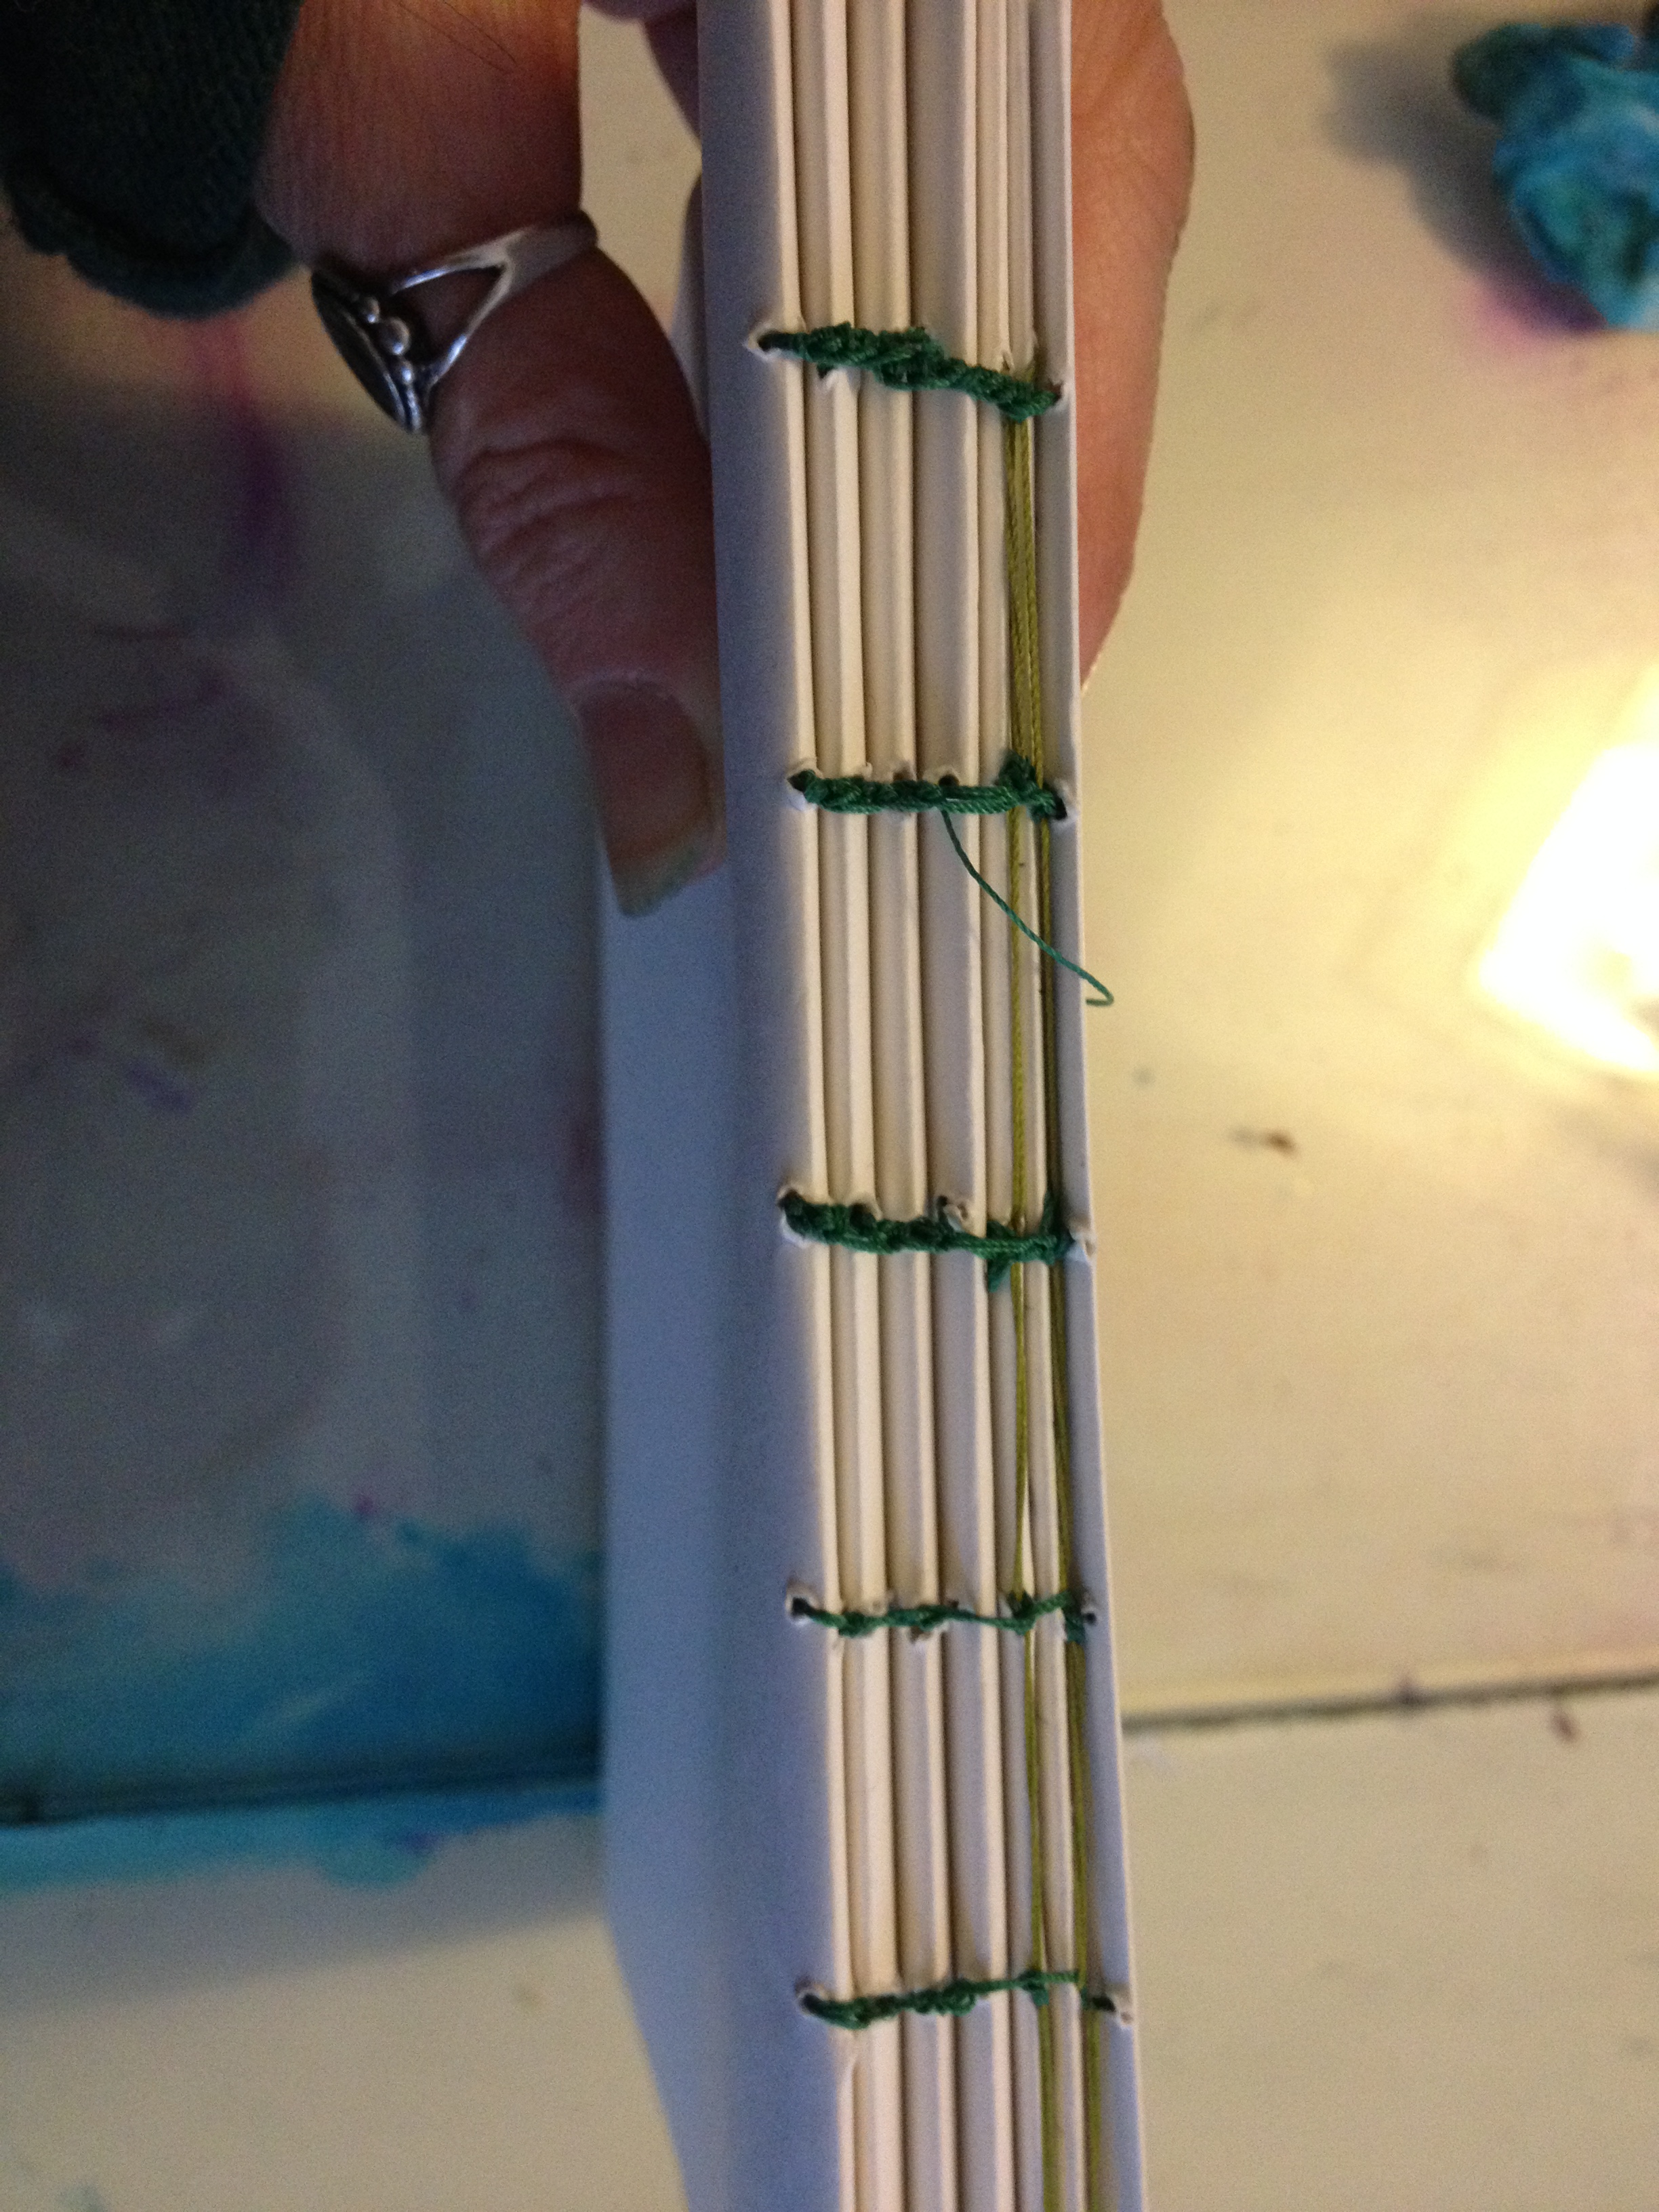
The actual binding part (this is Coptic, but there are numerous ways to string a book here). My teacher is Sea Lemon. She is very neat and precise and I am not, so please don’t judge her instruction by my results! I looked at a few how to videos and found hers the simplest to follow. Then went ahead, broke all the rules, and did my own thing loosely based on this technique. People fall into two camps: those who embrace the slapdash yet sturdy approach and those who wince at the evidently hand cobbled outcome. If you fall into the latter camp, brace yourself, or click away now.
measured, templated, holes completely off the line. idk. Accuracy just isn’t in my DNA. And wonky works too.
The paper is neatly cut to size approximately and the stringing holes were measured. Perhaps not really accurately. The knots are good and knotty.
Not beautiful, but workable. I’ll settle for that. Neatfreaks: please Tut now.
I guess my reasons for sharing the guts of this cobbled affair with you is to say – If you’re at all interested in converting a pile of unwanted paper into a book you can use for whatever you fancy – scrap booking, journaling, some form of record keeping or and fancy schmancy writing and drawing doings – then even if you’re a careless, cack-handed hurrier like me – it can be done! Go and give it a whizz. If it doesn’t work…? well if the paper was already destined for the recycling box then you only postponed its destiny, used up a little but of time and in all likelihood learnt some useful life lessons along the way.