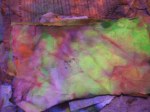
The anticipation of unpeeling and revealing the results of the paper dying exploration is magical!
Of all the results, I think it’s the rice I’ve found most inspiring.

The anticipation of unpeeling and revealing the results of the paper dying exploration is magical!
Thanks to all who’ve joined me in these last few days of paper dying.
If you’d like to catch up on the story so far, it started here, went here, went off track awhile here, before showing up here.
It’s taken over my weekend, spilling into the weeks either side, and still there’s stuff soaking and hanging out to dry! But, that all comes later. First of all…..
First batches!


As an aside, before I show you the latest happenings from the paper dying project: I never realised when I embarked on this it would become so all-consuming. I thought maybe a day of tearing, soaking, dripping, swishing, squishing and waiting would be followed up by a few hours of drying, unfolding, oooh-ing n ahhh-ing, then straight on to using and gluing and making.
Nope. Anyways, I’ll explain as I go along.
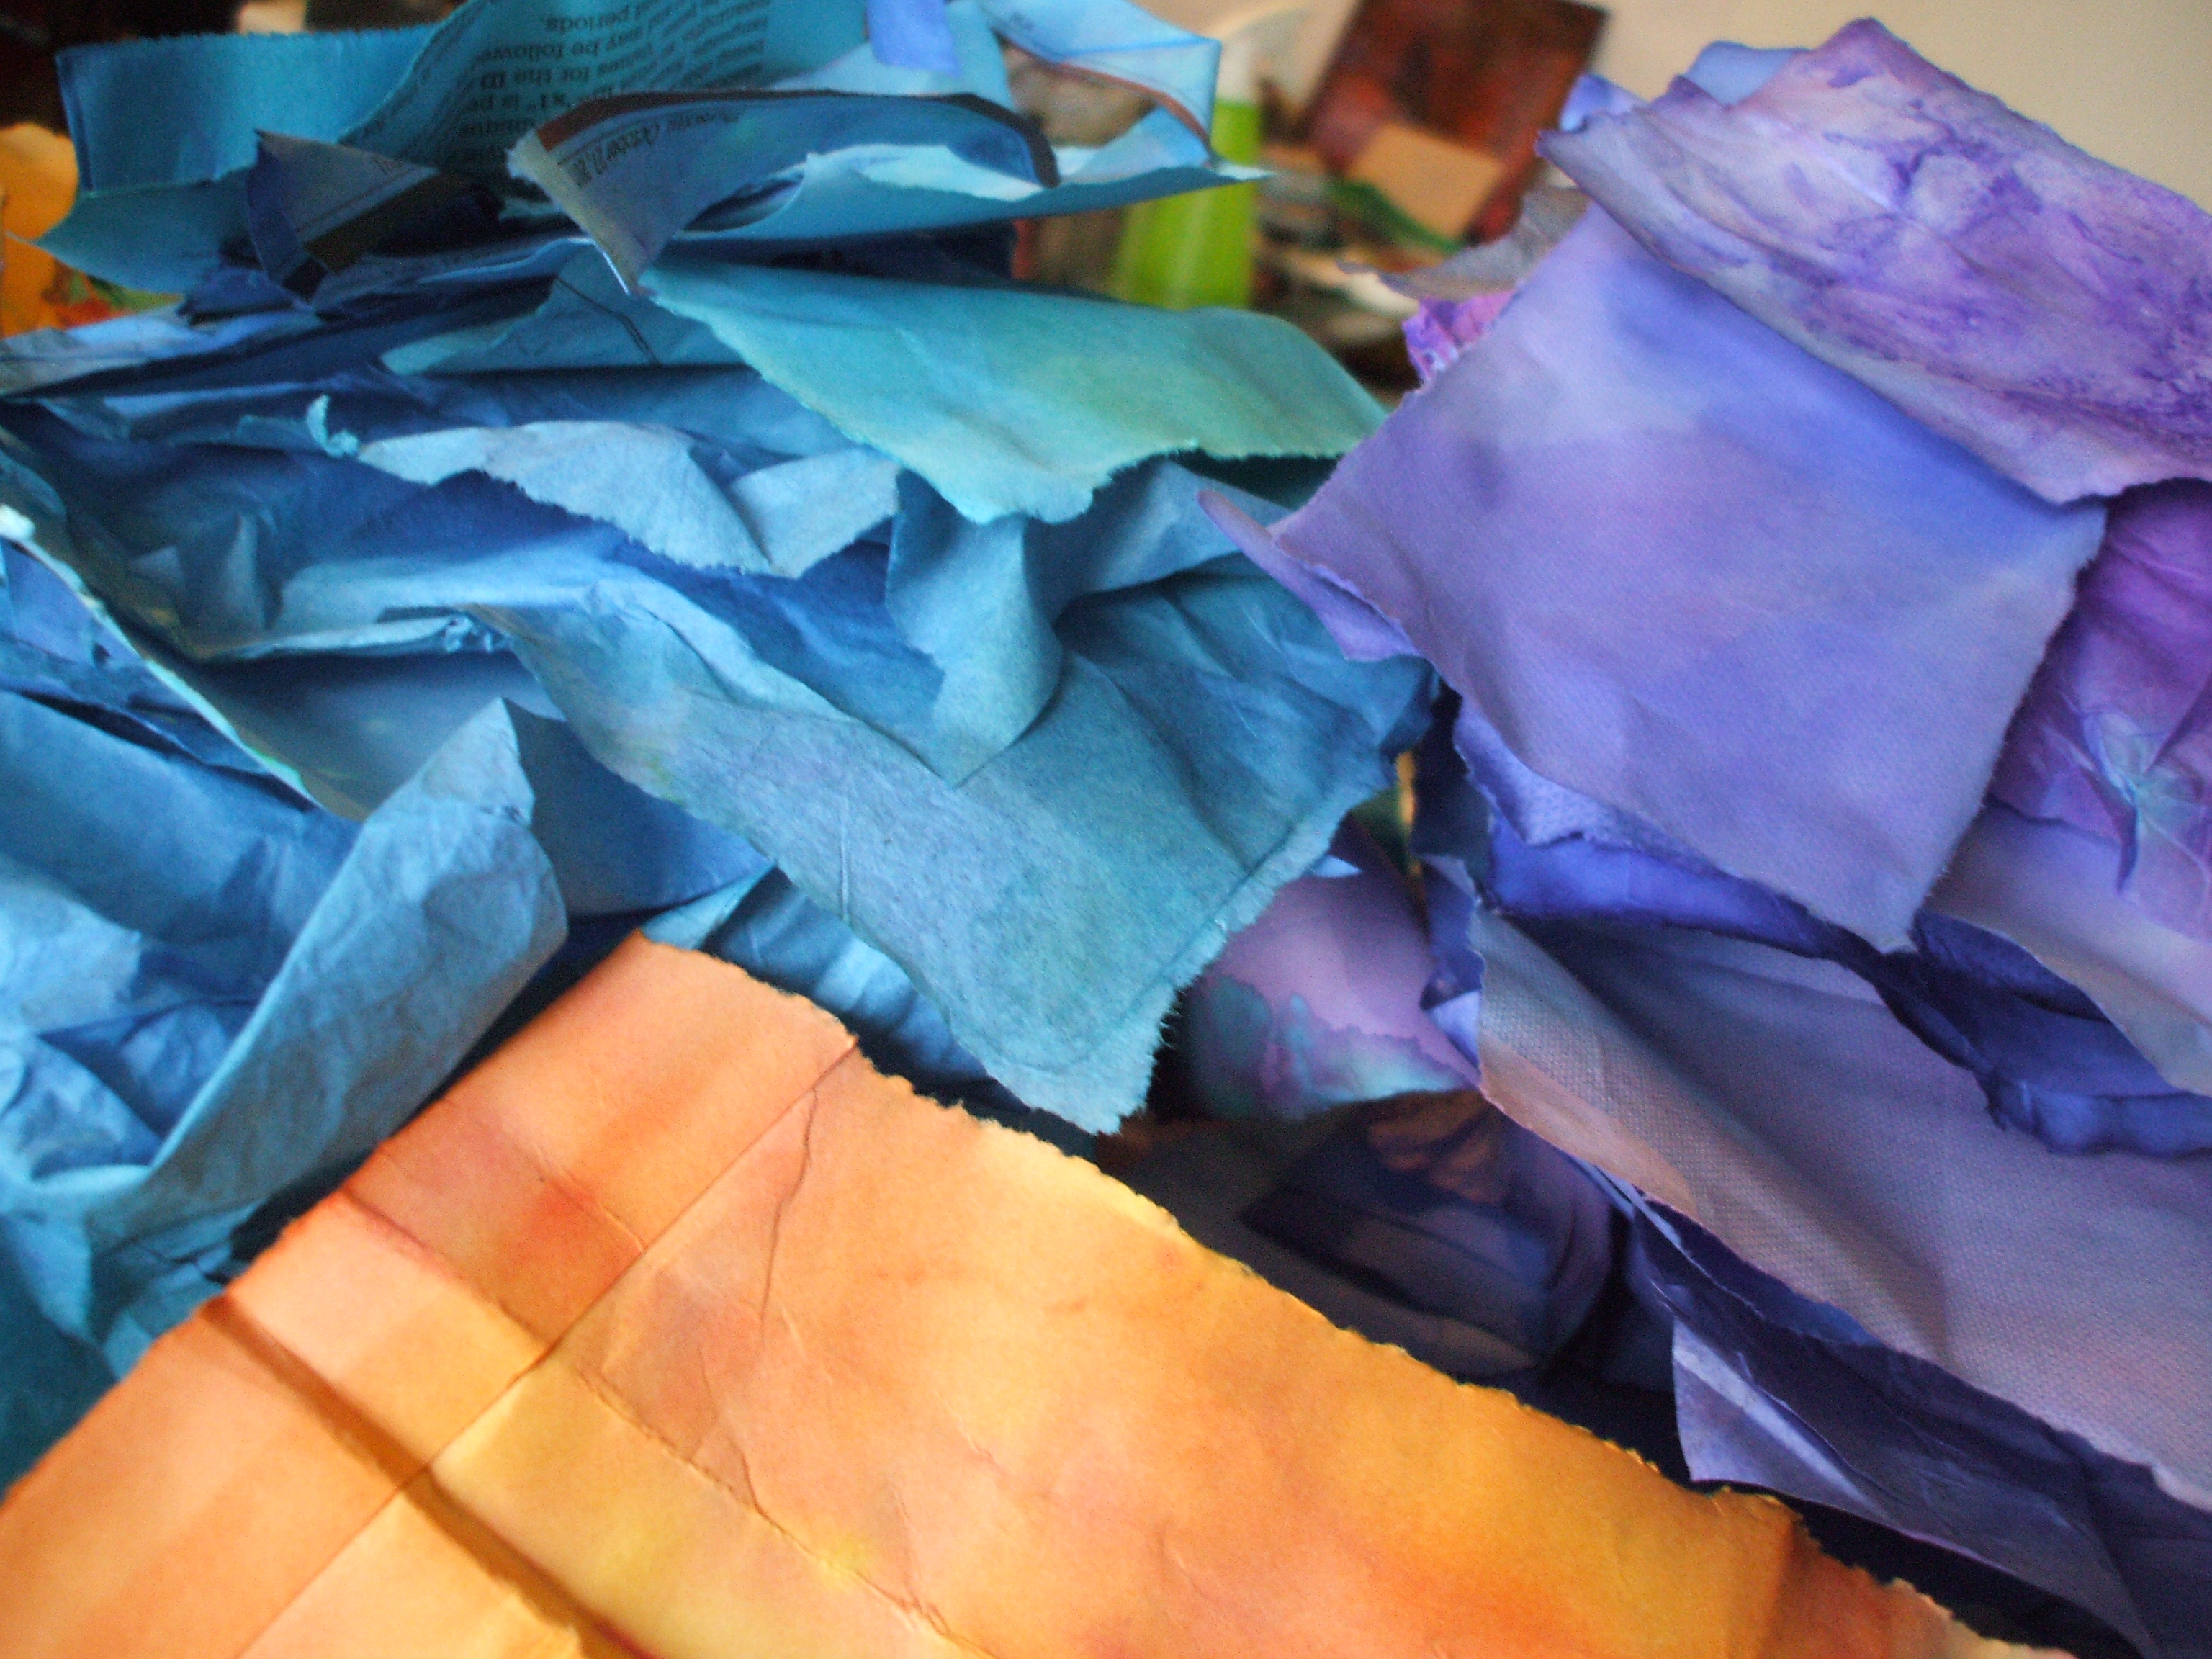
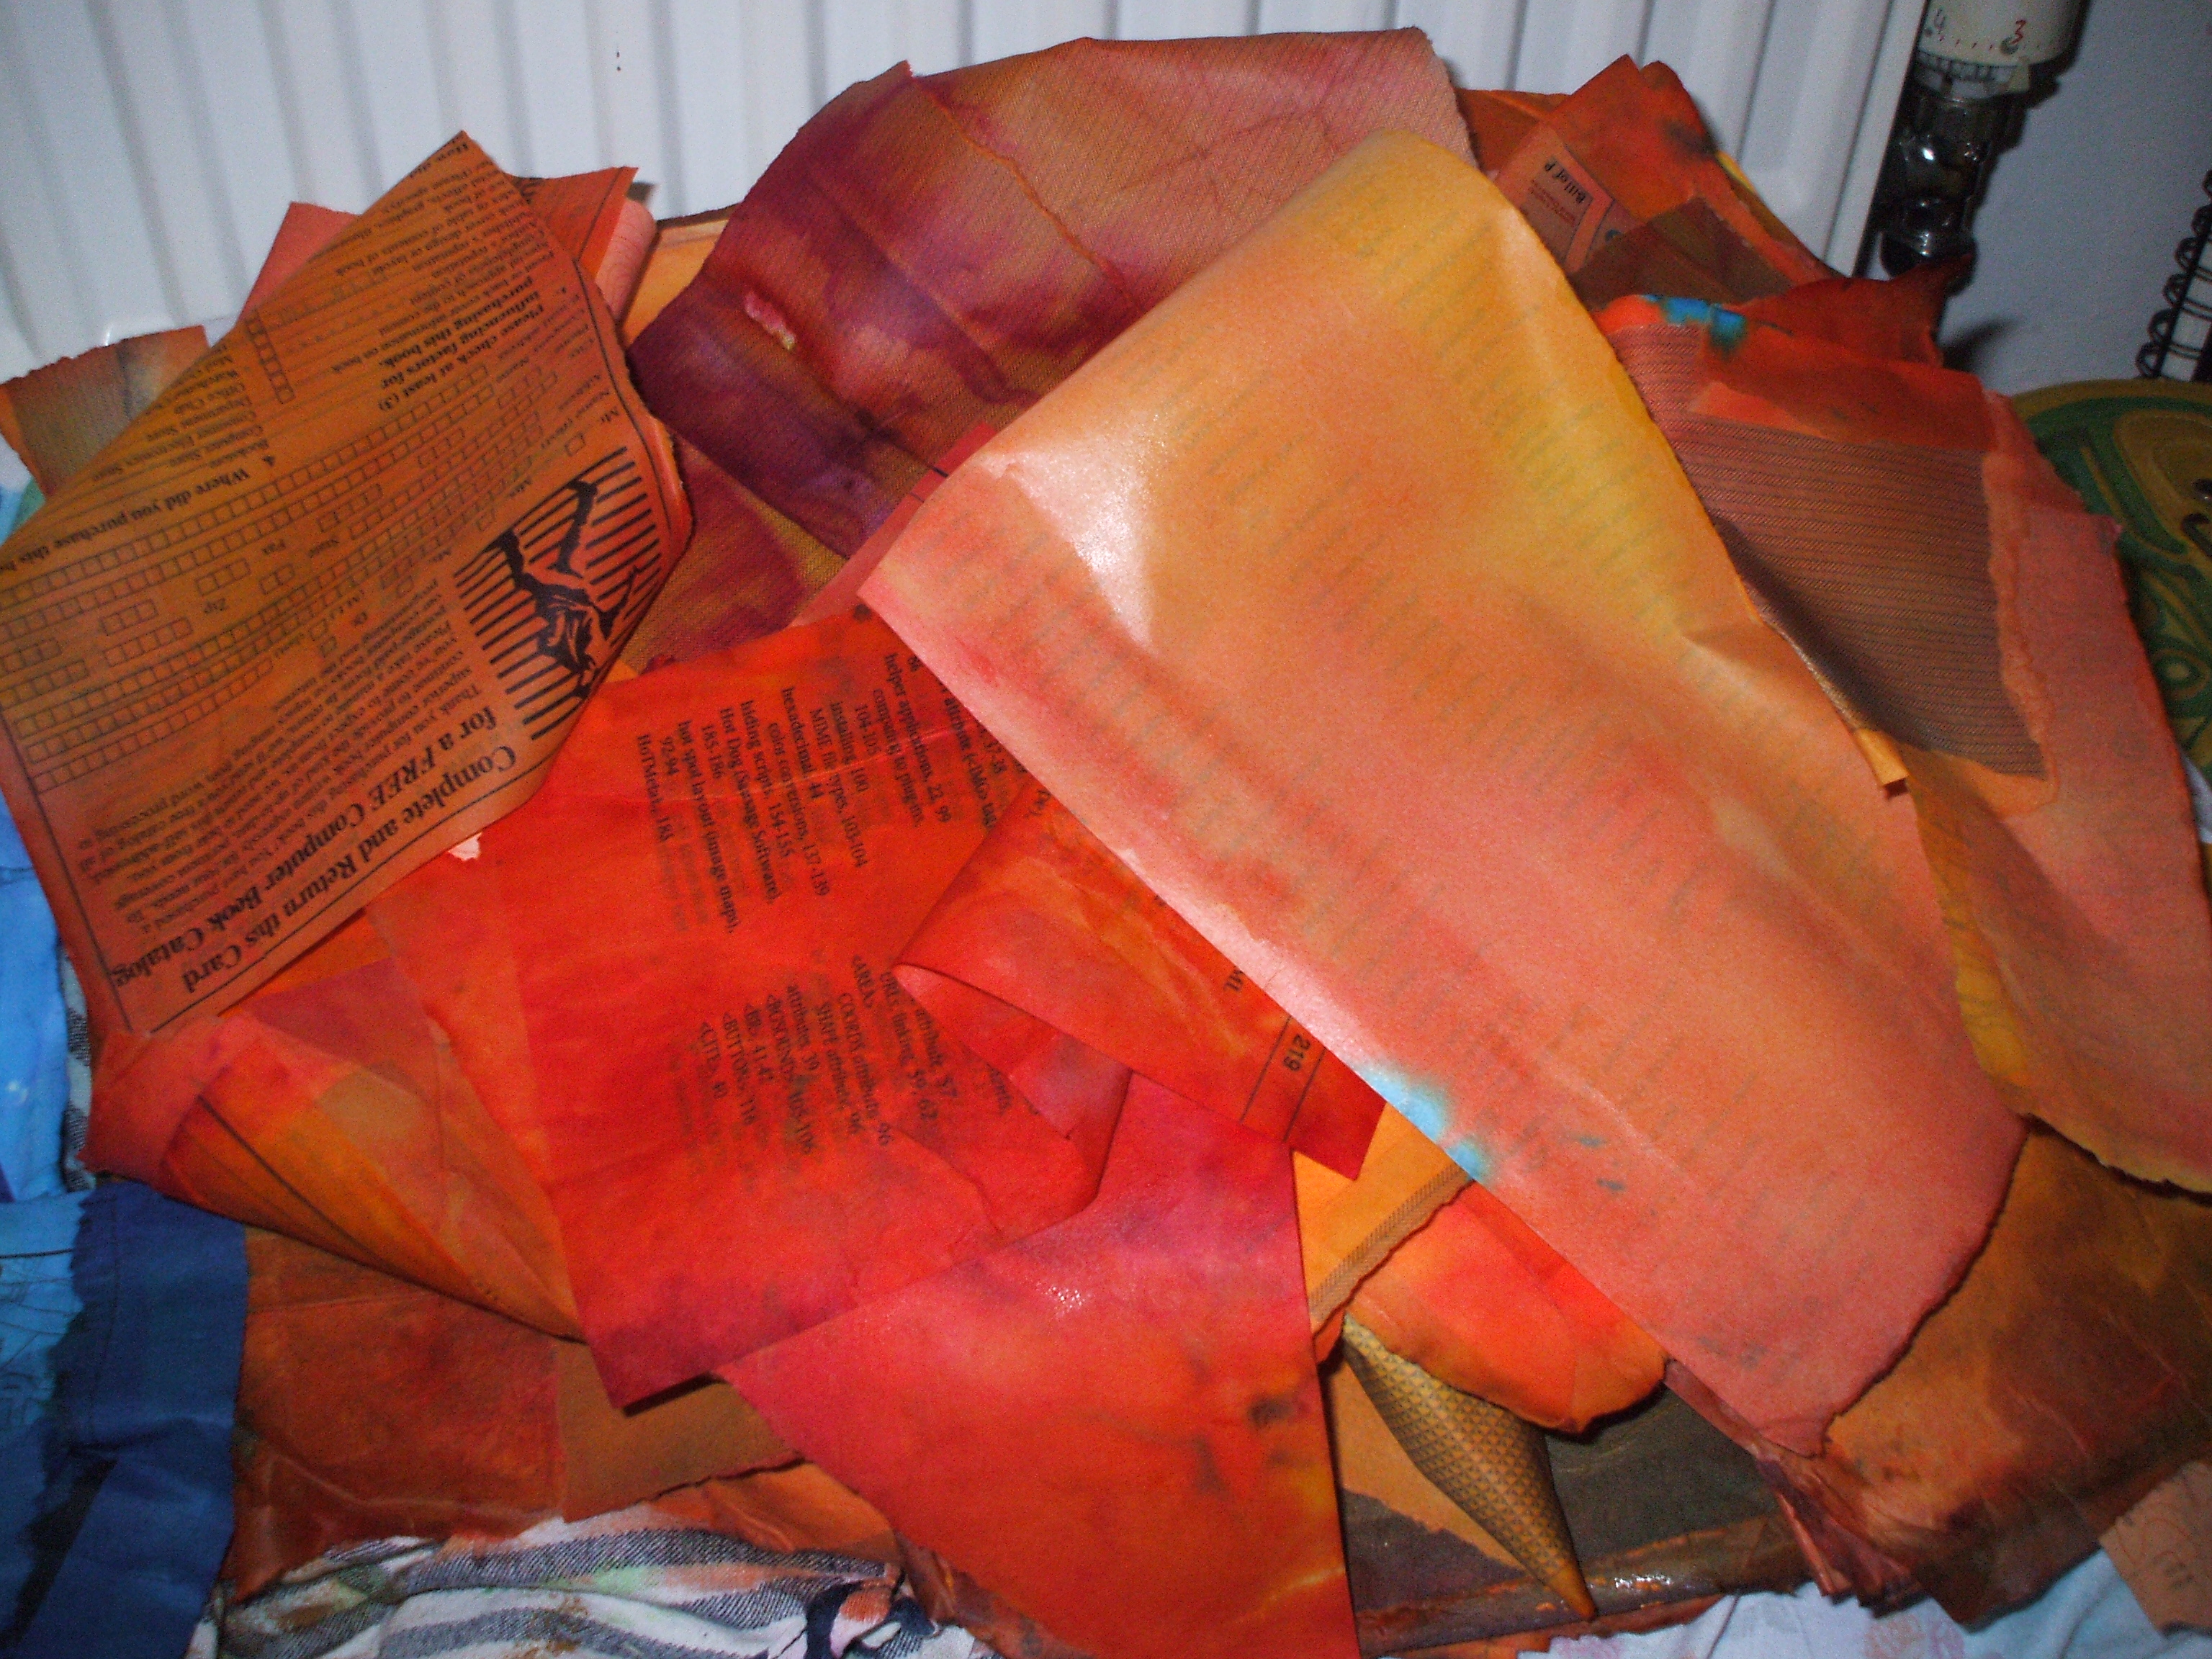
Having filtered out the papers deemed ‘not quite done’ I was left with a fairly substantial heap of partly-colored insipid stuff to re-dye. In a bid for something different I explored some new techniques.
Putting bits in a jar instead of a tray (done this with fabric, but not paper before)

Using pre-cut-out bits of paper

Using small things to add a bit of pattern. These wire coils were leftover from a previous project…


Ditto with rice (thinking – will absorb moisture as well as leaving rice-shape-patterns)

And again, with buttons

..Bubble wrap…

I haven’t looked at the latest results yet, check back later and find out if any of this worked out!!
Last night I left the marinaded paper ready to sweat by the rad…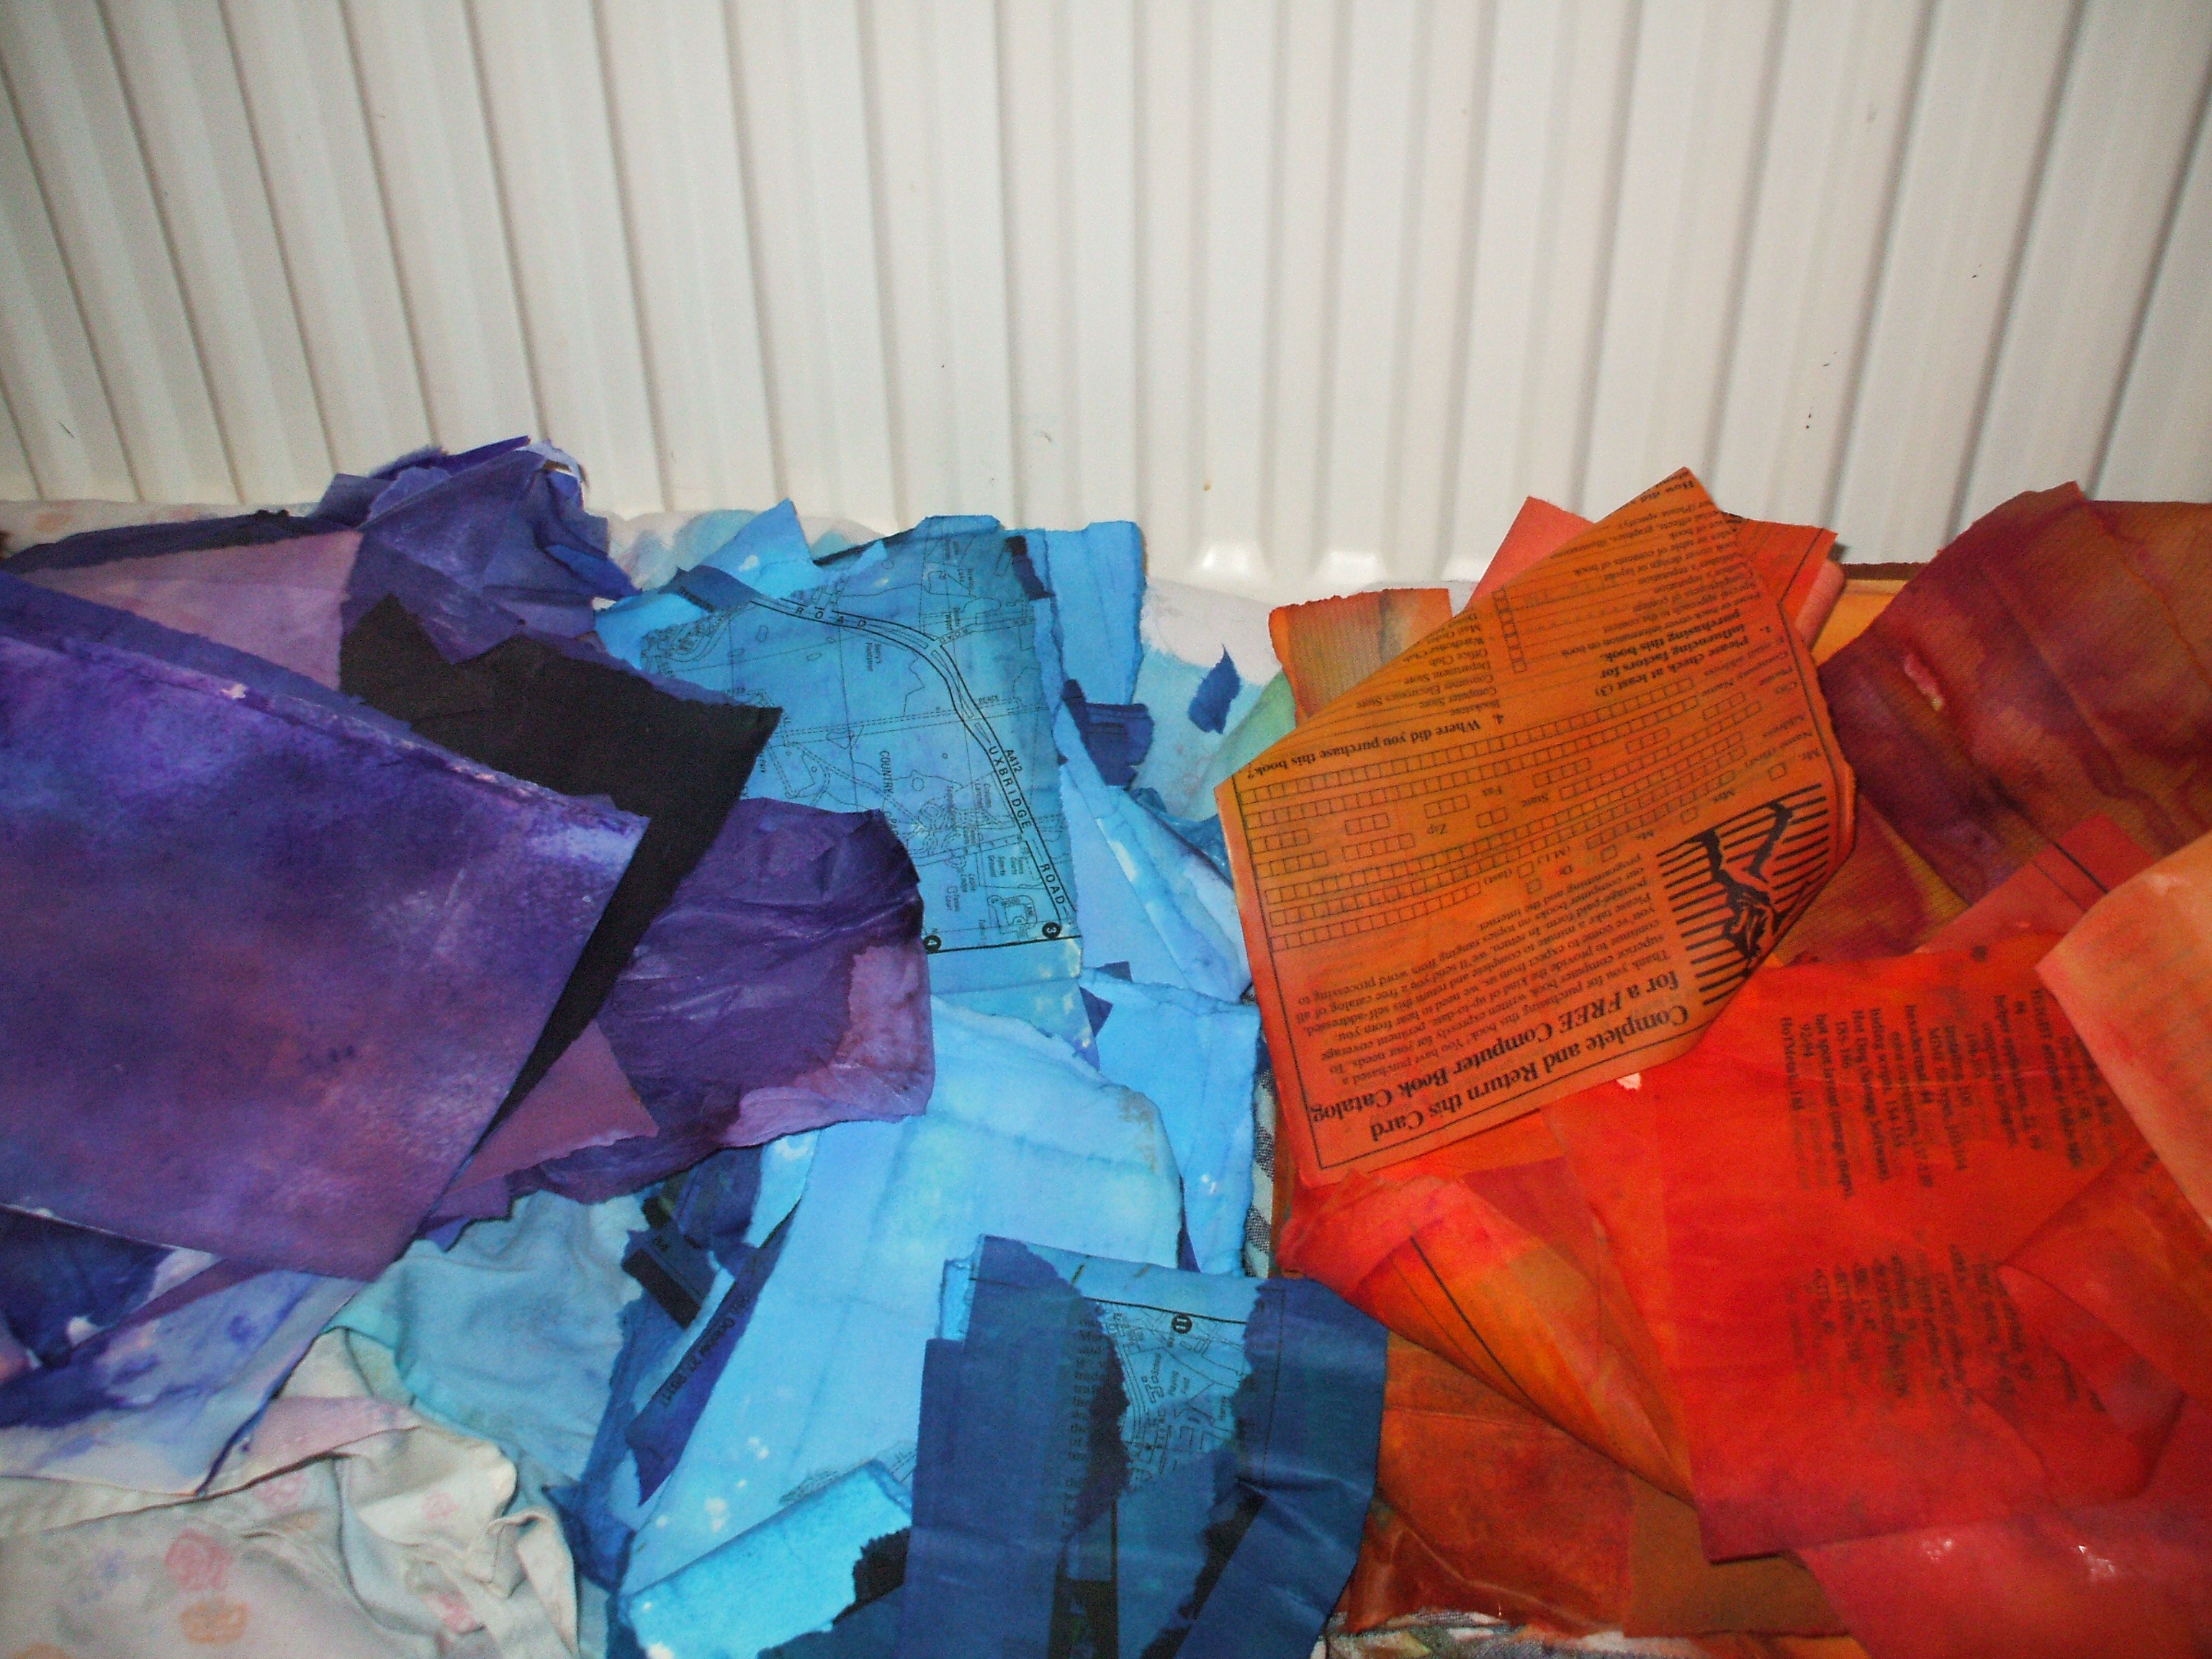
Today’s weather has supported my efforts by being quite cold, justifying use of central heating to warm room as well as dry my doings from yesterday.
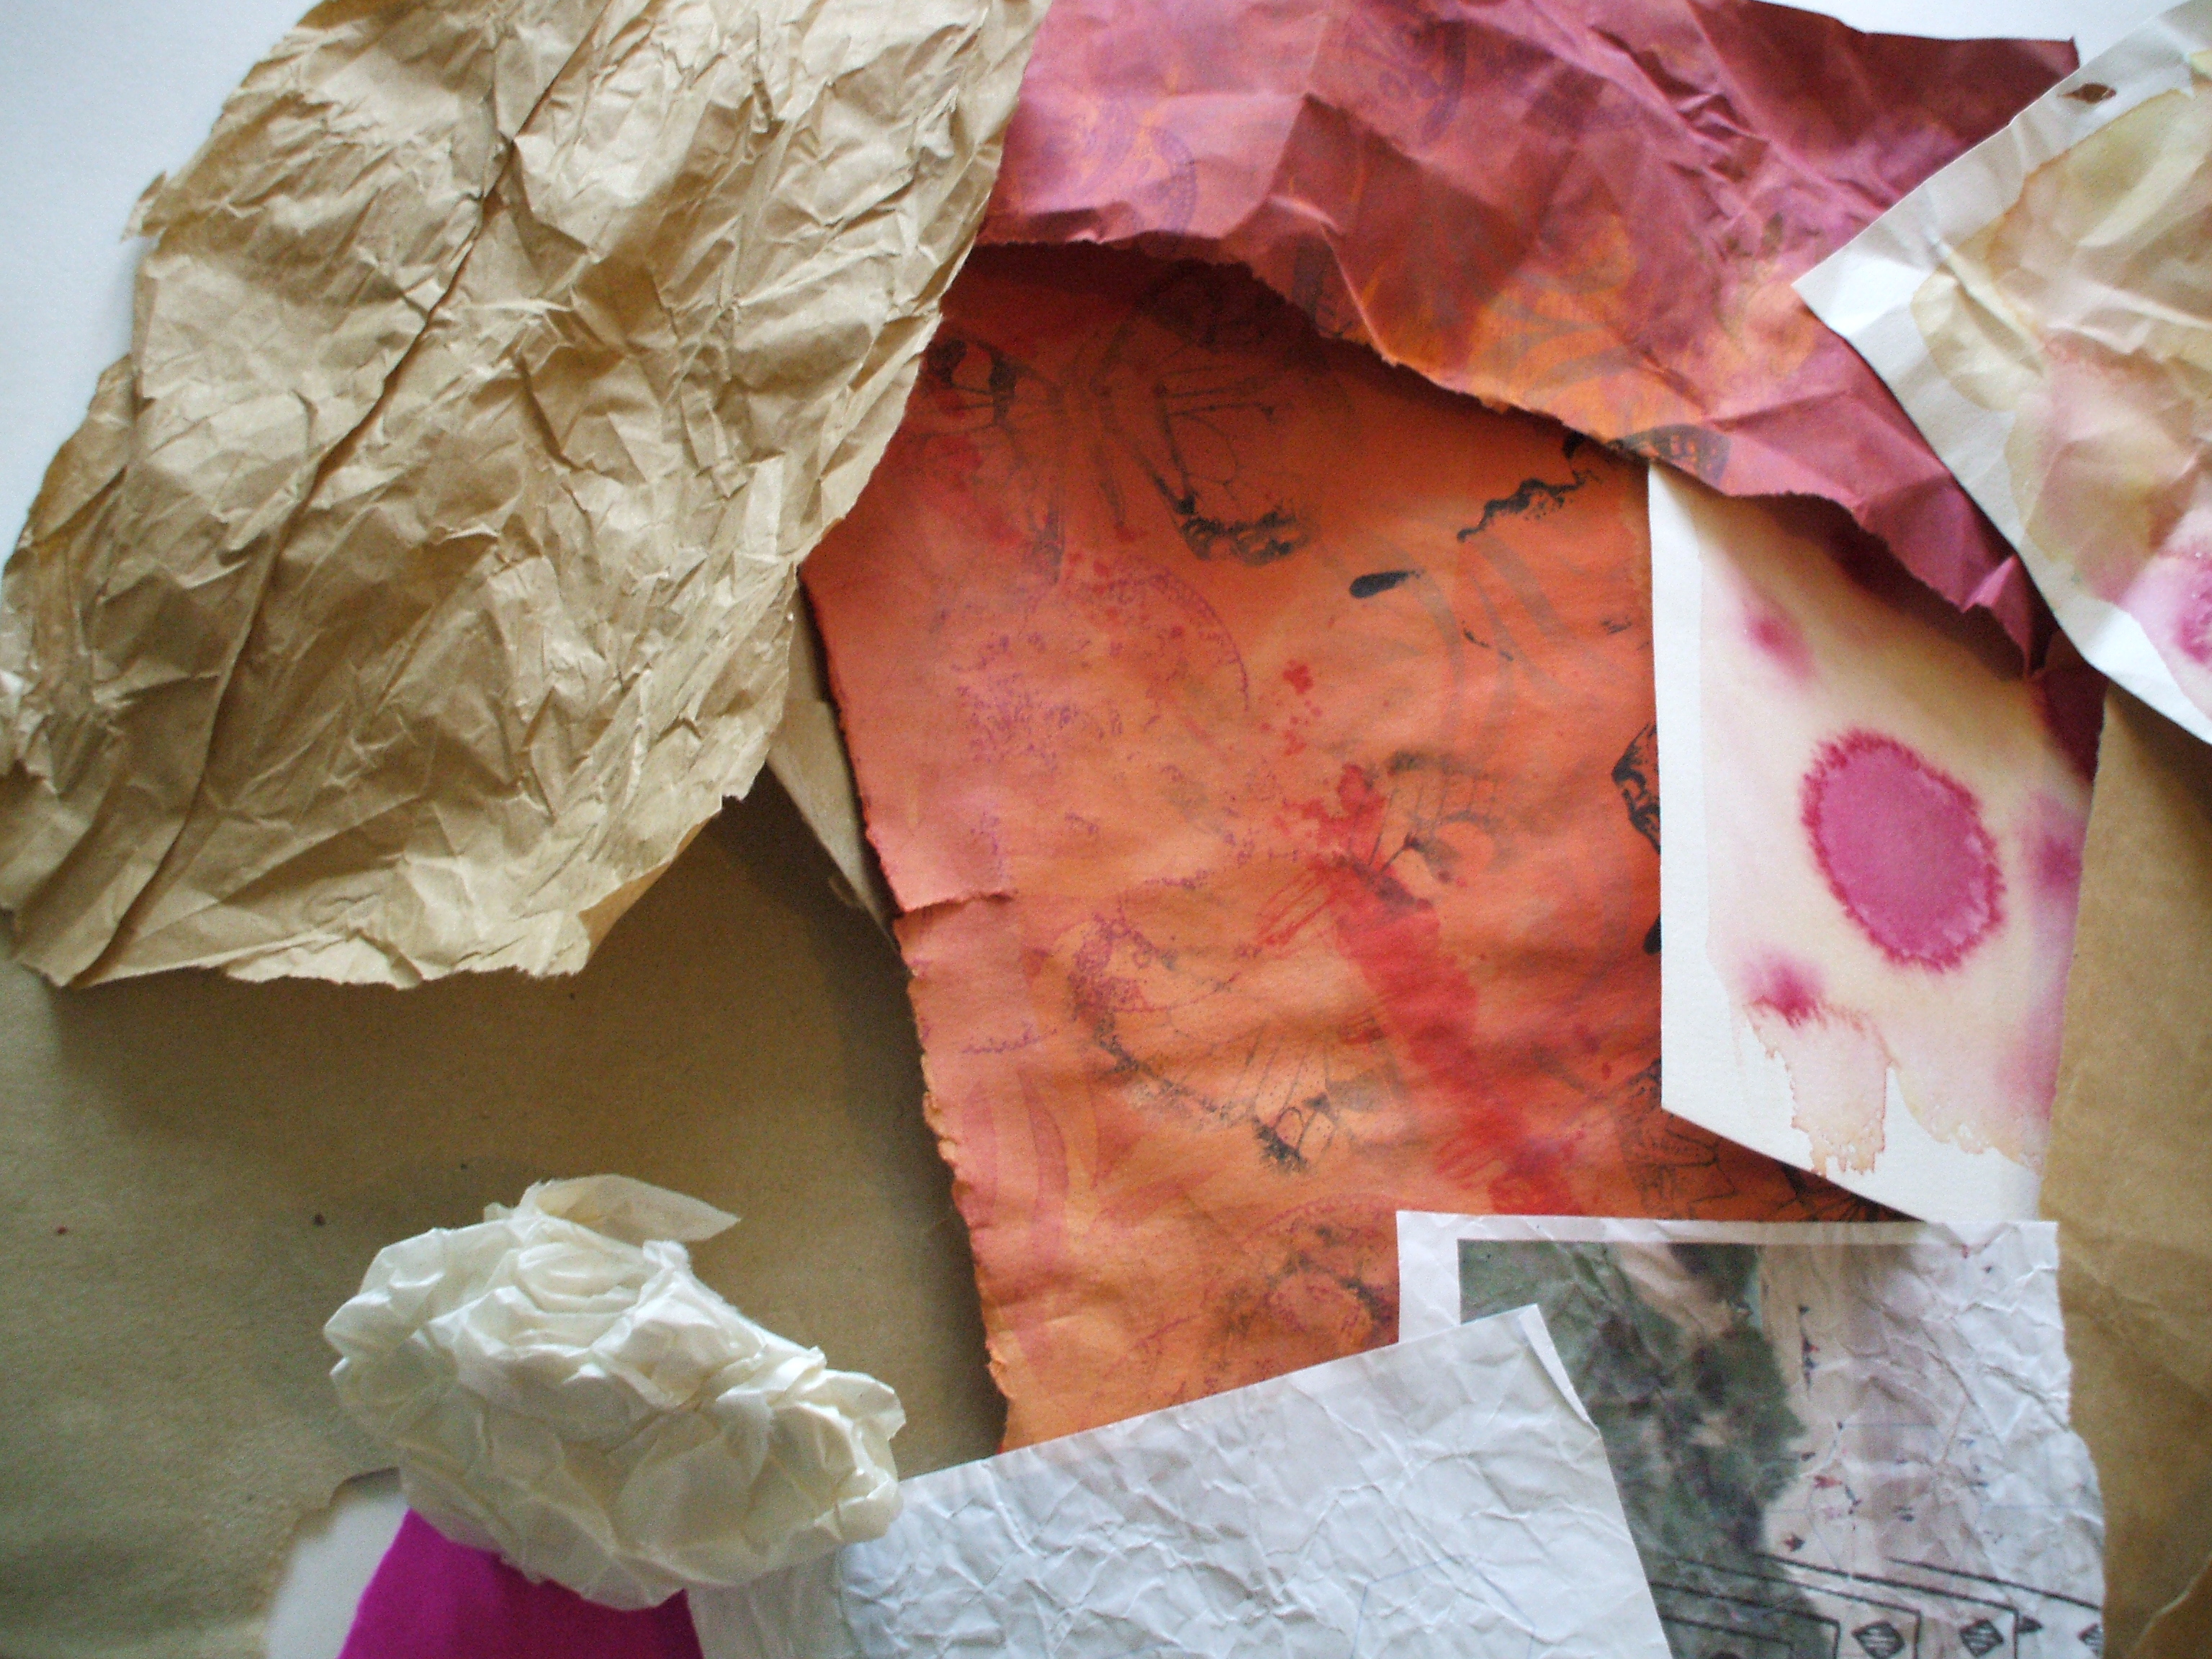
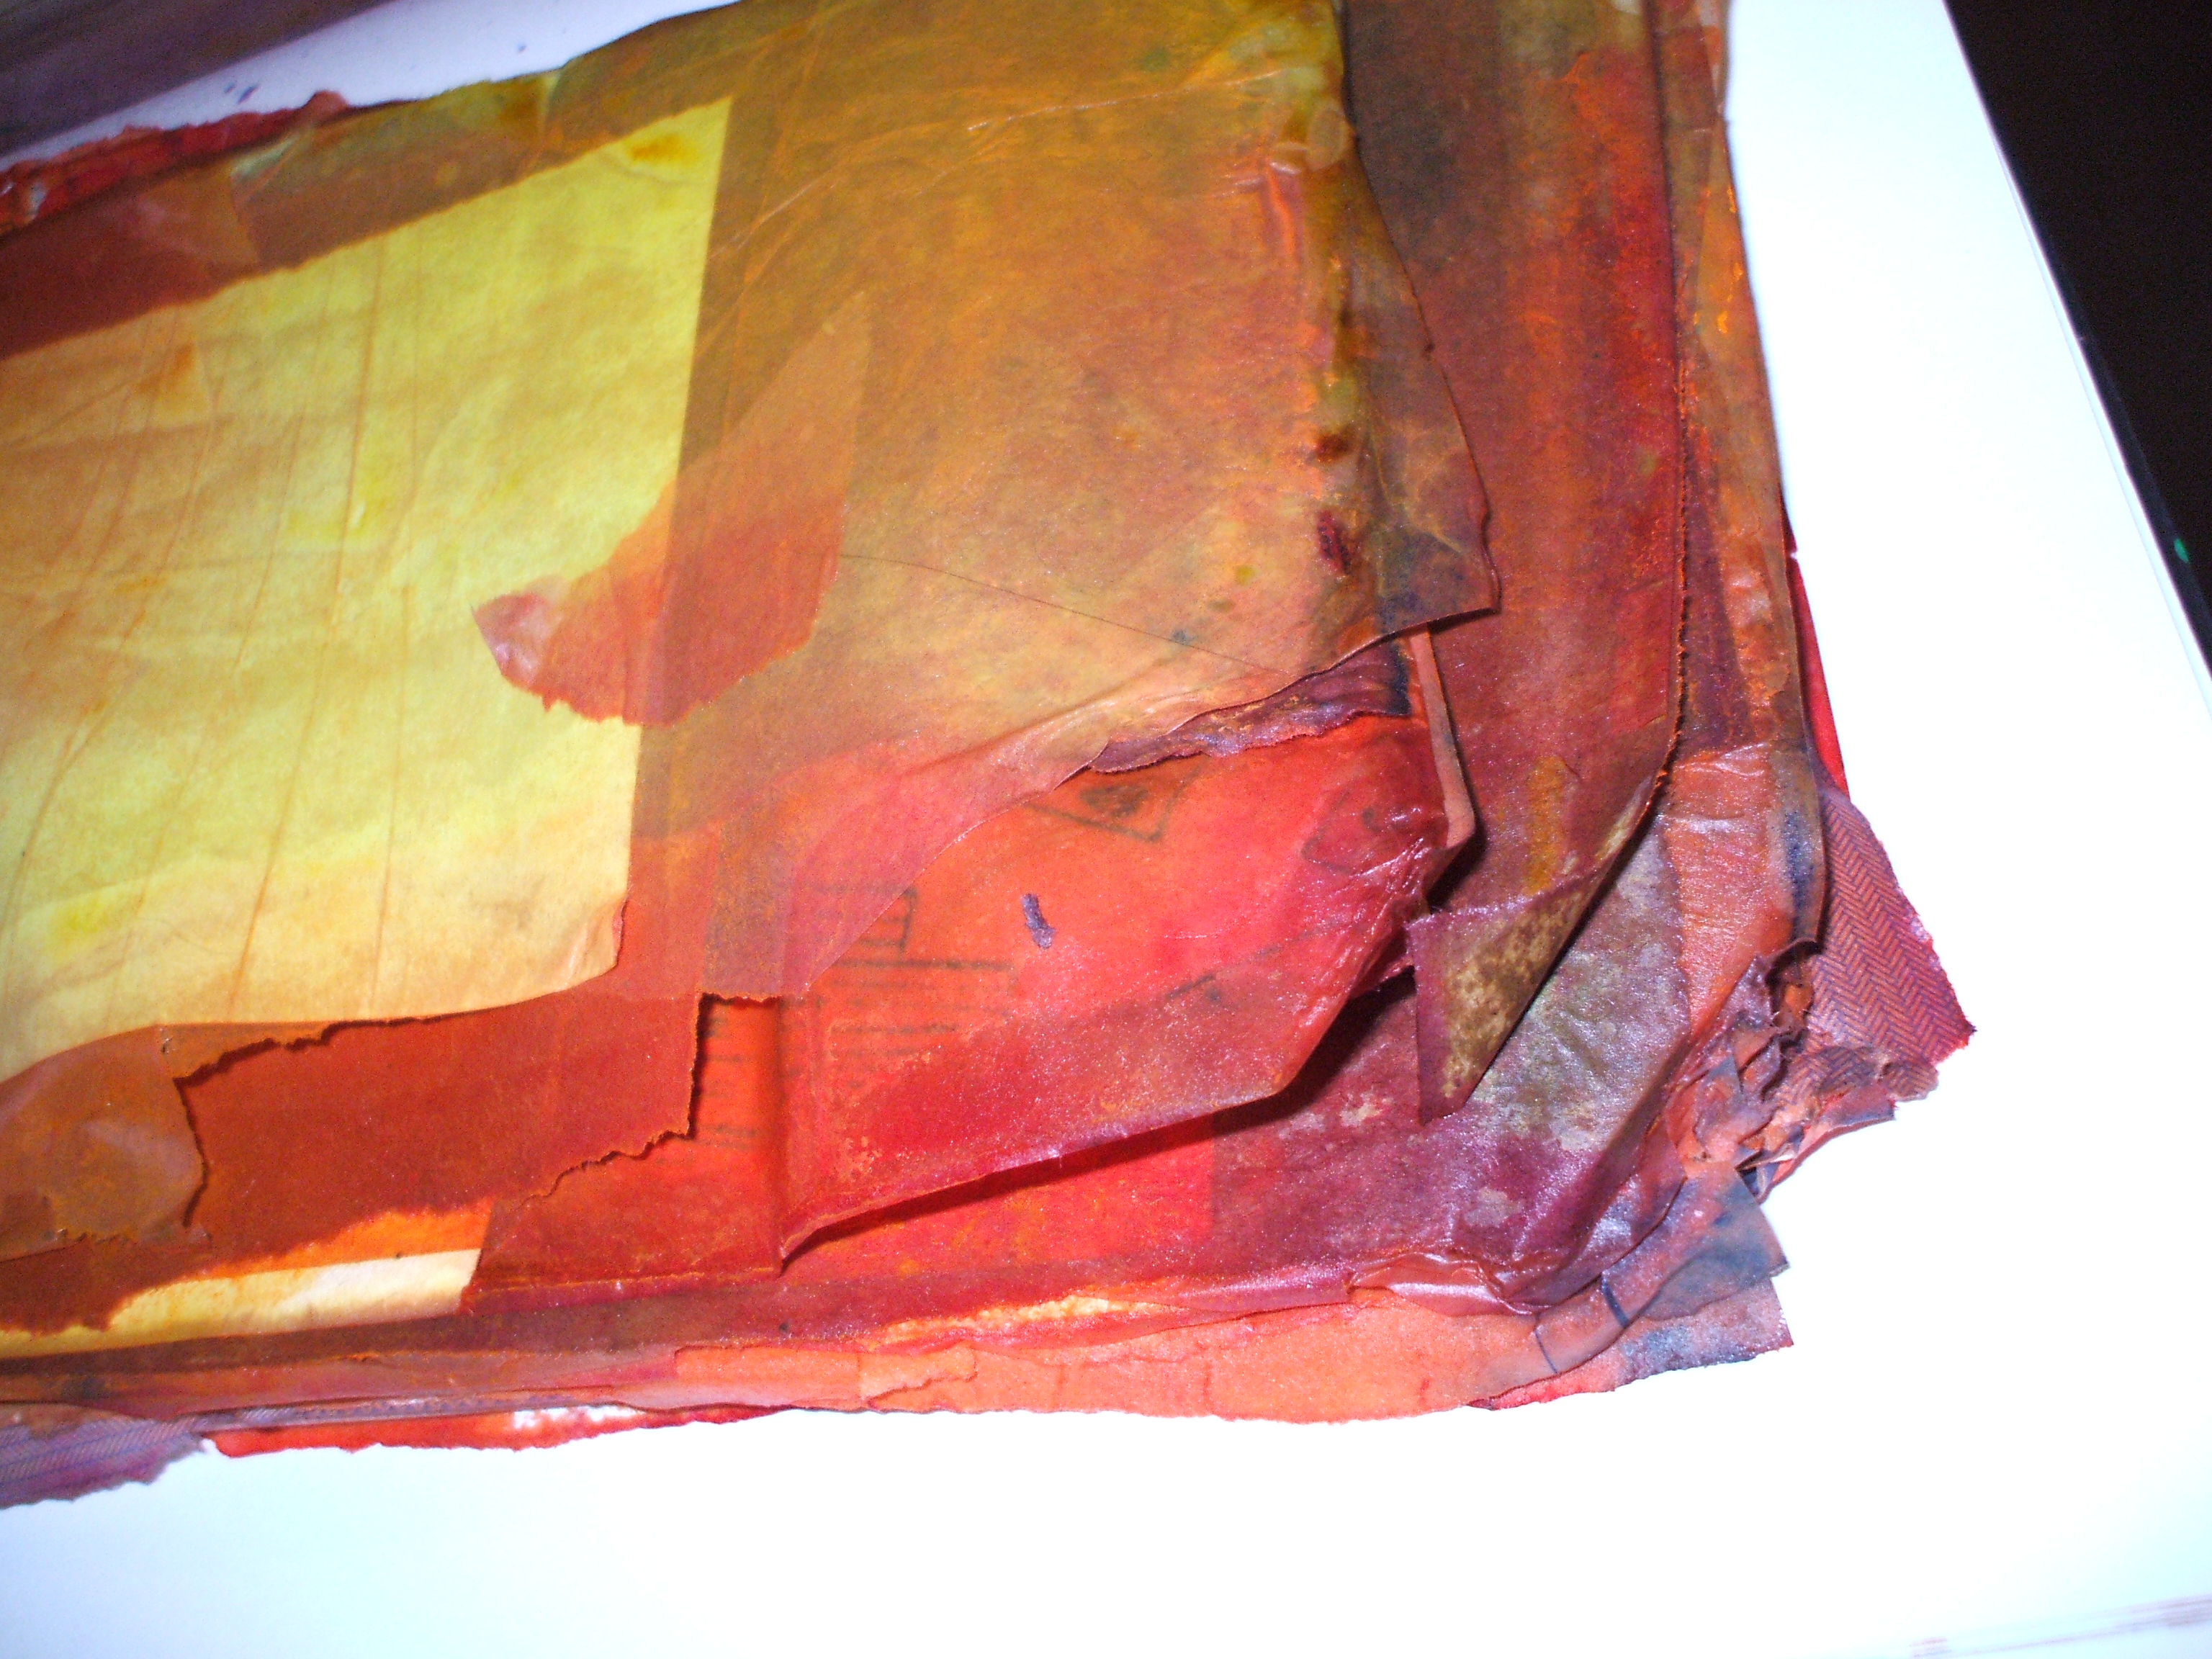
Carefully unpeeling the layers to get some air flow, I then sorted then into heaps to finish drying and admire
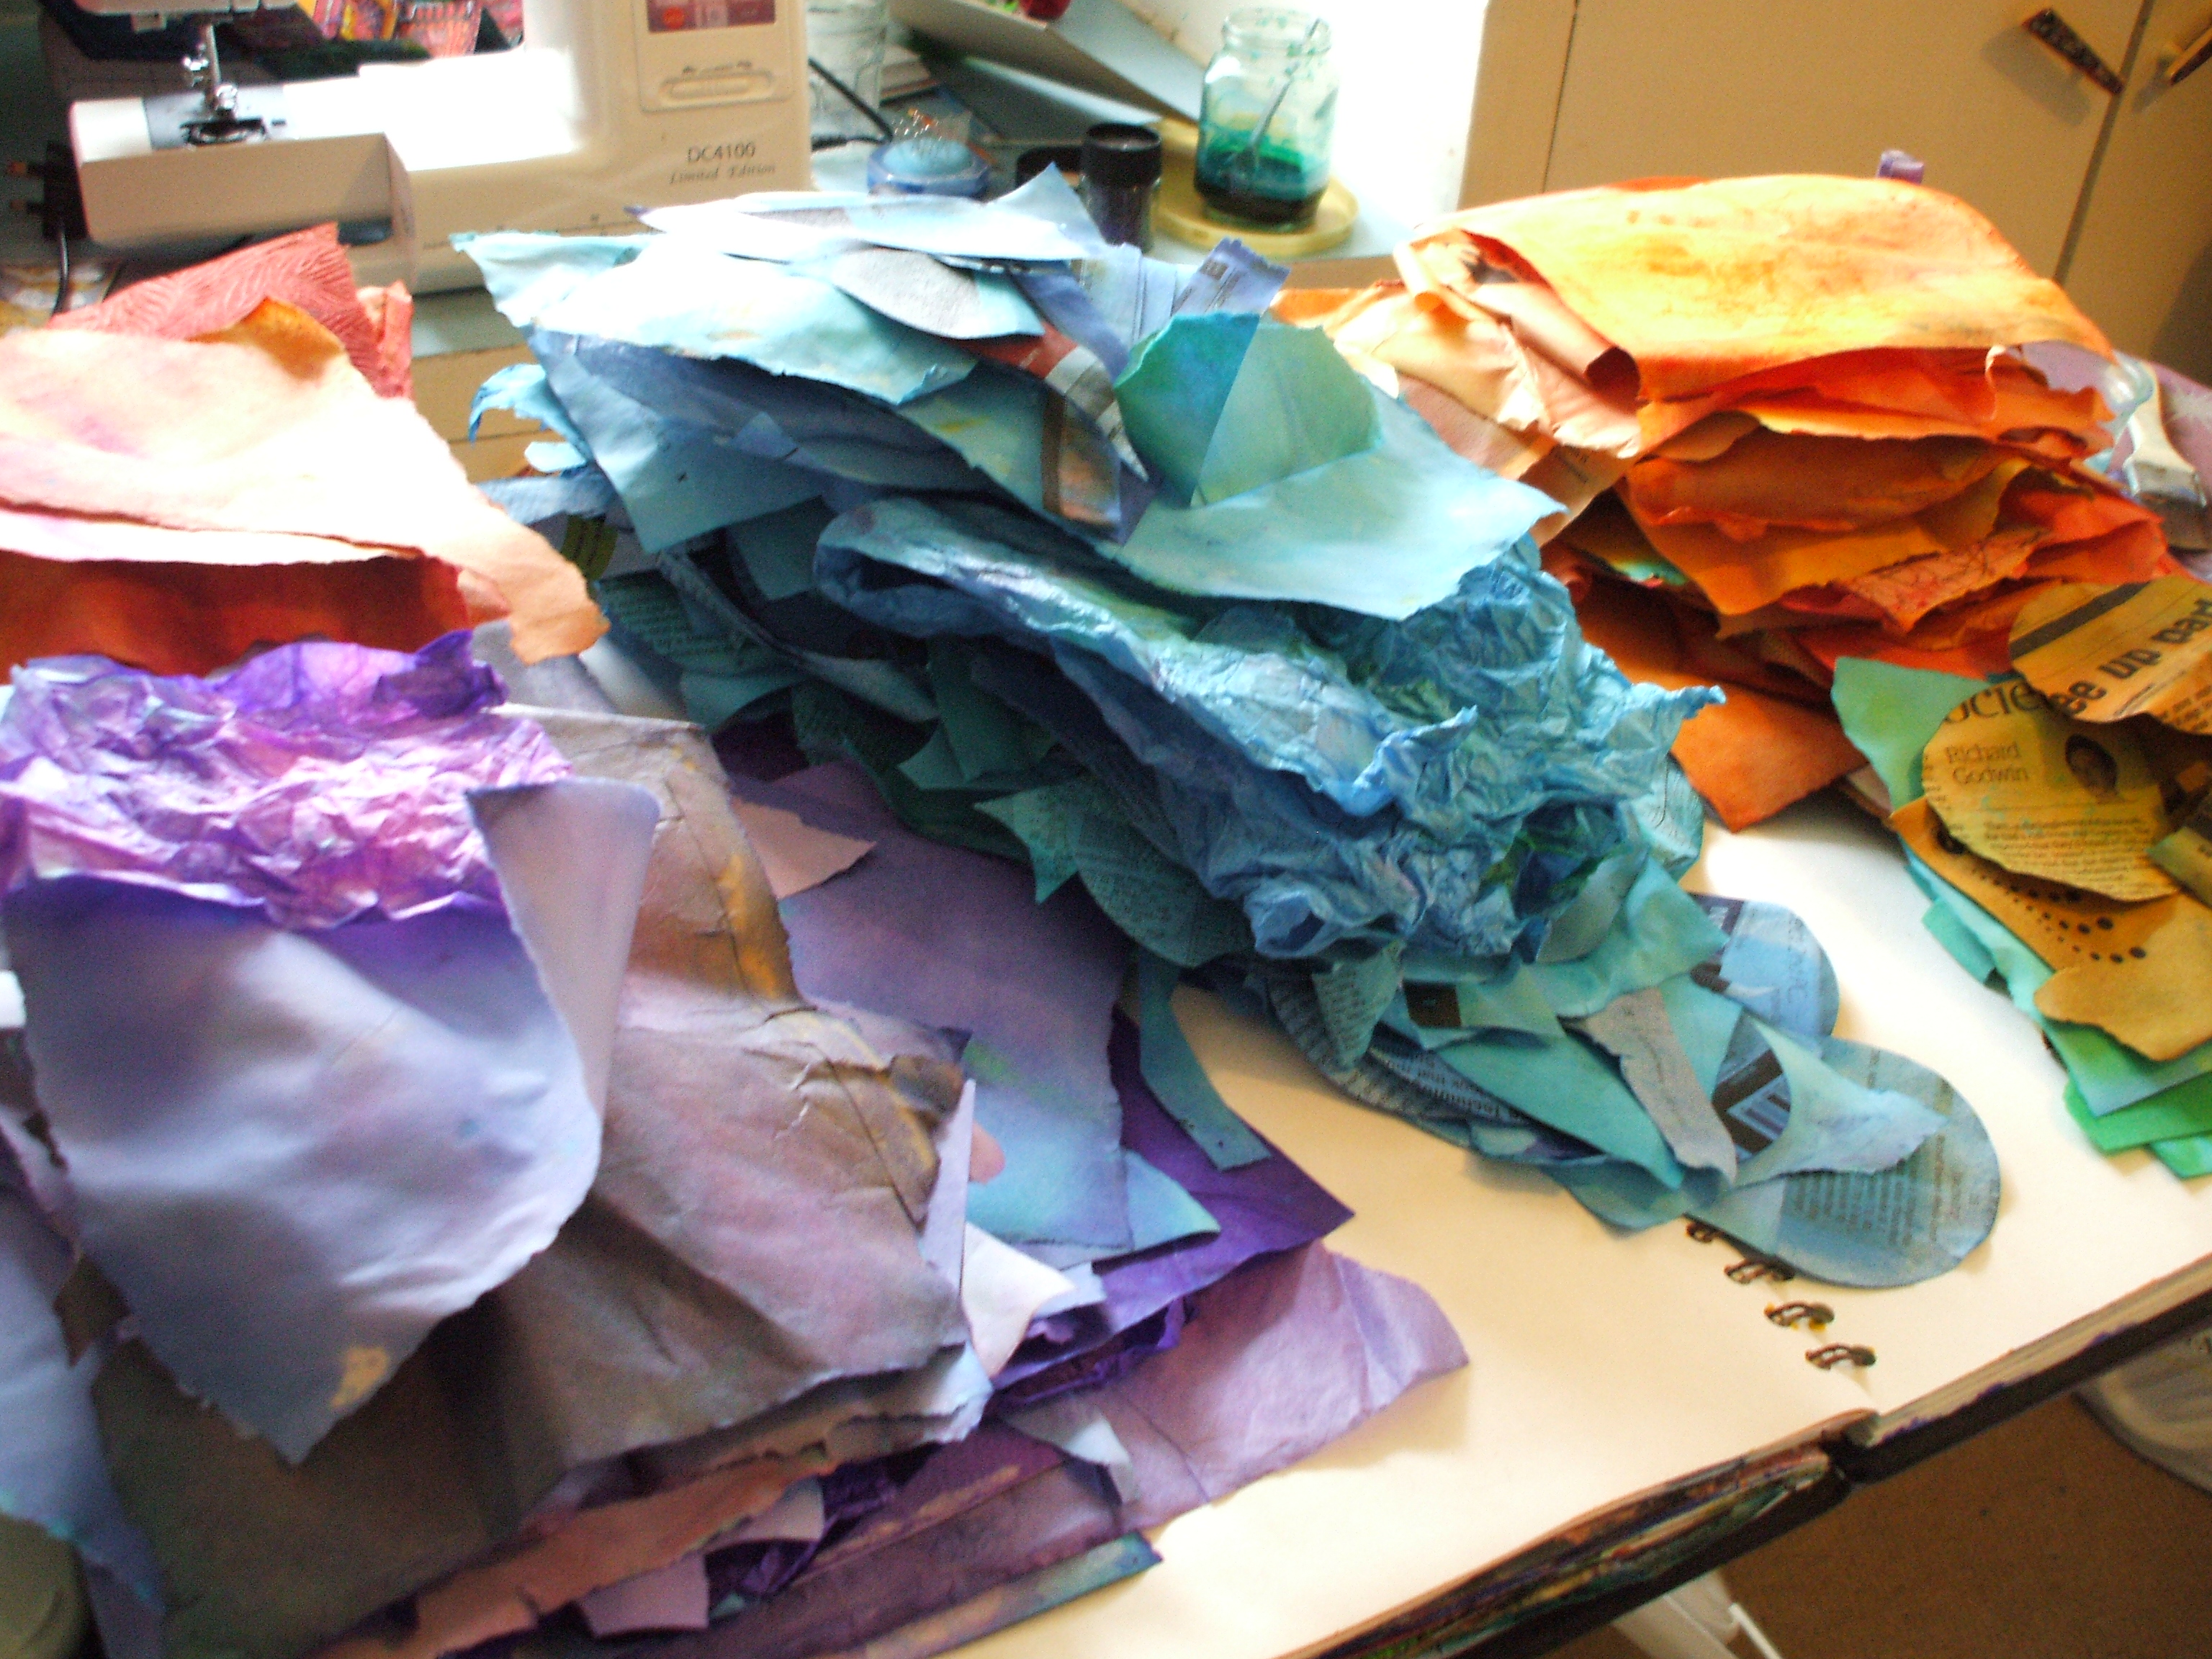
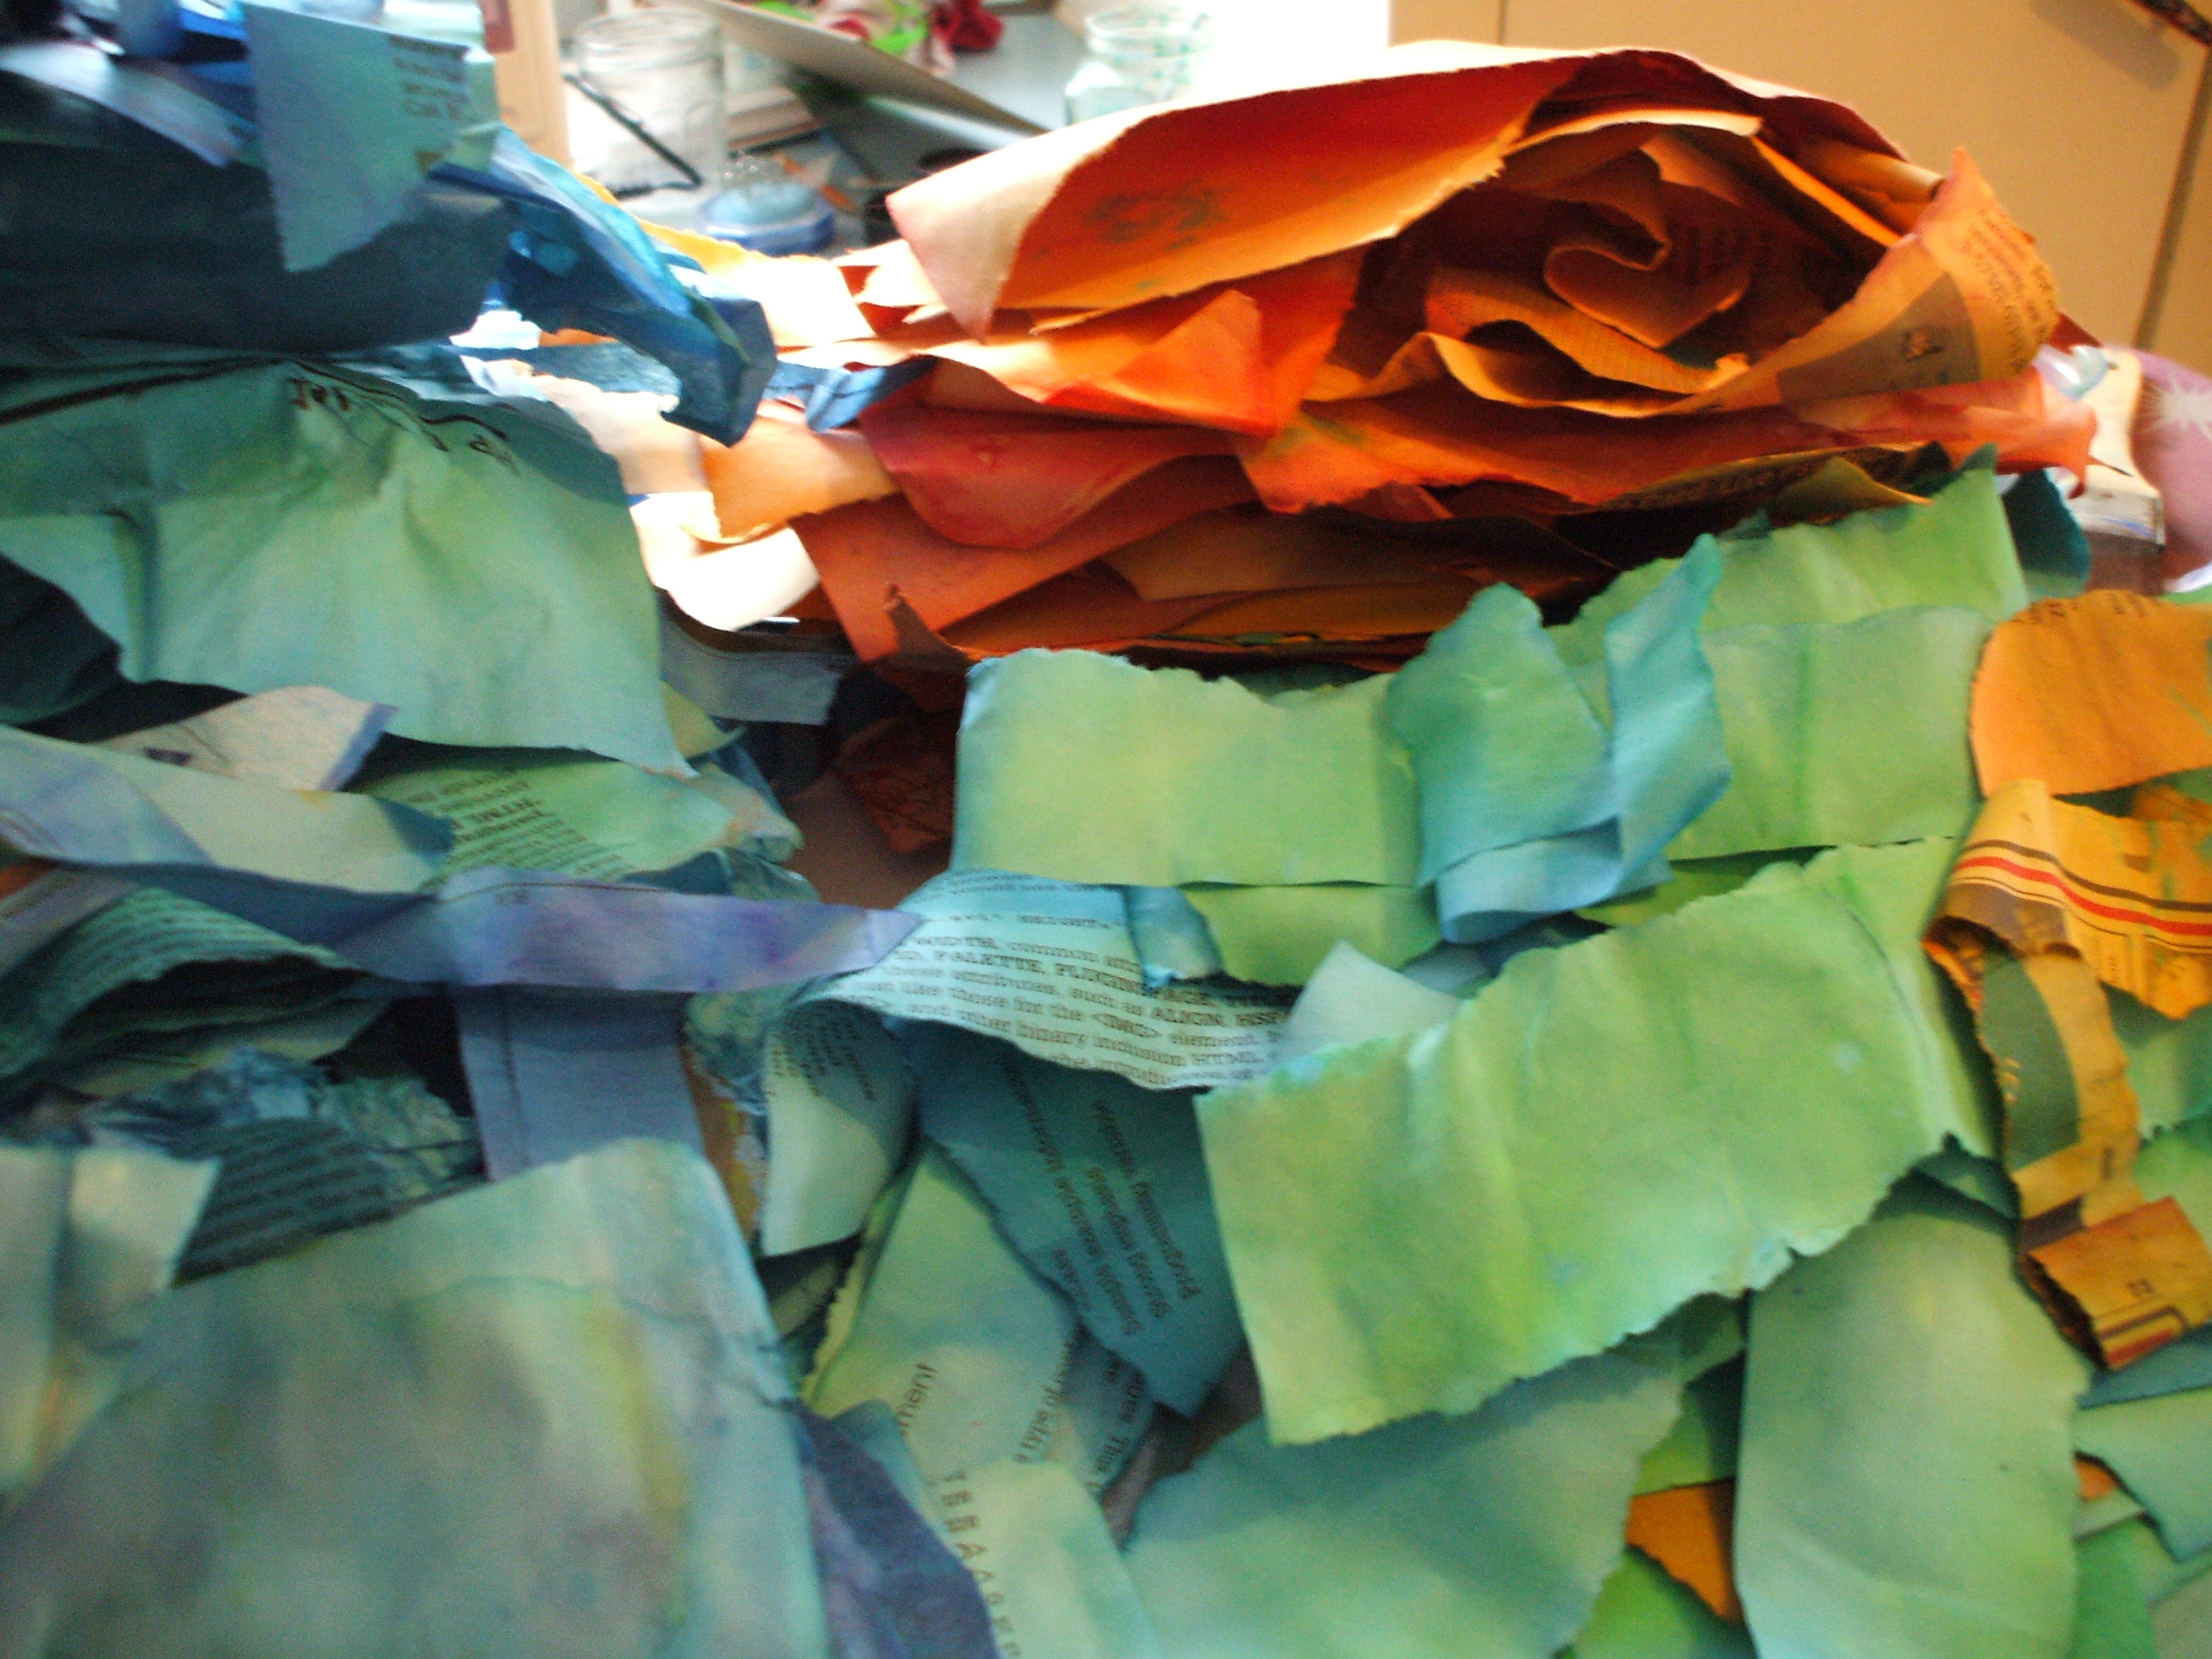
Next stage is sort the ‘finished’ from the ‘not quite there yet‘, iron the former and carry on playing with the latter.
With fabric and textiles, I’m rarely put off by material being the ‘wrong’ color, provided I can dye it. Lately I’ve expanded this reasoning to include paper too. Fortunately for the sake of this project I’d already squirreled away a stock of paper, and the only preparation to be done was some therapeutic tearing and scrumpling.
Some paper (tough brown envelopes, cartridge, wallpaper lining, and watercolor) will tolerate heavy handed roughing up. Tissue, copier, newsprint and (my least fave) sugar paper just don’t have the same endurance, but will survive a lower level of scrunch.
The purpose of this is break up the surface, the scar lines offer a more porous surface for the dye to bleed through, and sometimes give a nice batik-y result.And sometimes they don’t. But we don’t care, we’re just here for shits and giggles.
Let the messy stage commence!
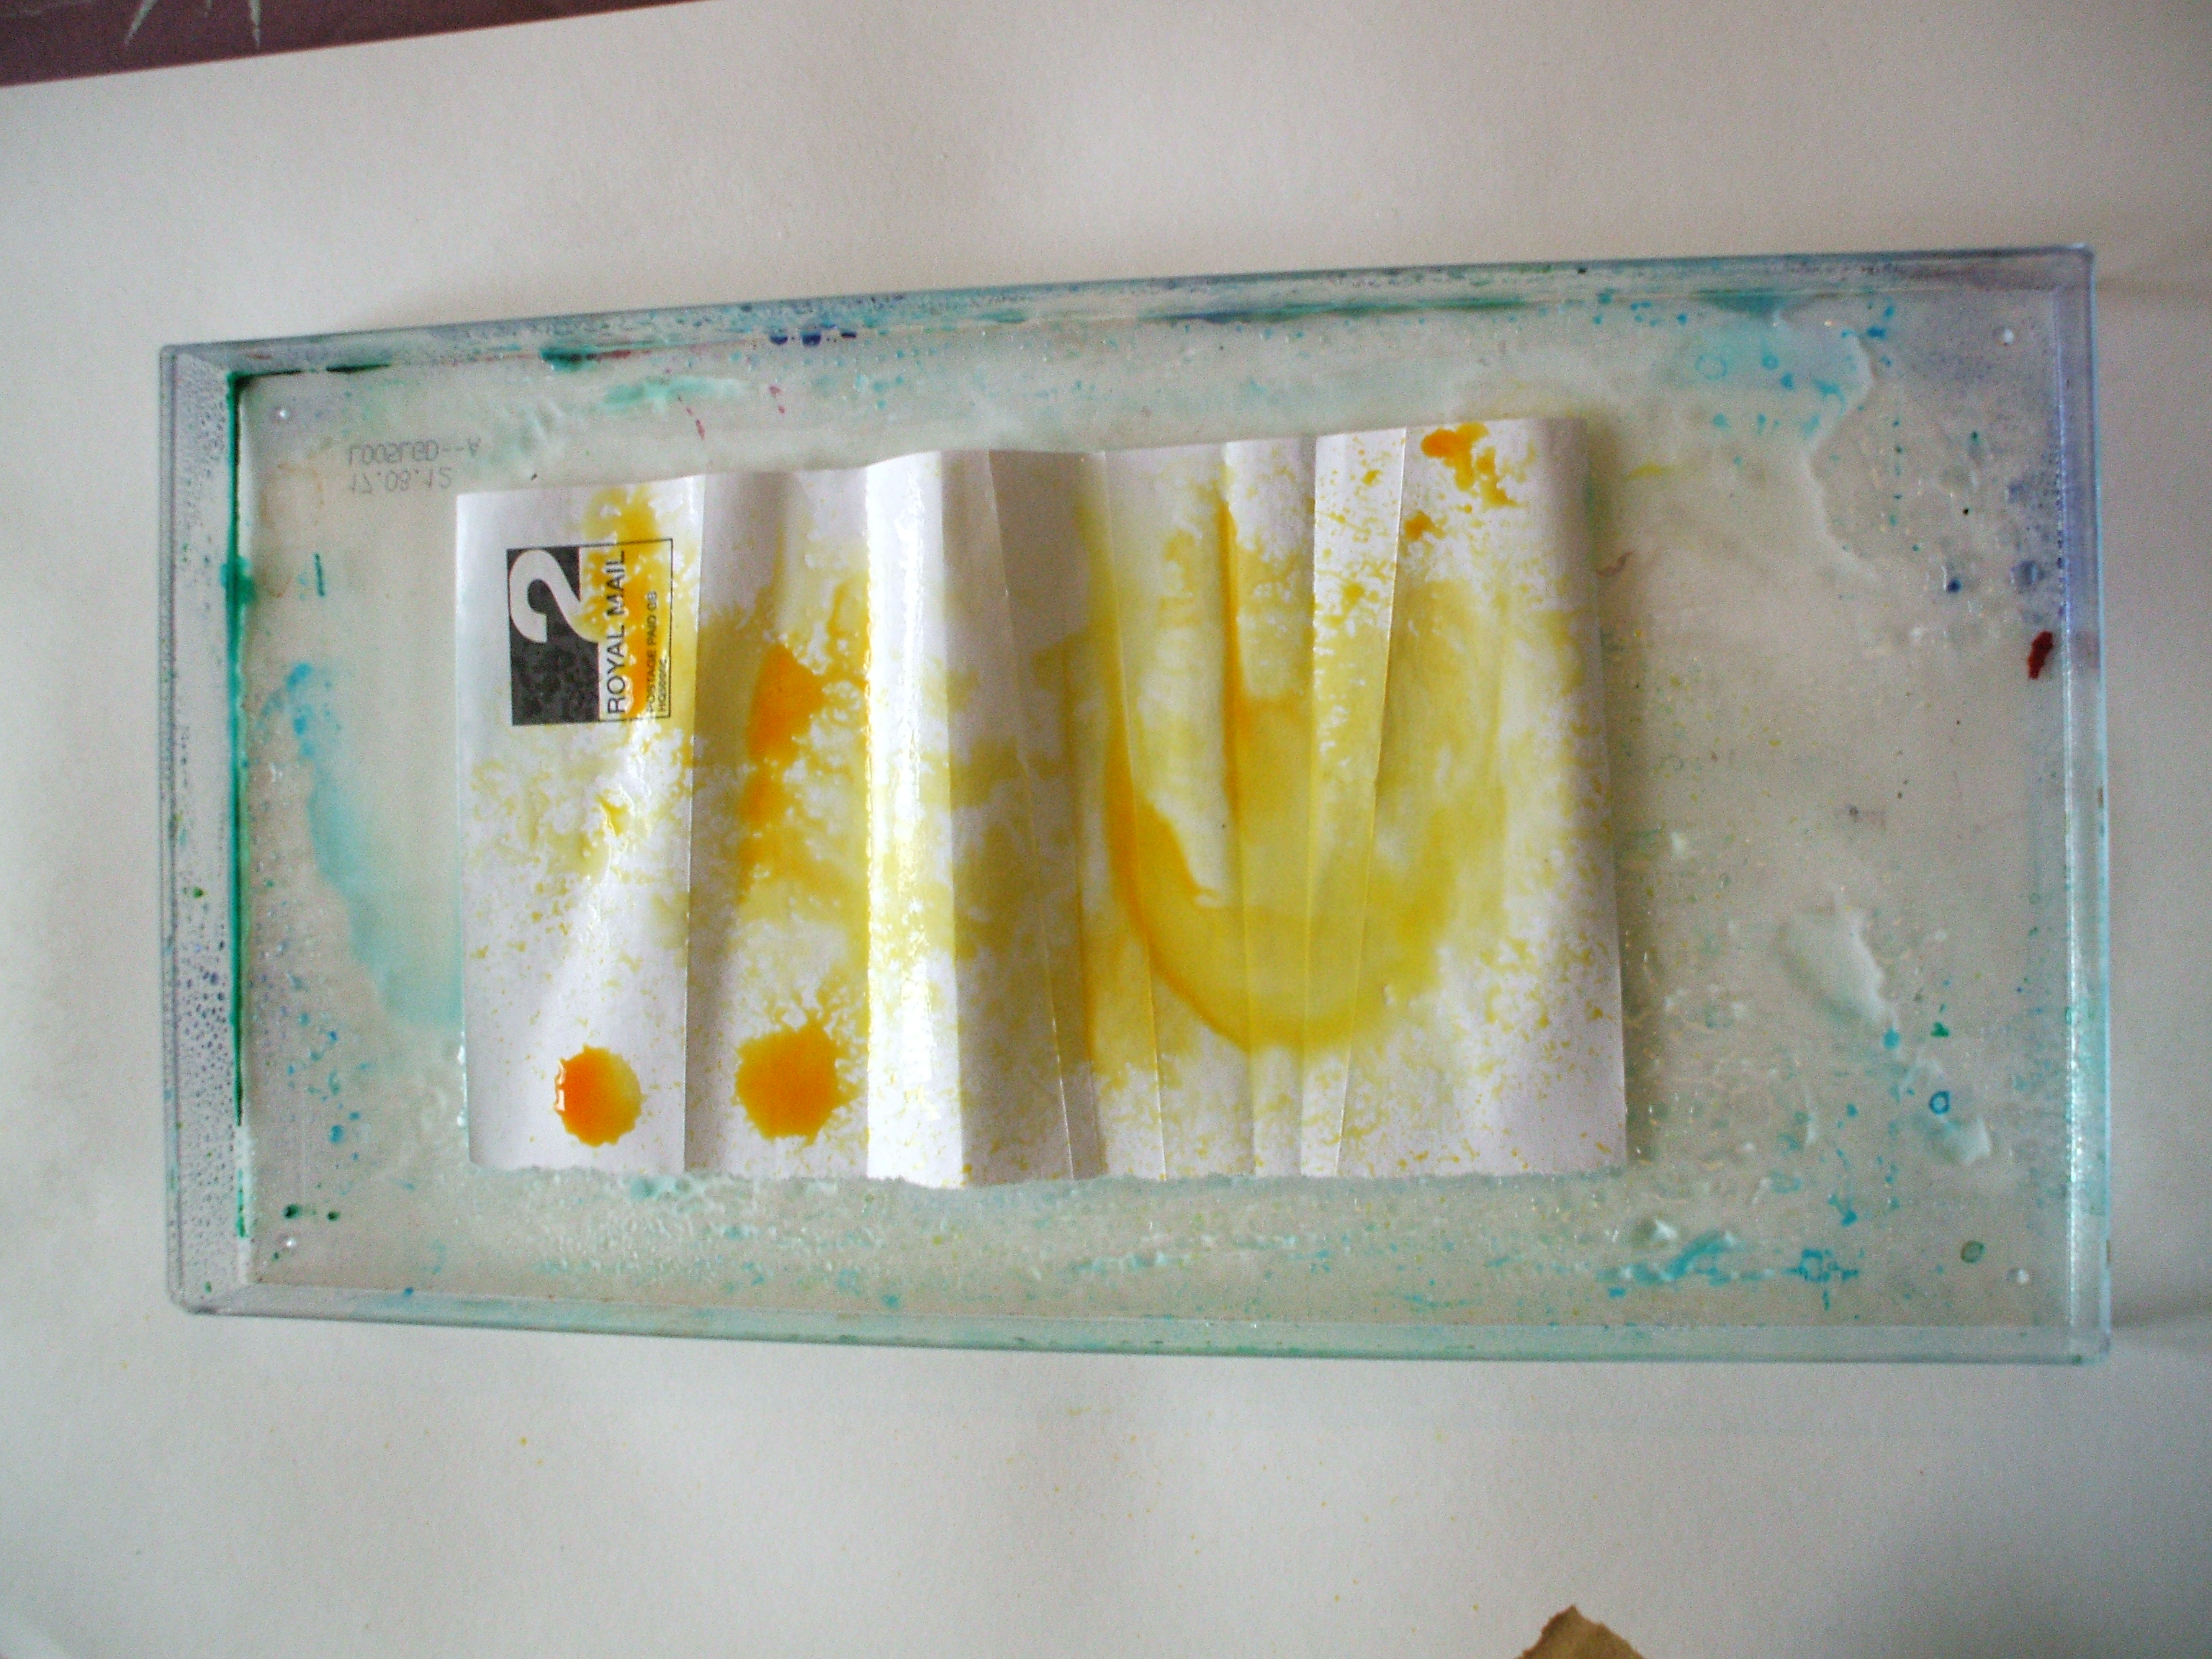
Plastic tray, bit of paper, swish with water, drips of dye & ink.
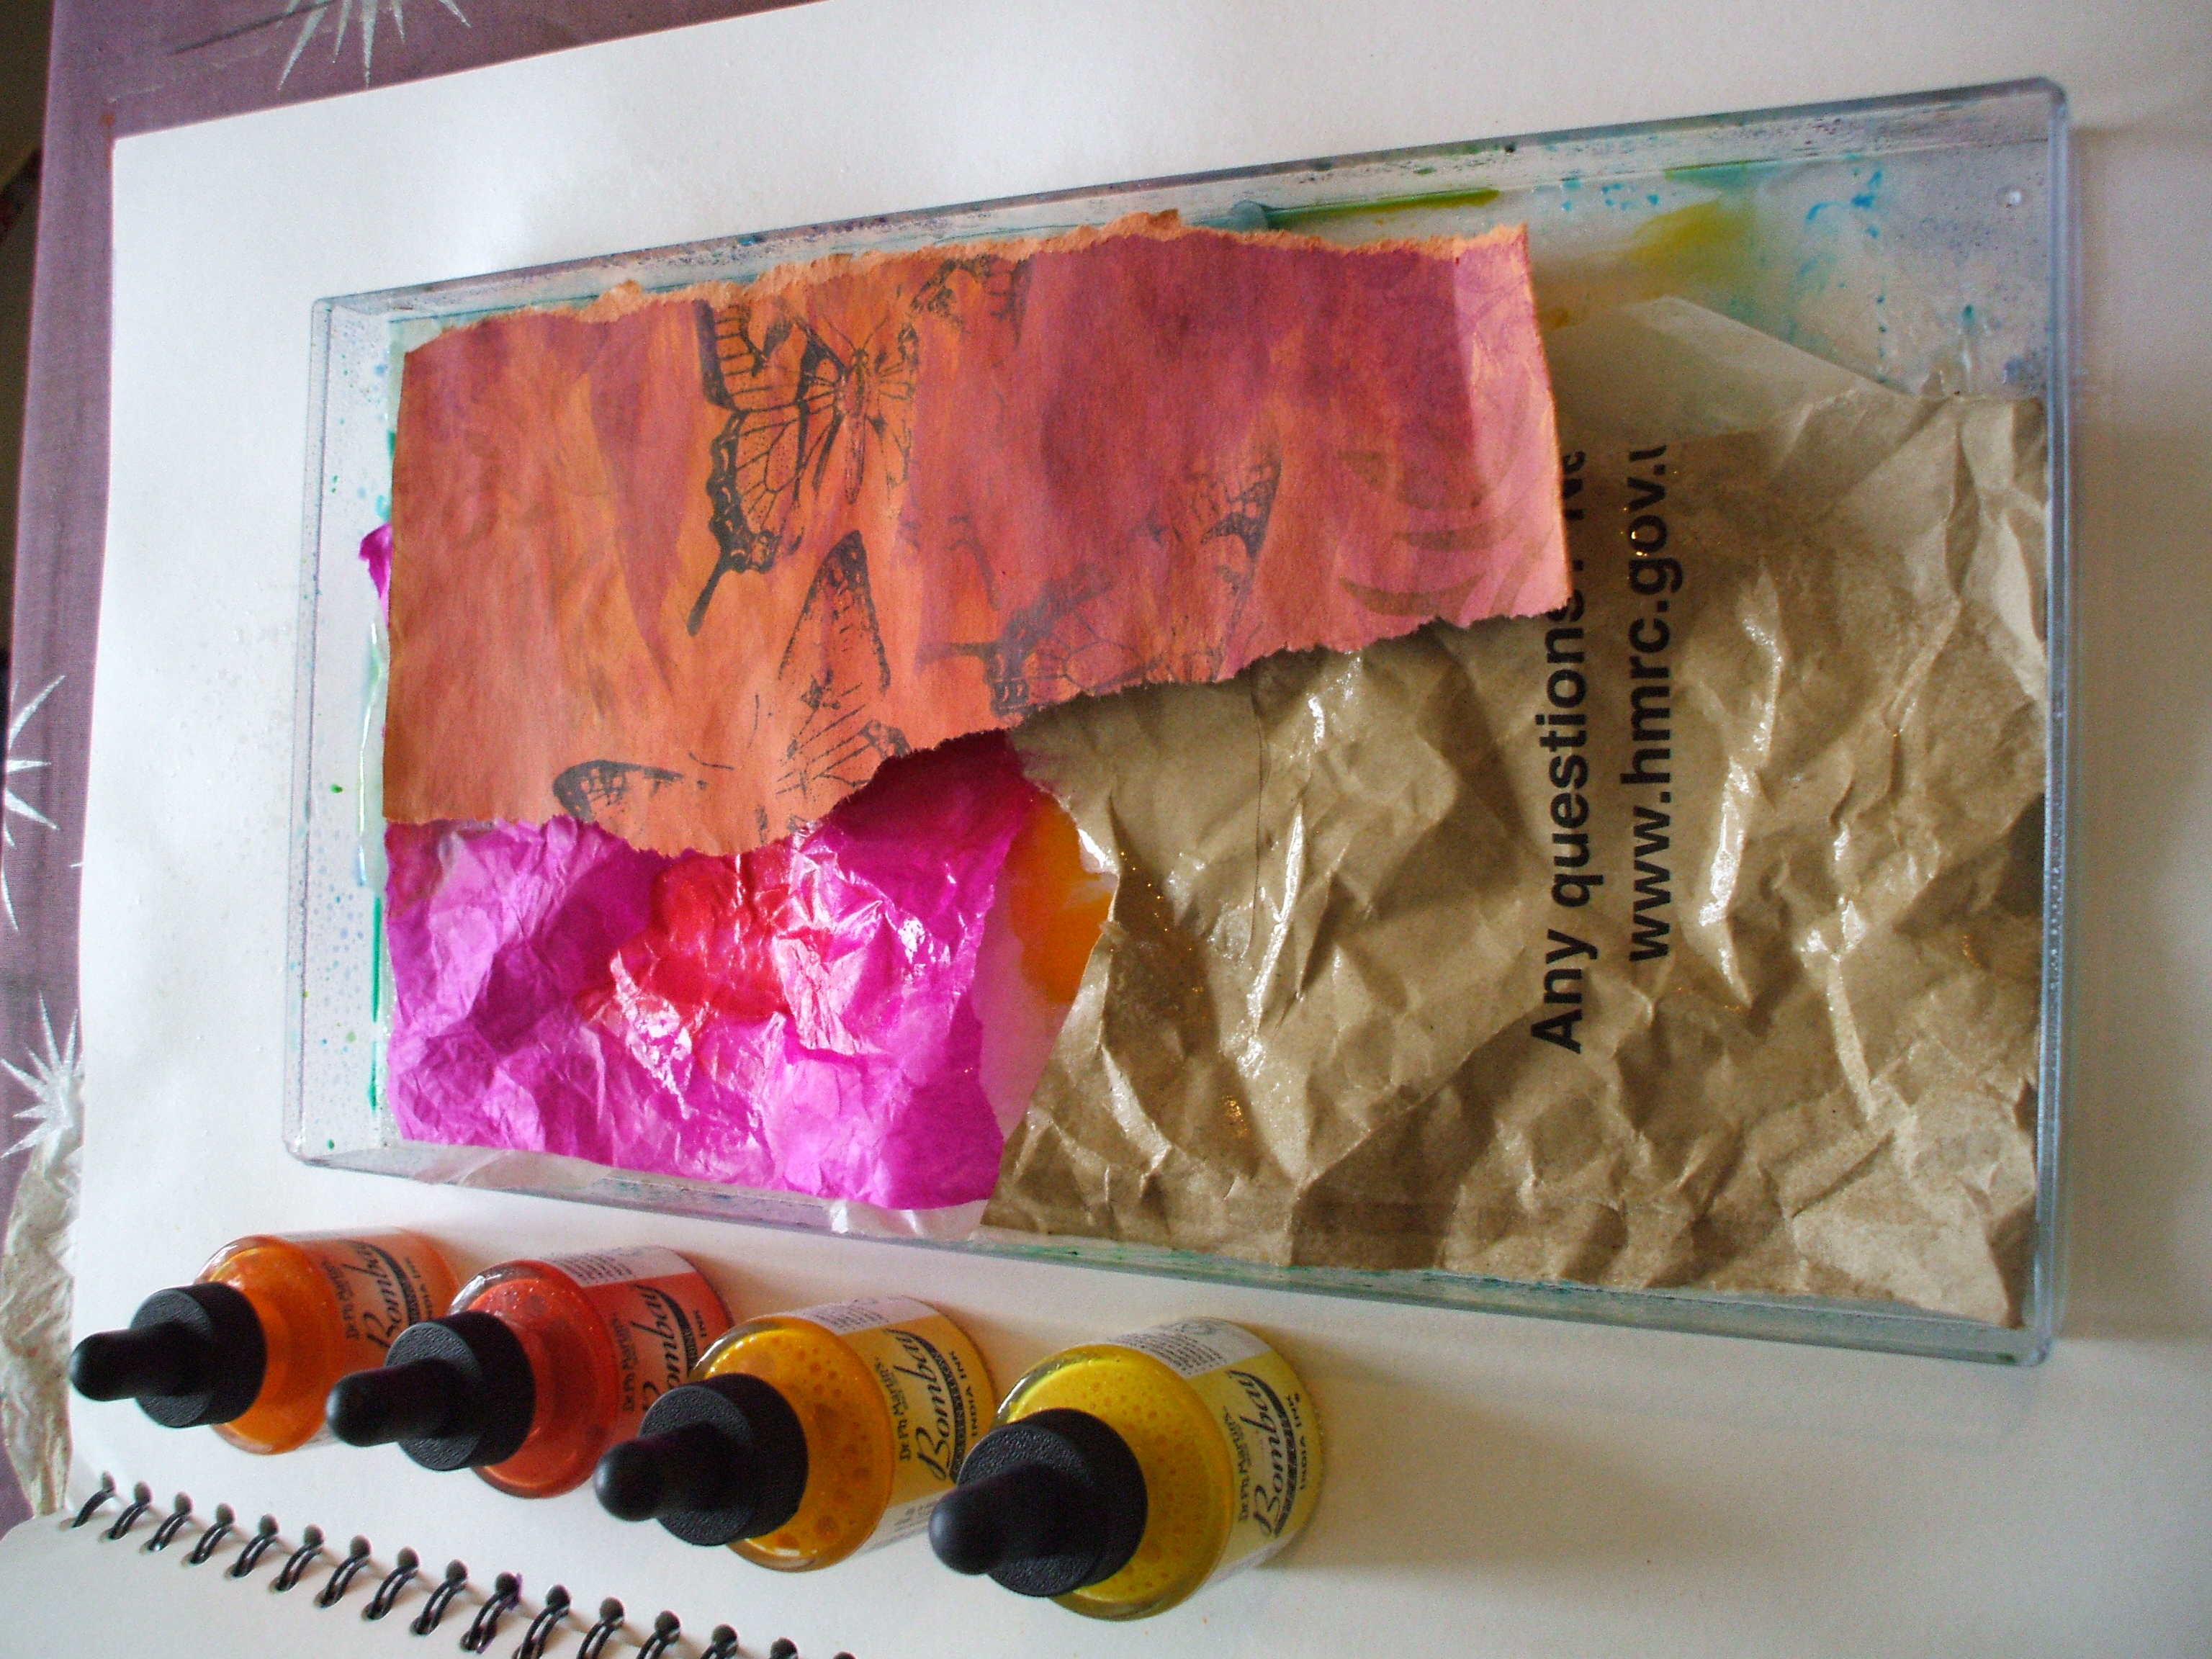
From here it’s a matter of layering (thinking ‘lasagna’, but without the food elements. Srsly, that would be a whole different result, and not what I’m after here at all)
Thicker acrylic based inks work best thinned right down with water,acrylic acts as an adhesive and if/when used thickly will gum the papers together into an unpickapartable cludge.
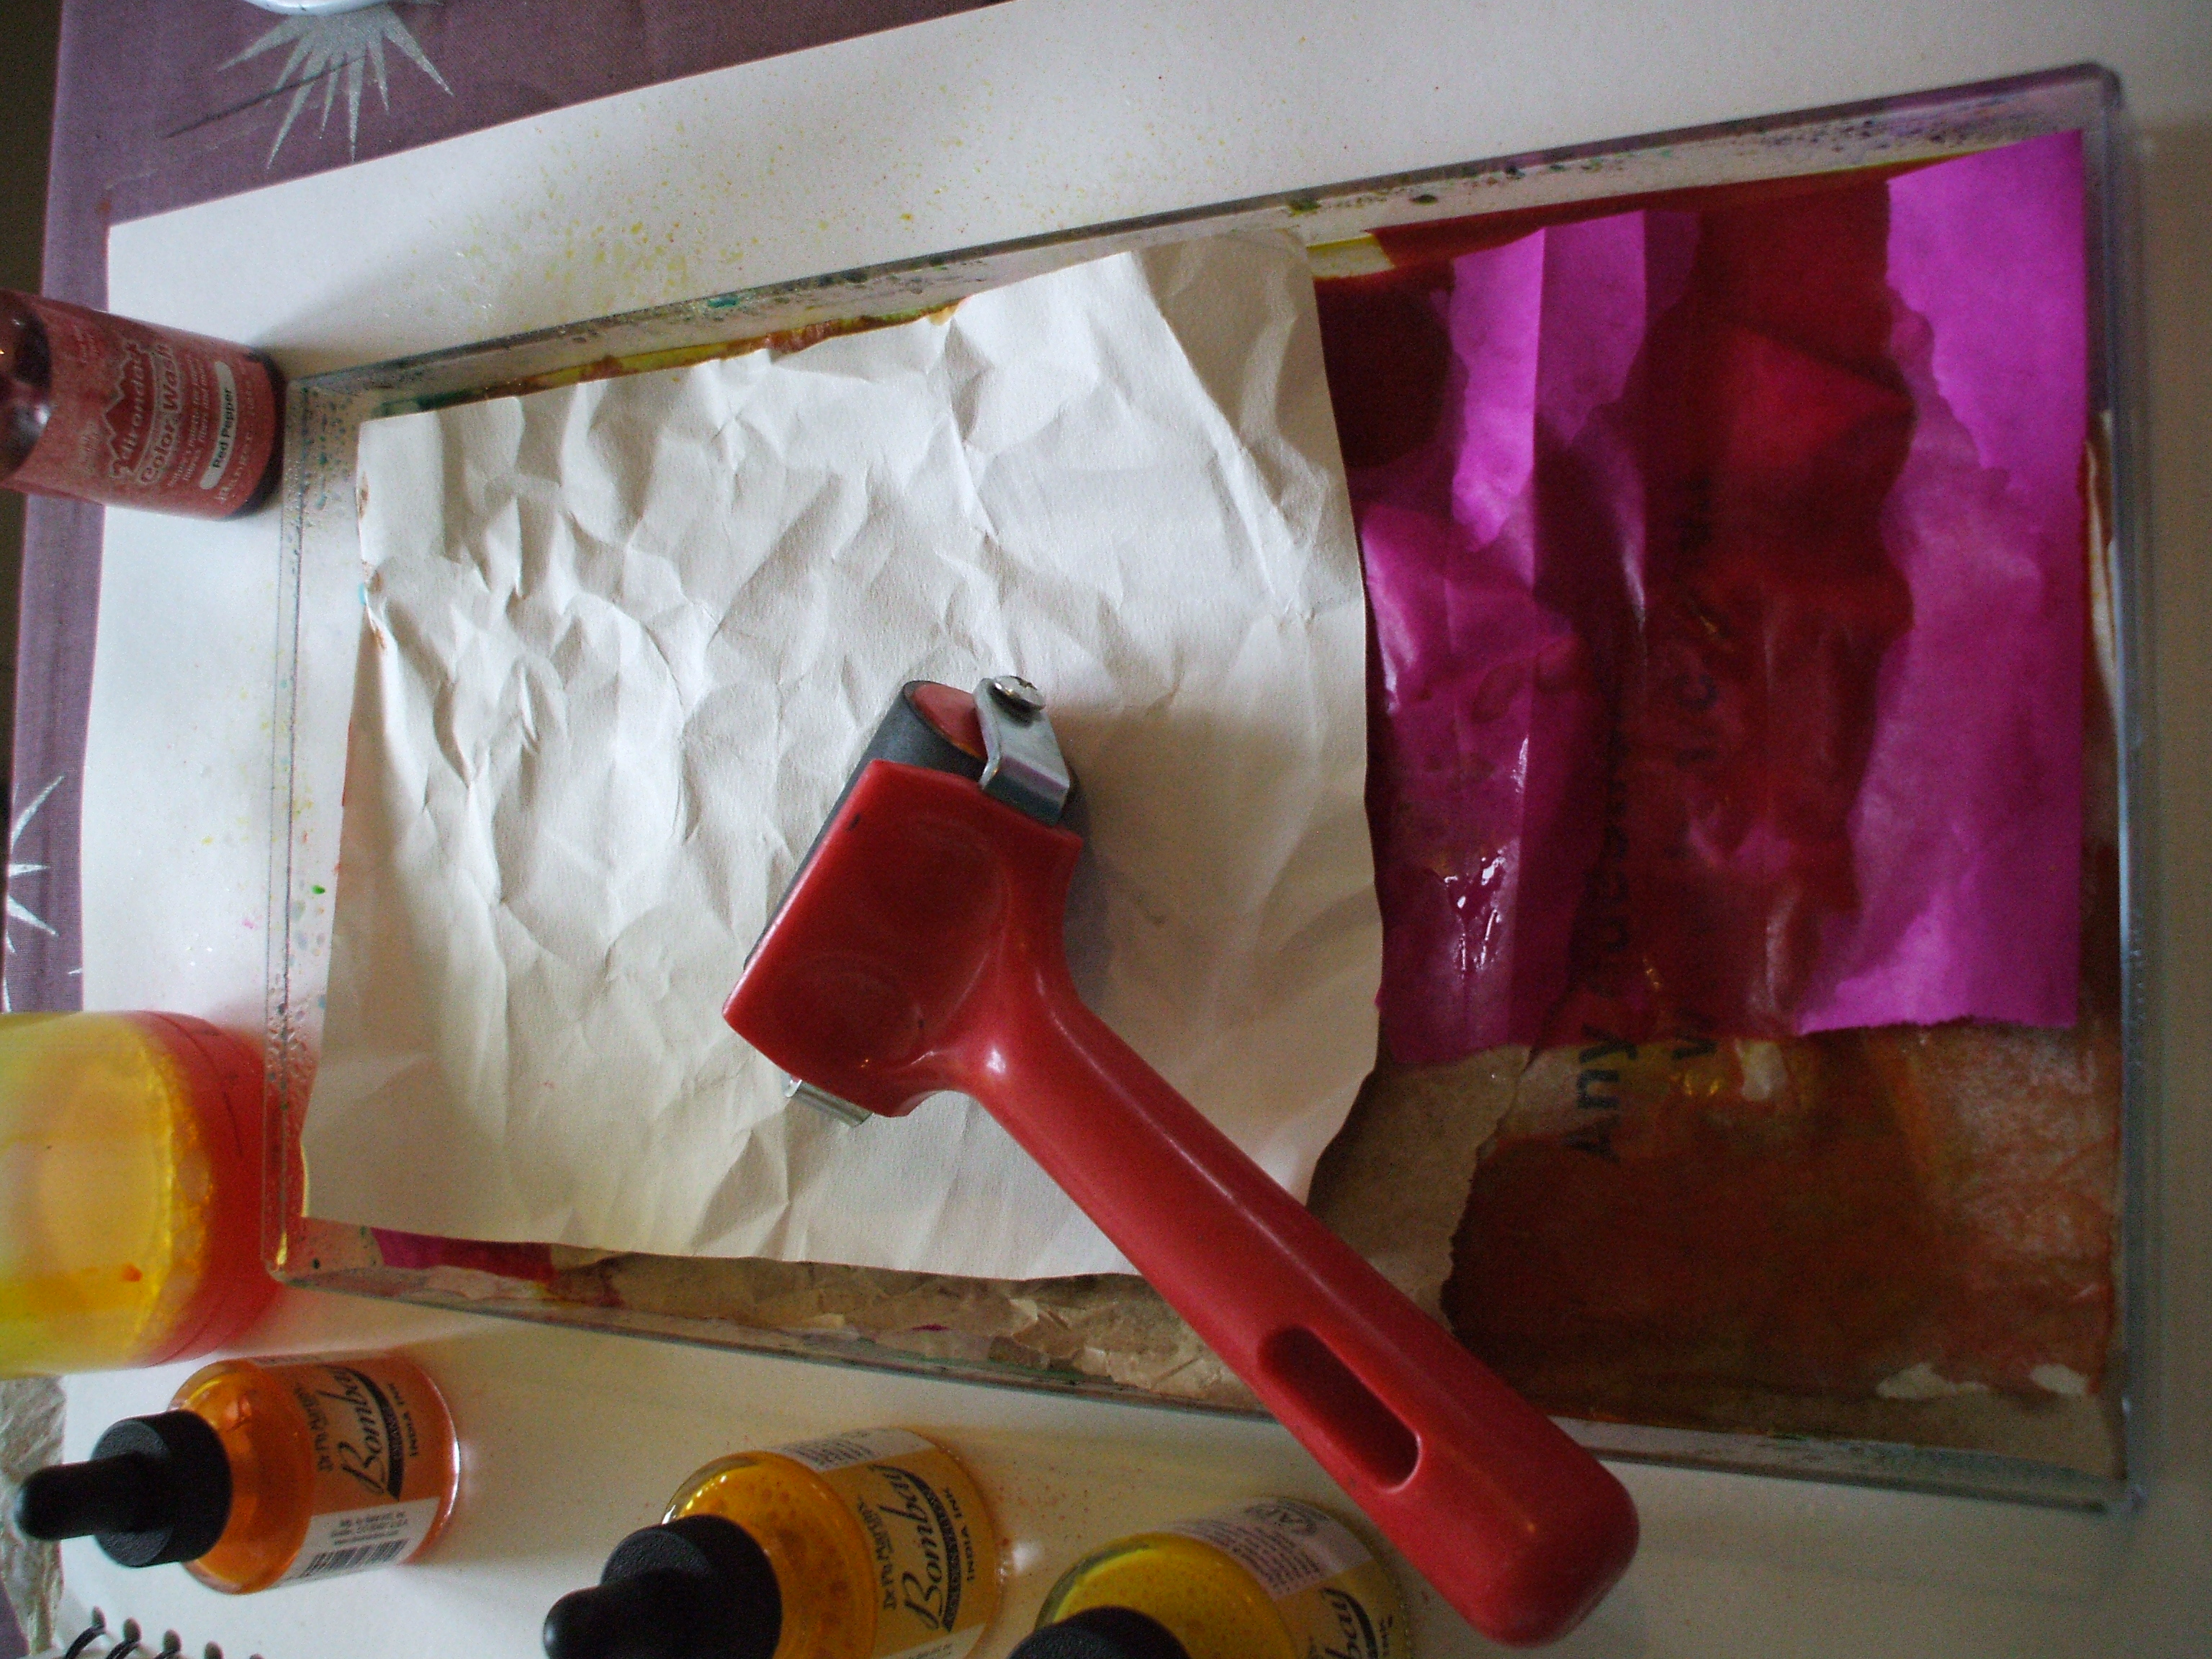
Some layers through I like to give the soaking papers a bitova squish with a roller (brayer). The dye will penetrate the paper fibres better, and slop out of the edges of the tray if you’re not careful.
Sometimes I pour off a bit of excess wet into a jar and reuse it further up the ‘lasagna’.
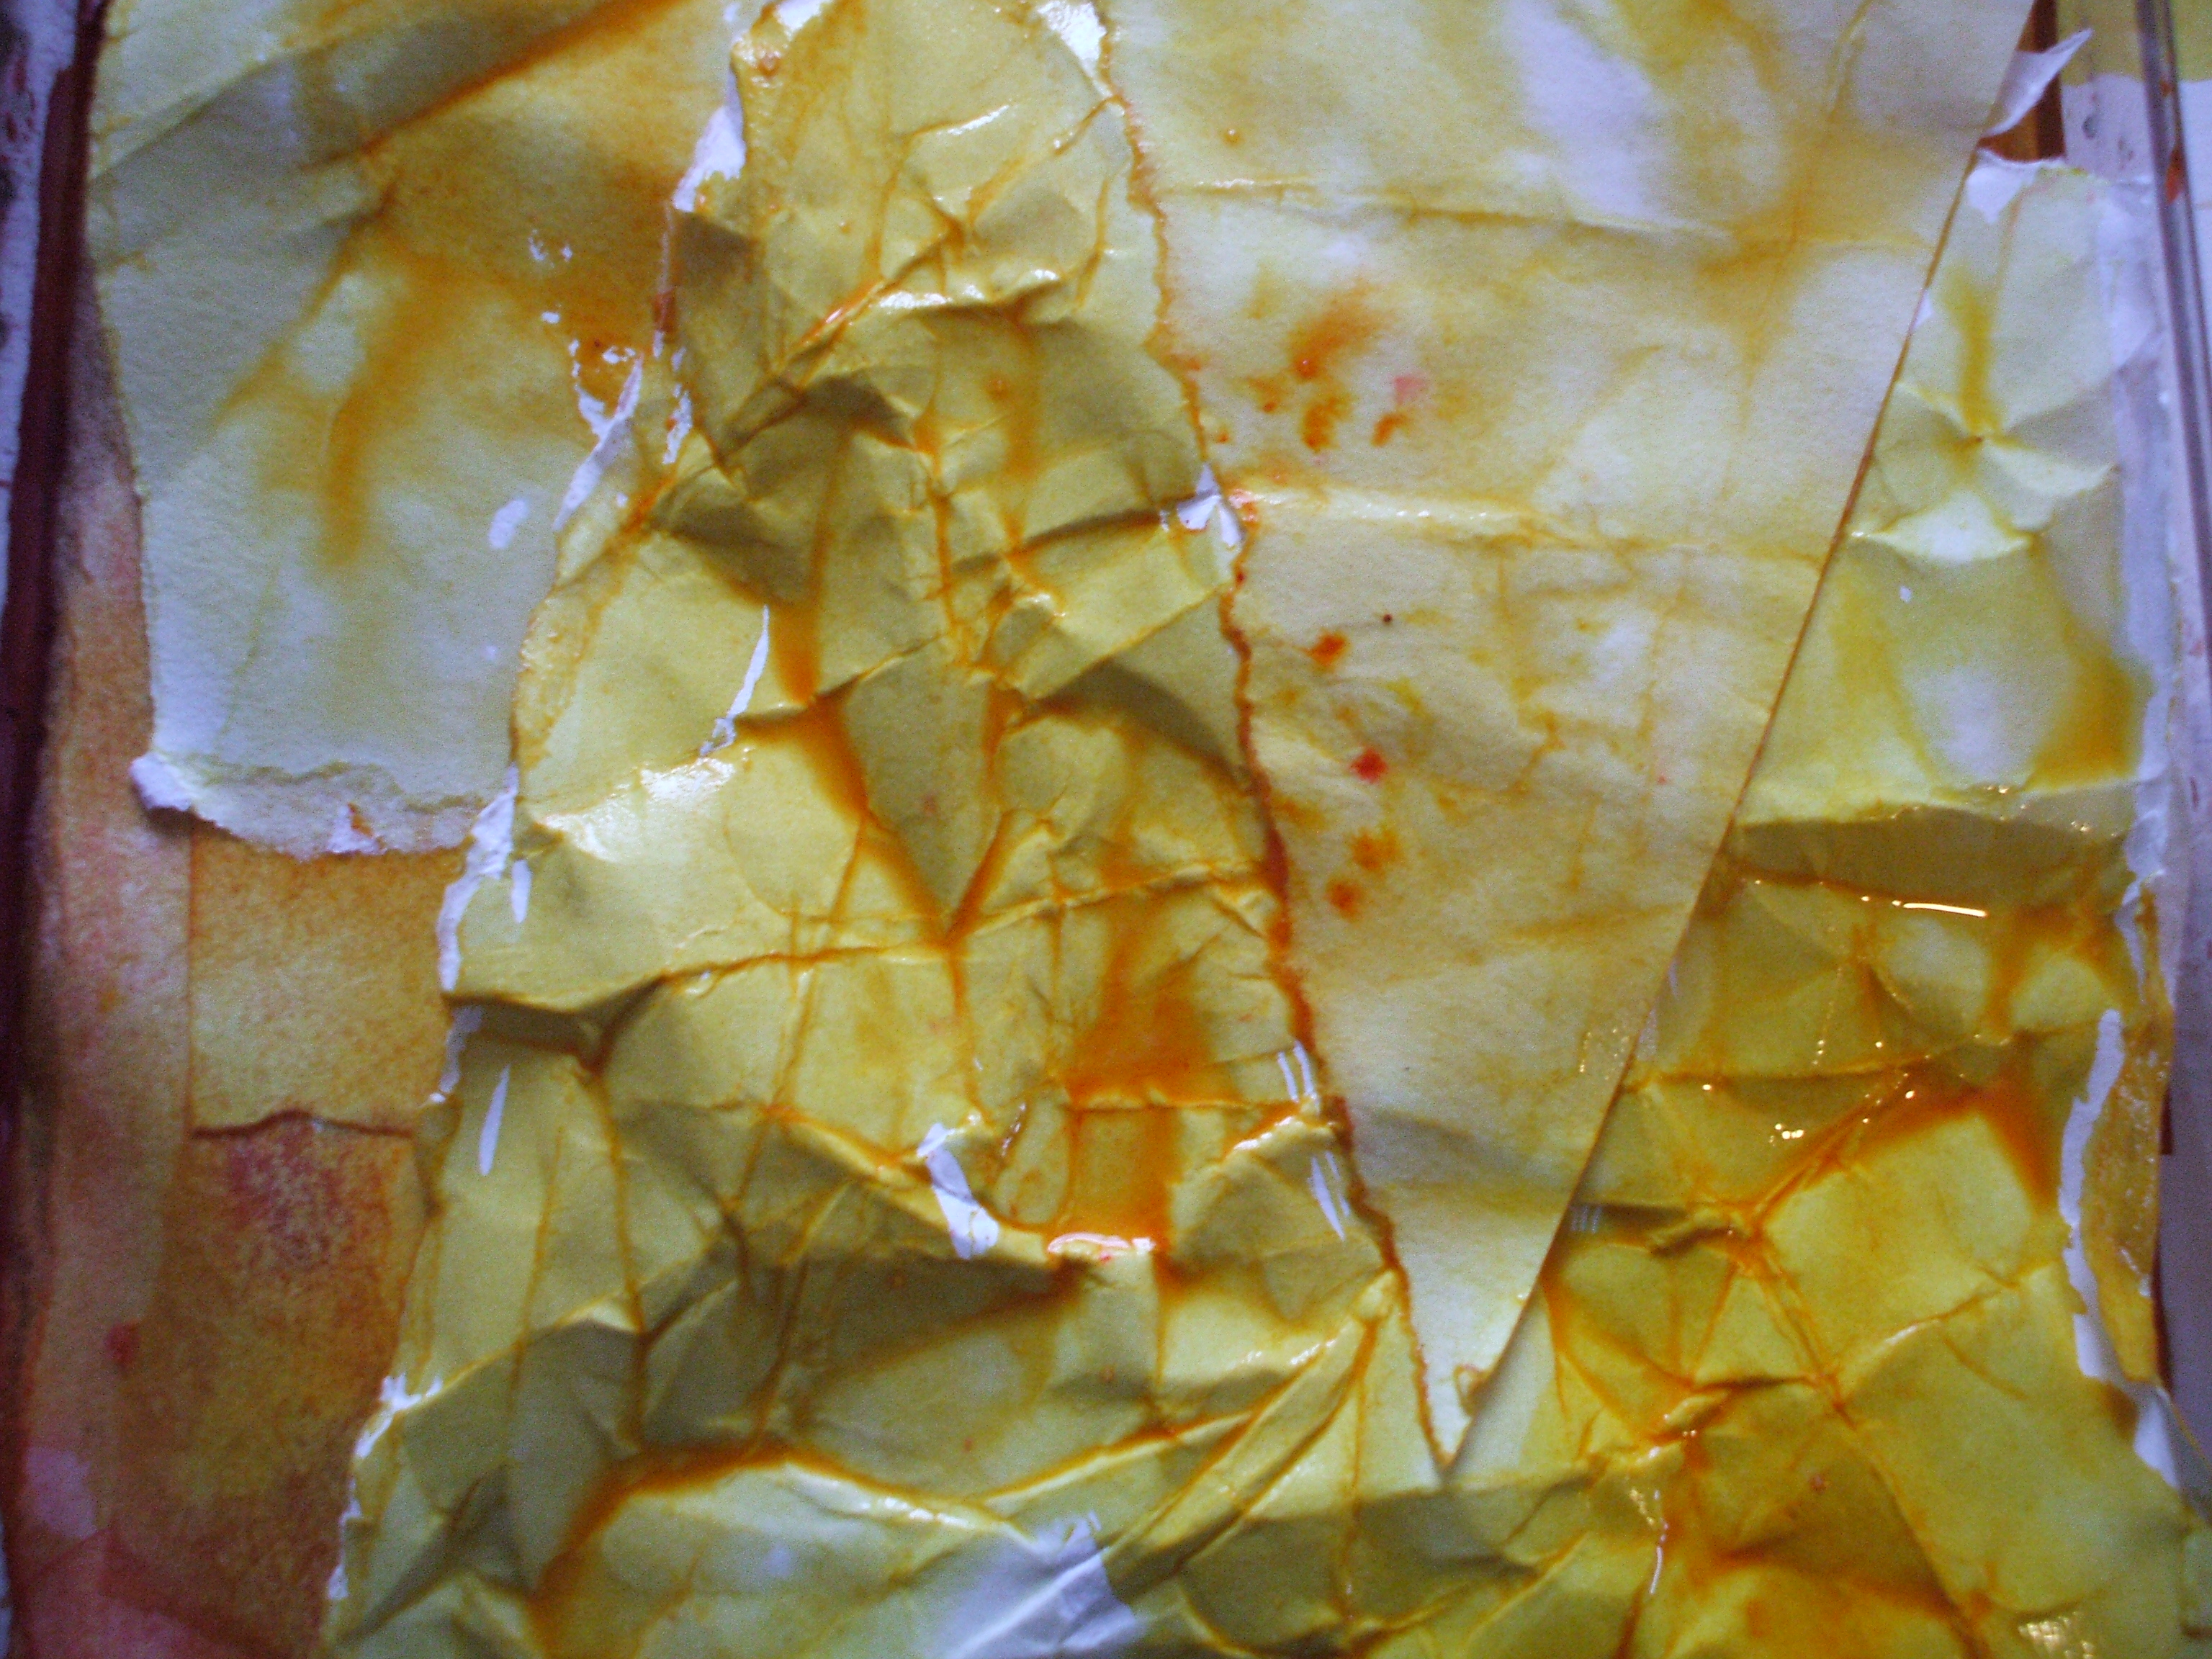
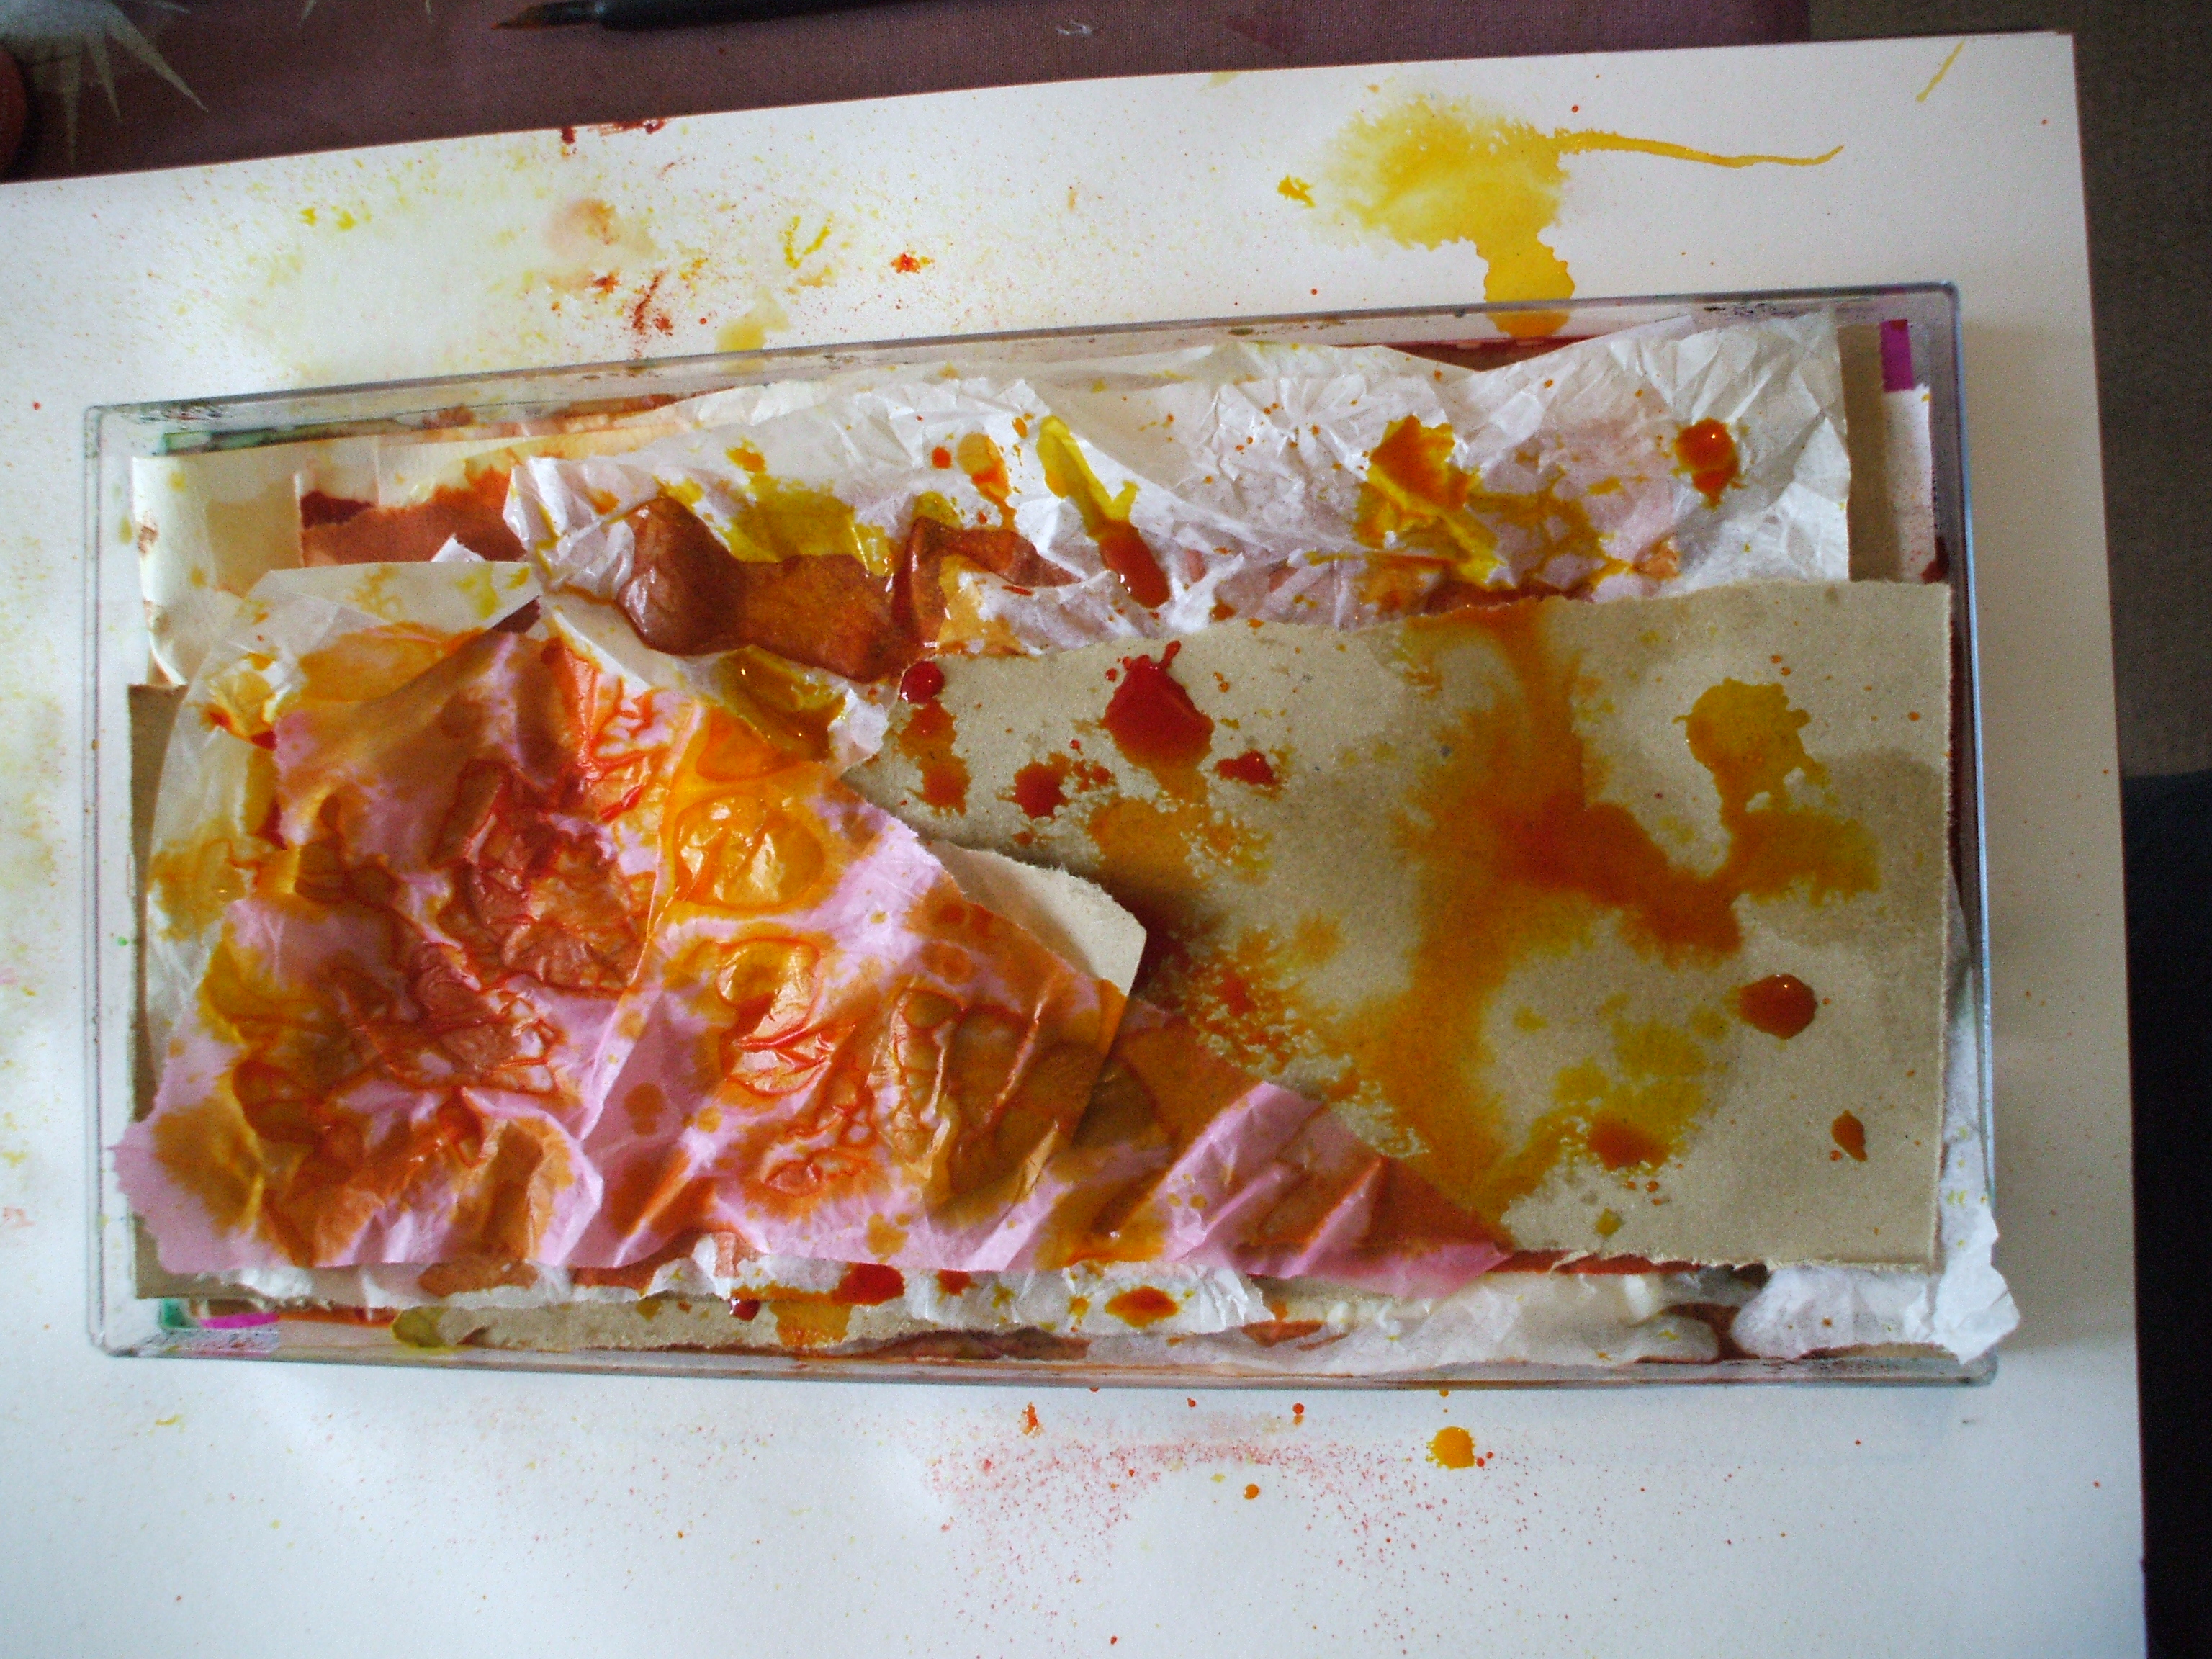
See the batik-y thing going on? Yay!

Onward n upward, paper, water, dye, swish, squish, paper, color, swish, etc
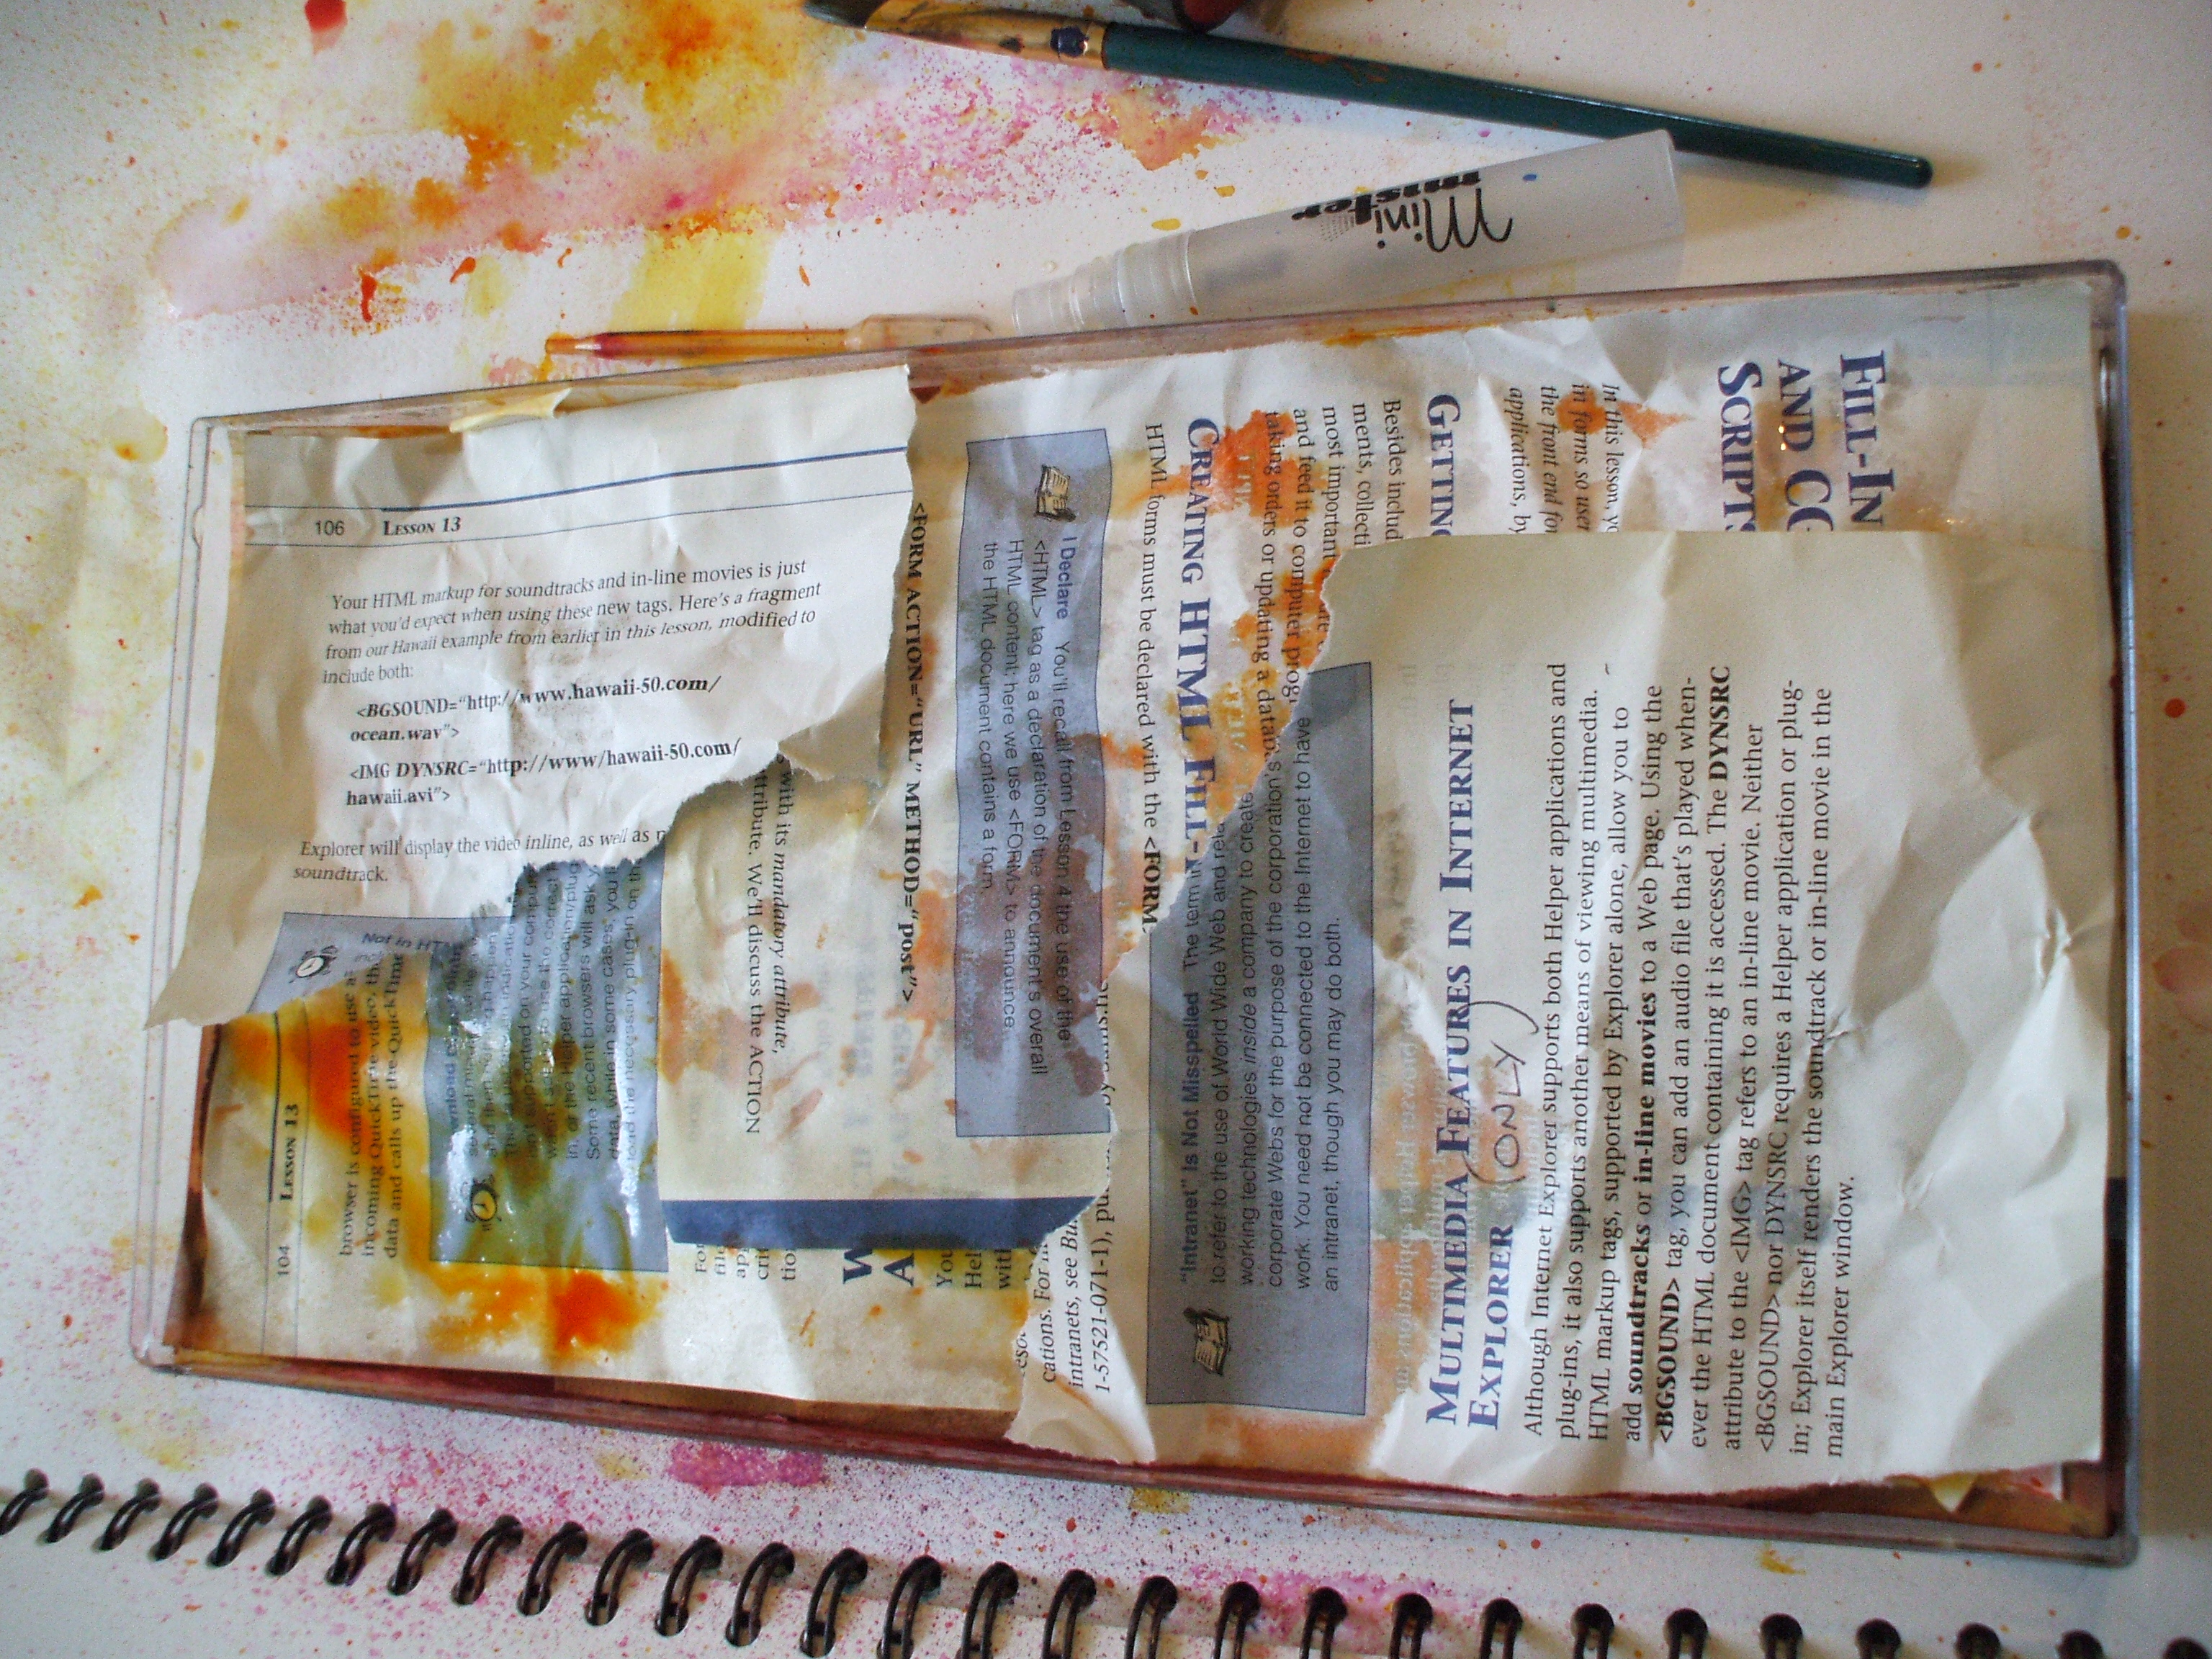
Disclaimer: no books were harmed in this production. Apart from this one. (Second hand and out of date when I got it, 15 year old book on web site building. ) Just saying. Books are my friends, and I never deliberately dismember friends, even in the name of art. Except for the very dead ones.
Some hours later, tray filled, excess juice drained, the soggy lump of color gets tipped out onto something porous (I used a selection of my finest knackered tea towels) and left to dry by the radiator. (If time and climate allow, sunshine will do the trick too)
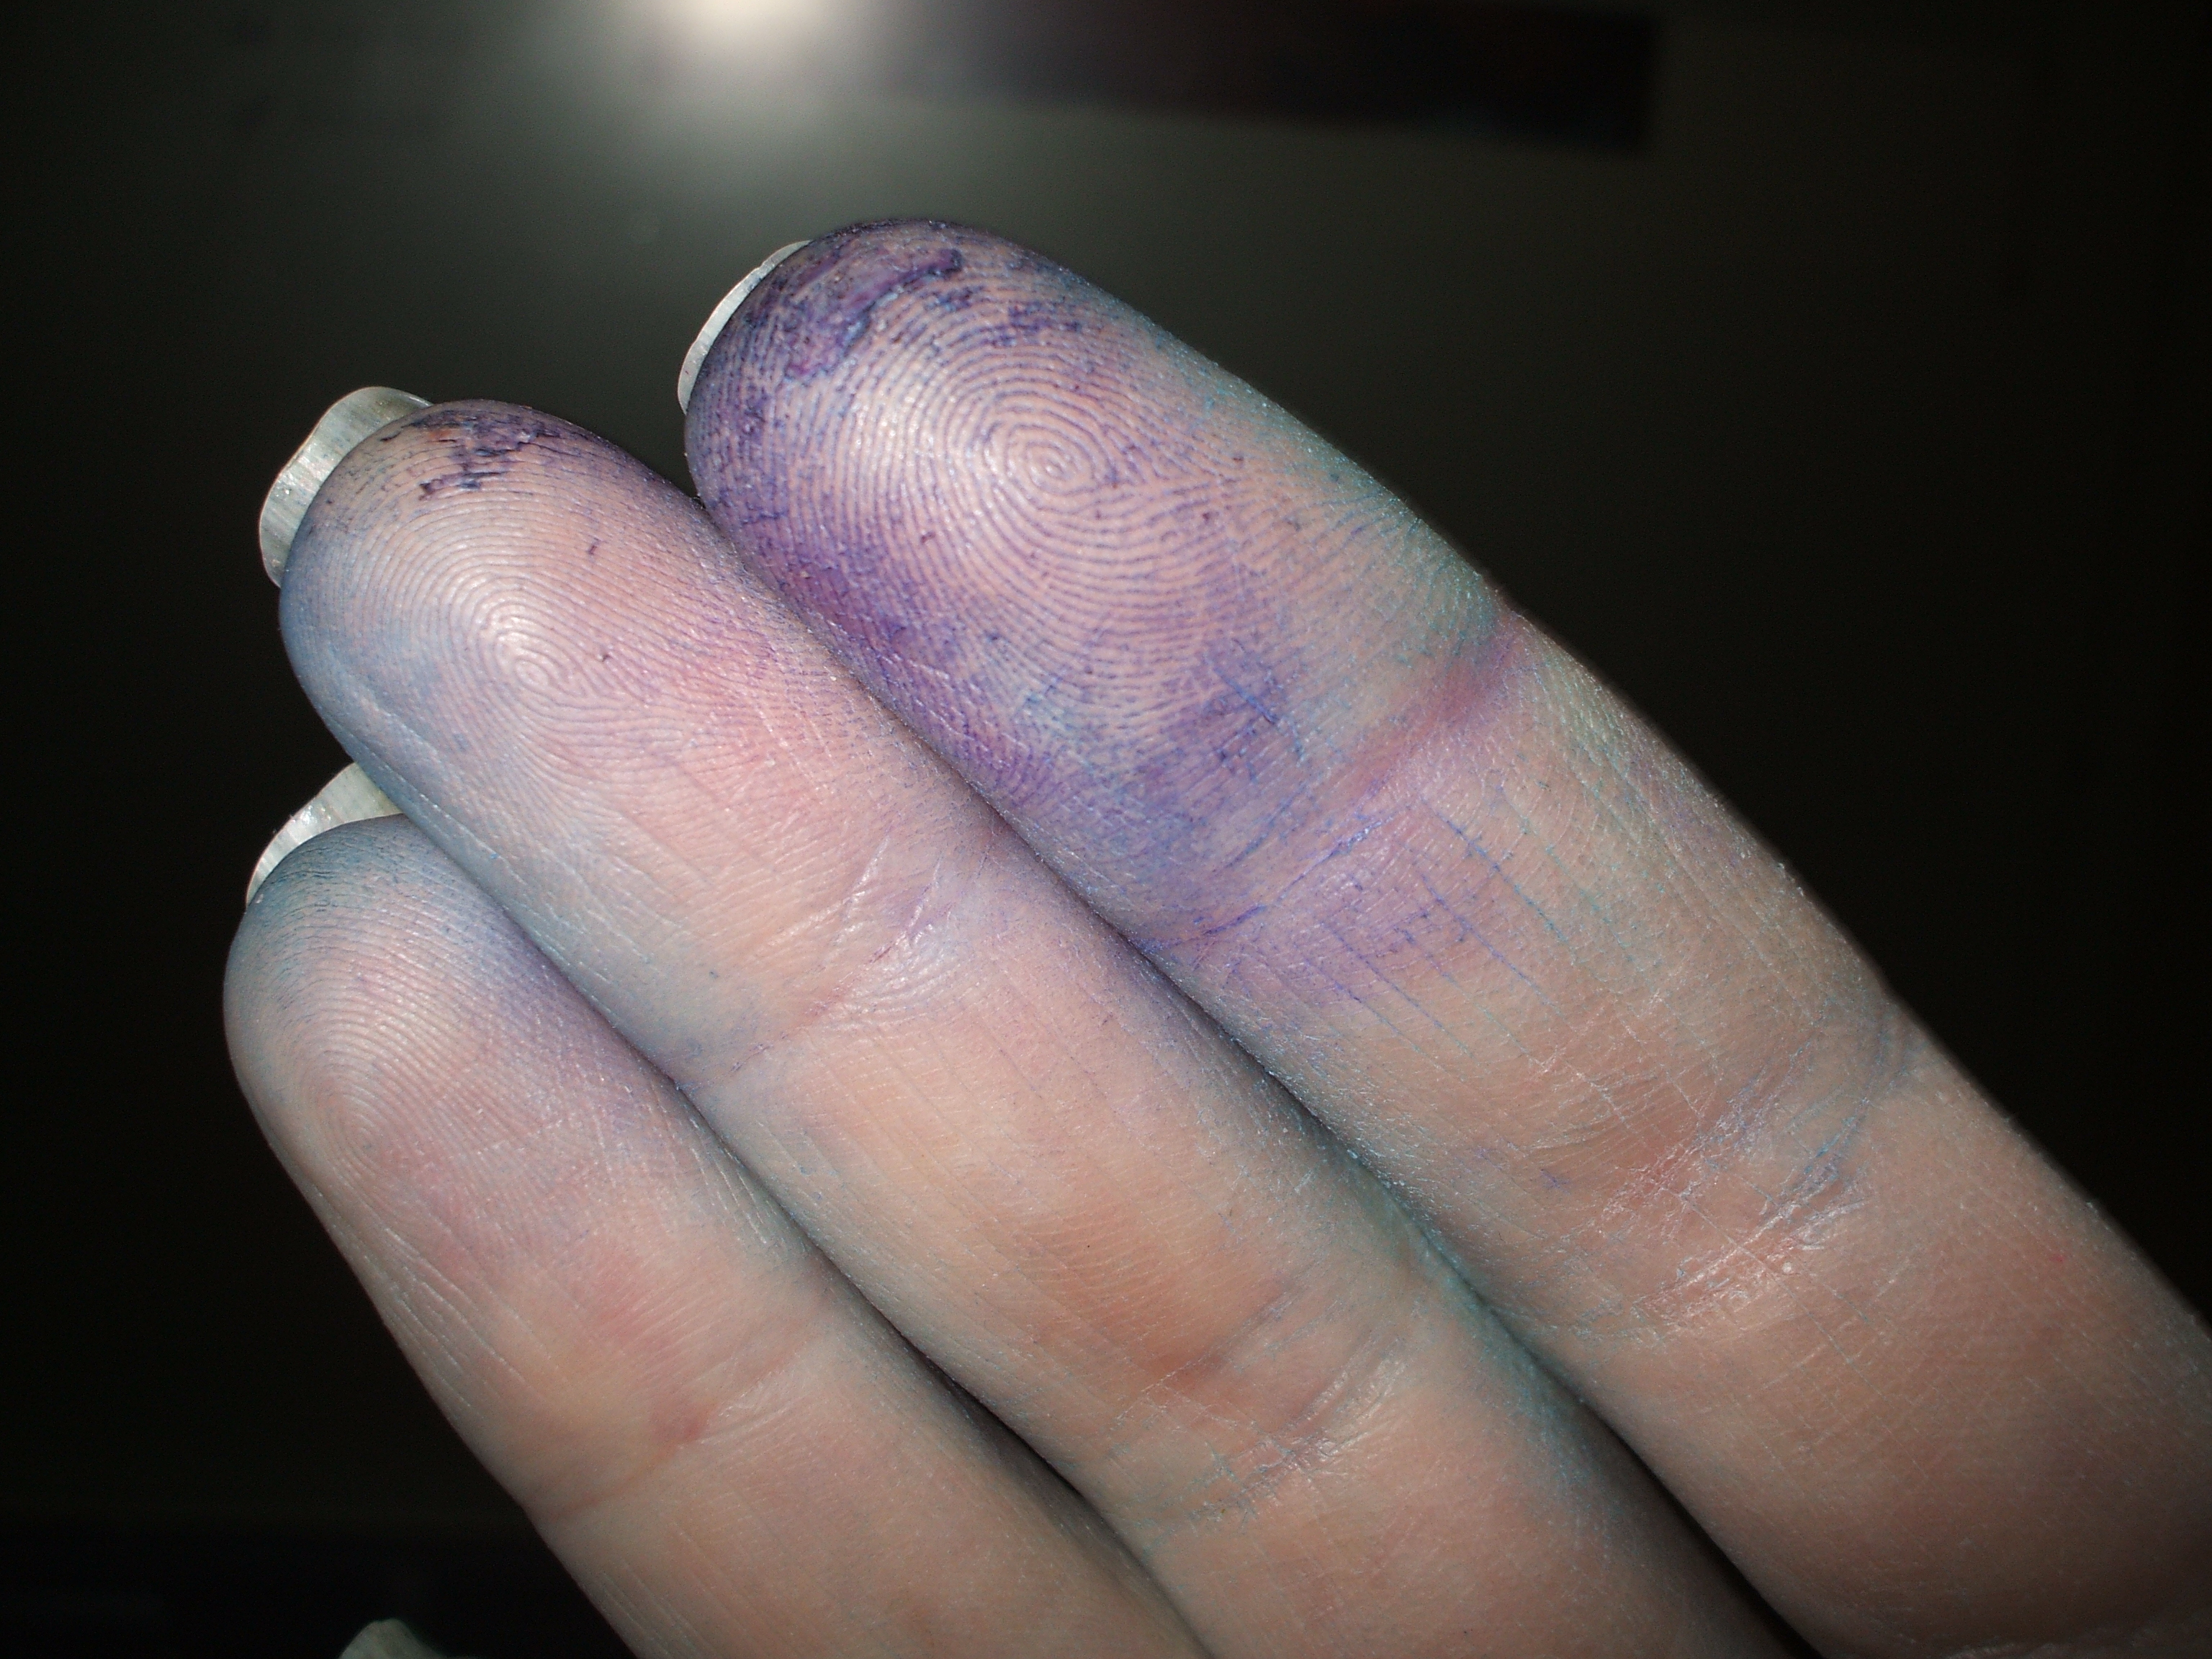
Oh, n you might wanna be wearing gloves for this. Or, like me, you might only remember this once you have dyed fingers…
I’ve shared some little snips and bits of my doodlings with you over the last few days to introduce you to my projects. Today I thought I’d explain a little more of how some pages come about.
I advocate the belief that art materials can be made of pretty most anything. Beyond “making use”, “recycling” or other worthy intents, this is closer to a manic scavenging, edged with disproportionate glee, in discovering a source of free material that is unwanted by the world.
The basis of this page is a case in point. I work in an office, everyday there’s a delivery of interestingly patterned paper. Business envelopes.
 Opened up, inside outed to see the squiggly abstract patterning, the best of the bunch get flattened and hoarded up for later.

I’d already dyed some envelopes, by layering them in a plastic tray (yup, scavenged from the kitchen) with dilute Procion dyes and inks in shades of blues and green. Purely experimental. Or just mental? Whatever, in their soggy state the pre-gummed bits re-gummed themselves to their neighbours. This page made use of the scrappy torn bits, picked apart shreds + the borders around the windows, (window frames?) deemed too bitty to save for future who-knows-whattery.

Collaging with Mod Podge, I built up a background for doodling on. Before it dried I added more color with little sprinklings of dry Brusho powder in gamboge, lemon and orange. Swishing with water got the colors to liven up a bit before being left to dry.

Layered up 3-4 deep in places, the overlaps and natural crunkling of the paper caused by heavy dosing with liquid, gave an undulating surface. Less camera-friendly (at least at the time of light I chose), but pleasing to draw on as the contours and furrows guide the lines on which the patterns build.

The doodlings take on a life of their own in a setting like this. Torn edges and inky tide marks sew the seeds from which the lines grow. The padded quality of the surface make biro doodles dimensional as the pressure of the ballpoint makes indented patterns. Marker pen sits on the surface and gives iridescent sheen at the right angle of light. Felt pens glide over the surface and make subtle marks.

Torn words grow new meanings, Private & Confidential became Obstinate & Conscious.


